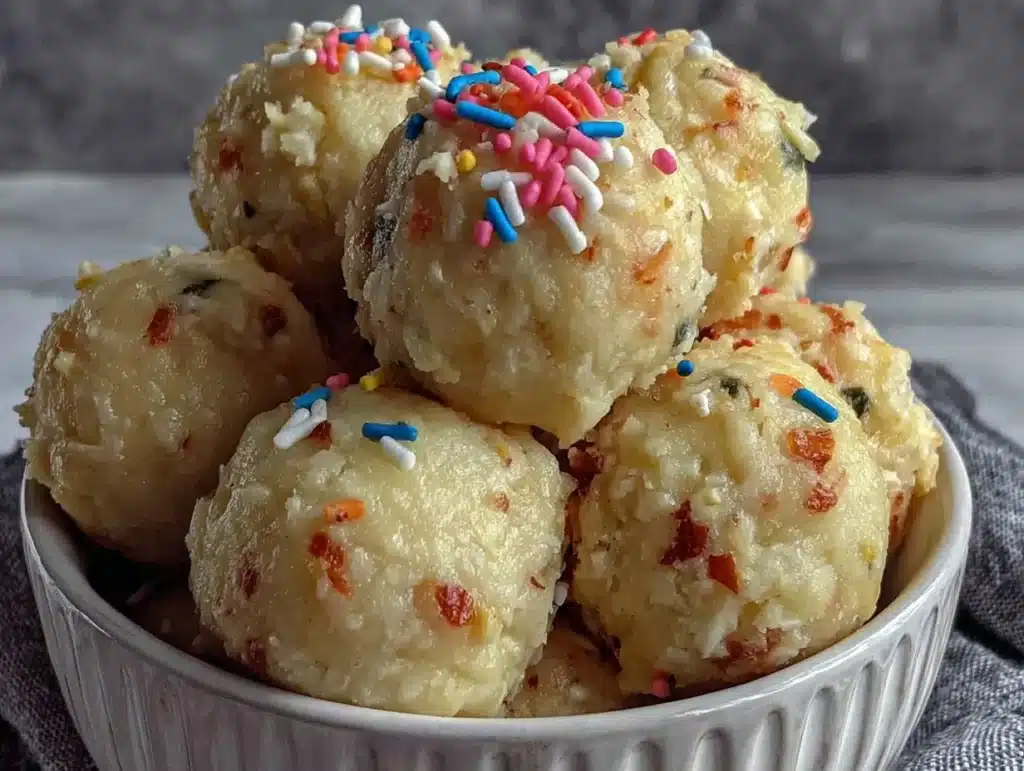
Let’s be honest for a second. We’ve all had that moment where you’re staring into the fridge at 9 PM, and your brain is screaming for something sweet. You know it’s probably not the healthiest decision, but the craving is real. I used to just grab a spoonful of cake mix and call it a night, but then I discovered these no bake cake batter protein balls. Honestly, they changed my snack game forever.
I first mixed this batch up on a particularly stressful Tuesday. I had zero energy, my kids were demanding treats, and I didn’t want to turn on the oven. That’s when I realized I could make a dessert that tastes like indulgence but fuels like a meal prep champion. These balls are the perfect bridge between “I want cake” and “I want to feel good.”
What makes no bake cake batter protein balls so special isn’t just the flavor. It’s the fact that they come together in under ten minutes. You don’t need to be a pastry chef to pull this off. In fact, if you can stir a bowl, you can master this recipe. I’ve tested this version over a dozen times, tweaking the ratios until the texture was just right—chewy, soft, and packed with protein.
These little gems are perfect for busy parents, fitness enthusiasts, or anyone who needs a quick energy boost. They are gluten-free friendly, high in protein, and taste incredibly rich. Let’s face it, life is too short for boring snacks. These balls bring the nostalgia of birthday parties with the functional benefits your body actually needs.
Why You’ll Love This Recipe
There is a specific kind of magic that happens when you combine simple ingredients to create something that feels like a cheat meal. After years of testing protein recipes, I can confidently say these no bake cake batter protein balls stand out from the crowd. Most protein bites can be gritty or overly sweet, but this version hits a sweet spot that satisfies even the pickiest eaters.
Here is why this recipe has earned a permanent spot in my weekly meal prep rotation:
- Quick & Easy: You can have these done from start to finish in less than 15 minutes. No baking, no cooling racks, just pure convenience. It’s perfect for those chaotic weeknights when you need a snack ASAP.
- Simple Ingredients: You likely already have everything in your pantry. No fancy grocery trips or obscure superfoods. Just oats, protein powder, peanut butter, and a few pantry staples.
- Perfect for Meal Prep: Make a big batch on Sunday, and you have snacks ready for the entire week. They keep well in the fridge and travel easily in lunchboxes or gym bags.
- Crowd-Pleaser: My kids think these are cookies. My husband thinks they are just really good energy bites. Everyone wins. They are the ultimate crowd-pleaser that doesn’t scream “diet food.”
- Unbelievably Delicious: The texture is soft and chewy, reminiscent of actual cake batter. It’s comfort food reimagined with a healthy twist. It’s the kind of snack that makes you close your eyes after the first bite.
What makes this recipe different is the balance. I’ve struggled with protein balls that fall apart or turn into rocks. This method uses a specific ratio of wet to dry ingredients to ensure a consistent, scoopable texture. It’s not just another protein ball recipe; it’s the one that actually tastes like a treat while keeping you fueled.
What Ingredients You Will Need
This recipe relies on wholesome, accessible ingredients to deliver that rich, vanilla-forward flavor without the need for artificial additives. The beauty of no bake cake batter protein balls is how simple the component list is. You don’t need a dozen different spices or hard-to-find flours. Here is what you’ll need to make them.
For the Base
- Old-Fashioned Rolled Oats: Use 1 ½ cups. I recommend using certified gluten-free oats if you are sensitive to gluten, as regular oats can sometimes contain traces of wheat. They provide the chewy texture and fiber.
- Vanilla Protein Powder: Use 1 scoop (about 30g). I personally prefer whey isolate or a high-quality plant-based vanilla blend. Avoid chocolate protein here, as it will mask the cake batter flavor. Look for a brand that mixes well without clumping.
- Peanut Butter: Use ½ cup of creamy peanut butter. Natural peanut butter works best, but make sure it’s well-stirred so the oils are incorporated. Almond butter is a great nut-free alternative if you prefer, though it changes the flavor profile slightly.
For the Sweetness & Texture
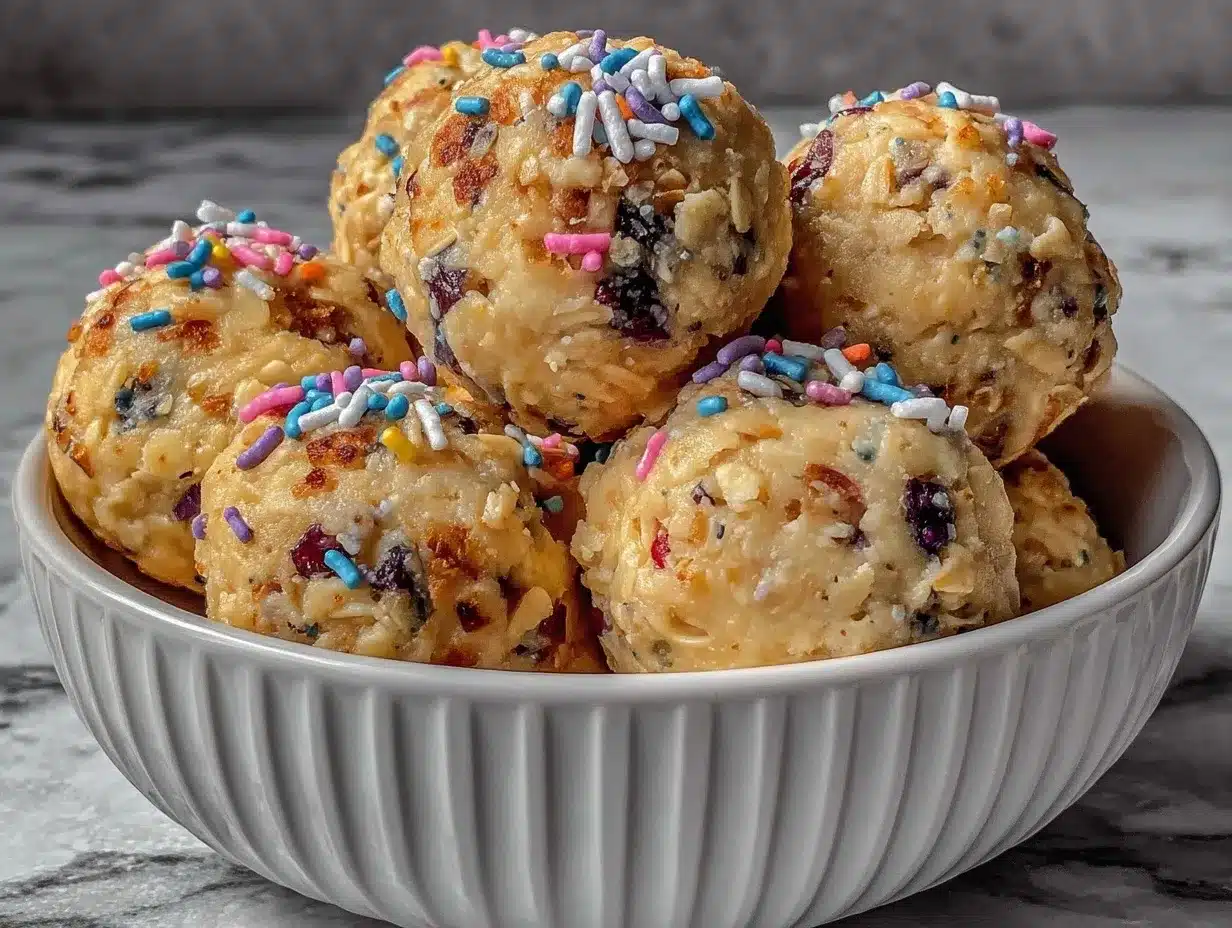
- Honey or Maple Syrup: Use ¼ cup. Honey adds a nice floral note, while maple syrup keeps it vegan. This helps bind the mixture together.
- Milk: Use 2-3 tablespoons of dairy or non-dairy milk. This is crucial for adjusting the consistency. If the mixture is too dry, add a splash more. If it’s too sticky, add more oats.
- Vanilla Extract: Use 1 teaspoon. Don’t skip this! It amplifies the “cake batter” taste significantly.
For the “Cake Batter” Twist
- White Cake Mix: Use 2-3 tablespoons of dry white cake mix. This is the secret ingredient. It adds the distinct flavor and a slight sweetness that mimics real frosting. You can use a boxed mix or a homemade sugar-free version.
- Mini White Chocolate Chips: Use 2 tablespoons. These melt slightly in your mouth and give you those little bursts of sweetness that feel like sprinkles or frosting chunks.
When selecting your protein powder, I suggest sticking to a neutral vanilla flavor. If your powder is very sweet, you might want to reduce the honey slightly. Always check the label for fillers or excessive added sugars if you are watching your intake closely.
Equipment Needed
You don’t need a lot of fancy gadgets to make these no bake cake batter protein balls. In fact, keeping it simple is part of the appeal. Here is the basic toolkit you will need.
Mixing Bowl: A medium-sized bowl is perfect. Ceramic or glass works well because it’s easy to scrape the sides. I usually use my largest bowl to make sure there’s enough room to mix without spilling.
Spatula: A sturdy silicone spatula is your best friend here. You need something that can fold the dry ingredients into the wet mixture thoroughly. A wooden spoon works too, but it might take a bit more elbow grease.
Cookie Scoop or Spoon: For uniform balls, a small cookie scoop is ideal. It ensures they are all the same size, which helps with portion control. If you don’t have one, a regular tablespoon works fine. Just try to keep them roughly the same size.
Baking Sheet or Plate: You’ll need a flat surface to place the formed balls on. Line it with parchment paper or a silicone baking mat to prevent sticking. This makes cleanup a breeze.
Refrigerator: While not a tool, your fridge is essential. These balls need to chill for at least 30 minutes to firm up. Without this step, they will be too soft to handle.
If you are making these for the first time, don’t worry if you don’t have a cookie scoop. Just use two spoons to roll them into balls. The texture is forgiving enough that slight imperfections won’t matter.
Preparation Method
Getting these no bake cake batter protein balls ready is surprisingly straightforward. The key is getting the texture right before you roll them. Here is the step-by-step process to ensure success.
Step 1: Combine Dry Ingredients
Start by adding the rolled oats, vanilla protein powder, and dry white cake mix into your mixing bowl. Whisk them together briefly to distribute the protein powder evenly. This prevents clumps of powder from forming later. It should take about 30 seconds.
Step 2: Add Wet Ingredients
Add the creamy peanut butter, honey (or maple syrup), and vanilla extract to the dry mixture. Pour in 2 tablespoons of milk. Using your spatula, mix everything together. The peanut butter might resist at first, so keep pressing and folding until it’s fully incorporated.
Step 3: Check Consistency
Stop and assess the mixture. It should hold together when pinched. If it feels too dry and crumbly, add the remaining 1 tablespoon of milk, one teaspoon at a time. If it’s too sticky to handle, add a sprinkle more oats. This adjustment is crucial for the perfect texture.
Step 4: Fold in Chocolate Chips
Once the base is mixed, gently fold in the mini white chocolate chips. Be careful not to overmix at this stage. You just want them distributed evenly throughout the dough.
Step 5: Form the Balls
Using a cookie scoop or your hands, portion the mixture into equal-sized balls. Roll them between your palms to smooth out any cracks. Aim for balls that are about 1.5 inches in diameter. This should yield roughly 12-15 balls.
Step 6: Chill
Place the formed balls on a parchment-lined baking sheet. Put them in the refrigerator for at least 30 minutes. This step firms them up and makes them easier to eat. You can leave them in for up to 2 hours if you prefer a firmer bite.
Step 7: Serve and Enjoy
After chilling, your no bake cake batter protein balls are ready to eat! Store them in an airtight container in the fridge. They are best consumed within a week.
Cooking Tips & Techniques
Even with a no-bake recipe, there are techniques that can elevate your results. Having made these dozens of times, I’ve learned a few tricks to avoid common pitfalls.
Temperature Matters: If your peanut butter is too cold and hard, it will be difficult to mix. Let it sit at room temperature for 15 minutes before starting. This ensures it blends smoothly with the honey and oats.
Don’t Skip the Chill: I know it’s tempting to eat one right away. But the chilling step is non-negotiable for the right texture. Without it, the balls will be soft and messy. Patience pays off here.
Adjusting Sweetness: Taste your protein powder first. Some brands are sweeter than others. If your powder is very sweet, reduce the honey by half. If it’s unsweetened, you might want to add a bit more maple syrup.
Handling Stickiness: If the mixture sticks to your hands while rolling, wet your hands slightly with water. This prevents the oats from sticking and keeps the balls smooth. Alternatively, keep a small bowl of water nearby.
Batch Preparation: For efficiency, mix the dry ingredients first, then add wet. This method reduces the number of bowls you need to wash. It’s a small thing, but it makes the process feel less like work.
Variations & Adaptations
One of the best things about no bake cake batter protein balls is how customizable they are. You can tweak this recipe to fit your dietary needs or taste preferences.
Gluten-Free Option: Simply use certified gluten-free oats and a gluten-free white cake mix. Most major brands offer GF options now. The flavor remains exactly the same.
Nut-Free Version: Swap the peanut butter for sunflower seed butter or soy nut butter. This makes the recipe safe for school lunches or nut-free environments. The texture will be slightly less rich, but still delicious.
Vegan Adaptation: Use a plant-based vanilla protein powder and maple syrup instead of honey. Ensure your white chocolate chips are vegan-friendly. These adjustments make the recipe fully plant-based without sacrificing flavor.
Low-Sugar Twist: Use a sugar-free white cake mix and sugar-free chocolate chips. You can also omit the honey if your protein powder is sweet enough. This is great for keto or low-carb diets, though the texture might be slightly denser.
Flavor Variations: Try adding a tablespoon of lemon zest for a lemon cake vibe. Or swap the white cake mix for chocolate cake mix for a chocolate protein ball. The base recipe is very forgiving.
Serving & Storage Suggestions
These no bake cake batter protein balls are versatile snacks that fit into many occasions. Here is how to serve and store them for best results.
Serving Ideas: Enjoy them as a mid-afternoon snack with a cup of coffee. They pair well with Greek yogurt or a handful of fresh berries. They also make a great post-workout recovery snack due to their protein content.
Storage in the Fridge: Place the chilled balls in an airtight container. They will stay fresh in the refrigerator for up to 5-7 days. Layer them with parchment paper if you stack them to prevent sticking.
Freezing Instructions: You can freeze these balls for up to 3 months. Place them on a baking sheet in the freezer until solid, then transfer to a freezer bag. Thaw them in the fridge for an hour before eating. They retain their texture well after freezing.
Reheating: These are best eaten cold or at room temperature. Avoid heating them, as the chocolate chips may melt unevenly. If you prefer a softer texture, let them sit out for 10 minutes before eating.
Flavor Development: The flavors actually meld and improve after 24 hours. The oats soften slightly, and the vanilla flavor becomes more pronounced. Making them a day ahead is often recommended for the best taste.
Nutritional Information & Benefits
Understanding the nutritional profile of no bake cake batter protein balls helps you see why they are a smart snack choice. While exact values depend on the brands used, here is a general estimate per ball.
Each ball typically contains around 120-150 calories, with 6-8 grams of protein. This makes them a substantial snack that helps curb hunger. The oats provide complex carbohydrates for sustained energy, while the peanut butter offers healthy fats.
These balls are naturally gluten-free if you use GF oats. They can be adapted to be vegan or dairy-free. However, they do contain nuts unless substituted, so be mindful of allergies. They are also lower in sugar compared to traditional cake or cookies, thanks to the protein powder and controlled sweeteners.
From a wellness perspective, these snacks help stabilize blood sugar levels better than processed sweets. The protein content aids in muscle recovery, making them ideal for active individuals. I love including them in my routine because they satisfy sweet cravings without the crash.
Conclusion
Making no bake cake batter protein balls is a simple way to enjoy a treat that aligns with your health goals. They are quick, easy, and incredibly satisfying. I hope you try this recipe and find it to be a new favorite in your kitchen.
Feel free to customize the ingredients to suit your taste. Whether you prefer nut butter, vegan options, or extra chocolate, this base recipe is flexible. I’d love to hear how you adapt it!
Please share your results in the comments below. Did you add any special ingredients? How did your family like them? Don’t forget to pin this recipe for later so you can make it again when the craving strikes. Happy snacking!
Frequently Asked Questions
Can I use quick oats instead of rolled oats?
Quick oats will work, but the texture will be finer and less chewy. Rolled oats provide a better structure for these balls. If you only have quick oats, pulse them in a blender for a few seconds to break them down slightly.
Why are my protein balls too dry?
This usually means there isn’t enough wet ingredient. Add milk or honey one teaspoon at a time until the mixture holds together when pinched. Remember, the oats will absorb more liquid as they sit.
Can I freeze the protein balls?
Yes, absolutely. Freeze them on a baking sheet first, then transfer to a freezer bag. They will keep for up to 3 months. Thaw in the fridge before eating.
What kind of protein powder works best?
Vanilla whey or plant-based protein powders work best. Avoid chocolate flavors as they will change the taste. Look for a powder that mixes well and isn’t overly gritty.
How long do these protein balls last?
They last up to 5 days in the refrigerator. If you freeze them, they last up to 3 months. Always store them in an airtight container to maintain freshness.
Pin This Recipe!
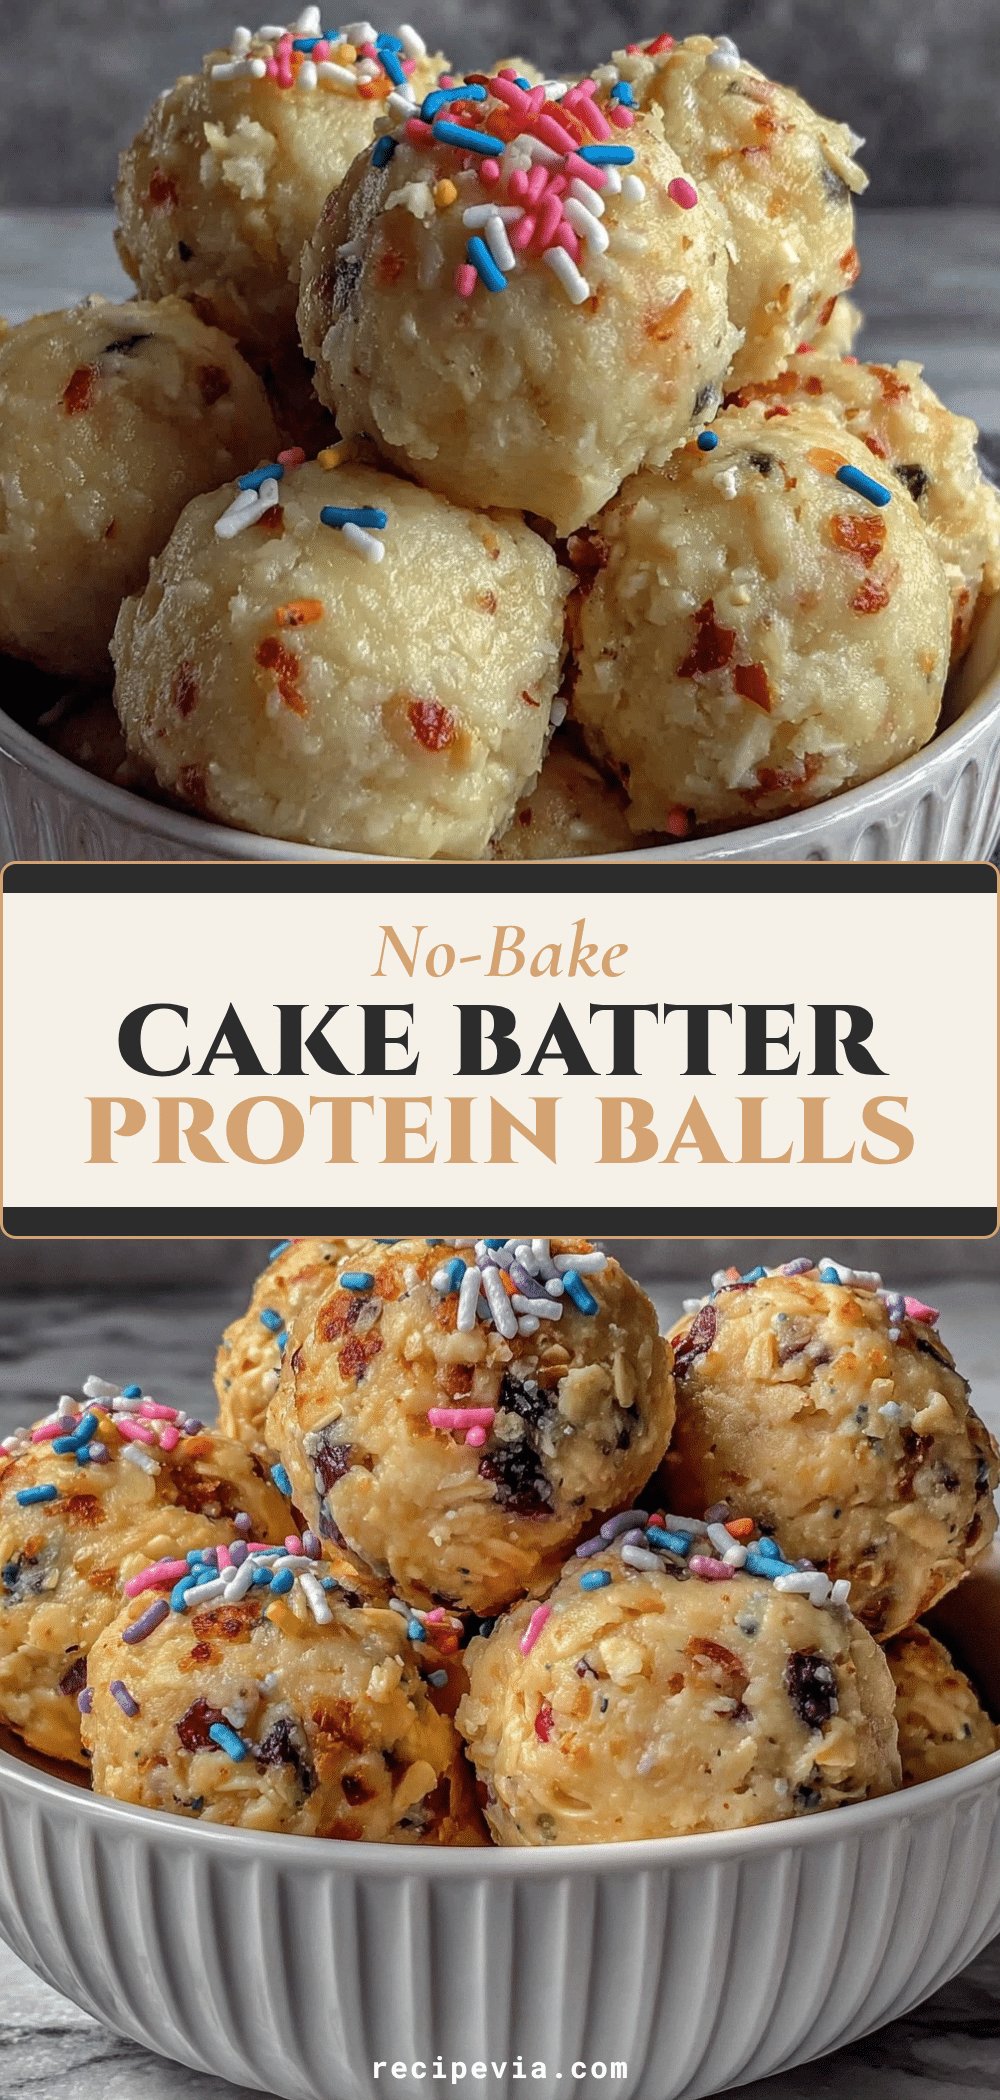

No Bake Cake Batter Protein Balls
- Total Time: 40 minutes
- Yield: 12-15 servings 1x
Description
These easy, no-bake protein balls taste like cake batter but are packed with protein and fiber. Ready in under 15 minutes, they are the perfect healthy snack for busy days.
Ingredients
- 1 ½ cups Old-Fashioned Rolled Oats
- 1 scoop (30g) Vanilla Protein Powder
- ½ cup Creamy Peanut Butter
- ¼ cup Honey or Maple Syrup
- 2–3 tablespoons Milk (dairy or non-dairy)
- 1 teaspoon Vanilla Extract
- 2–3 tablespoons White Cake Mix (dry)
- 2 tablespoons Mini White Chocolate Chips
Instructions
- Combine rolled oats, vanilla protein powder, and dry white cake mix in a medium mixing bowl. Whisk briefly to distribute evenly.
- Add creamy peanut butter, honey (or maple syrup), vanilla extract, and 2 tablespoons of milk to the dry ingredients.
- Mix thoroughly with a spatula until the peanut butter is fully incorporated and the mixture holds together when pinched.
- If the mixture is too dry, add remaining milk one teaspoon at a time. If too sticky, add a sprinkle more oats.
- Gently fold in the mini white chocolate chips.
- Using a cookie scoop or hands, portion the mixture into 1.5-inch balls and roll between palms to smooth.
- Place balls on a parchment-lined baking sheet and refrigerate for at least 30 minutes to firm up.
- Store in an airtight container in the refrigerator for up to 5-7 days.
Notes
Ensure peanut butter is at room temperature for easier mixing. If the mixture sticks to your hands while rolling, wet them slightly with water. The flavor improves after 24 hours as the oats soften.
- Prep Time: 10 minutes
- Cook Time: 0 minutes
- Category: Snack
- Cuisine: American
Nutrition
- Serving Size: 1 ball
- Calories: 135
- Sugar: 8
- Sodium: 120
- Fat: 6
- Saturated Fat: 2
- Carbohydrates: 15
- Fiber: 2
- Protein: 7
Keywords: protein balls, no bake, healthy snack, cake batter, gluten-free, meal prep, high protein