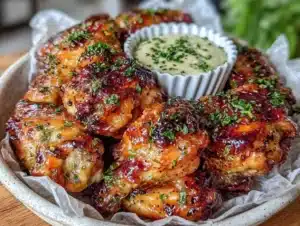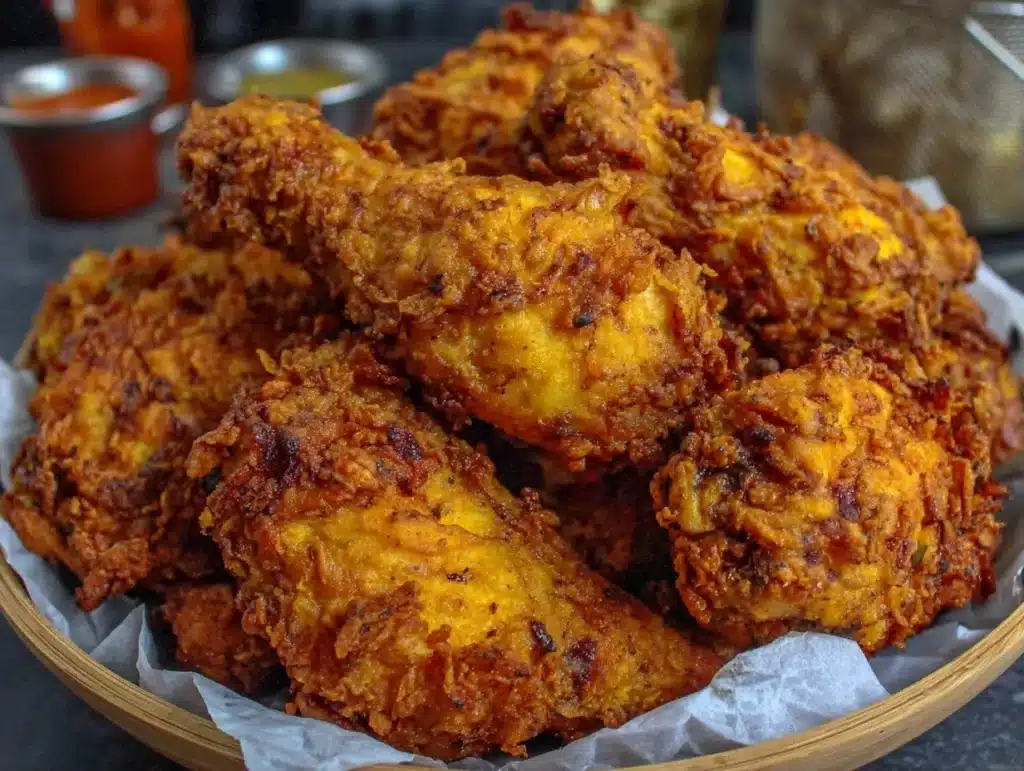
The smell of hot oil and spicy flour hitting the pan is unmistakable. It’s the same scent that makes you pull into the drive-thru line without even thinking. I used to spend over $40 every time my family wanted that specific crunch. Let’s face it, fast food adds up fast. You leave with a stomach full of regret and an empty bank account.
I started testing this recipe during a tight budget month last winter. I wanted the flavor but couldn’t justify the price tag. So, I went to work in my kitchen. After about ten tries, I cracked the code. The secret isn’t just in the chicken; it’s in the brine and the double-dredge. This method gives you that signature Popeyes heat and crispiness.
Honestly, you can stretch this meal further than you think. By making it at home, you control the cost. You also get to serve it to more people for the same price. It’s a win-win situation. My kids don’t even miss the red and white boxes anymore. They prefer the homemade version. It feels like a treat, but it’s actually smart cooking.
I’ve made this copycat Popeyes fried chicken over a dozen times now. Each batch has been better than the last. I’ve tweaked the spices and adjusted the frying time. Now, it’s my go-to recipe for weekends. It’s reliable, delicious, and incredibly budget-friendly. You know how hard it is to find a recipe that hits all those notes? This is it.
This recipe is perfect for busy families who want comfort food without the guilt. It’s also great for meal prepping. The leftovers are just as good cold or reheated. I like to serve it with mashed potatoes and green beans. It’s a complete meal that costs pennies compared to takeout. Let’s get into why you need to add this to your rotation.
Why You’ll Love This Recipe
There are a million fried chicken recipes online. But this one is different. It’s the result of serious trial and error. I tested this with various flours and spices. The goal was to replicate that specific Southern-style crunch. The result is a coating that stays crispy for hours. It’s not just good; it’s the kind of chicken that makes you close your eyes after the first bite.
Here is what makes this version stand out from the rest:
- Quick & Easy Prep: The brining process takes time, but the actual frying is straightforward. It’s perfect for busy weeknights if you plan ahead. The prep work is minimal once you get the hang of it.
- Simple Ingredients: You likely have most of this in your kitchen already. Flour, spices, buttermilk, and chicken. No fancy grocery trips needed. This keeps your budget in check.
- Perfect for Potlucks: This recipe scales up easily. It’s great for feeding a crowd. Everyone loves it, and nobody suspects it’s homemade.
- Crowd-Pleaser: Kids and adults alike go crazy for this. The spice level is mild enough for little ones but flavorful enough for adults.
- Unbelievably Delicious: The texture is next-level. It’s juicy inside and shatteringly crisp outside. It’s comfort food reimagined for the budget-conscious cook.
- Stretches Further: Because you’re making the breading yourself, you can bulk up the portion. Use it for sandwiches or salads. Nobody can tell it’s homemade until they taste it.
This recipe isn’t just about saving money. It’s about reclaiming control over your meals. You know exactly what goes into the oil. You avoid the excessive sodium of fast food. It’s healthier, faster in the long run, and has the same soul-soothing satisfaction. It’s perfect for impressing guests without the stress of cooking a fancy meal.
What Ingredients You Will Need
This recipe uses simple, wholesome ingredients to deliver bold flavor. The key is quality over quantity. You don’t need expensive cuts of meat. You need the right balance of spices and the correct technique. The brine is the most important part. It tenderizes the meat and adds flavor from the inside out.
Here is what you need to gather:
- Chicken Pieces: I recommend using a whole chicken cut into pieces. Legs, thighs, and drumsticks are best. They stay juicier than breasts. You can also use wings if you prefer. Look for fresh, local chicken if possible. It tastes better and supports local farmers.
- Buttermilk: This is essential for the brine. The acidity breaks down proteins. It makes the chicken tender. If you don’t have buttermilk, add a tablespoon of vinegar to milk. Let it sit for ten minutes.
- Hot Sauce: Frank’s RedHot is the classic choice. It adds that signature tang. Don’t skip this step. It balances the richness of the oil.
- All-Purpose Flour: This forms the base of the coating. Use standard bleached flour for the lightest crust. Cake flour can make it too tender. Bread flour might be too heavy.
- Cornstarch: This is the secret weapon. It adds extra crispiness. It helps the coating adhere better to the chicken. It also prevents the flour from absorbing too much oil.
- Spices: Paprika, garlic powder, onion powder, and cayenne pepper are key. Paprika adds color and mild sweetness. Cayenne provides the heat. Adjust the cayenne to your taste.
- Salt and Black Pepper: Don’t skimp on seasoning. The flour needs to be well-seasoned. Use kosher salt for best distribution.
- Eggs: One egg helps bind the breading. It creates a sticky surface for the flour to grab onto.
- Veggie or Canola Oil: You need enough oil to submerge the chicken. These oils have high smoke points. They won’t burn at frying temperatures. Olive oil can work but has a stronger flavor.
I prefer using a cast-iron skillet for frying. It holds heat better than stainless steel. This ensures a consistent cook. You can also use a Dutch oven. Just make sure it’s heavy-bottomed. This helps maintain the oil temperature.
Equipment Needed
You don’t need fancy gadgets to make this work. A few basic tools are enough. The most important item is a heavy pot. A cast-iron skillet or a Dutch oven works best. These materials retain heat well. This is crucial for frying. If the oil cools down too much, the chicken absorbs grease.
You will also need a deep-fry thermometer. This is not optional. Guessing the oil temperature leads to burnt or raw chicken. A clip-on thermometer is affordable and accurate. It saves you from wasting food. I learned this the hard way after three failed batches.
A wire rack and a baking sheet are helpful. You can place the fried chicken on the rack after cooking. This keeps the bottom crispy. If you put it on a plate, the steam makes it soggy. It’s a small step that makes a big difference.
You’ll need tongs for turning the chicken. Metal tongs are best. They give you good control. Wooden spoons can work but are less precise. Be careful not to overcrowd the pot. Fry in batches if necessary. This ensures even cooking.
A shallow dish or bowl is needed for the breading station. You’ll mix the dry ingredients here. Another bowl is needed for the wet mixture. Keep your workspace organized. It makes the process faster and less messy.
Preparation Method
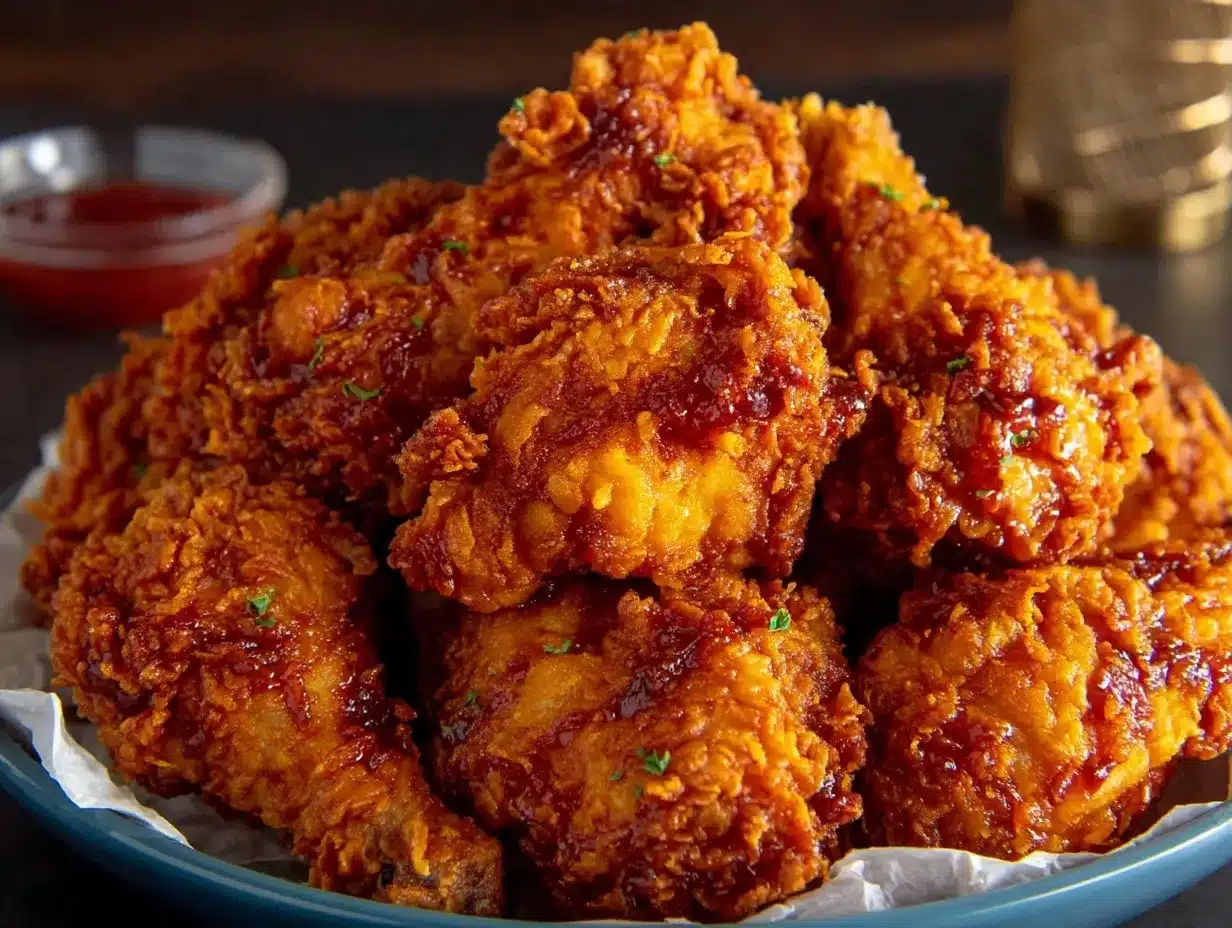
Getting this right takes a bit of planning. But the steps are straightforward. Follow them closely for the best results. The process involves brining, dredging, and frying. Each step builds on the last.
Step 1: The Buttermilk Brine (24 hours)
First, prepare the brine. In a large bowl, whisk together the buttermilk, hot sauce, egg, and half of the salt. The mixture should be slightly thick. Add the chicken pieces to the bowl. Make sure they are fully submerged. Cover the bowl with plastic wrap. Refrigerate for at least 4 hours. Overnight is best. This tenderizes the meat deeply. It also seasons the chicken from within. Do not skip this step. It makes all the difference in texture.
Step 2: The Dry Mix
While the chicken marinates, prepare the flour mixture. In a large shallow dish, combine the flour, cornstarch, and all the spices. Mix them thoroughly. You want the spices evenly distributed. If you clump the spices, you’ll get uneven flavor. Taste a tiny bit of the flour mix. It should taste salty and spicy. Adjust if needed. Add more salt or cayenne if you want more heat. Set this aside for later.
Step 3: The First Dredge
Remove the chicken from the brine. Let excess liquid drip off. Do not shake it off completely. You want a wet surface. Dredge the chicken in the flour mixture. Press the flour into the meat. Use your fingers to coat every nook and cranny. Shake off any loose flour. Place the coated pieces on a wire rack. Let them sit for 10 minutes. This sets the first layer of breading. It helps prevent the coating from falling off in the oil.
Step 4: The Second Dredge
For that extra crunch, do a second dip. Mix the remaining egg with a little water. Dip the chicken back into the egg wash. Then, coat it again in the flour mixture. Press firmly this time. You are building layers. This double-dredge creates a thick, crunchy shell. It mimics the fast-food style perfectly. Place the double-coated chicken back on the rack. Let it rest for another 10 minutes. This step is crucial for the final texture.
Step 5: Frying the Chicken
Heat the oil in your heavy pot to 350°F (175°C). Use your thermometer to check. The oil should be about two inches deep. Carefully lower the chicken pieces into the oil. Use tongs to avoid splashing. Do not overcrowd the pot. Fry in batches. Cook drumsticks and thighs for 12-15 minutes. Wings take about 10 minutes. Flip the pieces halfway through. The oil temperature will drop when you add the chicken. Wait for it to return to 350°F. This ensures even cooking.
Step 6: Resting and Serving
Remove the chicken when the internal temperature reaches 165°F (74°C). Place it on the wire rack. Let it rest for 5 minutes. This allows the juices to redistribute. Cutting into it too soon will cause the juices to run out. The chicken will stay hot and juicy. Serve immediately with your favorite sides.
Cooking Tips & Techniques
Frying can be tricky if you’re new to it. But with these tips, you’ll succeed. The biggest mistake people make is frying at the wrong temperature. If the oil is too hot, the outside burns before the inside cooks. If it’s too cool, the chicken gets greasy. Keep that thermometer close. It’s your best friend in the kitchen.
Another common error is overcrowding the pan. When you add too much chicken, the oil temperature plummets. The chicken steams instead of frying. This results in a soggy coating. Always fry in small batches. It takes longer, but the quality is worth it. You can keep the cooked chicken warm in a 200°F oven. Place it on a rack, not a plate.
I once tried to rush the drying process. I patted the chicken dry before dredging. This was a mistake. The flour didn’t stick well. It fell off in the oil. Always keep the chicken wet before the first dip. The moisture helps the flour adhere. This is a lesson I learned the hard way.
Multitasking is key here. While one batch fries, prep the next. Have your breading stations ready. This speeds up the process. You’ll be serving hot chicken in no time. Also, season your oil lightly. A pinch of salt in the oil can enhance the flavor. It’s a pro tip that many home cooks miss.
Consistency comes with practice. Don’t worry if your first batch isn’t perfect. Adjust the time and temperature as you go. Keep notes on what works. Soon, you’ll have the rhythm down. The results will be consistent and delicious. Trust the process.
Variations & Adaptations
You can tweak this recipe to fit your needs. Here are a few ideas. For a spicier version, add more cayenne pepper. Or include crushed red pepper flakes in the flour mix. This is great for heat lovers. You can also add smoked paprika for a deeper flavor. It gives a subtle BBQ note.
For a milder option, reduce the cayenne. Use sweet paprika instead of hot. This is perfect for kids. You can also add a touch of brown sugar to the flour. It adds a slight sweetness. This balances the heat nicely.
If you want to bake the chicken instead of frying, it’s possible. Coat the chicken as usual. Place it on a wire rack. Spray with cooking oil. Bake at 400°F for 35-40 minutes. Flip halfway through. The coating won’t be as crunchy. But it’s a healthier option. It still tastes great.
For a gluten-free version, use almond flour or a gluten-free blend. The texture will be slightly different. It won’t be as light. But it will still be tasty. Make sure to check your spices. Some brands add wheat starch. Use certified gluten-free spices.
I also like to add a dash of lemon juice to the brine. It adds a bright flavor. It cuts through the richness. It’s a small change that makes a big impact. Try it once and see if you like it. You might make it a permanent addition.
Serving & Storage Suggestions
Serve this chicken hot and fresh. It’s best eaten immediately after frying. Pair it with creamy mashed potatoes. The gravy soaks into the crispy coating. It’s a classic combination. Green beans or collard greens are also great sides. They add a fresh contrast to the rich chicken.
For leftovers, store the chicken in an airtight container. Keep it in the refrigerator for up to 4 days. Reheat in the oven at 350°F. This keeps the coating crisp. Microwaving makes it soggy. Avoid the microwave if you can. It ruins the texture.
You can also freeze the fried chicken. Wrap it tightly in foil. Freeze for up to 3 months. Thaw in the fridge overnight. Reheat in the oven. It still tastes good, but fresh is best. The flavors develop over time. The spices meld together. Some people even prefer day-old fried chicken.
For presentation, serve on a wooden board. Add some fresh parsley on top. It looks rustic and inviting. It’s perfect for sharing. This recipe is great for family dinners. It brings everyone to the table.
Nutritional Information & Benefits
This recipe is indulgent but can be balanced. Chicken is a great source of protein. It helps build and repair muscle. The buttermilk adds calcium. It’s good for bone health. However, frying adds calories. Use this as a treat meal.
For a lower-calorie version, bake the chicken. It reduces the fat content significantly. You can also use chicken breasts. They are leaner than thighs. But thighs are more flavorful. Choose based on your goals.
Be mindful of the sodium. The brine and spices add salt. Use low-sodium broth if needed. Drink plenty of water with your meal. This recipe is not diet food. But it’s better than fast food. You control the ingredients. That’s a win for your health.
Conclusion
This copycat Popeyes fried chicken is worth the effort. It saves you money and tastes amazing. You can stretch the meal further with sides. It’s a smart choice for any budget. I love making this because it brings back memories. It feels like home.
Try it out and see what you think. Customize the spices to your liking. Share your results in the comments. I love hearing how others adapt the recipe. This dish is versatile and fun. Enjoy every bite.
Frequently Asked Questions
Can I use chicken breasts for this recipe?
Yes, you can use breasts. However, thighs and drumsticks stay juicier. Breasts can dry out if overcooked. If using breasts, reduce the frying time by 2-3 minutes. Monitor the temperature closely.
Why is my coating falling off?
This usually happens if the chicken is too dry before dredging. Make sure the buttermilk mixture is wet. Also, press the flour firmly into the meat. Let the coated chicken rest before frying. This helps the breading set.
How do I keep the oil clean?
Strain the oil through a fine mesh sieve after each batch. Remove any loose bits of flour. This prevents burning in subsequent batches. Store the oil in a cool, dark place. You can reuse it a few times.
Can I make this in an air fryer?
Yes, but the texture will be different. Preheat the air fryer to 375°F. Cook for 15-20 minutes. Flip halfway. Spray with oil for crispiness. It’s healthier but not as crunchy as deep frying.
What sides go best with this chicken?
Mashed potatoes with gravy are a classic. Coleslaw adds a fresh crunch. Corn on the cob is also a great choice. Any vegetable works well to balance the meal.
Pin This Recipe!
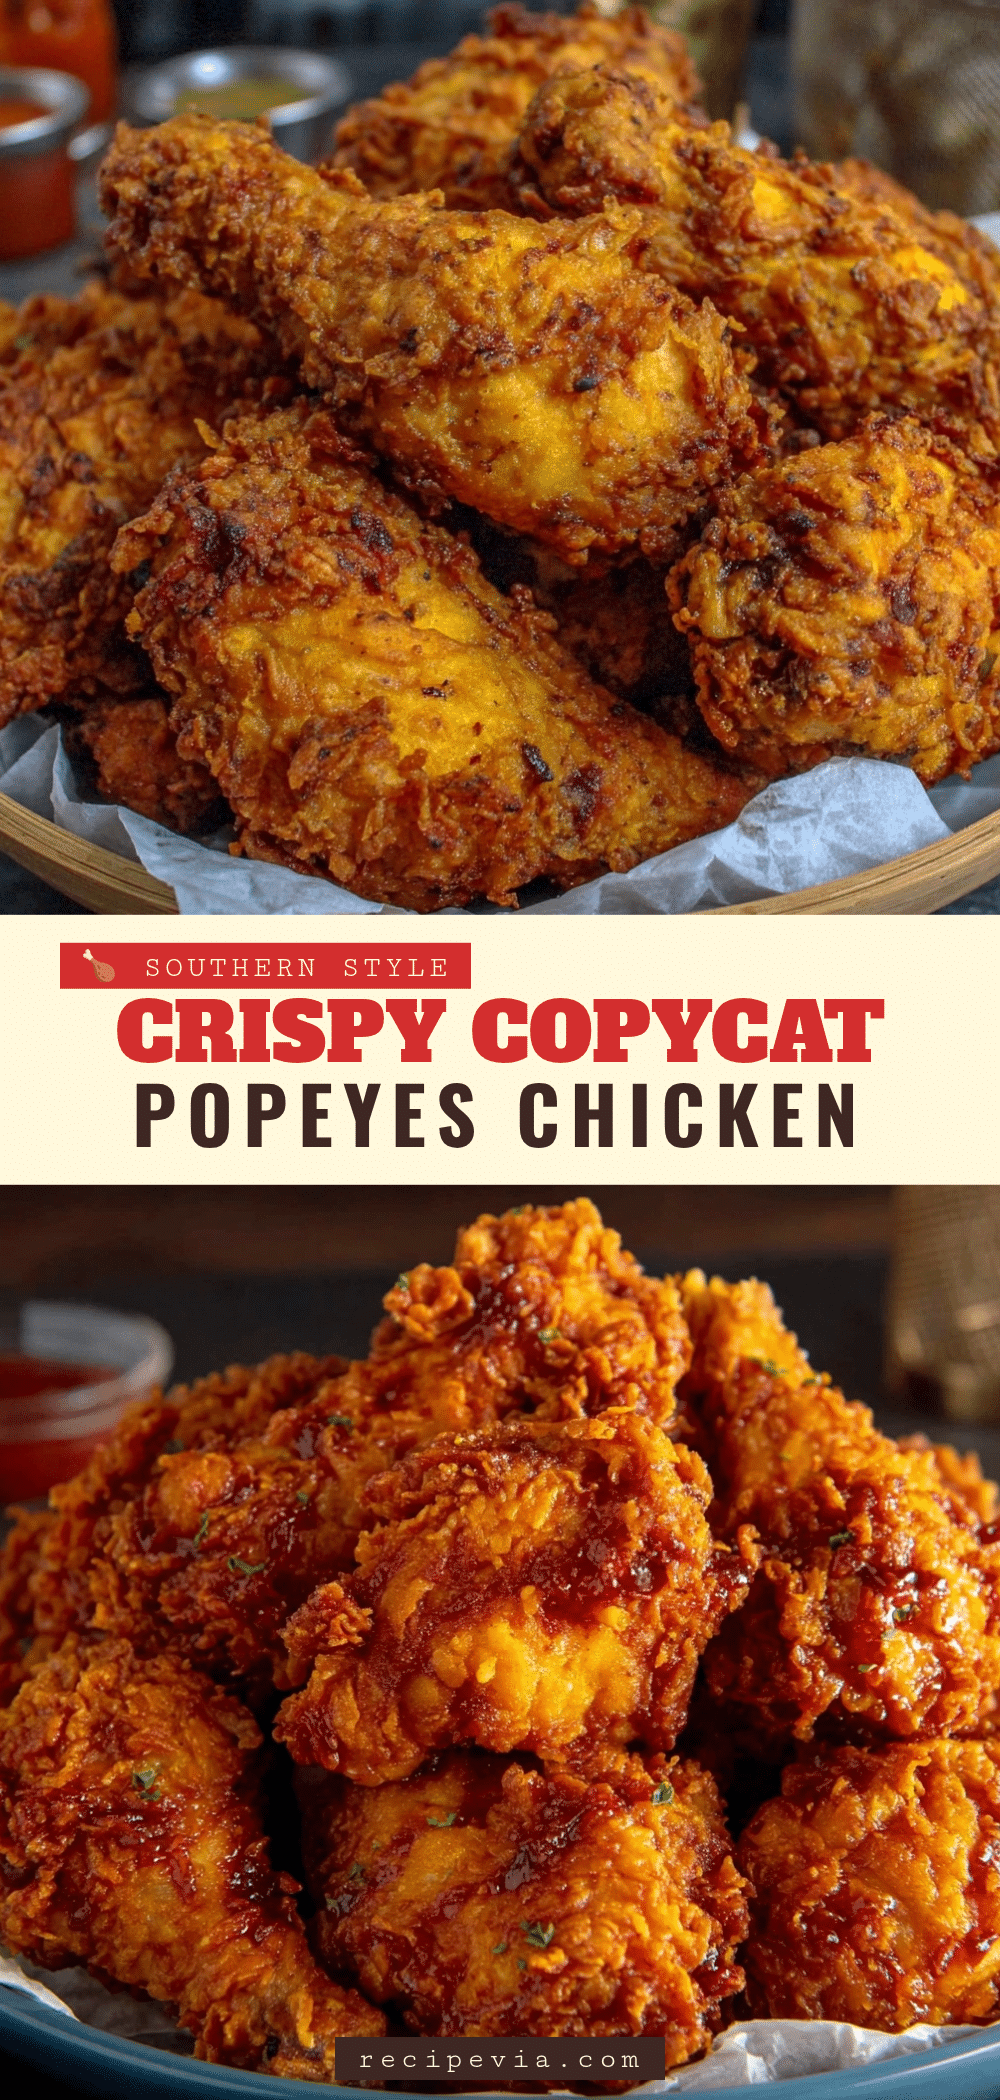

Copycat Popeyes Fried Chicken: 10 Easy Ways to Stretch Budget
- Total Time: 24 hours 30 minutes
- Yield: 4 servings
Description
A budget-friendly, homemade version of Popeyes fried chicken that replicates the signature Southern-style crunch and spice using a double-dredge technique and buttermilk brine.
Ingredients
- Chicken pieces (legs, thighs, drumsticks, or wings)
- Buttermilk
- Frank’s RedHot hot sauce
- All-purpose flour
- Cornstarch
- Paprika
- Garlic powder
- Onion powder
- Cayenne pepper
- Kosher salt
- Black pepper
- Eggs
- Veggie or Canola oil (for frying)
Instructions
- Whisk together buttermilk, hot sauce, one egg, and half the salt in a large bowl. Add chicken pieces, ensuring they are fully submerged. Cover and refrigerate for at least 4 hours, preferably overnight.
- In a large shallow dish, combine flour, cornstarch, paprika, garlic powder, onion powder, cayenne pepper, remaining salt, and black pepper. Mix thoroughly.
- Remove chicken from brine, letting excess liquid drip off. Dredge in the flour mixture, pressing firmly to coat. Place on a wire rack and let rest for 10 minutes.
- Mix the remaining egg with a little water. Dip the chicken back into the egg wash, then coat again in the flour mixture, pressing firmly to build layers. Place back on the rack and rest for another 10 minutes.
- Heat oil in a heavy pot or cast-iron skillet to 350°F (175°C). Fry chicken in batches to avoid overcrowding. Cook drumsticks and thighs for 12-15 minutes, wings for 10 minutes, flipping halfway through.
- Remove chicken when internal temperature reaches 165°F (74°C). Place on a wire rack to rest for 5 minutes before serving.
Notes
Ensure oil temperature stays at 350°F. Do not overcrowd the pot. Let chicken rest after frying to keep juices in. For a healthier option, bake at 400°F for 35-40 minutes. Store leftovers in the refrigerator for up to 4 days and reheat in the oven to maintain crispiness.
- Prep Time: 24 hours (including brining)
- Cook Time: 30 minutes
- Category: Main Course
- Cuisine: American
Nutrition
- Serving Size: 1 piece of chicken w
- Calories: 650
- Sugar: 1
- Sodium: 1200
- Fat: 35
- Saturated Fat: 8
- Carbohydrates: 40
- Fiber: 2
- Protein: 45
Keywords: fried chicken, copycat recipe, Popeyes chicken, budget meals, Southern cooking, comfort food, double dredge, buttermilk brine