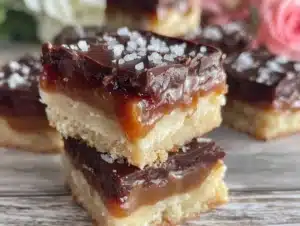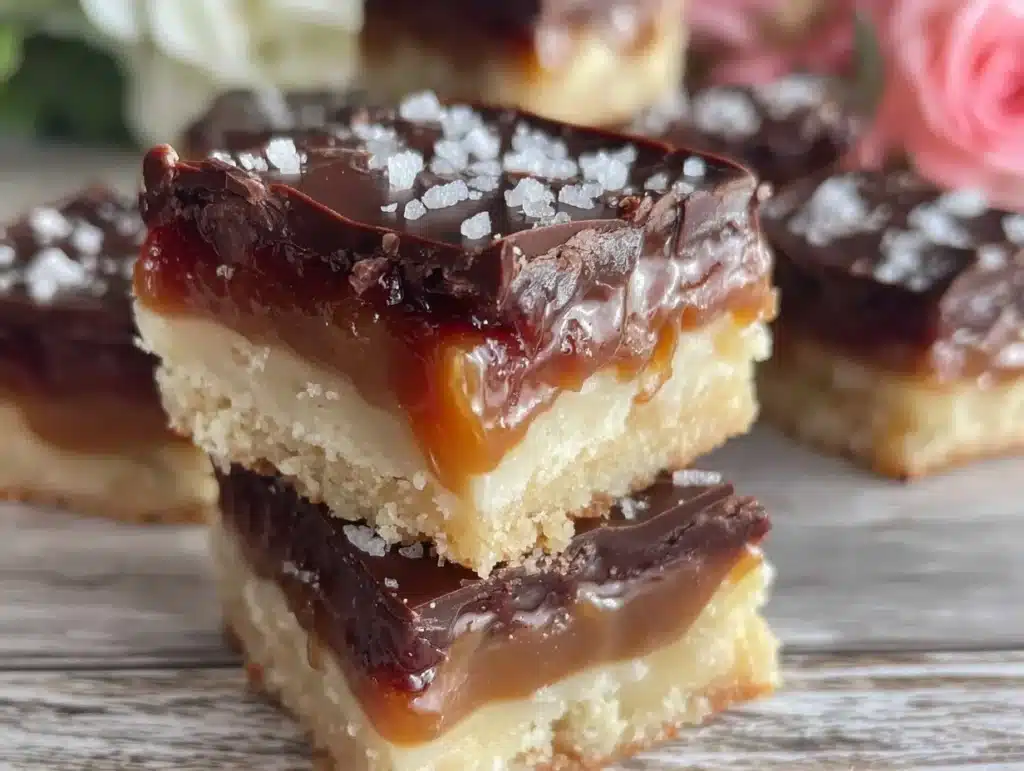
There is a specific kind of magic that happens when you mix cheap pantry staples into something that tastes like it came from a high-end patisserie. I remember the first time I made these rich millionaire brownies, I was staring at a nearly empty cupboard and a dwindling bank account. I had some stale butter, a few sad brown eggs, and a bag of cocoa powder that had been sitting in the back of the pantry for months. Honestly, I thought I was just going to make a quick, messy cake. What I ended up with was a dense, fudgy, caramel-drenched masterpiece that my family thought I had splurged at the bakery.
That was the moment I realized that “rich” doesn’t have to mean “expensive.” It just means you know how to layer flavors. These rich millionaire brownies are my go-to for when I need to impress guests on a budget. They are built around whatever ingredients are currently on sale, which is exactly how I keep my dessert game strong without breaking the bank. You know, people always assume that because it has three layers, it has to be hard to make or costly to buy. But let’s face it, the best treats are often the ones you whip up in your own kitchen with what you already have.
I’ve tested this recipe over a dozen times, tweaking the caramel ratio and the brownie base until it was perfect. It’s become a staple in my rotation, especially for those busy weeknights when I need something sweet but don’t want to order takeout. Whether you are a busy parent, a college student, or just someone who loves a good deal, this recipe delivers maximum flavor for minimum cost. The texture is chewy, the caramel is gooey, and the chocolate is deep and intense. It’s the kind of dessert that makes you close your eyes and just savor the moment. Plus, making them ahead of time means you can prep them on Sunday and enjoy them all week long. It’s practical, it’s delicious, and it’s surprisingly affordable to make from scratch.
Why You’ll Love This Recipe
Let’s be real for a second. Most brownie recipes out there are just… okay. They’re fine, but they don’t stick in your memory. This one does. I’ve spent years testing different combinations of flour, sugar, and fat to find that sweet spot where the brownie is fudgy but not greasy. These rich millionaire brownies hit that mark perfectly. The secret isn’t in buying expensive chocolate; it’s in the technique. By making a simple caramel layer from scratch using basic ingredients, you get a depth of flavor that store-bought sauces just can’t match. It’s like having a professional pastry chef in your kitchen, but without the hefty price tag.
- Quick & Easy: Yes, it has three layers, but each part comes together in under 15 minutes. You’re looking at maybe 45 minutes of active time, which is perfect for a busy Tuesday night or a weekend project with the kids.
- Simple Ingredients: You likely have 90% of this in your kitchen right now. Flour, sugar, butter, cocoa, eggs, and condensed milk. No fancy imports or hard-to-find items. It’s all about making do with what you have.
- Perfect for Meal Prep: These brownies are the ultimate make-ahead treat. They actually taste better the next day after the flavors have melded together. I often make a batch on Sunday, and they last all week in the fridge.
- Crowd-Pleaser: Kids love the chocolate, and adults love the hint of salt and caramel. It’s a crowd-pleaser that works for potlucks, school bake sales, or just a quiet night in.
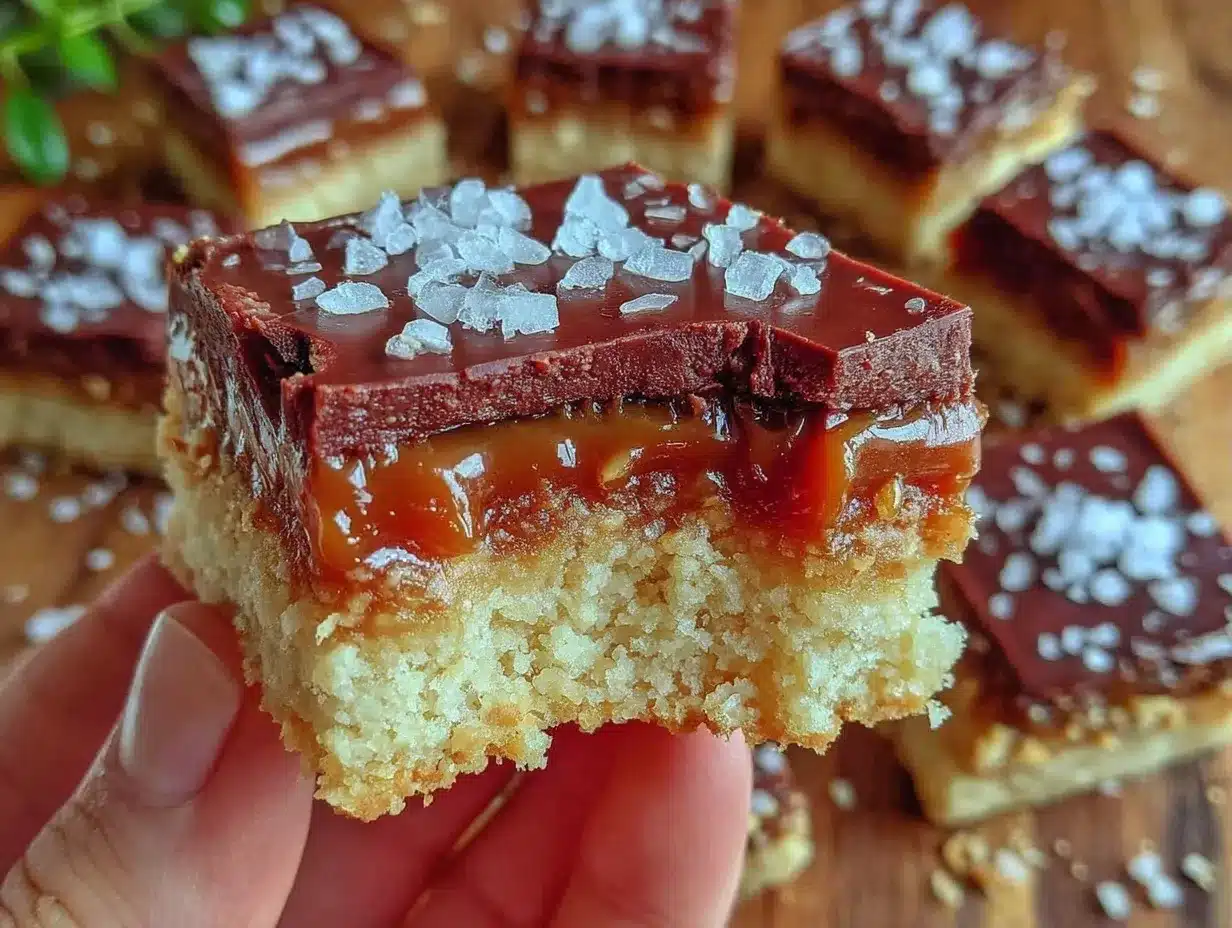
- Unbelievably Delicious: The texture is next-level. You get the chew of the brownie, the gooey stretch of the caramel, and the snap of the chocolate top. It’s comfort food reimagined for the budget-conscious home cook.
What makes this recipe different is the balance. Too many caramel brownies are just a brownie with a dollop of syrup on top. This recipe builds the caramel *into* the structure, creating a distinct layer that holds its own. It’s not just good; it’s the kind of dessert that makes you feel like you’ve accomplished something culinary. It’s resourceful cooking at its finest, proving that you don’t need to spend a fortune to eat like royalty.
What Ingredients You Will Need
This recipe relies on humble ingredients that transform when combined correctly. The beauty of these rich millionaire brownies is that they use common pantry staples to create a gourmet experience. You don’t need high-end vanilla extract or Belgian chocolate chips to make this work. In fact, using standard, affordable brands often yields a more familiar, comforting taste that everyone loves. Here is what you’ll need to build your layers.
For the Fudgy Brownie Base
- All-purpose flour: The foundation. I prefer regular flour because it gives a nice chew. (Adds structure)
- Unsweetened cocoa powder: This is where the chocolate flavor lives. Look for a brand that isn’t too bitter. (Adds richness)
- Granulated sugar: White sugar helps create that crisp, crackly top. (Adds sweetness and texture)
- Brown sugar: This adds moisture and a hint of molasses flavor. It’s cheaper than buying specialty sugars. (Adds moisture)
- Unsalted butter: Melted butter makes the brownies dense and fudgy. Use what’s on sale. (Adds fat and flavor)
- Eggs: Large eggs are standard. Room temperature helps them mix better. (Adds binding)
- Vanilla extract: Just a teaspoon to round out the flavors. (Adds aroma)
- Salt: Crucial for balancing the sweetness. (Enhances flavor)
For the Homemade Caramel Layer
- Butter: You’ll need more butter here. Don’t skimp; it’s essential for the creamy texture. (Adds creaminess)
- Brown sugar: Again, brown sugar is key for that deep, toasty caramel taste. (Adds depth)
- Heavy cream: If you’re watching calories, you can swap this for half-and-half, but heavy cream makes it richer. (Adds smoothness)
- Vanilla extract: A splash to finish the caramel. (Adds aroma)
- Salt: A pinch of sea salt makes the caramel taste gourmet. (Balances sweetness)
For the Chocolate Topping
- Milk chocolate chips: These melt easily and create a sweet, smooth layer. (Adds sweetness)
- Butter: Just a tablespoon to help the chips melt evenly. (Adds shine)
Pro tip: If you find cocoa powder is expensive, check the bulk bins. Sometimes buying larger bags of generic brands is much cheaper per ounce. Also, keep an eye out for sales on butter. When it’s on sale, buy extra and freeze it. That’s how you stretch your grocery budget further.
Equipment Needed
You don’t need fancy gadgets to make these rich millionaire brownies. A few basic tools will get you to the finish line. The most important item is a 9×13 inch baking pan. I recommend using a metal pan rather than glass, as metal conducts heat better and helps the brownie bake evenly. If you only have glass, you might need to reduce the oven temperature by 25 degrees. Line your pan with parchment paper, leaving an overhang on the sides. This is a game-changer for removing the brownies later without a mess.
You’ll need a medium saucepan for the caramel. Make sure it has a heavy bottom so the sugar doesn’t burn. A wooden spoon is perfect for stirring the caramel, as it doesn’t conduct heat like metal spoons. For the brownie batter, a large mixing bowl and a whisk are all you need. If you don’t have a whisk, a fork will work in a pinch. Finally, a cooling rack is essential. You don’t want to cut into hot caramel brownies; they’ll be a sticky mess. Letting them cool completely ensures clean cuts and the right texture.
Preparation Method
Making these rich millionaire brownies is a step-by-step process, but it’s very manageable. Let’s break it down so you know exactly what to expect.
Step 1: Prep the Oven and Pan
First, preheat your oven to 350°F (175°C). Take your 9×13 inch pan and line it with parchment paper. Grease the parchment lightly with butter or cooking spray. This ensures nothing sticks. Set the pan aside.
Step 2: Make the Brownie Base
In a large bowl, melt the butter. You can do this in the microwave in 30-second intervals, stirring in between, or in a saucepan over low heat. Let it cool slightly. Add the granulated sugar, brown sugar, eggs, and vanilla to the melted butter. Whisk vigorously until the mixture is smooth and slightly glossy. This takes about two minutes. It’s important to mix well here to incorporate air, which helps with the texture. Sift in the flour, cocoa powder, and salt. Gently fold these dry ingredients into the wet mixture using a spatula. Do not overmix! Stop as soon as you no longer see streaks of flour. Overmixing leads to tough brownies. Pour the batter into your prepared pan and spread it out evenly. Bake for 20-25 minutes. The edges should be set, but the center should still look slightly soft. Remove from the oven and let it cool on a wire rack while you make the caramel. This is a great time to clean your bowls.
Step 3: Make the Caramel Layer
While the brownie base cools, make the caramel. In a medium saucepan over medium heat, combine the butter and brown sugar. Stir constantly until the butter is melted and the sugar is dissolved. This takes about 5 minutes. Pour in the heavy cream and add the salt and vanilla. Bring the mixture to a gentle boil. Once it boils, reduce the heat to low and simmer for 3-5 minutes, stirring frequently. You want the caramel to thicken slightly but remain pourable. It will continue to thicken as it cools. Remove from heat. Pour the warm caramel evenly over the cooled brownie base. Use a spatula to spread it to the edges. Let this layer set for about 10-15 minutes. It should be tacky but not liquid.
Step 4: Add the Chocolate Topping
Sprinkle the milk chocolate chips evenly over the caramel layer. The residual heat from the caramel will help melt the chips. If they aren’t melting enough, you can place the pan back in the oven for 1-2 minutes. Once melted, spread the chocolate smoothly over the top. Let the entire pan cool completely at room temperature, or speed it up by putting it in the fridge for 30 minutes. Once fully set, lift the brownies out of the pan using the parchment paper overhang. Cut into squares. Enjoy!
Cooking Tips & Techniques
There are a few tricks I’ve learned along the way to make sure these rich millionaire brownies turn out perfect every time. First, don’t rush the cooling process. If you try to cut the brownies while the caramel is still warm, it will smear and make a mess. Patience is key. Second, when making the caramel, keep a close eye on the heat. Sugar burns quickly. If you see it getting too dark too fast, take it off the heat for a moment. A dark brown caramel can taste bitter, which ruins the balance. I once burned a batch because I got distracted by a phone call. Never again!
Another tip is to use room temperature eggs for the brownie base. Cold eggs can cause the melted butter to seize up, creating little lumps. It’s a small detail, but it makes a big difference in the texture. Also, when spreading the chocolate topping, use an offset spatula if you have one. It makes getting a smooth, even layer much easier. If you don’t have one, just use a butter knife and be gentle. Finally, store your brownies in an airtight container. They stay fresh for up to a week in the fridge. The flavors actually get better after a day or two as the caramel softens the brownie slightly. It’s a nice surprise when you least expect it.
Variations & Adaptations
One of the best things about this recipe is how adaptable it is. You can tweak it to suit your dietary needs or whatever ingredients you have on hand. For a nut-free version, just ensure your chocolate chips are certified nut-free. This is important for school bake sales or friends with allergies. For a gluten-free option, simply swap the all-purpose flour for a 1:1 gluten-free baking blend. Most blends work well in brownies because the texture is already dense. You might need to let the batter rest for 10 minutes before baking to help the flour hydrate.
If you want to reduce the sugar, you can use a sugar substitute in the brownie base, but be careful with the caramel. The caramel relies on sugar to set properly. You might need to use a sugar-free condensed milk alternative, though the texture will be different. For a chocolate lover’s twist, add a handful of walnuts or pecans to the brownie batter before baking. The nuts add a nice crunch that contrasts with the soft caramel. I also like to add a pinch of cayenne pepper to the caramel for a subtle kick. It’s surprising how well the heat pairs with the sweet chocolate. It’s a fun variation to try when you want to impress your friends with something unique.
Serving & Storage Suggestions
These rich millionaire brownies are best served at room temperature or slightly chilled. Cold caramel has a firmer snap, while room temperature caramel is gooier. It depends on your preference. For presentation, dust them with a little powdered sugar or sea salt flakes before serving. It adds a nice visual contrast to the dark chocolate. They pair wonderfully with a cold glass of milk or a cup of black coffee. The bitterness of the coffee cuts through the sweetness perfectly.
For storage, keep them in an airtight container in the refrigerator. They will last for up to 5 days. If you want to make them ahead, you can freeze the whole pan. Wrap it tightly in plastic wrap and then in aluminum foil. They will keep for up to 3 months. To serve, let them thaw in the fridge overnight. Do not thaw at room temperature, as the caramel might become too soft. When you cut them, use a sharp knife and wipe it clean between cuts for neat squares. This is a great way to prepare for parties or holidays without the last-minute stress.
Nutritional Information & Benefits
While these brownies are a treat, they are made with real ingredients, which is better than processed store-bought desserts. Each square contains approximately 350 calories, with a good balance of carbs, fats, and a small amount of protein from the eggs and dairy. The cocoa powder provides antioxidants, which is a nice bonus. The brown sugar and caramel add iron and calcium. However, they are still high in sugar and saturated fat, so enjoy them in moderation. They are not gluten-free unless you use gluten-free flour, and they contain dairy and eggs. If you have specific dietary restrictions, please check your ingredients carefully. From a wellness perspective, I find that making desserts at home allows me to control the quality of the ingredients. I know exactly what goes into these rich millionaire brownies, which makes them feel like a guilt-free indulgence when enjoyed responsibly.
Conclusion
Making these rich millionaire brownies is a testament to the fact that great food doesn’t have to be complicated or expensive. It’s about using what you have and adding a little creativity. I love this recipe because it brings my family together in the kitchen. There’s something satisfying about watching the layers come together to create something so much bigger than the sum of its parts. Whether you are a seasoned baker or a beginner, this recipe is approachable and rewarding. I encourage you to try it and make it your own. Add nuts, swap the chocolate, or experiment with different salts. The possibilities are endless.
So, go ahead and whip up a batch this weekend. Your wallet will thank you, and your taste buds will definitely appreciate it. Don’t forget to share your results with me in the comments below. I love hearing how people adapt the recipe to their own lives. And if you make it, tag me on social media! I’d love to see your creations. Happy baking, and remember, the best treats are the ones made with love and a little bit of resourcefulness.
FAQs
Can I use dark chocolate instead of milk chocolate for the topping?
Yes, absolutely. Dark chocolate will make the brownies less sweet and more intense. It pairs beautifully with the salty caramel. Just make sure to use chips that melt well, or chop a bar into chunks for a chunkier texture.
Why did my caramel turn out hard instead of gooey?
This usually happens if you cook the caramel for too long. Remember, you only need to simmer it for 3-5 minutes after it boils. If you cook it longer, it will harden like candy. Also, remember that it thickens as it cools, so remove it from the heat while it’s still a bit runny.
Can I make these brownies in a different size pan?
You can, but the baking time will change. If you use an 8×8 pan, the brownies will be thicker, so you’ll need to bake them longer. If you use a larger pan, they will be thinner and bake faster. Keep an eye on them to avoid overbaking.
Is there a substitute for heavy cream in the caramel?
You can use half-and-half or whole milk, but the caramel will be thinner and less rich. You may need to simmer it a bit longer to thicken it. The texture won’t be quite as luxurious, but it will still taste good.
How do I store these brownies for a long time?
For long-term storage, freeze them. Wrap the whole pan tightly in plastic wrap and foil. They can be frozen for up to 3 months. Thaw them in the fridge before serving to maintain the texture.
Pin This Recipe!
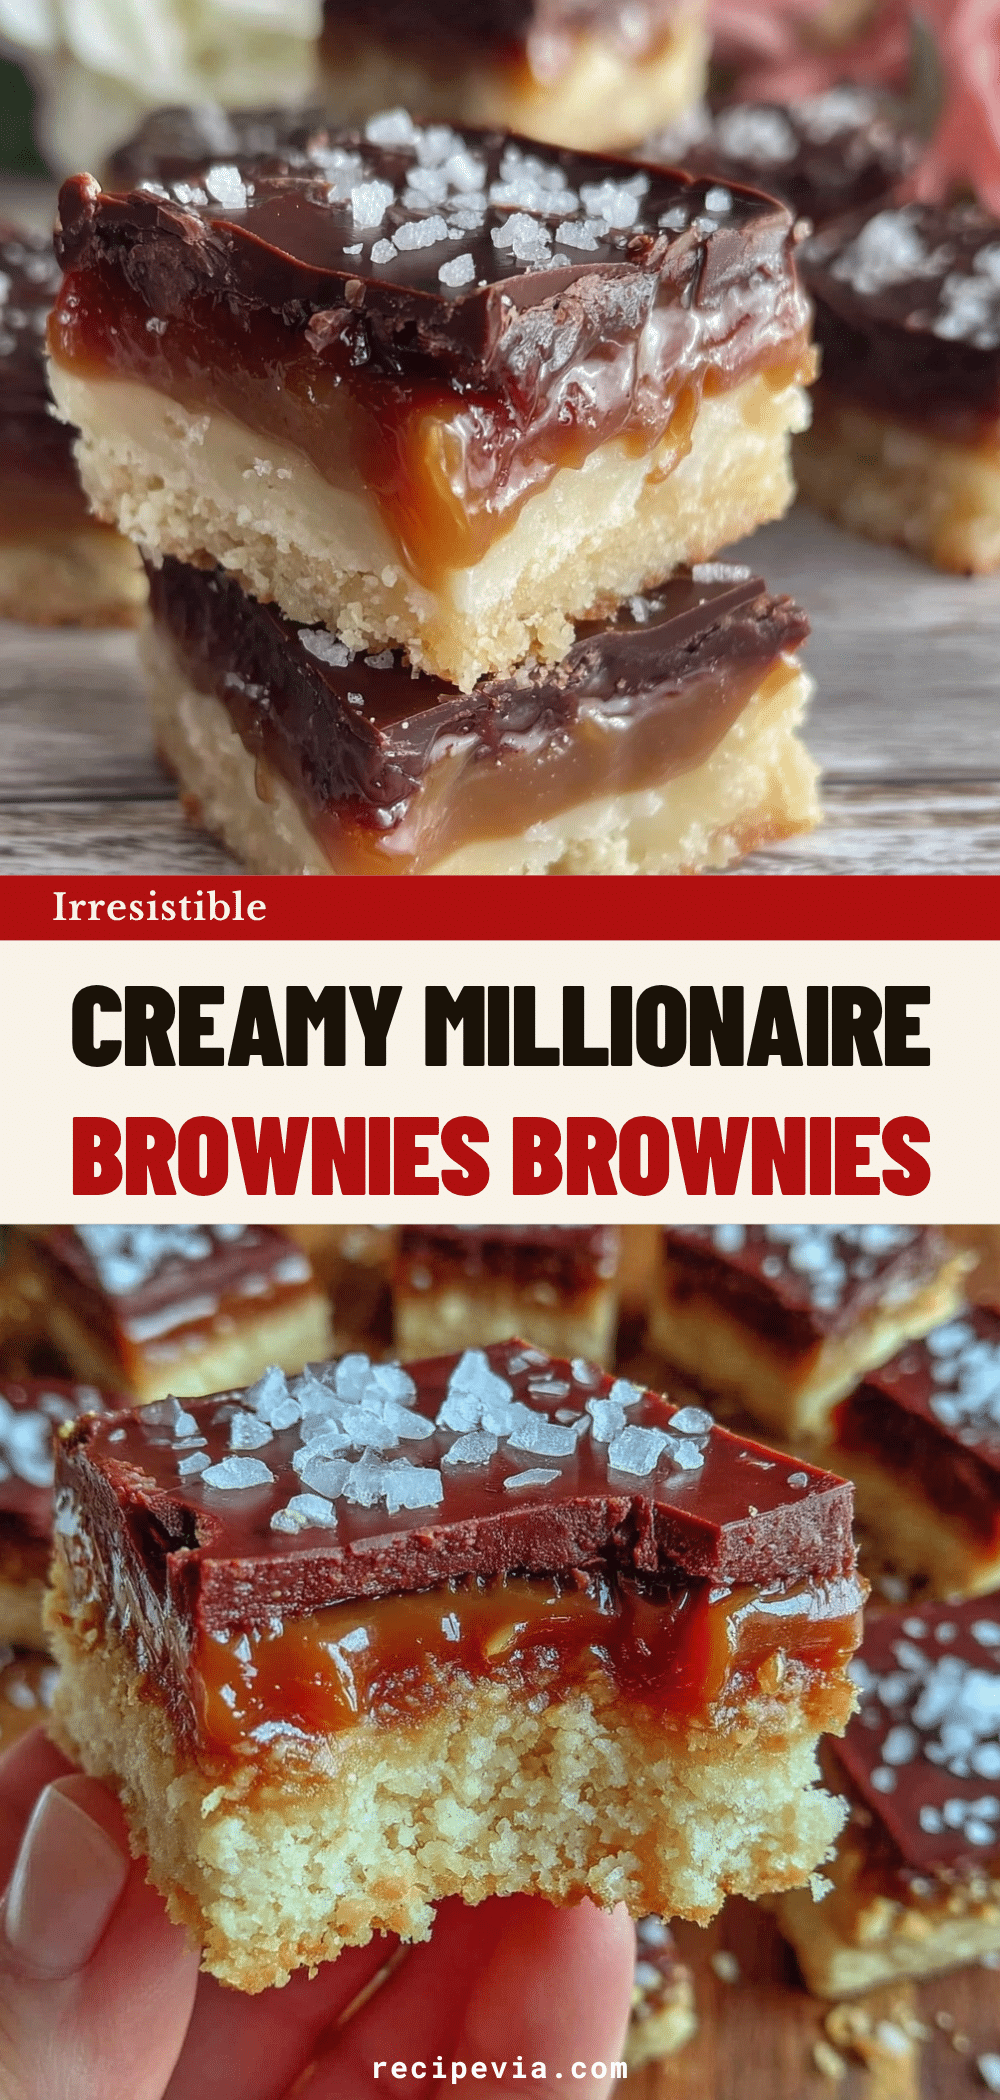

Rich Millionaire Brownies: Easy Make-Ahead Budget Treat
- Total Time: 45 minutes
- Yield: 12 servings 1x
Description
A dense, fudgy, caramel-drenched brownie made with affordable pantry staples. This three-layer dessert features a chewy brownie base, a homemade salted caramel layer, and a smooth chocolate topping, perfect for impressing guests on a budget.
Ingredients
- For the Fudgy Brownie Base:
- 1 cup unsalted butter, melted
- 1 cup granulated sugar
- 1 cup brown sugar
- 3 large eggs, room temperature
- 1 teaspoon vanilla extract
- 1 cup all-purpose flour
- 1/2 cup unsweetened cocoa powder
- 1/2 teaspoon salt
- For the Homemade Caramel Layer:
- 1/2 cup butter
- 1 cup brown sugar
- 1/2 cup heavy cream
- 1 teaspoon vanilla extract
- 1/2 teaspoon salt
- For the Chocolate Topping:
- 1 cup milk chocolate chips
- 1 tablespoon butter
Instructions
- Preheat oven to 350°F (175°C). Line a 9×13 inch baking pan with parchment paper, leaving an overhang on the sides, and grease lightly.
- In a large bowl, melt the butter. Add granulated sugar, brown sugar, eggs, and vanilla. Whisk vigorously until smooth and glossy (about 2 minutes).
- Sift in the flour, cocoa powder, and salt. Gently fold dry ingredients into wet mixture until just combined. Do not overmix.
- Pour batter into prepared pan and spread evenly. Bake for 20-25 minutes until edges are set but center is slightly soft. Remove from oven and let cool on a wire rack.
- While brownies cool, make the caramel. In a medium saucepan over medium heat, combine butter and brown sugar. Stir until melted and dissolved (about 5 minutes).
- Pour in heavy cream, salt, and vanilla. Bring to a gentle boil, then reduce heat to low and simmer for 3-5 minutes, stirring frequently, until slightly thickened.
- Pour warm caramel evenly over the cooled brownie base. Spread to edges and let set for 10-15 minutes until tacky.
- Sprinkle milk chocolate chips evenly over the caramel layer. If needed, place pan in oven for 1-2 minutes to melt chips. Spread chocolate smoothly.
- Let the entire pan cool completely at room temperature or refrigerate for 30 minutes until fully set.
- Lift brownies out using parchment overhang. Cut into squares and serve.
Notes
Do not rush the cooling process; cutting while warm will cause smearing. Use room temperature eggs to prevent butter from seizing. For gluten-free, swap flour for a 1:1 gluten-free blend. Store in an airtight container in the fridge for up to 5 days or freeze for up to 3 months.
- Prep Time: 15 minutes
- Cook Time: 30 minutes
- Category: Dessert
- Cuisine: American
Nutrition
- Serving Size: 1 square
- Calories: 350
- Sugar: 38
- Sodium: 250
- Fat: 18
- Saturated Fat: 11
- Carbohydrates: 45
- Fiber: 2
- Protein: 4
Keywords: brownies, millionaire brownies, caramel brownies, budget dessert, make-ahead dessert, easy baking, chocolate dessert, family friendly