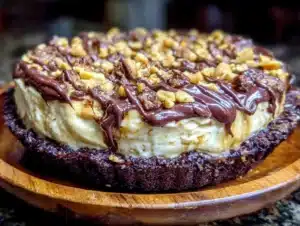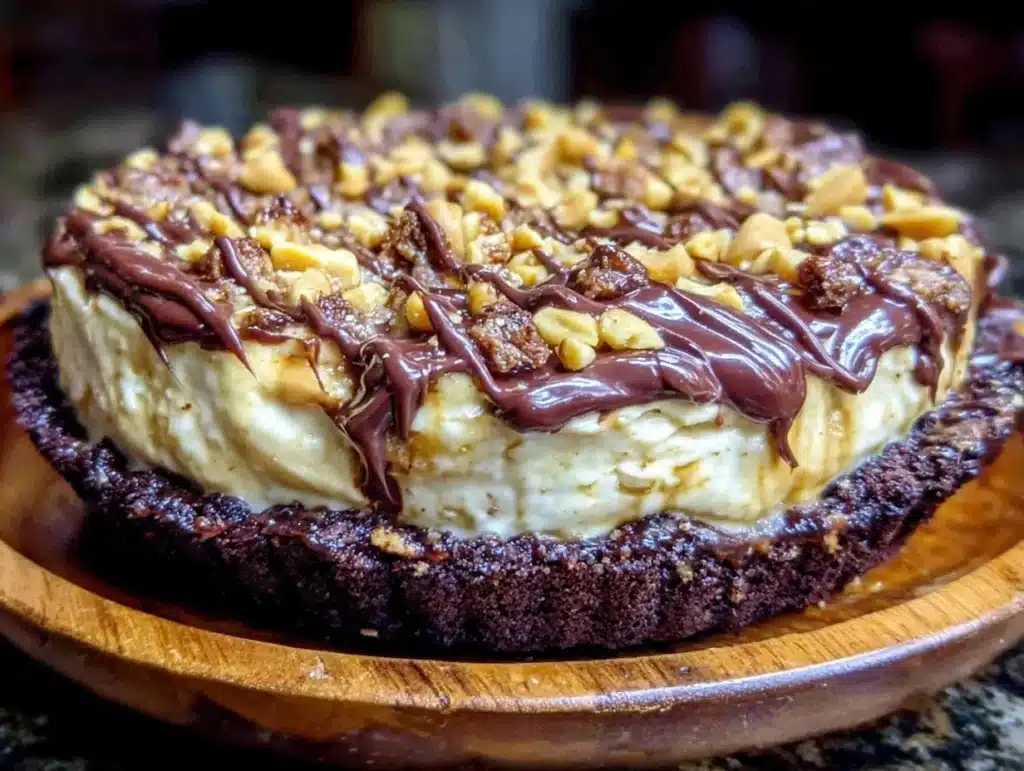
Let’s be honest, you know the feeling. It’s 7 PM on a Tuesday. You’re tired, the fridge is mostly empty except for some wilting spinach, and the idea of cooking feels like climbing Mount Everest. That’s exactly when I stumbled onto this creamy no-bake peanut butter pie recipe. I was looking for something sweet that didn’t require turning on the oven, mostly because my apartment feels like a sauna in July, but also because I had zero energy left for cleanup.
I first made this peanut butter pie during a particularly rough month when rent was due and the grocery budget was practically non-existent. I had a jar of peanut butter that was three-quarters full, some heavy cream left over from making coffee, and a package of cookies that were slightly stale. Instead of tossing them, I decided to mash them together. What came out of the fridge the next morning wasn’t just edible; it was incredible.
This isn’t just another dessert recipe. It’s a lifeline for busy families and broke college students alike. The beauty of this creamy no-bake peanut butter pie lies in its simplicity. You don’t need fancy ingredients or expensive tools. You just need to stretch what you have into something that tastes like a indulgent treat from a high-end bakery. Honestly, after making this over a dozen times, I can confidently say it’s the smartest way to use up pantry staples.
As someone who has spent years trying to make dinner stretch further, I’ve learned that flavor doesn’t always come from cost. Sometimes it comes from patience and a good mixer. This recipe is perfect for anyone who wants a high-protein, satisfying dessert without the guilt or the price tag. It’s comfort food reimagined for the budget-conscious cook. Plus, it’s the kind of dish that makes you close your eyes after the first bite, letting the rich, nutty flavors wash away the stress of the week.
Why You’ll Love This Recipe
I’ve tested this peanut butter pie in every way possible. I’ve used different brands of peanut butter, varying types of cookies, and even tried whipping cream by hand when the electric one broke. Through all those trials, one thing remains constant: this recipe works. It’s not just good; it’s the kind of dessert that saves your social life when you’re invited to a potluck on short notice. Here is why this specific version stands out from the crowd.
- Quick & Easy: This comes together in under 15 minutes of active prep time. You don’t need to bake anything, which means no preheating the oven and no waiting for it to cool down. It’s perfect for those last-minute cravings or when you need to impress guests without the stress.
- Simple Ingredients: You likely already have everything in your kitchen. I’m talking about pantry staples that you probably already bought for other meals. No fancy grocery trips needed, which saves both time and money.
- Perfect for Meal Prep: This isn’t just a dessert; it’s a strategy. Make one pie on Sunday, and you have sweet treats for the entire week. It’s great for packing lunches or having a healthy-ish snack ready for when the afternoon slump hits.
- Crowd-Pleaser: Whether it’s kids with picky palates or adults who claim they don’t have a sweet tooth, this always gets rave reviews. The texture is so smooth that you forget it’s not made with expensive gelatin or stabilizers.
- Unbelievably Delicious: The texture and flavor combo is next-level comfort food. It’s rich and creamy but not overly heavy. It hits that sweet spot between a snack and a full dessert.
- Budget-Friendly Stretch: This is tonight’s dinner, tomorrow’s lunch, for free. By using simple cookies and peanut butter, you stretch a small budget into a large, impressive dish. It’s resourceful cooking at its finest.
What makes this recipe different from the rest is the technique. Most no-bake pies rely on instant pudding mixes, which can taste artificial. This version uses the natural fats in the peanut butter and the air whipped into the cream to create a light, mousse-like texture. It’s not just another version—it’s my best version. It’s healthier, faster, but with the same soul-soothing satisfaction as a slice of cheesecake.
What Ingredients You Will Need
This recipe uses simple, wholesome ingredients to deliver bold flavor and satisfying texture without the fuss. The magic here is in how these basic items interact to create something greater than the sum of its parts. You don’t need organic, artisanal anything. You need functional, affordable, and reliable ingredients that will hold up under pressure.
- Peanut Butter (1 cup): Use a standard creamy variety. I recommend brands like Jif or Skippy because they have the right consistency for mixing. Avoid natural peanut butter where the oil separates, as it can make the pie greasy. (adds richness and protein)
- Heavy Whipping Cream (2 cups): This is the backbone of the texture. You need high-fat cream to whip properly. If you’re looking for a lighter option, you can try half-and-half, but the texture won’t be as stable. (creates the airy mousse)
- Confectioners’ Sugar (1 cup): This dissolves instantly into the cream, unlike granulated sugar which might leave gritty spots. It adds sweetness without changing the texture. (sweetens without graininess)
- Vanilla Extract (1 teaspoon): A good quality vanilla brings out the nuttiness of the peanut butter. Don’t skip this, as it balances the sweetness. (enhances flavor depth)
- Cream Cheese (8 oz block): Use full-fat brick cream cheese, not the spread in a tub. It needs to be softened to room temperature before mixing. (adds tang and structure)
- Crushed Cookies (2 cups): I use vanilla wafers or chocolate sandwich cookies. You can make your own crumbs by putting them in a bag and crushing them with a rolling pin. (forms the crust base)
- Butter (4 tablespoons): Unsalted butter, melted. This binds the cookie crumbs together so the crust doesn’t fall apart. (holds the crust together)
For the best texture, I suggest buying the cream cheese in the brick form rather than the tub. The tub stuff has more air and water, which can make your pie runny. Also, look for cookies that are sturdy enough to hold up when mixed with butter. In summer, you might find that the pie softens faster, so keep it in the coldest part of the fridge. If you need a dairy-free option, you can swap the cream cheese for a dairy-free alternative, but the taste will change slightly.
Do I need a food processor?
No, you don’t. While a food processor makes quick work of crushing cookies, you can easily do it by hand. Just put the cookies in a sturdy ziplock bag and roll a heavy pan over them until they are fine crumbs. It takes about two minutes and gives you a sense of accomplishment.
Equipment Needed
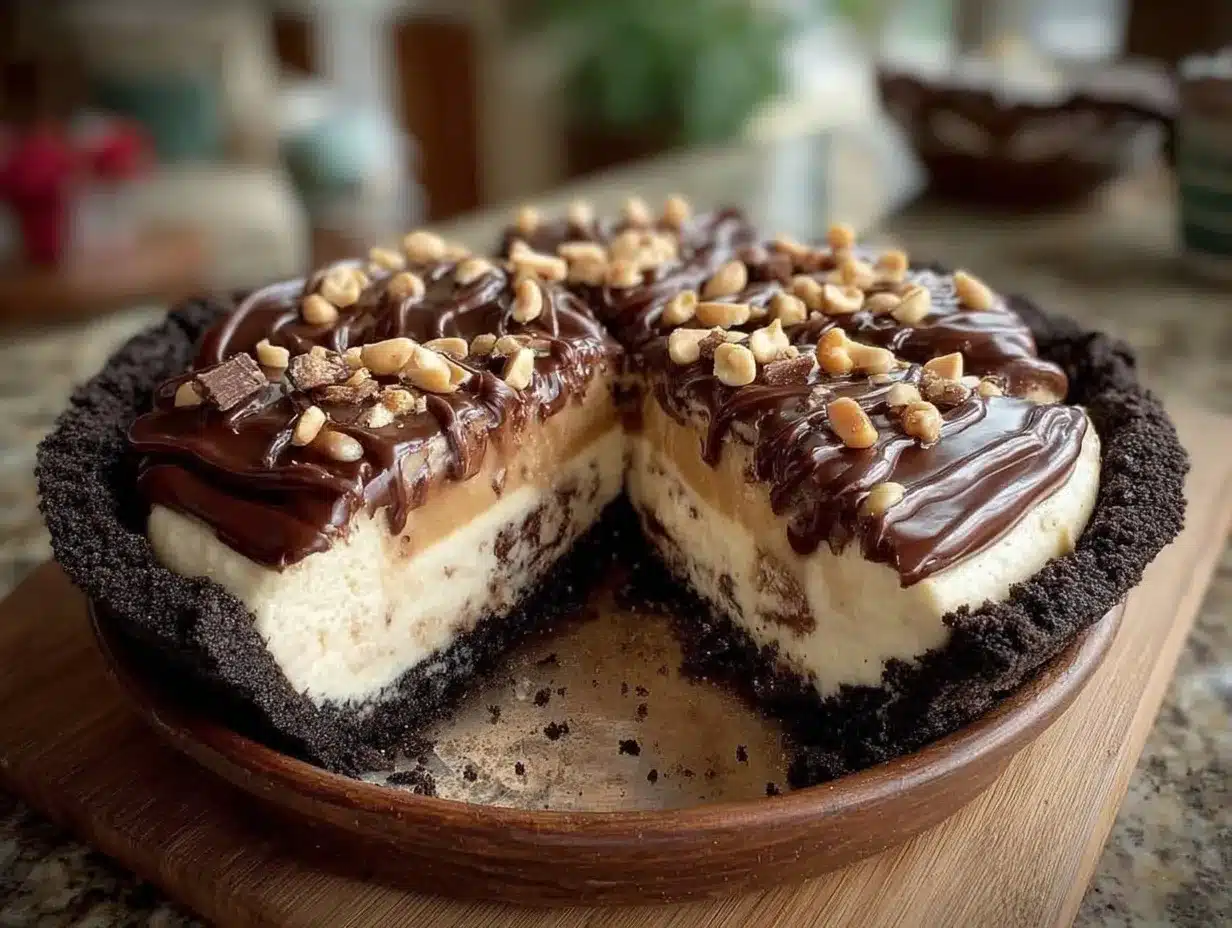
You don’t need a professional kitchen to make this pie. In fact, keeping the equipment minimal is part of why this recipe is so great for budget cooking. You’re saving on energy bills and cleanup time.
- 9-inch Pie Dish: A standard glass or ceramic pie dish works best. Glass allows you to see the layers, which is nice for presentation. If you don’t have one, a large bowl or even a loaf pan works in a pinch.
- Mixing Bowls (2 large): One for the cream mixture and one for the crust. Make sure they are clean and dry, especially the one for the cream.
- Hand Mixer or Stand Mixer: A hand mixer is perfect for this. It’s cheaper than a stand mixer and easier to store. If you don’t have one, you can use a whisk, but it will take about 10 minutes of arm workout to get the cream stiff.
- Spatula: A rubber spatula is essential for scraping the sides of the bowl and folding the mixture gently. This keeps the air in the cream.
- Zester or Grater (Optional): If you want to add a bit of texture, you can grate a chocolate bar on top. This is a nice touch but not required.
I’ve found that a hand mixer is the most versatile tool for this. It’s lightweight and easy to clean. If you’re using a stand mixer, be careful not to over-whip the cream, or it might turn into butter. Keep an eye on the consistency. Also, make sure your bowl is chilled if possible; cold bowls help the cream whip faster and hold its shape better.
Preparation Method
Let’s get into the nitty-gritty. This process is straightforward, but there are a few key moments where you need to pay attention to ensure the best results. Follow these steps closely, and you’ll have a pie that rivals anything from a store.
- Prepare the Crust (5 minutes): Take your 2 cups of crushed cookies and place them in a medium bowl. Melt the 4 tablespoons of butter in the microwave or on the stove. Pour the melted butter over the crumbs. Mix well with a spoon until the crumbs look like wet sand. Press this mixture firmly into the bottom and up the sides of your 9-inch pie dish. Use the bottom of a glass to pack it down tight. Place this in the fridge to set while you make the filling. (Time: 5 mins active)
- Soften the Cream Cheese (10 minutes): Take your 8 oz block of cream cheese out of the fridge. Cut it into cubes and let it sit on the counter for about 10-15 minutes. It should be soft enough to press with your finger but still cool. This is crucial for a smooth filling. If you try to mix cold cream cheese, you’ll get lumps. (Time: 10 mins passive)
- Whip the Cream (3-5 minutes): In a large, chilled bowl, pour the 2 cups of heavy whipping cream. Using your hand mixer, beat on medium-high speed. Watch closely as it starts to thicken. You want soft peaks, which means when you lift the beater, the cream holds a shape that droops slightly. Do not over-whip here, or it will get grainy. (Time: 3-5 mins active)
- Make the Peanut Butter Mixture (2 minutes): In a separate bowl, beat the softened cream cheese and the 1 cup of peanut butter together until smooth. Add the 1 cup of confectioners’ sugar and the 1 teaspoon of vanilla extract. Mix until fully combined. The mixture should be creamy and uniform. (Time: 2 mins active)
- Combine Everything (2 minutes): Gently fold the peanut butter mixture into the whipped cream. Use your spatula and cut down through the middle, then scoop up from the bottom. Rotate the bowl and repeat. Do this just until no white streaks remain. Over-mixing will deflate the cream. (Time: 2 mins active)
- Assemble and Chill (4 hours): Pour the filling into the prepared crust. Smooth the top with your spatula. Cover the pie with plastic wrap or foil. Place it in the fridge for at least 4 hours, but overnight is best. This allows the flavors to meld and the pie to set firmly. (Time: 4+ hours passive)
A common issue is a runny filling. This usually happens if the cream was over-whipped before mixing or if the cream cheese wasn’t soft enough. Another tip is to make sure your peanut butter isn’t too warm when you mix it. If it’s straight from the microwave, let it cool for a minute. Sensory cues are key: the filling should look fluffy and pale, and smell intensely of roasted peanuts and vanilla.
Cooking Tips & Techniques
I’ve learned a lot through trial and error with no-bake pies. Here are some professional techniques that will save your dessert.
- Temperature Control: Cold ingredients are your friend. If your kitchen is hot, chill your mixing bowl in the freezer for 10 minutes before whipping the cream. This helps the cream reach stiff peaks faster and stay stable.
- Don’t Rush the Folding: When combining the cream cheese mixture with the whipped cream, be gentle. Think of it like folding a letter, not stirring a pot. You want to keep the air bubbles intact for that light, airy texture.
- Peanut Butter Consistency: If your peanut butter is very thick, you can warm it slightly in the microwave for 10 seconds to make it easier to mix with the cream cheese. Just make sure it’s not hot.
- Crust Stability: If your crust feels too dry, add another teaspoon of butter. If it’s too greasy, add a few more crumbs. It should hold together when you pinch it.
- Avoiding Graininess: Always use confectioners’ sugar, not granulated. The cornstarch in the powdered sugar helps stabilize the mixture and prevents sugar crystals from forming.
One of my biggest failures was using a stand mixer on high speed for the cream. I ended up with butter and buttermilk. Lesson learned: watch the cream like a hawk. Also, multitasking is key. While the crust is chilling, you can start softening the cream cheese. This saves time and keeps the workflow smooth.
Variations & Adaptations
One of the best things about this recipe is how adaptable it is. You can tweak it to fit your dietary needs or just your mood.
- Chocolate Lover’s Version: Swap the vanilla wafers for chocolate sandwich cookies. You can also add 2 tablespoons of cocoa powder to the peanut butter mixture for a peanut butter cup vibe.
- Low-Carb Option: Use almond flour instead of cookies for the crust. Swap the confectioners’ sugar for a keto-friendly powdered sweetener like erythritol. Use sugar-free peanut butter if needed.
- Vegan Twist: Use coconut cream instead of heavy cream (chill the can overnight and scoop the solid part). Use vegan cream cheese and a dairy-free butter. The taste will be slightly coconutty, which pairs well with peanut butter.
- Strawberry Swirl: Mash up some fresh or frozen strawberries and swirl them into the filling before pouring it into the crust. It adds a nice tartness to cut the sweetness.
I personally love adding a layer of caramel sauce in the middle. It’s a simple way to make the pie feel more special. Just pour a thin layer of caramel over the crust, then add the filling. It’s a game-changer for flavor complexity.
Serving & Storage Suggestions
This pie is best served cold, straight from the fridge. It holds its shape well, making it easy to slice. Use a sharp knife dipped in hot water for clean cuts. Wipe the blade between slices for neat portions.
For storage, keep it covered in the refrigerator for up to 5 days. It actually tastes better on day two, as the flavors have had more time to meld. You can also freeze it for up to a month. Wrap it tightly in plastic and then foil. Thaw it in the fridge overnight before serving. Note that the texture might be slightly softer after freezing, but it’s still delicious.
Pair this pie with a cup of black coffee or a cold glass of milk. The bitterness of the coffee balances the sweet, rich pie perfectly. It’s a classic combination that never fails. For a party, garnish with crushed peanuts or a drizzle of peanut butter on top. It adds a nice visual appeal and extra crunch.
Nutritional Information & Benefits
While this is a dessert, it does have some nutritional merits. Peanut butter is a great source of protein and healthy fats. Cream cheese adds calcium. However, it is still high in calories and sugar, so enjoy in moderation.
- Protein: The peanut butter and cream cheese provide a decent protein boost, making it more filling than a standard cake.
- Fats: The fats are mostly saturated from the cream and peanut butter, but they help keep you full longer.
- Dietary Notes: This recipe contains gluten (from the cookies) and dairy. For gluten-free, use GF cookies. For dairy-free, use plant-based alternatives.
From a wellness perspective, I view this as a treat rather than a health food. But compared to other desserts, it’s relatively simple. You know exactly what’s in it. It’s not filled with artificial preservatives. It’s real food, just in a sweet form.
Conclusion
This creamy no-bake peanut butter pie is more than just a dessert; it’s a solution. It solves the problem of what to do with leftover ingredients, how to save money on groceries, and how to satisfy a sweet tooth without the hassle of baking. I love this recipe because it’s forgiving, delicious, and incredibly rewarding to make.
I encourage you to try it your way. Maybe you’ll add chocolate chips, or maybe you’ll stick to the classic version. Whatever you choose, it’s a great way to stretch your budget and your creativity. Don’t forget to share your results in the comments below. I love seeing how others adapt this recipe to their own kitchens.
So, next time you’re staring into an empty fridge, remember this pie. It’s tonight’s dinner, tomorrow’s lunch, for free. Give it a try, and you’ll be glad you did.
Frequently Asked Questions
Can I use crunchy peanut butter?
Yes, you can use crunchy peanut butter if you prefer a bit of texture. Just keep in mind that the chunks might make the filling slightly less smooth. It’s a matter of personal preference.
How long does the pie last in the fridge?
It lasts for about 5 days in the refrigerator. Make sure to cover it tightly to prevent it from absorbing other odors from your fridge.
Can I freeze this pie?
Yes, you can freeze it for up to a month. Wrap it well in plastic and foil. Thaw it in the fridge overnight. The texture may change slightly, becoming a bit softer.
What can I use instead of heavy cream?
You can use half-and-half, but the pie will be less stable and lighter. For a vegan option, use chilled coconut cream. The results will differ, but it will still be tasty.
Do I have to use vanilla wafers?
No, you can use any cookie you like. Chocolate sandwich cookies, graham crackers, or even shortbread all work well. Just adjust the sweetness of the filling accordingly.
Pin This Recipe!
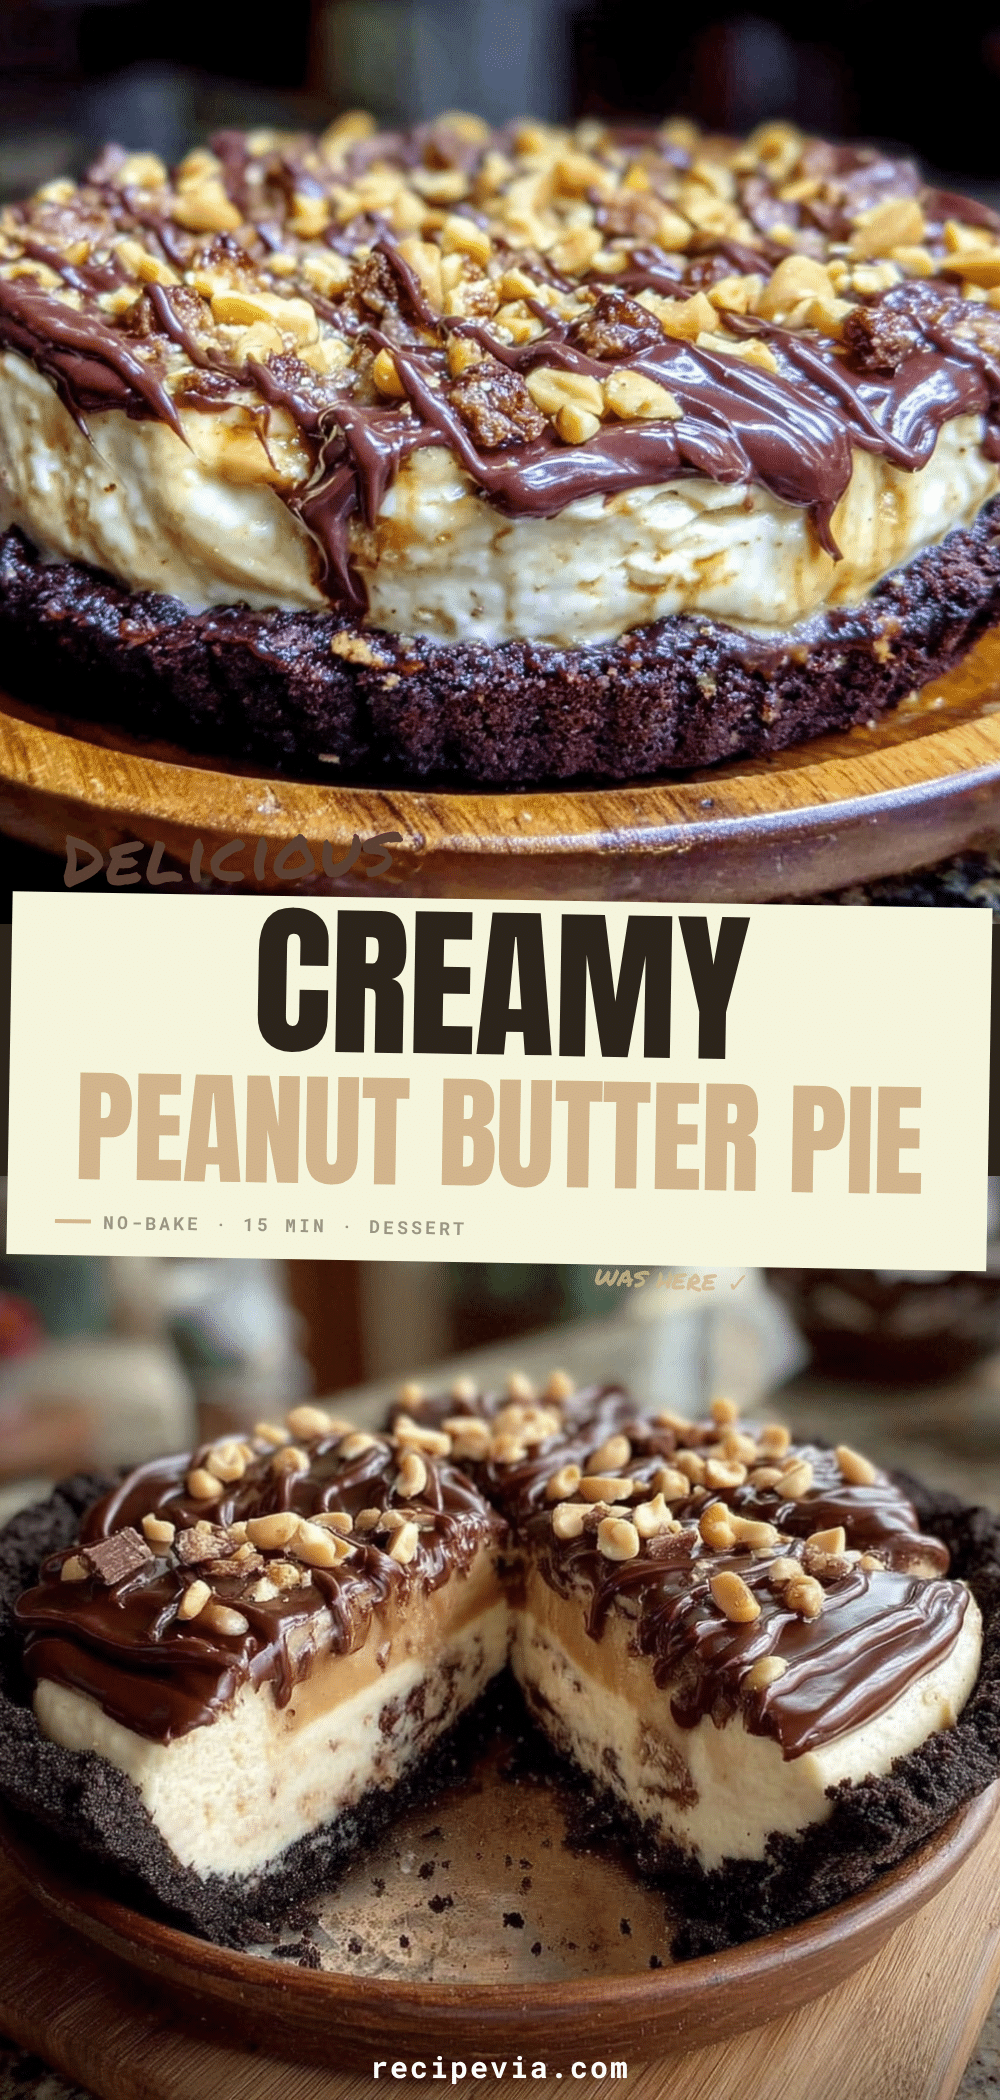

Creamy No-Bake Peanut Butter Pie
- Total Time: 4 hours 15 minutes
- Yield: 8 servings 1x
Description
A simple, budget-friendly no-bake dessert made with just five main ingredients. This creamy peanut butter pie requires no oven and comes together in under 15 minutes of active prep time, making it perfect for busy weeknights or last-minute gatherings.
Ingredients
- 1 cup creamy peanut butter (standard brands like Jif or Skippy)
- 2 cups heavy whipping cream
- 1 cup confectioners’ sugar
- 1 teaspoon vanilla extract
- 8 oz block full-fat cream cheese (softened to room temperature)
- 2 cups crushed cookies (vanilla wafers or chocolate sandwich cookies)
- 4 tablespoons unsalted butter (melted)
Instructions
- Prepare the crust: Mix 2 cups of crushed cookies with 4 tablespoons of melted butter until the mixture resembles wet sand. Press firmly into the bottom and up the sides of a 9-inch pie dish. Place in the fridge to set.
- Soften the cream cheese: Cut an 8 oz block of cream cheese into cubes and let it sit at room temperature for 10-15 minutes until soft but still cool.
- Whip the cream: In a large, chilled bowl, beat 2 cups of heavy whipping cream with a hand mixer on medium-high speed until soft peaks form. Be careful not to over-whip.
- Make the peanut butter mixture: In a separate bowl, beat the softened cream cheese and 1 cup of peanut butter until smooth. Add 1 cup of confectioners’ sugar and 1 teaspoon of vanilla extract, mixing until fully combined.
- Combine everything: Gently fold the peanut butter mixture into the whipped cream using a spatula until no white streaks remain. Avoid over-mixing to keep the texture airy.
- Assemble and chill: Pour the filling into the prepared crust and smooth the top. Cover with plastic wrap or foil and refrigerate for at least 4 hours, or overnight for best results.
Notes
Ensure the cream cheese is softened to avoid lumps. Chill the mixing bowl before whipping the cream for better stability. Do not over-whip the cream or it may turn into butter. For a gluten-free version, use gluten-free cookies. For a dairy-free version, substitute with plant-based cream cheese and coconut cream.
- Prep Time: 15 minutes
- Cook Time: 0 minutes
- Category: Dessert
- Cuisine: American
Nutrition
- Serving Size: 1 slice
- Calories: 450
- Sugar: 28
- Sodium: 250
- Fat: 35
- Saturated Fat: 18
- Carbohydrates: 32
- Fiber: 2
- Protein: 8
Keywords: no-bake pie, peanut butter dessert, budget-friendly recipes, easy dessert, cream cheese pie, quick treats, meal prep dessert