Let’s face it, life doesn’t always give you the perfect ingredients for a fancy dessert. Sometimes, you just have a half-empty fridge and a craving for something sweet that hits different. I remember this one specific Tuesday night last spring. I was exhausted from work, my bank account was checking itself, and I wanted chocolate and fruit. But no chocolate. And no fresh berries. Just a sad, shriveled container of frozen raspberries in the back of the freezer.
I didn’t want to order takeout. I didn’t want to buy expensive specialty ingredients I’d use once. So, I looked at what I had. A box of buttery biscuits, some heavy cream that was barely past its prime, powdered sugar, and those frozen berries. Honestly, I thought it would be a disaster. But then, something magical happened in the kitchen. The mousse came together faster than I could blink, and the tartness of the raspberries cut through the richness of the cream in a way that felt luxurious, not cheap.
This Rich Raspberry Mousse Cake isn’t about fancy techniques or expensive French cheeses. It’s about using what you have and making it sing. I’ve made this over a dozen times since then, tweaking the sweetness and the crust ratio, and it has become my go-to when I need to impress guests without breaking the bank. It’s the kind of dessert that makes people ask, “Did you buy this from that fancy bakery downtown?” The answer is always no. It’s pantry staples and patience.
If you’re a busy parent, a student on a budget, or just someone who loves dessert but hates food waste, this recipe is your new best friend. It’s high-protein enough to feel substantial but sweet enough to feel like a treat. Let’s get into why this specific combination works so well, and how you can make it your own.
Why You’ll Love This Recipe
There are a lot of mousse cakes out there. Some require gelatin sheets that cost more than my lunch. Others need a springform pan and thirty minutes of chilling time that feels like an eternity when you’re hungry. This version is different. It’s built on simplicity and flavor balance, not complexity. After testing this recipe with various brands of cream and different types of biscuits, I’ve found that the magic lies in the texture contrast and the natural acidity of the fruit.
Here is what makes this Rich Raspberry Mousse Cake stand out from the crowd:
- Quick & Easy: You don’t need to bake anything. The crust is no-bake, and the mousse sets in the fridge while you do literally anything else. It comes together in under 20 minutes of active time, which is perfect for those nights when you want dessert but hate the cleanup.
- Simple Ingredients: You likely already have everything in your kitchen. Biscuits, butter, cream, sugar, and frozen berries. No fancy grocery trips needed. This is the definition of a resourceful cook’s dream.
- Perfect for Last-Minute Guests: Because it’s no-bake, you can throw this together in the morning and let it chill all day. When your friends show up unexpectedly, you look like a hero. It’s great for brunches, casual dinner parties, or just a cozy Friday night in.
- Crowd-Pleaser: Kids love the sweetness, and adults appreciate the tart balance. It’s never too heavy, which means people will come back for seconds without feeling sluggish. It’s comfort food reimagined—lighter, faster, but with that same soul-soothing satisfaction.
- Unbelievably Delicious: The texture is airy yet creamy, and the raspberry swirl adds bursts of flavor that keep every bite interesting. It’s next-level comfort food that doesn’t cost a fortune.
What really sets this apart is the technique of folding the whipped cream gently into the berry base. It keeps the mousse light, almost like eating a cloud with flavor. It’s not just good—it’s the kind of dessert that makes you close your eyes after the first bite. It’s budget-friendly indulgence at its finest.
What Ingredients You Will Need
This recipe relies on the power of pantry staples to create a high-end dessert experience. The key here is quality over quantity. Since there are so few ingredients, each one plays a huge role in the final texture and taste. I recommend using unsalted butter so you can control the saltiness, and heavy cream with at least 30% fat content for the best whip. If you’re watching your budget, keep an eye out for sales on biscuits or use homemade shortbread crumbs if you’re feeling ambitious.
For the Crust
- Buttery Biscuits or Digestive Biscuits: About 250g (roughly 2 cups of crumbs). These provide the sturdy base. I prefer digestive biscuits for their slight sweetness and crunch, but graham crackers work too. Crush them finely for a smoother texture.
- Unsalted Butter: 60g (about 4 tablespoons), melted. This binds the crumbs together. Don’t skip the butter, or the crust will fall apart.
- Granulated Sugar: 1 tablespoon. Just a touch to help the crust brown slightly and add sweetness.
For the Mousse
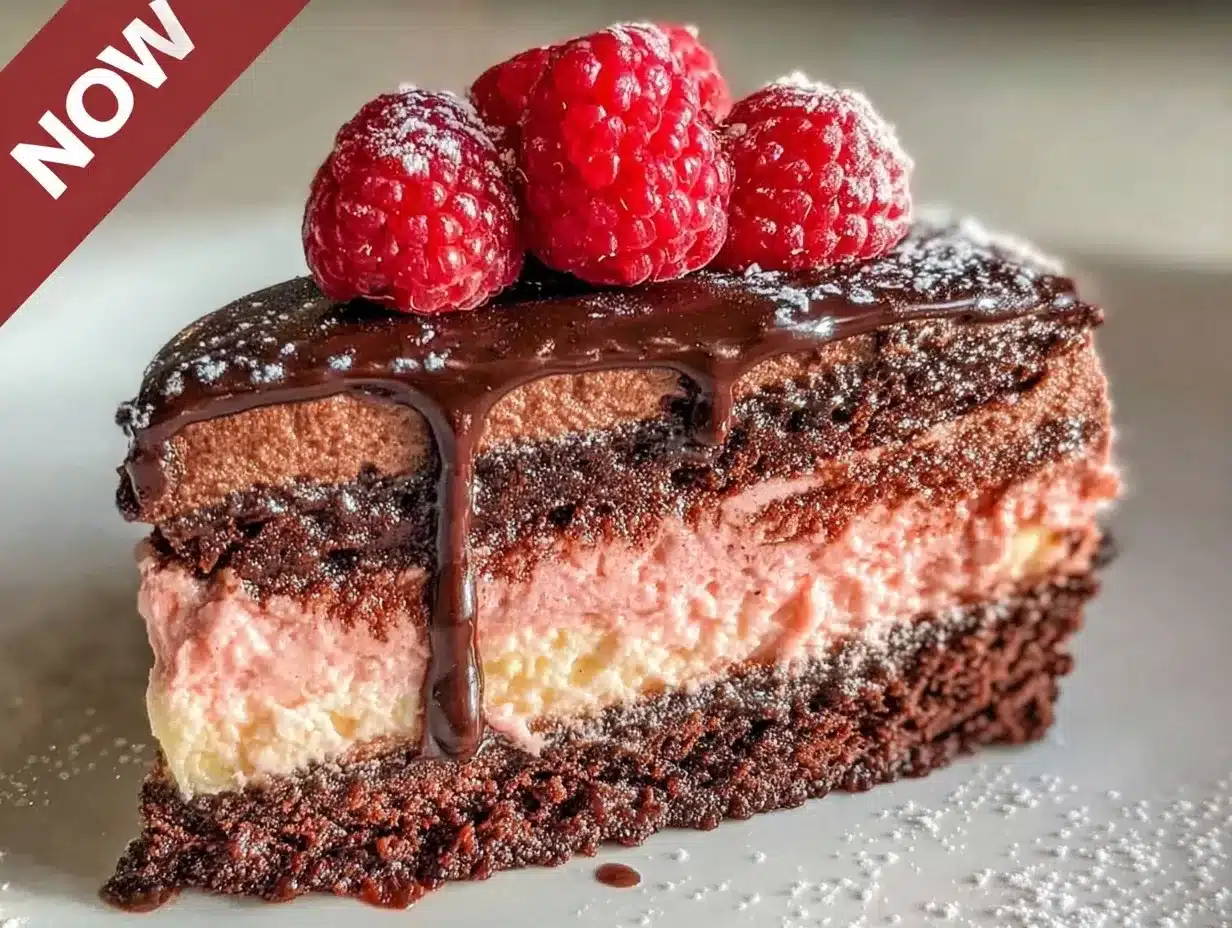
- Frozen Raspberries: 200g. Frozen berries are actually better here because they hold their shape better when pureed and thawed slightly. They add that vibrant pink color and tart flavor. Look for organic if possible, as conventional berries often have high pesticide residue.
- Heavy Cream: 500ml (about 2 cups), cold. This is the body of the mousse. Make sure it’s very cold, or it won’t whip up properly.
- Confectioners’ Sugar: 3-4 tablespoons. Adjust based on how sweet your berries are. Sifting this is important to avoid lumps in the delicate mousse.
- Vanilla Extract: 1 teaspoon. Pure vanilla makes a huge difference in flavor depth.
- Lemon Juice: 1 teaspoon. This brightens the flavor and cuts through the richness of the cream. It’s a secret weapon for balance.
If you need a dairy-free option, you can swap the heavy cream for full-fat coconut cream, but the texture will be denser. For a gluten-free crust, use almond flour or gluten-free biscuits. The beauty of this recipe is its flexibility.
Equipment Needed
You don’t need a lot of fancy gear to make this cake. In fact, using simple tools helps keep the cleanup down, which is part of the budget-friendly appeal. Here is what you’ll need:
- Food Processor or Ziplock Bag: To crush the biscuits. A food processor is faster, but a rolling pin and a sturdy bag work just as well if you want to save on electricity or noise.
- 9-inch Springform Pan: This is the best tool for easy removal. If you don’t have one, a regular round cake pan lined with parchment paper works, but serving might be messier.
- Mixing Bowls: Two large bowls. One for the cream, one for the berry mixture. Make sure they are clean and dry.
- Electric Hand Mixer or Stand Mixer: Essential for whipping the cream properly. Doing this by hand is possible but takes a lot of elbow grease and time.
- Spatula: A silicone spatula is best for folding the mixture gently without deflating the air you just whipped into the cream.
- Blender or Immersion Blender: To puree the raspberries. A blender gives a smoother result, but an immersion blender works in a pinch.
I’ve found that a good quality spatula makes a huge difference in the final texture. Cheap ones bend and don’t fold well. Also, keeping your bowls cold in the fridge for 15 minutes before whipping the cream can help it whip faster and hold its shape better, especially in warm weather.
Preparation Method
Making this Rich Raspberry Mousse Cake is straightforward, but attention to detail ensures the best results. Follow these steps carefully for a cake that sets perfectly and tastes amazing.
Step 1: Prepare the Crust (10 minutes)
Start by crushing your biscuits. If using a food processor, pulse them until they are fine crumbs. If using a bag, roll over them with a rolling pin until they are sandy. Transfer the crumbs to a mixing bowl.
Add the melted butter and sugar to the crumbs. Mix well with a spoon until the texture looks like wet sand. It should hold together when you pinch it. Press this mixture firmly into the bottom of your springform pan. Use the bottom of a glass to pack it down evenly. You want a solid base that won’t crumble when sliced. Place this in the fridge to set while you make the mousse.
Step 2: Make the Raspberry Puree (15 minutes)
Take your frozen raspberries and let them thaw slightly. You don’t need them completely soft, just pliable. Blend them until smooth. If you like seeds, you can skip straining, but for a silky mousse, push the puree through a fine-mesh sieve to remove the seeds. This takes a bit of effort, but it’s worth it for the smooth texture.
Measure out about 150ml of puree. If you have more, save it for garnish. Mix the puree with the lemon juice and confectioners’ sugar. Taste it. If it’s too tart, add a little more sugar. Set this aside at room temperature for now.
Step 3: Whip the Cream (5 minutes)
Pour the cold heavy cream into a large, cold bowl. Add the vanilla extract. Using an electric mixer, beat the cream on medium-high speed. Watch closely. You want to reach stiff peaks. This means when you lift the beaters, the cream stands up straight without drooping. Do not over-whip, or it will turn into butter. This usually takes 3-5 minutes.
Step 4: Fold the Mousse (5 minutes)
This is the most critical step. Take one-third of the whipped cream and fold it into the raspberry puree. This lightens the dense fruit mixture. Then, gently fold in the rest of the cream. Use a spatula and cut down the middle, scrape the bottom, and fold over the top. Rotate the bowl and repeat. Stop as soon as the pink and white streaks disappear. You want to keep as much air in the mousse as possible.
Step 5: Assemble and Chill (4+ hours)
Pour the mousse over the chilled crust. Smooth the top with your spatula. You can swirl some extra raspberry puree on top for a pretty marbled effect. Cover the pan with plastic wrap or a lid. Refrigerate for at least 4 hours, but overnight is best. The longer it chills, the firmer it sets and the better the flavors meld.
Cooking Tips & Techniques
I’ve made this cake enough times to know where things can go wrong, and I’m here to help you avoid those pitfalls. The biggest mistake people make is over-mixing the mousse. Remember, you’ve put air into that cream, and you want to keep it there. If you stir it vigorously, you’ll deflate the mousse, and your cake will end up dense and heavy instead of light and airy.
Another tip is about the temperature of your ingredients. If your cream is warm, it won’t whip. If your bowl is warm, it won’t whip. In the summer, I actually put my mixing bowl in the freezer for 10 minutes before starting. It’s a small trick that makes a big difference.
Also, don’t skimp on the chilling time. I know it’s tempting to cut into it after an hour, but the mousse needs time to set. If you cut it too soon, it will be messy and won’t hold its shape. Patience is key. Let it chill overnight. The flavors will deepen, and the texture will become perfectly firm.
If you find your crust is too dry, add a little more melted butter. If it’s too crumbly, you didn’t pack it down enough. Press it firmly. And if your raspberry puree is too thin, you can add a teaspoon of cornstarch mixed with a little water to thicken it before folding it into the cream. But usually, the natural pectin in the berries is enough.
Variations & Adaptations
One of the best things about this recipe is how easy it is to adapt. You can change it up based on what you have or what you’re in the mood for. Here are a few ideas:
- Chocolate Raspberry: Add 2 tablespoons of cocoa powder to the whipped cream before folding it in. It creates a beautiful marble effect and adds a rich chocolate note that pairs perfectly with the tart berries.
- Vanilla Bean: Swap the raspberry puree for a simple vanilla bean mousse. Use the seeds from one vanilla bean for extra flavor. This is great if you’re using up vanilla beans that are past their prime for other uses.
- Gluten-Free: Use gluten-free digestive biscuits or almond flour for the crust. The rest of the recipe is naturally gluten-free, so this is an easy swap for those with sensitivities.
- Dairy-Free: Use full-fat coconut cream instead of heavy cream. Chill the coconut cream overnight, scoop out the solid part, and whip it. The flavor will be coconutty, which pairs well with raspberry. Use maple syrup instead of sugar.
I’ve also tried adding a layer of jam between the crust and the mousse for an extra fruity burst. It’s a nice touch if you have a jar of jam sitting in your pantry. Just make sure to spread it thinly so it doesn’t make the crust soggy.
Serving & Storage Suggestions
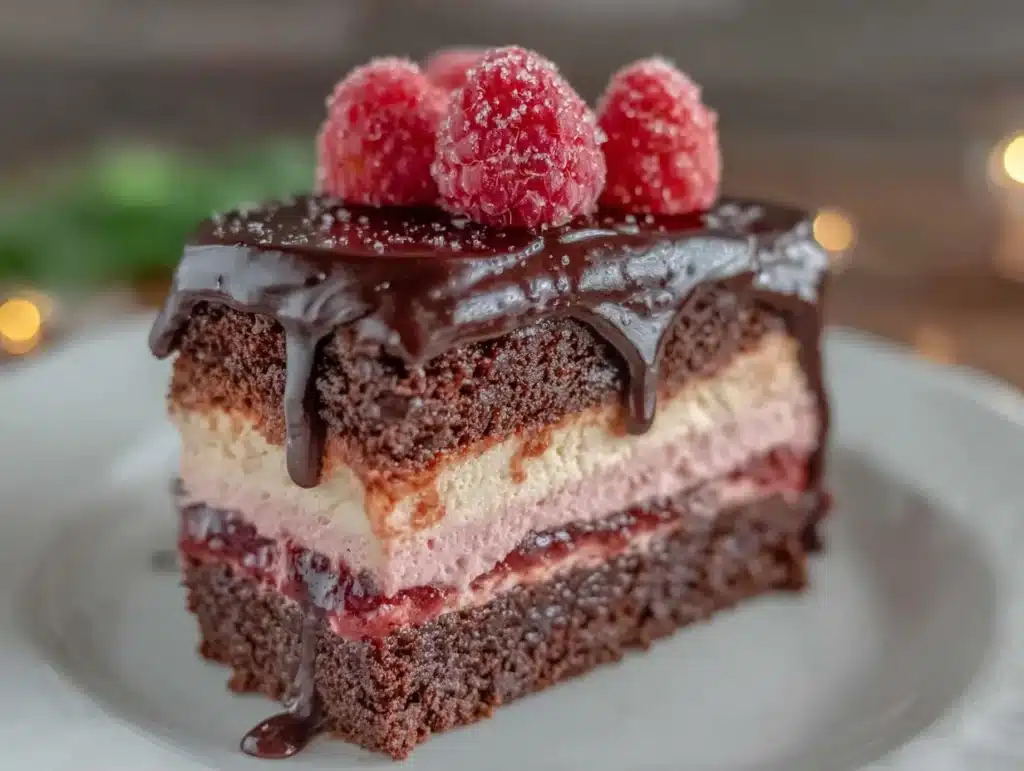
When it’s time to serve, this cake looks stunning. Dust it with powdered sugar or top with fresh raspberries and mint leaves. It’s perfect for a dinner party because it looks elegant but is surprisingly simple to make. Serve it chilled, straight from the fridge.
For storage, keep the cake covered in the refrigerator for up to 3 days. It actually tastes better on the second day as the flavors meld. If you want to freeze it, you can freeze the whole cake or individual slices. Wrap them tightly in plastic wrap and then foil. They will keep for up to a month. Thaw them in the fridge overnight before serving.
To reheat, I don’t recommend it. This is a chilled dessert. If you must, let it sit at room temperature for 10 minutes to soften slightly. It pairs beautifully with a cup of black coffee or a glass of cold milk. It’s also great with a light sparkling wine if you want to make it feel like a celebration.
Nutritional Information & Benefits
While this is a dessert, it’s not without its benefits. Raspberries are high in fiber and antioxidants, which is a nice bonus. The cream provides calcium and fat, which helps keep you feeling full. Each slice contains approximately 350-400 calories, depending on the size and sweetness. It’s a moderate treat, so enjoy it in moderation.
For those watching their sugar intake, you can reduce the amount of confectioners’ sugar by half and rely on the natural sweetness of the berries. It’s still delicious, just less sweet. This recipe is naturally gluten-free if you use the right biscuits, and it’s low-carb friendly if you use almond flour and sugar substitutes.
From a wellness perspective, I love that this recipe doesn’t leave me feeling weighed down like a heavy cheesecake. The lightness of the mousse makes it a satisfying end to a meal without the post-dinner slump. It’s a guilt-free indulgence that fits into a balanced lifestyle.
Conclusion
This Rich Raspberry Mousse Cake is proof that you don’t need expensive ingredients or complex techniques to make something special. It’s built from what’s already cheap in your pantry, yet it tastes like it came from a high-end patisserie. I hope you try it and find it to be as much of a staple in your kitchen as it has been in mine.
Feel free to tweak the sweetness, add chocolate, or change the crust. Make it your own. And if you do make it, I’d love to hear how it turned out. Leave a comment below with your tips or variations. Share this recipe with a friend who needs a budget-friendly dessert idea. Happy baking!
Frequently Asked Questions
Can I use fresh raspberries instead of frozen?
Yes, but fresh berries have more water content. You may need to reduce the amount of sugar and ensure the puree is thickened slightly, perhaps with a little cornstarch, to prevent the mousse from becoming too runny.
Why did my mousse not set?
This usually happens if the cream wasn’t whipped to stiff peaks or if the cake wasn’t chilled long enough. Make sure your cream is very cold and chill the cake for at least 4 hours, preferably overnight.
Can I make this cake ahead of time?
Absolutely. This cake is actually better the next day. You can make it up to 2 days in advance. Just keep it covered in the fridge.
Is there a substitute for heavy cream?
You can use full-fat coconut cream for a dairy-free option. Chill the can overnight, scoop out the solid cream, and whip it. The texture will be slightly different but still delicious.
How do I store leftovers?
Store leftovers in an airtight container in the refrigerator for up to 3 days. You can also freeze individual slices for up to a month. Thaw in the fridge before serving.
Pin This Recipe!
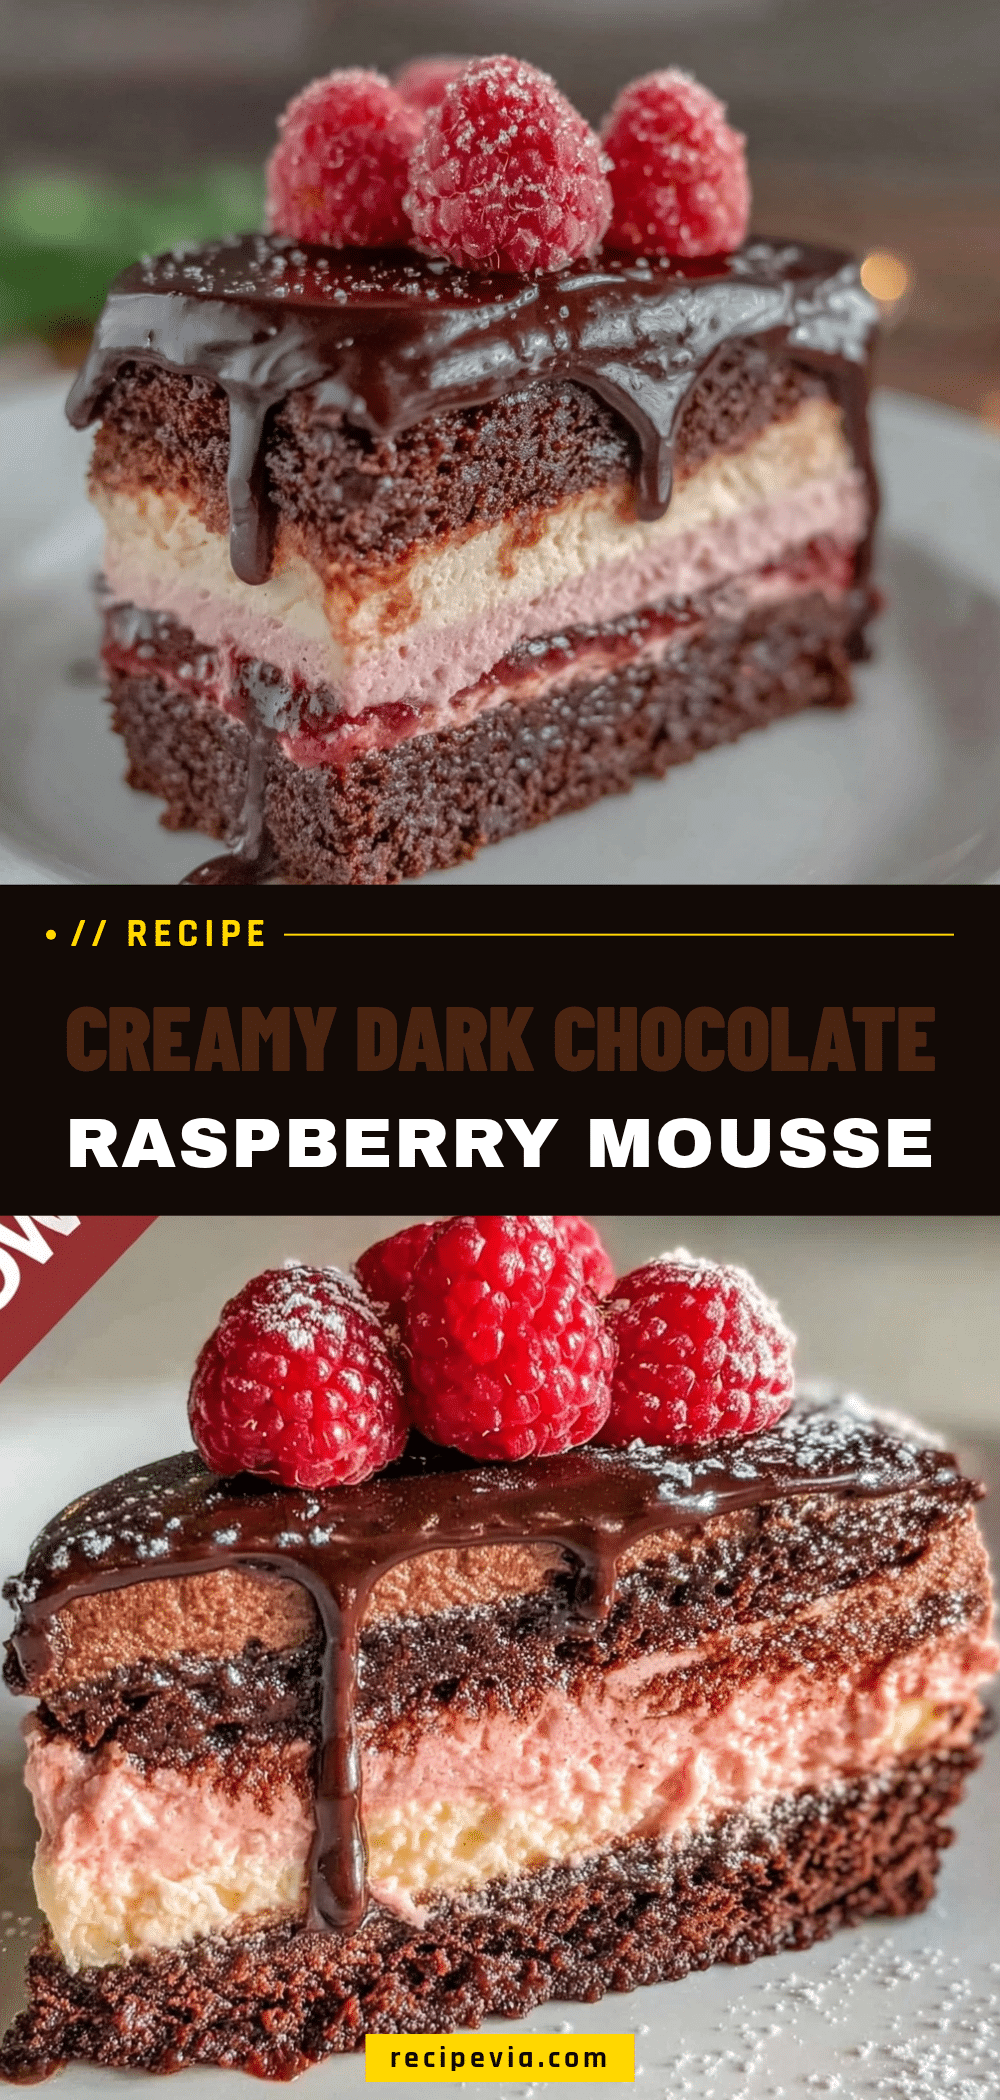

Rich Raspberry Mousse Cake: 5-Cost-Effective Dessert
- Total Time: 4 hours 20 minutes
- Yield: 8 servings 1x
Description
A budget-friendly, no-bake dessert that combines a buttery biscuit crust with a light, airy raspberry mousse. Perfect for using pantry staples and frozen berries to create a luxurious treat without the high cost.
Ingredients
- 250g (approx. 2 cups crumbs) Buttery Biscuits or Digestive Biscuits
- 60g (4 tablespoons) Unsalted Butter, melted
- 1 tablespoon Granulated Sugar
- 200g Frozen Raspberries
- 500ml (2 cups) Heavy Cream, cold
- 3–4 tablespoons Confectioners’ Sugar
- 1 teaspoon Vanilla Extract
- 1 teaspoon Lemon Juice
Instructions
- Crush the biscuits into fine crumbs using a food processor or a rolling pin in a ziplock bag.
- Mix the biscuit crumbs with melted butter and granulated sugar until the texture resembles wet sand.
- Press the mixture firmly into the bottom of a 9-inch springform pan and refrigerate to set.
- Thaw frozen raspberries slightly, then blend until smooth. Strain through a fine-mesh sieve to remove seeds if desired.
- Mix 150ml of raspberry puree with lemon juice and confectioners’ sugar. Taste and adjust sweetness if needed.
- In a large, cold bowl, whip the cold heavy cream with vanilla extract using an electric mixer until stiff peaks form.
- Fold one-third of the whipped cream into the raspberry puree to lighten it.
- Gently fold in the remaining whipped cream until just combined, being careful not to deflate the air.
- Pour the mousse over the chilled crust and smooth the top.
- Optionally swirl extra raspberry puree on top for decoration.
- Cover and refrigerate for at least 4 hours, preferably overnight, until set.
Notes
Ensure heavy cream and bowls are very cold for best whipping results. Do not over-mix the mousse to maintain airiness. For a gluten-free version, use gluten-free biscuits or almond flour. For dairy-free, substitute heavy cream with chilled full-fat coconut cream.
- Prep Time: 20 minutes
- Cook Time: 0 minutes
- Category: Dessert
- Cuisine: American
Nutrition
- Serving Size: 1 slice
- Calories: 375
- Sugar: 24
- Sodium: 120
- Fat: 28
- Saturated Fat: 17
- Carbohydrates: 32
- Fiber: 2
- Protein: 4
Keywords: raspberry mousse cake, no-bake dessert, budget dessert, frozen raspberry recipe, easy mousse, gluten-free dessert option, dairy-free option