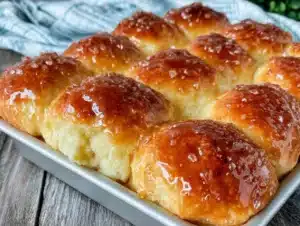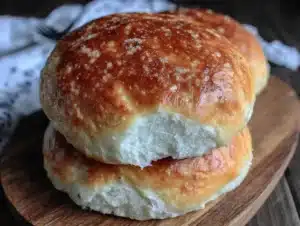
The smell of yeast blooming in warm milk is basically the scent of home. It’s that specific, yeasty perfume that hits you the second you pull the tray out of the oven. Honestly, it’s better than any expensive candle I could buy at a boutique shop. I remember the first time I decided to skip the store-bought packs and make my own. I was hosting a massive backyard barbecue, and I had twenty hungry guests coming over. I looked at the price of those flimsy, stale buns and did the math. It was insane. I realized I could feed everyone for pennies on the dollar if I just had the guts to try.
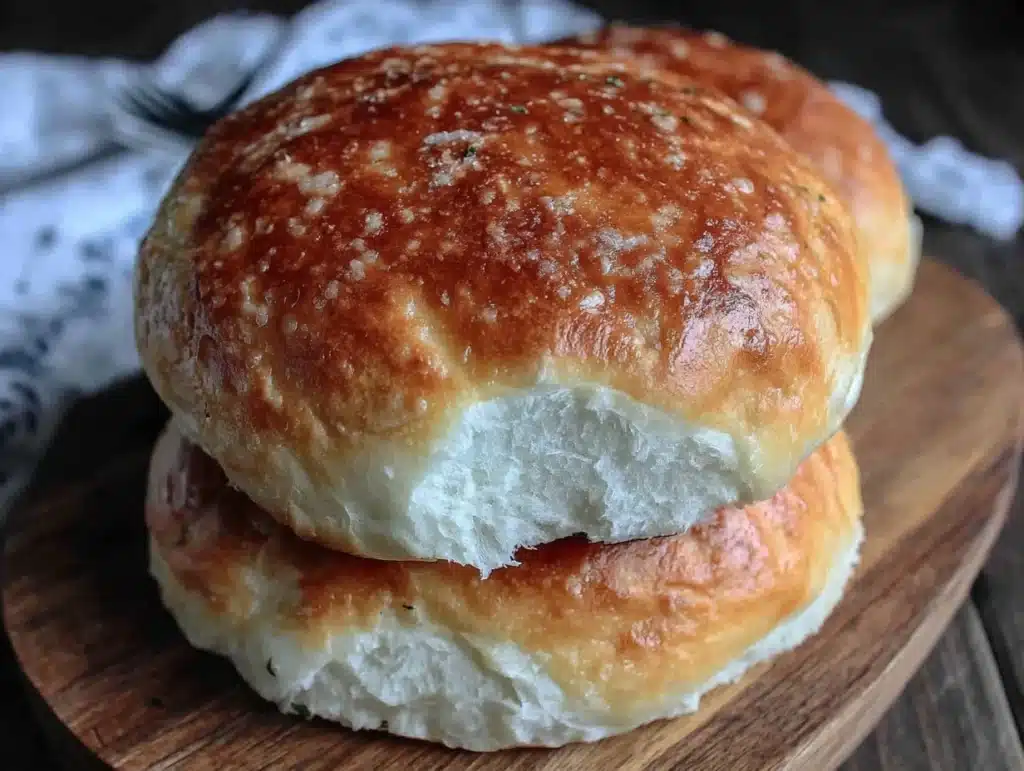
That day, I learned that homemade hamburger buns aren’t just about saving money. They are about texture. You know that slight chew you get from a fresh bake? The kind that stays soft for days? Store-bought buns just can’t compete. They dry out in an hour. These buns, however, are pillowy clouds of dough. They hold up to a juicy burger without falling apart. And let’s face it, nobody wants a burger that collapses onto their lap. It’s a mess nobody needs.
I’ve tested this recipe over a dozen times now. Sometimes I use all-purpose flour, other times I add a bit of bread flour for more structure. The key is keeping it simple. You don’t need fancy ingredients. You just need time and a little bit of patience. This recipe is perfect for large families or anyone who loves a good cookout. It stretches your grocery budget further than you ever thought possible. Plus, there’s something deeply satisfying about feeding your people with something you made from scratch. It feels like a hug on a plate.
Why You’ll Love This Recipe
There is a reason I keep coming back to this specific dough. It’s not just because it’s cheap. It’s because it’s reliable. I’ve had baking disasters before, where the dough was too sticky or the buns were dense bricks. Not this one. This recipe is forgiving. It’s designed for the average home cook who might be juggling kids, work, and dinner prep all at once. Here is why this batch of homemade hamburger buns is worth your time:
- Unbeatable Value: You can make a dozen perfect buns for less than $2.00. That is roughly 10 to 15 cents per bun. Think about that. A single store-bought bun often costs more than that. When you are feeding a crowd, those savings add up fast. You can buy more meat, better cheese, or just keep that extra cash in your pocket.
- Texture That Stays Soft: Homemade bread has a life to it. These buns stay soft and squishy for up to three days if stored correctly. I’ve even frozen them and reheated them, and they still taste fresh. Store-bought buns turn into rock hard shells by day two. This is comfort food that actually comforts.
- Perfect for Any Occasion: Whether it’s a summer BBQ, a holiday dinner, or just a Tuesday night family meal, these buns fit right in. They are versatile. You can use them for sliders, burgers, or even pull pork sandwiches. They are a crowd-pleaser because everyone loves fresh bread. Kids usually can’t tell the difference at first, but once they taste the difference, they never go back.
- Simple Ingredients: You likely have everything in your pantry right now. Flour, sugar, salt, yeast, milk, butter, and an egg. No weird preservatives or mysterious chemicals. Just real food. This matters to me because I want to know exactly what is going into my family’s bodies. It’s clean eating without the hassle.
- Customizable Size: Want jumbo buns for thick smash burgers? Go for it. Want tiny sliders for a party? Easy. You control the size. This flexibility is huge for budgeting. You can stretch a pound of ground beef further by making the buns slightly smaller but still delicious.
This recipe isn’t just about filling your stomach. It’s about the joy of baking. It’s about that moment when you pull the pan out and see those golden tops. It’s a small victory in a busy week. And the best part? It doesn’t take a chef to make it. It just takes a desire to eat better and spend less.
What Ingredients You Will Need
This recipe relies on humble, pantry-staple ingredients. The magic happens in the ratio of wet to dry, not in expensive add-ons. I’ve stuck to this formula for years because it works every single time. The goal here is softness and flavor without breaking the bank. You don’t need artisanal flour or imported butter. Standard grocery store brands work perfectly fine. Here is what you need to get started:
- Warm Milk (2 cups / 480 ml): Whole milk is best for richness, but 2% works too. The milk needs to be warm, not hot. Think bathwater temperature. If it’s too hot, it kills the yeast. If it’s too cold, the yeast won’t wake up. This step is crucial for a good rise.
- Active Dry Yeast (2 packets / 14g): Two standard packets is the sweet spot. Some brands come in 1/4 ounce packets, others are 7 grams. Check your package. You need enough yeast to make the dough rise properly. Don’t skimp on this. Fresh yeast is better, but old yeast is the enemy of fluffy buns.
- All-Purpose Flour (4.5 to 5 cups / 560g – 625g): This is your main structure. I usually start with 4.5 cups and add more as needed. The amount can vary depending on humidity. In my kitchen, I usually end up using about 4.75 cups. Add flour slowly. You want a dough that is slightly tacky but not sticky.
- Granulated Sugar (1/4 cup / 50g): Sugar feeds the yeast and adds a subtle sweetness. It also helps with browning. You can use brown sugar for a deeper flavor, but white sugar gives that classic golden crust. It’s a small amount, so it doesn’t make the buns dessert-like.
- Salt (1.5 teaspoons / 9g): Salt is non-negotiable. It enhances the flavor of the bread. Without it, the buns taste flat. Use table salt or kosher salt. If you use kosher salt, you might need a bit more because the crystals are larger. Measure carefully.
- Unsalted Butter (4 tablespoons / 60g): Melted butter adds richness and tenderness. It coats the flour proteins, making the crumb softer. You can use margarine if you are on a tight budget, but real butter tastes better. Save the money by making the buns, not by buying cheap butter.
- Large Egg (1): The egg adds structure and helps the buns brown nicely. It also adds a bit of fat. Room temperature eggs mix in better, but cold eggs are fine if you are in a rush. Just beat it well before adding.
- Vegetable Oil or Shortening (1 tablespoon): This goes into the dough for extra softness. It keeps the buns fresh longer. Olive oil would change the flavor too much. Stick to neutral oils.
Optional but recommended: Egg wash for brushing on top. Mix one egg with a tablespoon of water. This gives you that shiny, professional-looking crust. It’s the little touches that make homemade feel special.
Equipment Needed
You don’t need a fancy kitchen to make these buns. Most of what you need is already in your drawer. Here is the list of tools I use daily. If you are missing one, you can probably substitute it.
- Large Mixing Bowl: A bowl big enough to hold all the ingredients and let the dough expand. I use a large stainless steel bowl. Plastic works too, but metal stays cooler.
- Stand Mixer or Hand Mixer: Kneading by hand is possible, but it takes effort. A stand mixer with a dough hook makes it easy. If you don’t have one, a wooden spoon and strong arms will do. Just be prepared to knead for 10 minutes.
- Measuring Cups and Spoons: Precision matters in baking. Use standard measuring cups for dry ingredients. For liquids, use a glass measuring cup. Don’t scoop flour directly with the cup. Spoon it in and level it off. This prevents dense buns.
- Baking Sheets: Standard half-sheet pans work perfectly. If you don’t have them, use a large rimmed baking dish. Just make sure it’s heavy-duty so it doesn’t warp.
- Parchment Paper: Line your baking sheets with parchment. This prevents sticking and makes cleanup a breeze. It also helps with even baking. It’s a small cost that saves you frustration.
- Clean Kitchen Towel or Plastic Wrap: You need something to cover the dough while it rises. A damp towel works well to prevent a skin from forming. Plastic wrap is easier and keeps the dough moist.
- Instant Read Thermometer (Optional): If you want to be precise, use a thermometer to check the milk temperature. It should be between 105°F and 115°F (40°C – 46°C). This ensures the yeast is happy but not dead.
Don’t worry if you don’t have a stand mixer. I’ve made these by hand many times. It just takes a bit more elbow grease. The result is the same. Focus on the dough consistency, not the tool.
Preparation Method
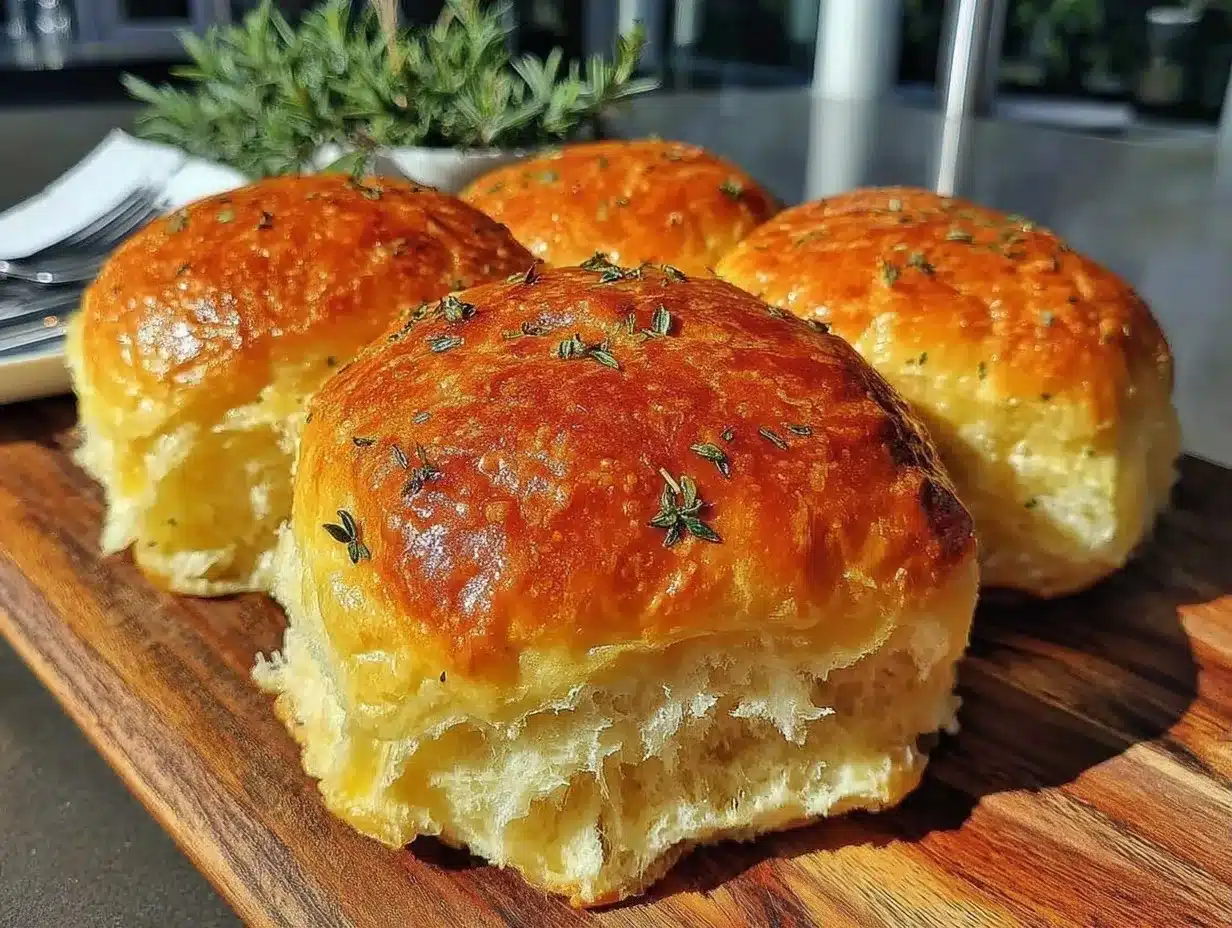
Making these buns is a process, but it’s a straightforward one. There are no complex techniques. Just follow the steps, and you’ll be rewarded with fresh bread. Here is exactly how to do it.
- Activate the Yeast: Start by warming the milk. Heat it in the microwave or on the stove until it is warm to the touch. Do not boil it. Pour the warm milk into a large mixing bowl. Sprinkle the yeast and 1 tablespoon of sugar over the milk. Stir gently. Let it sit for 5 to 10 minutes. You should see foam forming on top. If it doesn’t foam, your yeast is dead. Start over. This step wakes up the yeast and ensures your buns will rise.
- Mix the Wet Ingredients: Once the yeast is foamy, add the melted butter, the remaining sugar, the salt, and the beaten egg. Stir everything together until well combined. The mixture should look smooth and slightly creamy. This creates a flavorful base for your dough.
- Add the Flour: If you are using a stand mixer, attach the dough hook. Add 3 cups of flour to the bowl. Mix on low speed for 1 minute. Gradually add the remaining flour, one half-cup at a time. Stop when the dough starts to pull away from the sides of the bowl. It should still be slightly tacky to the touch. If it’s too sticky, add a little more flour. If it’s too dry, add a splash of milk. You want a soft, pliable dough. This usually takes about 5 minutes on low speed.
- Knead the Dough: Turn the dough out onto a lightly floured surface. Knead it for another 5 to 7 minutes. Push the dough away from you with the heel of your hand, fold it over, and turn it. Repeat this motion. The dough should become smooth and elastic. If you press a finger into it, it should spring back slowly. This develops the gluten, which gives the buns their structure. Place the dough in a lightly oiled bowl. Turn it once to coat the top with oil. This prevents drying.
- First Rise: Cover the bowl with a clean towel or plastic wrap. Let it rise in a warm, draft-free place for 1 to 1.5 hours. The dough should double in size. A good test is to poke it with a finger. If the indent stays, it’s ready. If it springs back, give it more time. This can take longer in a cold kitchen. Patience is key here.
- Shape the Buns: Punch down the dough gently to release air bubbles. Turn it out onto a floured surface. Divide the dough into 12 equal pieces. I use a scale for accuracy, but eyeballing it works too. Roll each piece into a smooth ball. Pinch the seams closed at the bottom. Place the balls on parchment-lined baking sheets, spacing them about 2 inches apart. They need room to expand. For a tighter crumb, place them closer together. For softer sides, leave more space.
- Second Rise: Cover the shaped buns loosely with a towel or plastic wrap. Let them rise again for 30 to 45 minutes. They should look puffy and jiggly. Preheat your oven to 375°F (190°C) during the last 15 minutes of this rise. This saves time and ensures the oven is hot when you need it.
- Bake: Brush the tops with egg wash. This gives them a beautiful golden color. Bake for 15 to 18 minutes. The buns should be golden brown on top and sound hollow when tapped on the bottom. If they sound dull, they need more time. Avoid opening the oven door too early, or the buns might collapse.
- Cool: Remove the buns from the oven. Transfer them to a wire rack if you can. Let them cool for at least 15 minutes before slicing. This allows the structure to set. If you cut them too soon, they will be gummy inside. Enjoy them warm for the best texture.
These steps are simple but precise. Take your time with the rising stages. Rushing the rise is the most common mistake beginners make. Let the dough do its thing.
Cooking Tips & Techniques
I’ve made these buns so many times that I’ve learned a few tricks along the way. These tips will help you avoid common pitfalls and ensure success every time. Baking is science, but it’s also feel. Here is what I’ve learned.
- Watch the Yeast Temperature: This is the most critical step. If your milk is too hot, you kill the yeast. If it’s too cold, it won’t activate. Use a thermometer if you have one. If not, test it on your wrist. It should feel warm, like a baby’s bottle. Not hot. Not lukewarm. Just warm.
- Don’t Over-Flour: It’s tempting to add lots of flour to make the dough less sticky. Resist this urge. Too much flour makes dense, heavy buns. The dough should be soft and slightly tacky. Your hands should stick a little. This moisture is what creates a light crumb. Add flour only if the dough is a puddle.
- Create a Warm Spot: Yeast loves warmth. If your kitchen is cold, find a warm spot for the dough to rise. Turn on your oven to 200°F, then turn it off. Place the bowl inside. The residual heat is perfect. Or place the bowl near a radiator. Consistent warmth means a consistent rise.
- Under-Bake is Better: It’s easy to over-bake bread, especially small buns. They dry out quickly. Pull them out when they are just golden. They will continue to cook slightly from residual heat. Under-baked buns are soft. Over-baked buns are crunchy. We want soft.
- Brush with Butter: Immediately after taking the buns out of the oven, brush the tops with melted butter. This keeps the crust soft and adds flavor. It also gives them a professional sheen. It’s a small step that makes a big difference in texture.
- Store Properly: Let the buns cool completely before storing. If you store them warm, condensation will form and make them soggy. Store them in an airtight container or a plastic bag at room temperature for up to 3 days. For longer storage, freeze them. Wrap them tightly in plastic and then foil.
These tips come from trial and error. I’ve had my share of flat, dense buns. But now, I rarely fail. Trust the process, and trust your senses. If it looks right, it probably is.
Variations & Adaptations
While the basic recipe is perfect, you can tweak it to suit your taste or dietary needs. Here are a few variations I’ve tried and loved.
- Whole Wheat Buns: Substitute half of the all-purpose flour with whole wheat flour. This adds nuttiness and fiber. The buns will be slightly denser, but still delicious. You might need a splash more milk because whole wheat absorbs more liquid.
- Garlic Herb Buns: Add 1 teaspoon of garlic powder and 1 teaspoon of dried parsley to the dry ingredients. These are amazing with burgers or as garlic bread. The flavor profile changes completely, but the texture remains the same.
- Gluten-Free Option: Use a 1-to-1 gluten-free flour blend. Note that GF dough is stickier and doesn’t rise as high. You may need to add a binder like xanthan gum if your blend doesn’t have it. These buns will be more cake-like but still tasty.
- Slider Size: For parties, divide the dough into 24 pieces instead of 12. Bake them for 10 to 12 minutes. They make perfect bite-sized appetizers. Serve them with mini burgers or pulled pork.
- Dairy-Free: Use plant-based milk and margarine instead of butter. The texture might be slightly less rich, but it works well. Just ensure your yeast is vegan-friendly (some are processed with animal products).
These variations allow you to stretch the recipe further. You can make one batch and split it for different uses. It’s a great way to get creative without buying new ingredients.
Serving & Storage Suggestions
How you serve and store these buns matters just as much as how you bake them. Here is how to keep them fresh and delicious.
Serve these buns warm, right out of the oven. They are best with juicy burgers, grilled chicken sandwiches, or even just butter and jam. Pair them with a side of coleslaw or potato salad for a complete meal. The soft texture contrasts nicely with crunchy sides.
For storage, let the buns cool completely. Place them in an airtight container or a heavy-duty ziplock bag. Squeeze out as much air as possible. Store at room temperature for up to 3 days. Do not refrigerate them. The fridge accelerates staling. If you need to keep them longer, freeze them. Wrap each bun individually in plastic wrap, then place them in a freezer bag. They will last for up to 3 months.
To reheat, thaw frozen buns at room temperature. Then, warm them in the oven at 350°F for 5 minutes. Or microwave them for 10 seconds. They will taste almost as good as fresh. Do not microwave for too long, or they become chewy.
These buns also make great leftovers. Slice them up and toast them for French toast. Or use stale buns for breadcrumbs. Nothing goes to waste in my kitchen. Every part of this recipe is useful.
Nutritional Information & Benefits
These homemade buns are made with simple ingredients, so you know exactly what you are eating. Here is a rough estimate per bun:
- Calories: 120-140 kcal
- Carbohydrates: 22g
- Protein: 4g
- Fat: 3g
- Fiber: 1g
They are a good source of energy from carbohydrates. The yeast provides some B vitamins. By making them at home, you control the sugar and salt content. You can reduce the sugar if you want a lower-calorie option. The lack of preservatives is a big plus. You aren’t ingesting chemicals to keep them fresh. This is wholesome, simple food. It fits well into a balanced diet when eaten in moderation. I love that I can feed my family something that is both comforting and clean.
Conclusion
Making homemade hamburger buns is one of the most rewarding kitchen projects you can take on. It saves money, improves flavor, and gives you a sense of pride. These buns are soft, delicious, and incredibly cheap to make. I hope you try this recipe and see the difference for yourself. Don’t be afraid of the yeast. Trust the process, and you’ll be rewarded with the best buns you’ve ever tasted. Customize them to your liking. Add herbs, change the size, or try whole wheat. The possibilities are endless. If you make these, please leave a comment below. I’d love to hear how they turned out for you. Share your photos and tips. Let’s build a community of budget-friendly bakers. Happy cooking!
Frequently Asked Questions
Can I use instant yeast instead of active dry yeast?
Yes, you can. Instant yeast can be mixed directly into the dry ingredients. You don’t need to activate it in milk first. Use the same amount. The rise time might be slightly faster, so keep an eye on the dough.
Why did my buns turn out dense?
This usually happens if you added too much flour or if the yeast was dead. Make sure you measured the flour correctly by spooning it into the cup. Also, check the expiration date on your yeast. If the yeast didn’t foam in the milk, it was likely inactive.
How do I keep the buns soft for longer?
Store them in an airtight container at room temperature. Do not refrigerate them, as the cold makes bread stale faster. You can also brush them with butter after baking to lock in moisture.
Can I freeze the dough instead of the baked buns?
Yes, you can. After the first rise, punch down the dough and divide it into balls. Place them on a tray and freeze until solid. Then transfer to a bag. When you’re ready to bake, let them thaw and do the second rise before baking.
What is the best way to reheat leftover buns?
Wrap them in foil and warm them in a 350°F oven for 10 minutes. This restores the soft texture. You can also microwave them for 10-15 seconds, but be careful not to overheat them or they will become chewy.
Pin This Recipe!
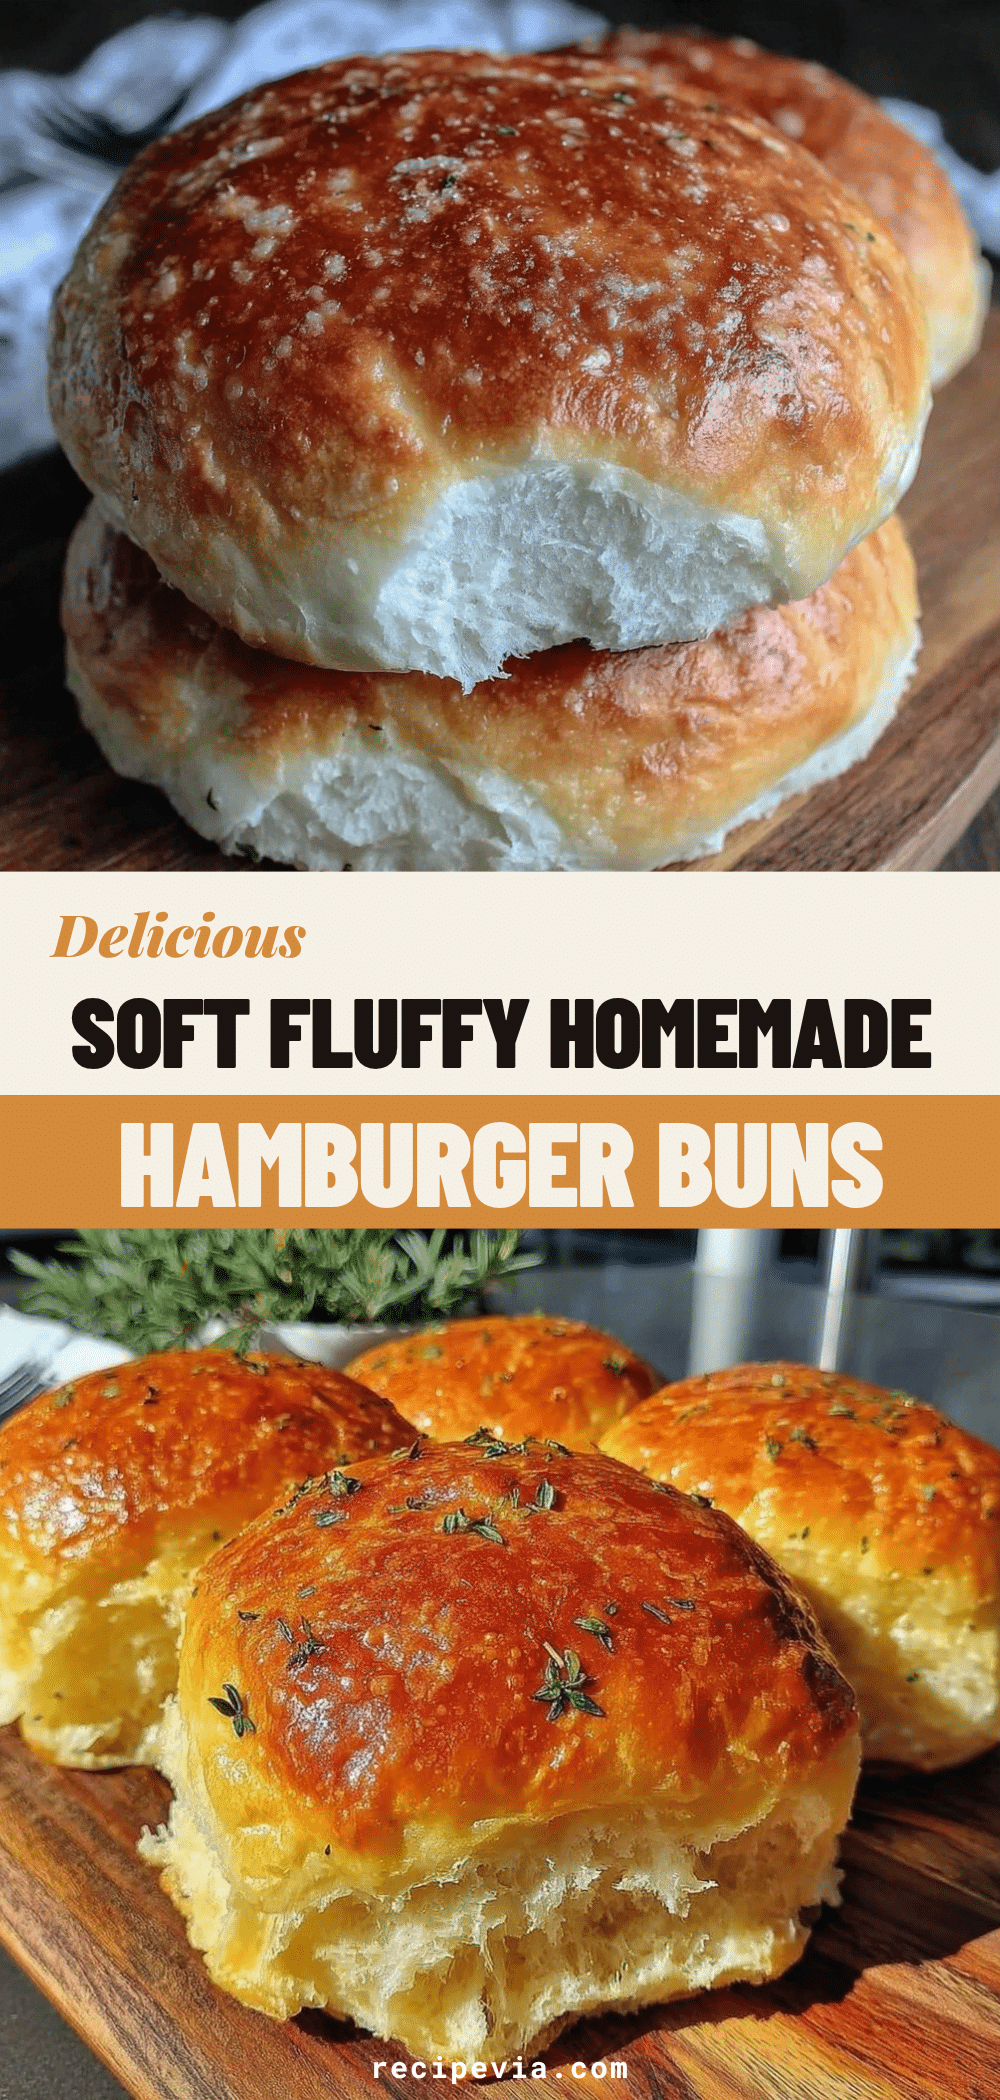

Homemade Hamburger Buns: Easy 10-Cent Crowd Feeder
- Total Time: 2 hours 48 minutes
- Yield: 12 servings 1x
Description
Soft, pillowy homemade hamburger buns that are incredibly cheap to make and stay fresh for days. Perfect for BBQs, sliders, or everyday meals.
Ingredients
- 2 cups warm milk (whole or 2%)
- 2 packets active dry yeast (14g)
- 1 tablespoon granulated sugar (for yeast)
- 4.5 to 5 cups all-purpose flour (approx. 560g – 625g)
- 1/4 cup granulated sugar (remaining)
- 1.5 teaspoons salt
- 4 tablespoons unsalted butter, melted
- 1 large egg, beaten
- 1 tablespoon vegetable oil or shortening
- 1 egg mixed with 1 tablespoon water (for egg wash)
Instructions
- Activate the yeast: Warm the milk to bathwater temperature (105°F-115°F). Pour into a large bowl, sprinkle in yeast and 1 tablespoon of sugar. Stir gently and let sit for 5-10 minutes until foamy.
- Mix wet ingredients: Add melted butter, remaining sugar, salt, and beaten egg to the yeast mixture. Stir until well combined.
- Add flour: If using a stand mixer with a dough hook, add 3 cups of flour and mix on low for 1 minute. Gradually add remaining flour, one half-cup at a time, until dough pulls away from sides but remains slightly tacky.
- Knead dough: Turn dough onto a floured surface and knead for 5-7 minutes until smooth and elastic. Place in a lightly oiled bowl, turning to coat.
- First rise: Cover bowl with a towel or plastic wrap. Let rise in a warm, draft-free place for 1 to 1.5 hours, or until doubled in size.
- Shape buns: Punch down dough and divide into 12 equal pieces. Roll into smooth balls and pinch seams closed. Place on parchment-lined baking sheets, spacing 2 inches apart.
- Second rise: Cover buns loosely and let rise for 30-45 minutes until puffy. Preheat oven to 375°F (190°C) during the last 15 minutes.
- Bake: Brush tops with egg wash. Bake for 15-18 minutes until golden brown and hollow when tapped.
- Cool: Remove from oven and brush tops with melted butter. Transfer to a wire rack and cool for at least 15 minutes before slicing.
Notes
Ensure milk is warm but not hot to avoid killing the yeast. Do not over-flour the dough; it should be slightly tacky. Store in an airtight container at room temperature for up to 3 days. Do not refrigerate as it accelerates staling. Can be frozen for up to 3 months.
- Prep Time: 30 minutes
- Cook Time: 18 minutes
- Category: Side Dish
- Cuisine: American
Nutrition
- Serving Size: 1 bun
- Calories: 130
- Sugar: 4
- Sodium: 180
- Fat: 3
- Saturated Fat: 1.5
- Carbohydrates: 22
- Fiber: 1
- Protein: 4
Keywords: homemade hamburger buns, budget baking, yeast bread, soft dinner rolls, crowd feeder, easy bread recipe