
There is a specific kind of hunger that hits around 1:00 PM on a Tuesday. It’s not just hunger, honestly; it’s a craving for something substantial but not heavy enough to make you sleepy at your desk. I remember standing in my kitchen last November, staring into the fridge with the door open, wondering if I could survive on dry cereal again. The answer was a resounding no. That was the day I decided to stop fighting the clock and start embracing the baked Italian grinder.
This recipe isn’t some complicated gourmet project that requires three hours of prep. It’s the opposite. It’s a 15-minute assembly job that transforms into a molten, cheesy masterpiece while you handle the rest of your day. I’ve tested this over a dozen times, adjusting the cheese ratios and bread types, and I can tell you with absolute certainty that this is the best version. It’s reliable, it’s flavorful, and it smells like a cozy Italian deli but costs a fraction of the price.
If you’re tired of the same old sandwich routine, you need to try this. It’s perfect for busy families, meal preppers, or anyone who wants hot food without the oven heat warping their house. The combination of cured meats, sharp provolone, and tangy peppers creates a flavor profile that is deeply satisfying. You know how sometimes you make a dish and it just feels like it was written for you? This is that recipe.
What makes this baked version special is the texture. When you bake it, the bread gets crispy on the outside but stays soft inside, soaking up the juices from the meats and cheese. It’s comfort food that doesn’t weigh you down. I’ve served this to friends who thought it was from a high-end restaurant, and they were shocked when I told them it took less time than it takes to boil pasta. Honestly, it’s a game-changer for weeknight lunches.
I also love that it’s forgiving. You don’t need to be a chef to pull this off. If you don’t like pepperoni, swap it for salami. If you’re out of peppers, use some roasted red peppers from a jar. The core concept remains the same: great bread, quality cheese, and a little bit of heat. It’s simple, it’s effective, and it’s become a staple in my weekly rotation. Let’s face it, we all need one recipe that just works every single time.
Why You’ll Love This Recipe
After baking this grinder multiple times, I’ve realized why it has become such a favorite. It’s not just about the taste, though that’s definitely the main draw. It’s about the experience of making it and the way it turns out. Here is why this recipe stands out from the crowd:
- Quick & Easy: You can have this ready in under 20 minutes from start to finish. It’s perfect for busy weeknights when you’re tired but still want something hot and homemade.
- Simple Ingredients: You likely already have most of these items in your pantry or fridge. No fancy grocery trips needed, just standard deli meats, cheese, and a good loaf of bread.
- Perfect for Meal Prep: These hold up well in the fridge and can be reheated in the oven or toaster oven. They make for an excellent lunch for the next day, too.
- Crowd-Pleaser: Whether you have picky eaters at home or guests over for a casual lunch, this sandwich appeals to almost everyone. The flavors are bold but familiar.
- Unbelievably Delicious: The melting cheese and toasted bread create a texture that is next-level comfort food. It’s savory, spicy, and incredibly satisfying.
What makes this different from a regular cold sandwich is the transformation that happens in the oven. The heat melds the flavors together in a way that you just can’t get by assembling it cold. The provolone gets stringy and gooey, the pepperoni crisps up slightly at the edges, and the bread absorbs the savory juices. It’s a special technique that elevates a simple sandwich into a meal.
It’s also great for impressing guests without stress. You can assemble these ahead of time and pop them in the oven right when your guests arrive. It feels like you put in effort, but really, you just followed a simple list. It’s comfort food reimagined—fast, easy, but with the same soul-soothing satisfaction as a hot meal from your favorite local spot.
What Ingredients Do You Need?
This recipe relies on high-quality, simple ingredients to deliver bold flavor without the fuss. The key is to use ingredients that you enjoy eating on their own, since the flavors will concentrate when baked. Here is what you will need to gather:
- Italian Bread or Sub Rolls: You need a loaf that can hold up to the fillings. A French baguette or a large Italian roll works best. Look for one with a sturdy crust and a soft interior. Freshness matters here, so avoid stale bread.
- Pepperoni Slices: This adds the classic spicy kick. I prefer the cup-and-char style if you can find it, but standard slices work fine. They get crispy and flavorful when baked.
- Salami or Ham: For a mix of savory flavors, add some Genoa salami or sliced ham. This adds depth and variety to the meat profile. You can use just one type if you prefer.
- Provolone Cheese: This is the star of the show. Use sliced provolone for easy layering. It melts beautifully and has a sharp taste that cuts through the richness of the meats. I recommend a brand like Sargento for consistent quality.
- Mozzarella Cheese: Shredded mozzarella adds that stretchy, gooey texture. Using a block and shredding it yourself is better than pre-shredded, as it melts smoother.
- Pepperoncini Peppers: These are essential for the tangy, briny punch. They add acidity that balances the fat from the cheese and meat. You can find them in jars at most grocery stores.
- Italian Dressing: A good quality oil-based Italian dressing helps bind the flavors and adds moisture. Make sure it’s not too watery, or the bread will get soggy.
- Olive Oil: A light brush of olive oil on the outside of the bread helps it brown nicely in the oven.
- Dried Oregano: A sprinkle of dried oregano adds an aromatic herbal note that ties everything together.
If you want to customize this, feel free to swap the meats. Some people like using roast beef or turkey. You can also add sautéed onions or mushrooms if you want more veggies. Just be sure to pat them dry first so the sandwich doesn’t get too wet. The beauty of this recipe is its flexibility.
Equipment Needed
You don’t need a lot of fancy gear to make this. Here is what you’ll need:
- Baking Sheet: A standard rimmed baking sheet is perfect. It holds multiple sandwiches and allows for even air circulation.
- Parchment Paper: Lining your baking sheet makes cleanup a breeze. It also prevents the cheese from sticking and burning.
- Pastry Brush: Use this to apply olive oil and Italian dressing evenly. A silicone brush is durable and easy to clean.
- Sharp Knife: You need a good serrated knife to slice the bread without crushing it. A dull knife will tear the crust.
- Grater: If you’re shredding your own cheese, a box grater works well. It gives you better control over the shred size.
If you don’t have a baking sheet, you can use a cast-iron skillet, but you won’t be able to fit as many sandwiches at once. For the brush, a fork works in a pinch for spreading the oil. Just be gentle so you don’t break the bread. Keeping your tools clean and sharp makes the process smoother.
How to Make Baked Italian Grinders
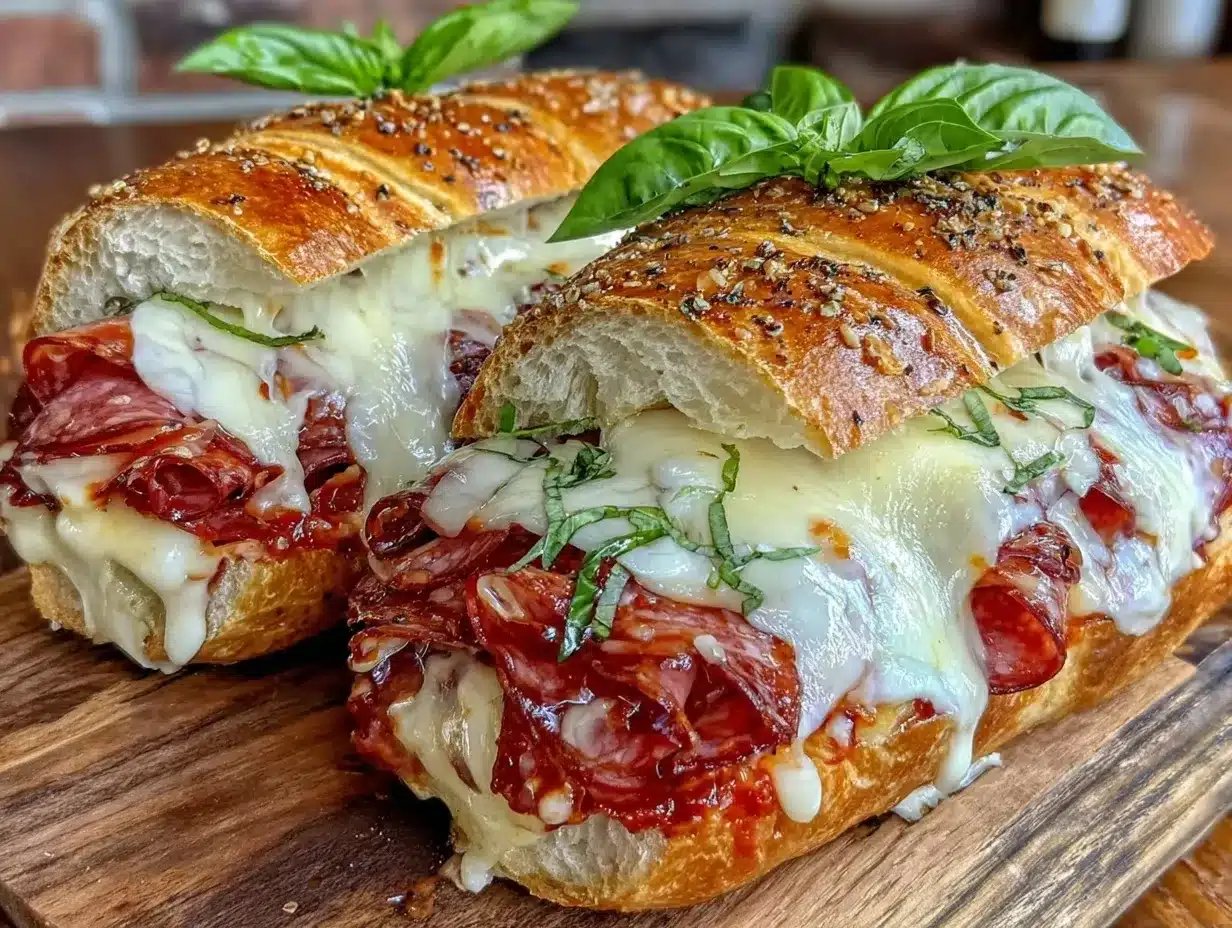
Let’s walk through the steps to get these ready. It’s straightforward, but there are a few tricks to ensure they turn out perfect.
- Prep the Oven and Pan: Preheat your oven to 375°F (190°C). Line a large baking sheet with parchment paper. This ensures nothing sticks and makes cleanup super fast.
- Prepare the Bread: Slice your Italian loaf or sub rolls in half horizontally. Be careful not to cut all the way through if you want them to stay connected, or slice them completely if you prefer individual portions. For a larger batch, slicing a baguette lengthwise is a great option.
- Add the Dressing: Brush the cut sides of the bread with a generous amount of Italian dressing. This adds flavor and helps the cheese adhere. Don’t skip this step, as it prevents the bread from drying out.
- Layer the Cheese: Start with a layer of provolone slices on the bottom half of the bread. This acts as a barrier between the wet dressing and the bread, keeping it crisp.
- Add the Meats: Layer on the pepperoni, salami, and ham. Fold the slices slightly so they fit better and create a thicker filling. You want a generous amount of meat for flavor.
- Add the Peppers: Drain the pepperoncini peppers well. Place them on top of the meats. If they are too large, chop them into smaller pieces so they distribute evenly.
- Top with Mozzarella: Sprinkle the shredded mozzarella over the peppers. This adds the final layer of cheese that will melt and brown.
- Close and Brush: Close the sandwiches. Brush the tops with olive oil and sprinkle with dried oregano. This helps them brown and adds a nice aroma.
- Bake: Place the sandwiches on the baking sheet. Bake for 10-12 minutes, or until the cheese is bubbly and the bread is golden brown. Keep an eye on them to prevent burning.
- Cool and Slice: Let them cool for 2-3 minutes before slicing. This allows the cheese to set slightly so it doesn’t slide out when you bite into it. Slice in half or thirds and serve warm.
If the cheese isn’t melting enough, you can broil for the last minute, but watch it closely. The bread can burn quickly under the broiler. Also, if your sandwiches are very thick, you might need an extra minute or two in the oven. Trust your eyes, not just the timer.
Cooking Tips & Techniques
Over time, I’ve learned a few things that make a big difference. First, don’t skimp on the cheese. It’s the main attraction, and more cheese usually means better results. Second, drain your peppers thoroughly. Excess liquid can make the bread soggy, which is the last thing you want. I usually pat them with a paper towel before adding them.
Another tip is to use a mix of cheeses. The provolone gives you the sharp flavor, while the mozzarella gives you the stretch. If you only have one type, that’s fine, but the combo is superior. Also, consider toasting the bread lightly before adding the toppings if you prefer a crunchier texture. This adds an extra layer of protection against moisture.
I once made these with a very soft bread, and they fell apart in the oven. Lesson learned: always use sturdy bread. Baguettes and ciabatta are great choices. If you use a softer roll, just be careful not to overfill it. Balance is key. Don’t overload the sandwich with too many ingredients, or it won’t cook evenly.
Timing is also important. If you’re making these for a party, you can assemble them ahead of time and refrigerate them. Just take them out 10 minutes before baking to take the chill off. This helps them cook more evenly. Also, if you’re using a convection oven, reduce the temperature by 25°F to prevent the tops from burning too quickly.
Variations & Adaptations
One of the best things about this recipe is how easy it is to tweak. Here are a few ideas:
- Spicy Version: Add some sliced jalapeños or a dash of red pepper flakes for extra heat. If you like it really hot, use spicy salami instead of mild.
- Veggie Boost: Add sautéed spinach or roasted red peppers. Just make sure to squeeze out any excess water from the spinach. This adds nutrition without compromising flavor.
- Chicken Twist: Swap the cured meats for grilled chicken strips. Season the chicken with Italian herbs before adding it to the sandwich. This is a lighter option that still feels indulgent.
- Gluten-Free: Use gluten-free Italian rolls or ciabatta. Many brands now make sturdy gluten-free bread that holds up well to baking.
- Vegan Option: Use vegan deli slices and vegan cheese. There are many good plant-based options that melt well now. Add extra veggies for bulk and flavor.
I’ve also tried adding a layer of marinara sauce inside the sandwich for a more pizza-like flavor. It’s delicious but can make the bread softer, so use it sparingly. Another variation is to add artichoke hearts, which add a nice tangy crunch. Feel free to experiment and find your perfect combination.
Serving & Storage Suggestions
These grinders are best served hot and fresh. Pair them with a simple green salad or some chips for a complete lunch. A glass of cold soda or iced tea goes well with the savory flavors. For dinner, serve them with a side of roasted vegetables or soup.
If you have leftovers, store them in an airtight container in the fridge for up to 3 days. To reheat, place them in the oven at 350°F for 10 minutes or in a toaster oven. Avoid the microwave, as it can make the bread chewy and tough. The oven helps restore the crispiness.
These sandwiches also freeze well. Wrap them tightly in plastic wrap and foil, and freeze for up to 1 month. Thaw in the fridge overnight and reheat in the oven. The flavors actually meld together more over time, so day-two sandwiches can be even better.
Nutritional Information & Benefits
While this is a comfort food, it can fit into a balanced diet. The bread provides carbohydrates for energy, while the meats and cheese offer protein. Using whole-grain bread can add fiber and nutrients. The olive oil and pepperoncini peppers provide some healthy fats and antioxidants.
Keep in mind that the calorie count can vary based on the amount of cheese and meat used. If you’re watching your intake, try using less cheese or leaner meats. This recipe is not gluten-free unless you use specific bread, and it contains dairy and pork. Always check labels if you have allergies.
I enjoy this as an occasional treat rather than a daily staple. It’s a delicious way to satisfy a craving without feeling guilty. The key is moderation and balance. Pairing it with a side of veggies helps round out the meal.
Conclusion
This baked Italian grinder is a weeknight lunch hero. It’s easy, delicious, and satisfying. I hope you give it a try and make it your own. Feel free to adjust the ingredients to suit your taste. I’d love to hear how you customize it. Leave a comment below with your favorite variations.
Don’t forget to share your creations on social media. Tag me so I can see your delicious results. Happy baking, and enjoy your meal!
Frequently Asked Questions
Can I use different types of bread?
Yes, you can use French bread, ciabatta, or even pita bread. Just make sure it’s sturdy enough to hold the fillings. Softer breads may get too soggy.
How do I prevent the bread from getting soggy?
Drain your peppers well and avoid adding too much dressing. You can also toast the bread lightly before adding the toppings to create a barrier.
Can I make these ahead of time?
Yes, you can assemble them and refrigerate them for up to 24 hours. Just bake them when you’re ready to eat. You may need to add a minute or two to the baking time.
What cheese is best for this recipe?
Provolone and mozzarella are the classic choices. You can also use fontina or Swiss for a different flavor profile. Just make sure the cheese melts well.
Can I freeze these sandwiches?
Yes, wrap them tightly and freeze for up to 1 month. Thaw in the fridge and reheat in the oven for the best texture.
Pin This Recipe!
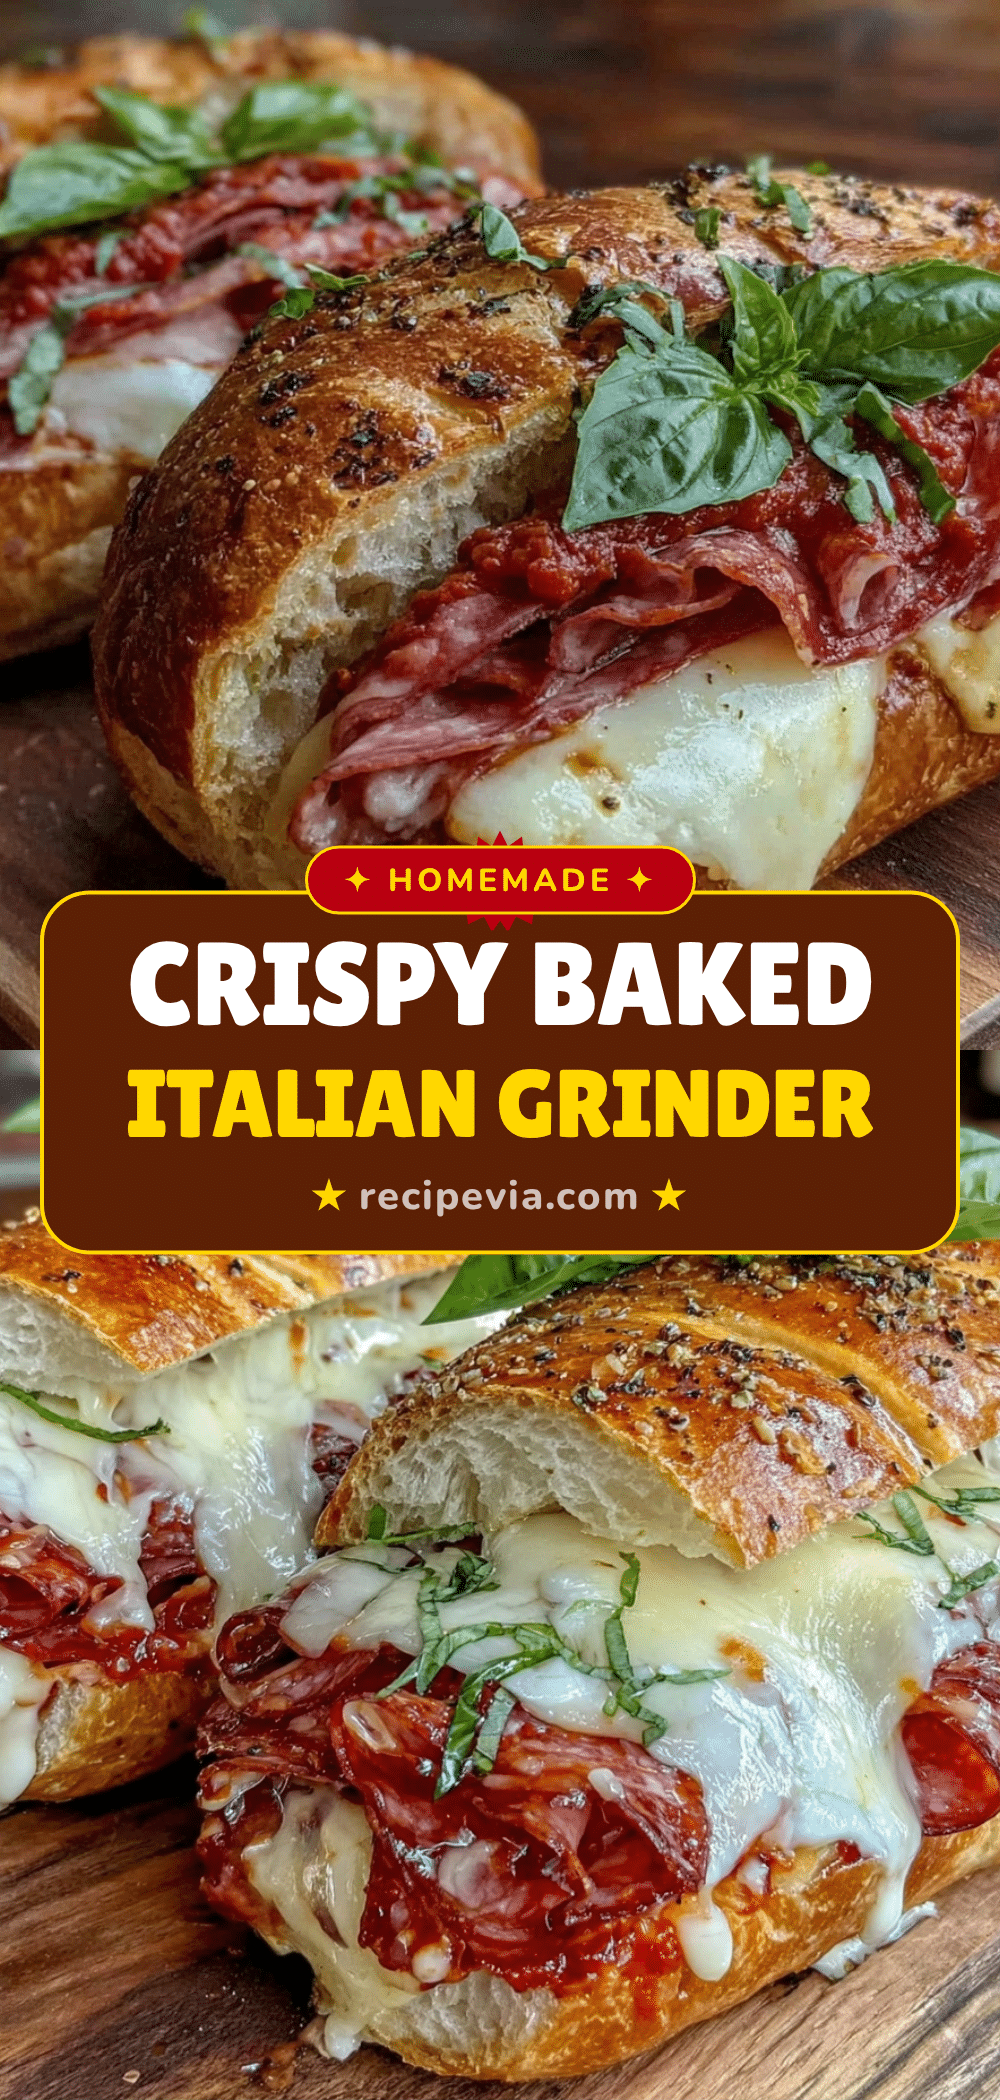

Baked Italian Grinder: Easy 15-Minute Lunch
- Total Time: 27 minutes
- Yield: 4 servings 1x
Description
A quick and easy baked sandwich featuring crispy bread, melted provolone and mozzarella cheese, cured meats, and tangy pepperoncini peppers. Perfect for busy weeknight lunches or meal prep.
Ingredients
- 1 Italian loaf or sub rolls (or French baguette)
- Pepperoni slices
- Genoa salami or sliced ham
- Sliced provolone cheese
- Shredded mozzarella cheese
- Pepperoncini peppers, drained
- Oil-based Italian dressing
- Olive oil
- Dried oregano
Instructions
- Preheat oven to 375°F (190°C) and line a large baking sheet with parchment paper.
- Slice the Italian loaf or sub rolls in half horizontally.
- Brush the cut sides of the bread generously with Italian dressing.
- Layer sliced provolone cheese on the bottom half of the bread.
- Layer pepperoni, salami, and ham on top of the cheese, folding slices to fit.
- Place drained pepperoncini peppers on top of the meats.
- Sprinkle shredded mozzarella cheese over the peppers.
- Close the sandwiches and brush the tops with olive oil.
- Sprinkle dried oregano over the tops.
- Bake for 10-12 minutes until cheese is bubbly and bread is golden brown.
- Let cool for 2-3 minutes before slicing and serving warm.
Notes
Ensure peppers are drained well to prevent soggy bread. Use sturdy bread like baguettes or ciabatta. For a spicy version, add jalapeños or red pepper flakes. Can be assembled ahead and refrigerated for up to 24 hours before baking.
- Prep Time: 15 minutes
- Cook Time: 12 minutes
- Category: Main Course
- Cuisine: Italian
Nutrition
- Serving Size: 1 sandwich half
- Calories: 450
- Sugar: 3
- Sodium: 900
- Fat: 22
- Saturated Fat: 10
- Carbohydrates: 35
- Fiber: 2
- Protein: 20
Keywords: baked Italian grinder, easy lunch, weeknight dinner, Italian sandwich, baked sandwich, quick meals, meal prep