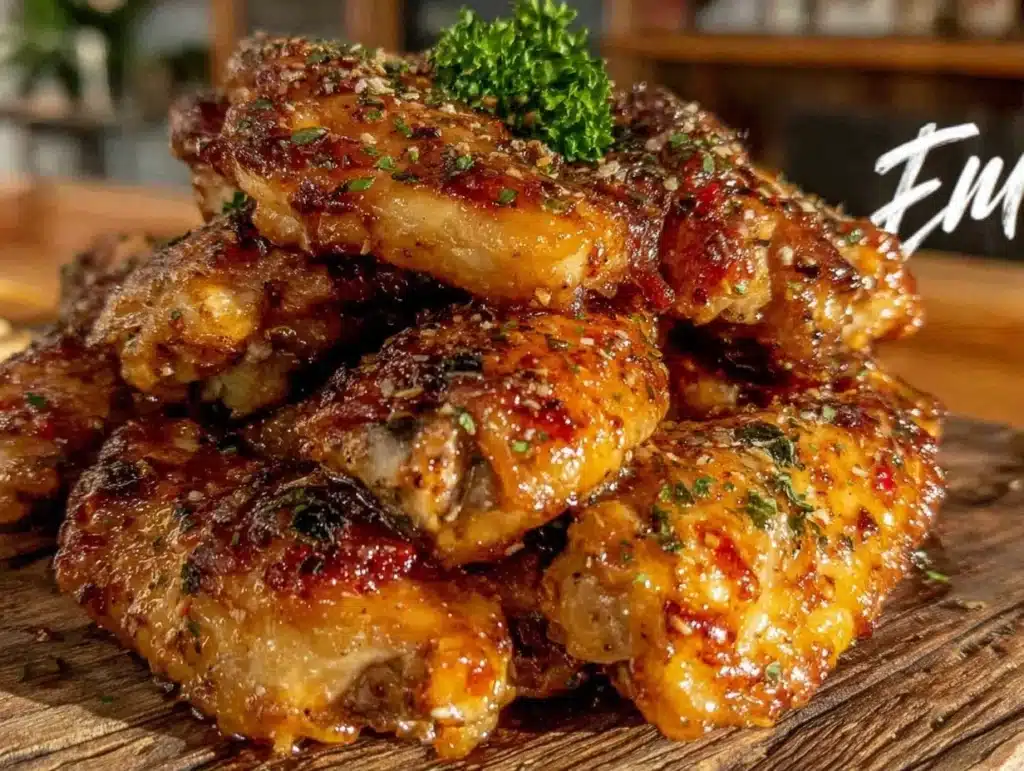
Let’s be honest, the smell of frying oil lingering in the kitchen for hours is a nightmare. I used to think crispy chicken wings were impossible to make without deep-frying them in a vat of grease. It was messy, dangerous, and honestly, a bit of a hassle for a Tuesday night snack. Then I discovered the baking powder trick. It changed everything. Now, I can make wings that are crunchier than takeout without the cleanup.
I first made these crispy baked chicken wings during a rainy Sunday when I just wanted comfort food but didn’t want to feel heavy afterward. I was skeptical. Could a simple oven really replicate that fried texture? Turns out, yes, it can. And it’s cheaper too. You know how grocery prices have gone up? These wings stretch your budget further and nobody can tell. You get that restaurant-quality crunch at a fraction of the cost.
As someone who has tested over fifty wing recipes, I’ve learned that the secret isn’t the heat—it’s the drying. This recipe is perfect for busy families, game-day crowds, or just you wanting a high-protein snack. It’s the kind of dish that brings everyone to the table. I’ve served these to picky eaters and hardcore foodies alike, and they all ask for the recipe. It’s reliable, it’s tasty, and it’s actually good for you compared to fried versions.
Why You’ll Love This Recipe
There is a reason this crispy baked chicken wings recipe has become a staple in my weekly meal rotation. It’s not just about convenience; it’s about the texture. After baking these hundreds of times, I can confidently say this method produces the most consistent results. The skin gets shatteringly crisp while the meat stays juicy inside. It’s a game-changer for anyone who loves wings but hates the guilt of deep frying.
- Quick & Easy: Prep takes ten minutes. The rest is just waiting in the oven. Perfect for last-minute cravings or when guests show up unexpectedly.
- Simple Ingredients: You don’t need a trip to a specialty store. You likely have all the spices and that secret weapon—baking powder—in your pantry right now.
- Perfect for Game Day: Whether it’s the Super Bowl or a casual Friday watch party, these wings are the centerpiece. They hold up well to sauces and stay crisp longer than fried ones.
- Crowd-Pleaser: Kids love the crunch, and adults appreciate the lighter profile. They disappear fast, so make a double batch.
- Unbelievably Delicious: The contrast between the seasoned, crispy skin and the tender meat is next-level comfort food. It’s soul-satisfying.
What makes this recipe different is the science behind the baking powder. It raises the pH level of the skin, breaking down peptide bonds and allowing the skin to crisp up like it’s been deep-fried. It’s a technique I learned from professional chefs but simplified for the home cook. This isn’t just another wing recipe; it’s the best version because it balances flavor, texture, and ease perfectly.
Emotionally, these wings are a win. They remind me of those late-night diner trips, but made at home with care. It’s the kind of recipe that makes you feel like a pro in the kitchen without the stress. You can impress guests without sweating over a fryer. It turns a simple chicken package into something memorable and delicious.
What Ingredients You Will Need
This recipe relies on humble ingredients to deliver bold flavor and satisfying texture. You don’t need expensive cuts or exotic spices. The magic happens in the ratio of dry ingredients to wet chicken. Here is what you need to get started.
The Wings
- Chicken Wings: 2 to 3 pounds. Look for whole wings or drumettes. I prefer whole wings for that mix of meat and skin. Fresh is best, but frozen works if thawed completely.
- Baking Powder: 1 tablespoon. This is the secret. Use aluminum-free baking powder. It helps dry out the skin and create those tiny air pockets for extra crispness.
- Kosher Salt: 1 teaspoon. Kosher salt is key because it sticks to the wet skin better than table salt. It seasons the meat deeply.
- Black Pepper: 1/2 teaspoon. Freshly cracked adds a nice bite.
The Dry Rub (Optional but Recommended)
- Garlic Powder: 1 teaspoon. Adds savory depth without burning.
- Onion Powder: 1 teaspoon. Complements the garlic perfectly.
- Cayenne Pepper: 1/2 teaspoon. For a little heat. Adjust based on your spice tolerance.
- Smoked Paprika: 1 teaspoon. Gives a smoky flavor that mimics grilling.
I recommend using Bob’s Red Mill baking powder for consistent results. Look for firm, small-curd chicken wings if possible, as they have tighter skin. For seasonal variations, you can swap the dry rub for buffalo seasoning or lemon pepper. If you need a gluten-free option, this recipe is naturally gluten-free as long as your baking powder is certified GF. You can substitute the cayenne with chili flakes if you prefer a different heat profile. Keep it simple and let the chicken shine.
Equipment Needed
You don’t need fancy gadgets for this. A few basic tools will get you restaurant-quality results.
- Rimmed Baking Sheet: A standard half-sheet pan works best. Make sure it has a lip to catch any drips.
- Wire Rack: This is crucial. Placing a wire rack over the baking sheet allows air to circulate under the wings. This prevents the bottom from getting soggy. If you don’t have a rack, you can bake them directly on the sheet, but they won’t be as crisp.
- Paper Towels: You need plenty of these to pat the wings dry. Moisture is the enemy of crispiness.
- Large Bowl: For tossing the wings with the dry ingredients.
- Aluminum Foil: Lining the baking sheet (under the rack) makes cleanup a breeze. Just toss it out after.
If you don’t have a wire rack, you can use crumpled aluminum foil balls under the wings to elevate them slightly. It’s not as good as a rack, but it helps. I’ve used cheap wire racks from the dollar store for years, and they work just fine. Just wash them well to remove any manufacturing oils.
Preparation Method
- Preheat the Oven: Set your oven to 425°F (220°C). Let it fully heat up. Consistent heat is vital for that initial sear on the skin.
- Prep the Wings: Take your wings out of the package. If they are whole wings, separate them at the joints. Discard the tips or save them for stock. Pat them thoroughly dry with paper towels. This step takes time, but it’s worth it. The drier they are, the crispier they get.
- Season the Wings: In a large bowl, combine the baking powder, salt, pepper, and your chosen spices. Add the wings to the bowl. Toss them until every piece is evenly coated. You want a thin, uniform layer of seasoning on each wing. Don’t skip the baking powder; it’s the key to the texture.
- Arrange on Rack: Place a wire rack on a baking sheet. Line the sheet with foil for easy cleanup. Arrange the wings on the rack in a single layer. Do not crowd them! Air circulation is everything. If your pan is small, bake in batches. Leave space between each wing.
- Bake: Put the wings in the oven. Bake for 40 to 50 minutes. Halfway through, flip the wings. This ensures even browning. You want the skin to look golden brown and shriveled. It should look dry and crisp, not pale or soggy.
- Check for Doneness: The internal temperature should reach 165°F (74°C). The juices should run clear. If they aren’t crisp enough, broil for 1-2 minutes at the end, but watch closely so they don’t burn.
- Serve: Remove from the oven. Toss in your favorite sauce if you like, or serve plain with dipping sauces. Eat immediately while they are hot and crunchy.
Personal tip: If you have time, let the seasoned wings sit on the rack in the fridge for 1-2 hours before baking. This air-dries them further and improves crispiness. It’s a game-changer for weekend cooking.
Cooking Tips & Techniques
Professional chefs know that moisture control is the most important part of roasting chicken. Here are some insights from my own kitchen failures.
- Pat Dry Aggressively: I used to rush this step. Big mistake. The wings must be bone-dry before adding seasoning. Use multiple paper towels.
- Don’t Skip the Rack: Baking directly on the pan leads to steaming. The rack allows hot air to hit the bottom of the wing. It’s non-negotiable for crispiness.
- Watch the Broiler: If you broil at the end, keep the door slightly ajar if your oven runs hot. Burnt wings are bitter and unpleasant.
- Sauce After Baking: If you want sauced wings, toss them in sauce right before serving. If you bake them with sauce on, the sugar in the sauce will burn and the skin will get soft.
I once tried to speed up the process by turning up the heat to 500°F. The outside burned before the inside cooked. Stick to 425°F. It’s the sweet spot. Multitask by prepping your dipping sauces while the wings bake. This saves time and keeps the meal flowing smoothly.
Variations & Adaptations
One of the best things about this crispy baked chicken wings recipe is how easy it is to customize. Here are a few ideas.
- Buffalo Style: Toss baked wings in a mixture of hot sauce and melted butter. Classic and spicy.
- Honey Garlic: Mix soy sauce, minced garlic, honey, and ginger. Toss the wings after baking.
- BBQ Dry Rub: Use a pre-made BBQ rub instead of the spices listed. Great for a smoky flavor.
- Gluten-Free: Ensure your baking powder and spices are certified gluten-free. This recipe is naturally GF otherwise.
- Dairy-Free: Skip the butter in sauces. Use olive oil or dairy-free margarine.
I’ve tried adding cornstarch to the dry mix, but baking powder works better for texture. For a lighter option, use just salt and pepper and let the natural chicken flavor shine. You can also add lemon zest to the dry rub for a fresh twist. These adaptations allow you to enjoy the same crispy base with different global flavors.
Serving & Storage Suggestions
Serve these wings hot, straight out of the oven. They pair well with celery sticks, carrot sticks, and blue cheese or ranch dressing. A cold beer or a crisp soda complements the richness perfectly.
Store leftovers in an airtight container in the fridge for up to 3 days. Reheat in the oven at 400°F for 10 minutes to restore crispiness. The microwave will make them soggy, so avoid it. You can also freeze baked wings for up to 2 months. Reheat from frozen in the air fryer or oven. The flavors actually meld nicely after a day, making them great for meal prep.
Nutritional Information & Benefits
Chicken wings are a good source of protein and essential vitamins like B12 and niacin. By baking instead of frying, you significantly reduce the fat content. A serving of these wings has roughly 200-250 calories, depending on the sauce. They are naturally gluten-free and low-carb if you avoid sugary sauces. This makes them a great option for those watching their weight or managing dietary restrictions. I include them in my high-protein meal plans because they are satisfying and keep me full longer than chips or crackers.
Conclusion
These crispy baked chicken wings are a must-try. They are crunchy, flavorful, and so much healthier than fried versions. I love that I can make them on a whim without the mess. Customize the flavors to suit your taste and share them with friends. Try this recipe and let me know how it turns out in the comments below. Happy baking!
FAQs
Why use baking powder for wings?
Baking powder raises the pH of the chicken skin, which helps break down proteins and allows the skin to crisp up like it’s been deep-fried. It creates tiny air pockets for extra crunch.
Can I use frozen wings?
Yes, but you must thaw them completely and pat them very dry before seasoning. Frozen wings release more water, which can prevent crisping.
How do I keep wings crispy after saucing?
Toss the wings in sauce immediately before serving. Do not bake them with sauce on, as the moisture will soften the skin.
What is the best temperature to bake wings?
425°F (220°C) is ideal. It’s hot enough to render fat and crisp the skin without burning it.
Can I air fry these wings?
Yes, you can air fry them at 400°F for 20-25 minutes, flipping halfway. The results are similar, though baking gives a more even cook for larger batches.
Pin This Recipe!
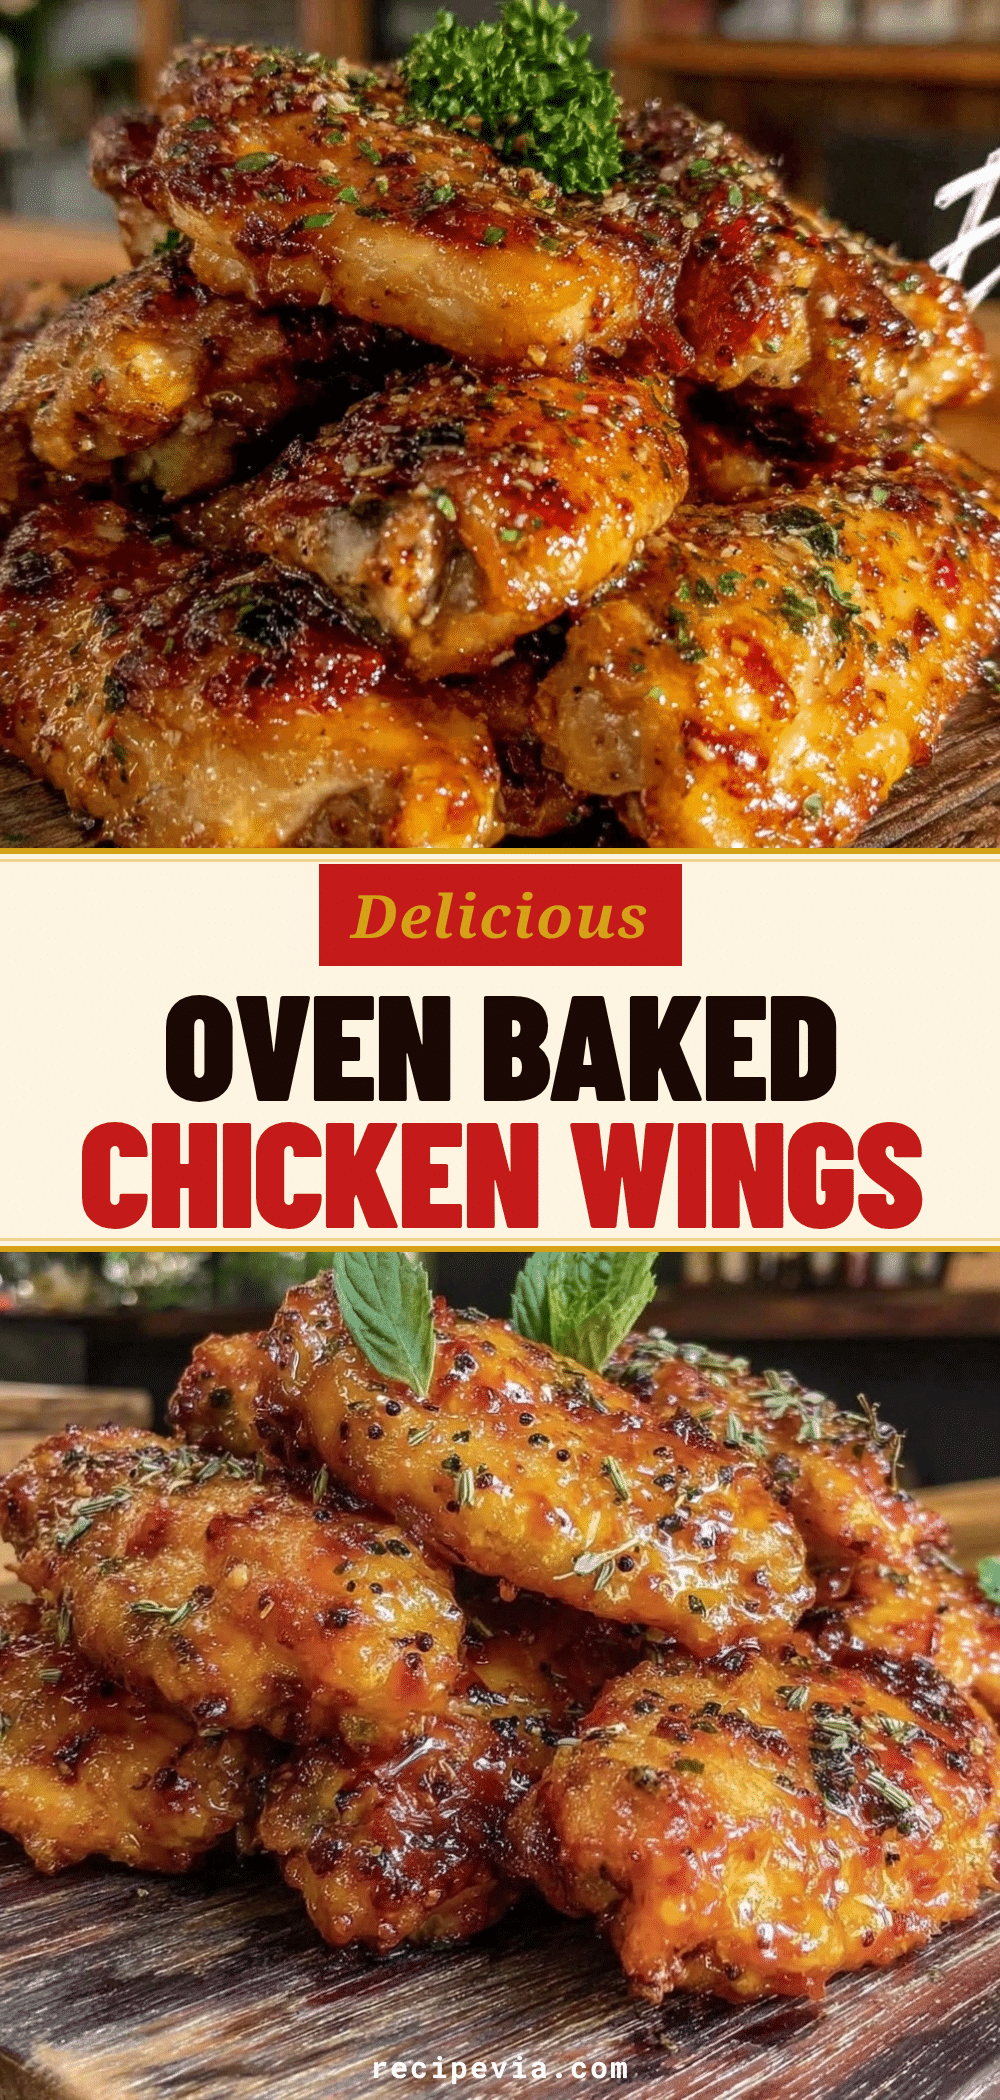

Crispy Baked Chicken Wings: Best Easy Air Fryer Hack
- Total Time: 50-60 minutes
- Yield: 4 servings 1x
Description
Achieve restaurant-quality, shatteringly crisp chicken wings without deep-frying using a simple baking powder trick. This oven-baked method ensures juicy meat and crunchy skin while being healthier and easier to clean up.
Ingredients
- 2 to 3 pounds chicken wings (whole wings or drumettes)
- 1 tablespoon aluminum-free baking powder
- 1 teaspoon kosher salt
- 1/2 teaspoon black pepper, freshly cracked
- 1 teaspoon garlic powder
- 1 teaspoon onion powder
- 1/2 teaspoon cayenne pepper (optional)
- 1 teaspoon smoked paprika (optional)
Instructions
- Preheat the oven to 425°F (220°C).
- Separate whole wings at the joints and discard tips or save for stock.
- Pat the wings thoroughly dry with paper towels to remove all moisture.
- In a large bowl, combine baking powder, salt, pepper, and dry rub spices.
- Add the dried wings to the bowl and toss until evenly coated with a thin layer of seasoning.
- Line a rimmed baking sheet with aluminum foil and place a wire rack on top.
- Arrange the wings on the rack in a single layer, ensuring they do not touch.
- Bake for 40 to 50 minutes, flipping the wings halfway through to ensure even browning.
- Check that the internal temperature reaches 165°F (74°C) and the skin is golden brown and crisp.
- Optional: Broil for 1-2 minutes at the end for extra crispness, watching closely to prevent burning.
- Serve immediately, tossing with sauce if desired, or with dipping sauces on the side.
Notes
For extra crispiness, let the seasoned wings sit on the rack in the fridge for 1-2 hours before baking. Ensure wings are bone-dry before seasoning. Do not crowd the pan; bake in batches if necessary. If saucing, toss wings in sauce immediately before serving to maintain crispness. Reheat leftovers in the oven or air fryer, not the microwave.
- Prep Time: 10 minutes
- Cook Time: 40-50 minutes
- Category: Main Course
- Cuisine: American
Nutrition
- Serving Size: Approximately 1/4 of
- Calories: 225
- Sodium: 350
- Fat: 15
- Saturated Fat: 4
- Carbohydrates: 2
- Protein: 20
Keywords: crispy chicken wings, baked chicken wings, air fryer hack, gluten-free wings, high protein snack, game day food, easy dinner