Let’s be honest for a second. Most “healthy” ice creams taste like frozen slush with a side of regret. You know the kind—the one that leaves you craving actual sugar and feeling guilty about it five minutes later. I used to buy those expensive tubs at the grocery store, only to find myself staring at the empty carton on my kitchen counter, wondering where my money went. The truth is, I was overcomplicating things. I was trying to buy nutrition instead of making it.
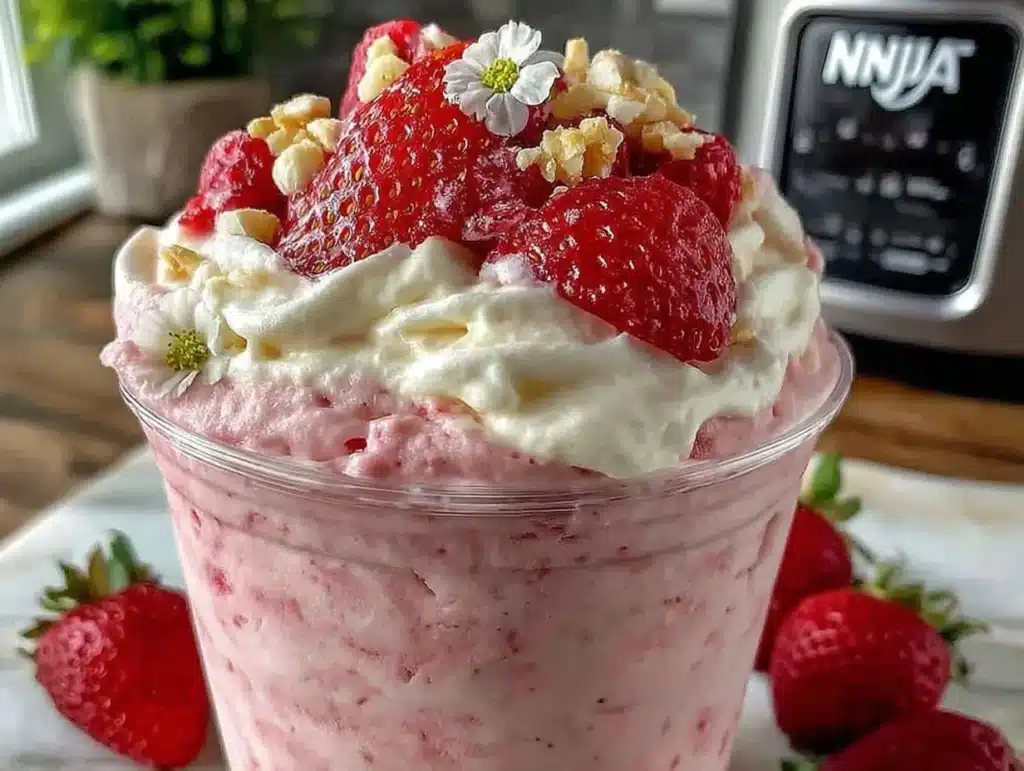
This creamy strawberry protein ice cream changed everything for me. It started during a particularly tight month when my grocery budget was stretched thinner than a sheet of parchment paper. I had a tub of plain cottage cheese sitting in the fridge, a bag of frozen strawberries that were about to go bad, and a scoop of unflavored whey protein I’d been hoarding. I figured, why not? If it turned out terrible, I’d have a weird smoothie. If it worked, I’d have a dessert that didn’t break the bank.
It worked. And honestly, it was better than I expected. The cottage cheese didn’t taste like cheese. I promise. It just made the texture incredibly rich and smooth, like a high-end gelato but with a fraction of the cost. This recipe is built around whatever’s on sale. If strawberries are pricey, swap in frozen blueberries or peaches. The base remains the same, but the flavor profile shifts to match your local market’s best deals. It’s smart cooking, really. You get that sweet, creamy satisfaction without the splurge.
I’ve tested this over a dozen times now, tweaking the ratios to get that perfect scoopable consistency. Whether you’re a busy parent needing a quick treat, a fitness enthusiast tracking macros, or just someone who wants to save a few bucks at the checkout line, this recipe delivers. It’s simple, it’s cheap, and it tastes like a cheat day that isn’t really a cheat at all. Let’s get into the details so you can start saving money and eating better today.
Why You’ll Love This Recipe
There’s a specific kind of magic that happens when you stop treating healthy food like a punishment and start treating it like a smart investment. This creamy strawberry protein ice cream is exactly that. It’s not just about cutting calories; it’s about getting more value out of every bite. Here is why this particular combination has earned a permanent spot in my freezer rotation.
- Quick & Easy: You don’t need an ice cream maker. You don’t need hours of churning. This comes together in about five minutes of prep time, then freezes. It’s perfect for those weeknights when you’re tired, hungry, and just want something sweet without the hassle.
- Simple Ingredients: I’m serious. Three ingredients. You likely already have two of them in your kitchen right now. No fancy grocery trips, no obscure powders you have to order online. Just simple, wholesome stuff that actually works.
- Perfect for Meal Prep: Make a batch on Sunday, and you’ve got your weekday dessert covered. It’s great for portion control, too. Since it’s high in protein, you feel fuller faster, which means you’re less likely to raid the pantry an hour later.
- Crowd-Pleaser: My kids, who usually turn their noses up at anything “healthy,” ask for this. They don’t care that it has cottage cheese. They care that it tastes like strawberry milkshake. It’s a win-win for my wallet and my peace of mind.
- Unbelievably Delicious: The texture is the real star here. The casein protein in the cottage cheese gives it a density that mimics heavy cream, while the frozen fruit adds natural sweetness. It’s comfort food reimagined—simpler, faster, but with the same soul-soothing satisfaction.
What makes this different from other protein ice creams is the base. Most recipes use Greek yogurt, which can be tangy and icy. Cottage cheese blends down to a neutral, velvety cream that takes the flavor of the fruit front and center. It’s a technique I picked up after years of trial and error in my own kitchen. It’s not just good; it’s the kind of dessert that makes you close your eyes after the first bite and forget you’re eating something good for you.
What Ingredients You Will Need
This recipe relies on the power of simplicity. By using high-quality, affordable staples, we create a dessert that feels indulgent but costs pennies compared to store-bought alternatives. The key is balancing the protein source with the fruit to get that smooth, creamy mouthfeel without needing added sugars or fats.
- Frozen Strawberries (2 cups): Look for the store-brand bags. They are often cheaper than fresh berries and already washed and hulled. Frozen berries are actually better for this recipe because they’re frozen solid, which helps create that ice cream-like texture. If fresh strawberries are on sale and you have time, you can freeze them yourself on a baking sheet first.
- Cottage Cheese (1 cup): This is the secret weapon. I recommend using small-curd cottage cheese for the smoothest blend. Large curds can sometimes leave little chunks if your blender isn’t powerful enough. Brands like Good Culture or store brands work perfectly fine. It adds protein and creaminess without a strong dairy taste. If you’re lactose intolerant, you can try silken tofu, but the texture will be slightly different.
- Unflavored Whey Protein Isolate (1 scoop): This is where you control the sweetness and protein content. Unflavored is best because it lets the strawberry flavor shine. If you prefer a sweeter treat, you can use a vanilla protein powder, but you might want to reduce any added sweeteners. Look for a high-quality isolate with minimal additives. I’ve tried many brands, and cheaper store brands often work just as well for baking and blending.
- Optional: Milk or Water (1-2 tablespoons): Depending on how thick your blender gets, you might need a splash of liquid to help it spin. Almond milk or regular dairy milk works, but water keeps the calories lower. Start with a tablespoon and add more only if needed.
The beauty of this ingredient list is its flexibility. If strawberries are $5 a bag, wait until they’re $2.50. If you have bananas on sale, swap half the strawberries for frozen bananas to add natural sweetness and thickness. This approach to cooking isn’t about restricting yourself; it’s about being smart with what you buy. It’s about making a dollar stretch further at the table while still enjoying something delicious.
Equipment Needed
You don’t need a fancy kitchen to make this. In fact, the less equipment you have, the more approachable this recipe becomes. Here is what you’ll need to get started.
- High-Speed Blender: This is the most important tool. A standard blender might struggle to break down the cottage cheese completely, leaving you with a grainy texture. A Vitamix or Ninja works wonders, but a decent mid-range blender will do if you blend long enough. If you don’t have one, you can use a food processor, though it may take a bit longer to get it smooth.
- Spatula: A simple silicone spatula is handy for scraping down the sides of the blender jar. This ensures all the ingredients are incorporated evenly, so you don’t end up with a layer of plain cottage cheese at the bottom.
- Airtight Container: You’ll need a container to freeze the mixture in. A simple plastic Tupperware or glass container with a lid works perfectly. Make sure it’s airtight to prevent freezer burn, which can ruin the texture over time.
I used to think I needed an ice cream maker for this, but I was wrong. The blender does all the heavy lifting. If you do have an ice cream maker, you can churn the mixture after blending for an extra airy texture, but it’s not necessary. For a budget-friendly approach, skip the specialized equipment. Your existing kitchen tools are enough.
Preparation Method
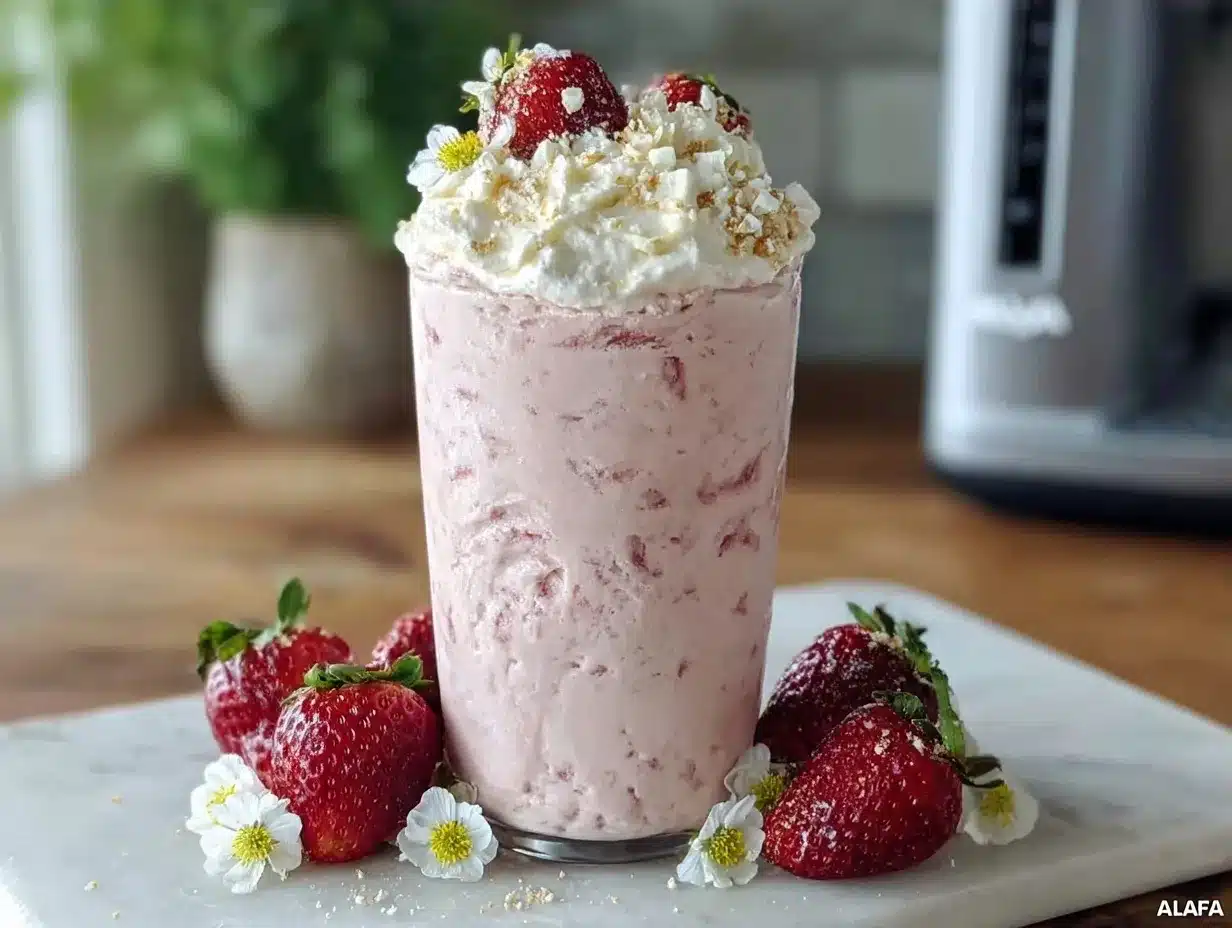
Making this ice cream is straightforward, but there are a few tricks to ensure it turns out perfectly every time. Follow these steps closely for the best results.
- Prep the Fruit: Take your frozen strawberries out of the bag. If they are in large clumps, try to break them apart slightly with your hands. You don’t need to thaw them, but having smaller pieces helps the blender. If you are using fresh frozen bananas, peel and chop them into chunks now. (Time estimate: 2 minutes)
- Add Ingredients to Blender: Add the cottage cheese to your blender first. Then, add the frozen strawberries. Finally, add your scoop of unflavored protein powder. If you are using a sweetener like stevia or monk fruit, add it now. Pour in your tablespoon of milk or water if your blender tends to run dry. (Time estimate: 1 minute)
- Blend Until Smooth: This is the critical step. Start your blender on low speed to break up the frozen fruit, then gradually increase to high. Blend for at least 60-90 seconds. You want the mixture to be completely smooth and creamy. If you see chunks of cottage cheese, keep blending. It might seem like it’s taking forever, but patience here pays off. The mixture will start to look like a thick milkshake. (Time estimate: 2 minutes)
- Adjust Consistency: Stop the blender and check the texture. If it’s too thick to blend, add another tablespoon of liquid and pulse again. If it’s too thin, you can add a few more frozen strawberries. The ideal consistency is thick enough to hold its shape but smooth enough to scoop easily. (Time estimate: 1 minute)
- Freeze: Pour the mixture into your airtight container. Smooth the top with a spatula. Cover tightly with the lid or plastic wrap. Place it in the freezer for at least 4 hours, or preferably overnight. The longer it freezes, the firmer it becomes. (Time estimate: 1 minute)
- Scoop and Serve: When you’re ready to eat, let the container sit on the counter for 5-10 minutes before scooping. This softens it just enough to get that perfect ice cream texture. If you skip this step, you might break a tooth trying to scoop it straight from the freezer. (Time estimate: 5-10 minutes waiting)
My first few times making this, I didn’t blend it long enough, and the result was gritty. I learned the hard way that you need to be ruthless with the blending time. Now, I set a timer on my phone to make sure I hit that 90-second mark. It’s a small detail that makes a huge difference in the final product.
Cooking Tips & Techniques
Even simple recipes have nuances that can make or break them. Here are some professional tips to ensure your creamy strawberry protein ice cream turns out perfectly.
- Blending Power: If your blender is struggling, stop and scrape down the sides. Sometimes the frozen fruit gets stuck at the bottom. Use the tamper if your blender has one, or use a long spoon to push ingredients down. Never force the blender lid on if it’s resisting; this can damage the motor.
- Protein Powder Choice: Not all protein powders blend the same. Some clump more than others. If you notice clumps, sift your protein powder before adding it to the blender. This small step can save you from a grainy dessert. I also recommend using whey isolate over concentrate, as it dissolves more easily.
- Temperature Control: Make sure your blender jar is clean and dry. Any leftover moisture can affect the freezing process slightly. Also, if your kitchen is very warm, the frozen fruit might start to thaw before you blend it. Work quickly to maintain that icy texture.
- Multitasking: While the blender is running, you can prepare your serving bowls or get your toppings ready. This recipe moves fast, so having everything else prepped means you can serve it immediately after blending if you prefer a softer, sorbet-like texture.
- Consistency Checks: Taste the mixture before freezing. If it’s not sweet enough, add a bit more sweetener now. It’s harder to adjust sweetness after it’s frozen solid. Remember, frozen fruit tastes less sweet than fresh fruit, so you may need a bit more sweetness than you think.
I once tried to make this with a cheap, chunky protein powder, and it tasted like chalk. I learned that investing in a decent protein powder makes a world of difference. It’s one of those cases where spending a little more upfront saves you from wasting a whole batch of dessert.
Variations & Adaptations
One of the best things about this recipe is how adaptable it is. You can change it up based on what’s on sale or what you have in your pantry. Here are a few variations I love.
- Berry Blast: Swap the strawberries for a mix of frozen blueberries, raspberries, and blackberries. This creates a mixed berry flavor that is tart and sweet. You might need to add a bit more sweetener since mixed berries are often tarter than strawberries.
- Chocolate Strawberry: Add a tablespoon of unsweetened cocoa powder to the blender. This creates a strawberry-chocolate flavor combo that feels like a dessert pizza topping. It’s a great way to use up any leftover cocoa powder.
- Vegan Option: Use a plant-based protein powder like pea or rice protein. You can swap the cottage cheese for silken tofu or frozen bananas for extra creaminess. The texture will be slightly different, but it’s still delicious and creamy.
- Low-Carb Twist: Use a zero-calorie sweetener like erythritol or monk fruit. You can also use almond milk instead of dairy milk to keep the carb count low. This version is great for keto dieters who still want a sweet treat.
- Personal Favorite: I love adding a teaspoon of vanilla extract and a pinch of salt to the strawberry version. The salt enhances the sweetness, and the vanilla adds depth. It’s a simple tweak that makes the flavor profile more complex.
I’ve tried adding peanut butter to this, and while it’s delicious, it changes the texture to be more like a mousse. If you want a thicker, richer treat, a tablespoon of peanut butter is a great addition. It’s all about finding what works for your taste buds and your budget.
Serving & Storage Suggestions
How you serve and store this ice cream can affect its longevity and enjoyment. Here are my top tips.
- Serving Temperature: As mentioned, let it sit out for 5-10 minutes before scooping. This is crucial for getting that creamy texture. If you eat it straight from the freezer, it will be hard and icy.
- Complementary Dishes: This ice cream pairs well with a simple salad for a light dinner, or as a post-workout snack. It’s also great with a slice of whole-grain toast if you need a bit more fiber.
- Storage: Store in an airtight container in the freezer for up to 2 weeks. Beyond that, it might start to develop freezer burn. Make sure to press plastic wrap directly onto the surface of the ice cream before sealing the lid to prevent ice crystals.
- Reheating: You don’t need to reheat it, but if it gets too hard, you can let it sit at room temperature for a few minutes. Microwave heating is not recommended as it can melt the protein structure and make it watery.
- Flavor Development: The flavors meld together over time. The ice cream often tastes better on day 2 or 3 than on day 1, as the ingredients have had time to fully integrate.
I usually make a small batch every few days so it’s always fresh. This way, I never have to deal with old, icy ice cream. It’s a habit that keeps the treat exciting and ensures I’m always eating it at its peak.
Nutritional Information & Benefits
Understanding the nutritional profile of this ice cream helps you see why it’s a smart choice. Here is an estimated breakdown per serving (assuming 2 servings per batch).
- Calories: Approximately 150-200 calories per serving, depending on the protein powder and fruit used.
- Protein: Around 20-25 grams of protein. This is a significant amount, making it a great post-workout recovery snack.
- Carbs: Roughly 15-20 grams of carbs, mostly from the natural sugars in the fruit.
- Fat: Low in fat, around 2-4 grams, depending on the cottage cheese used.
The high protein content helps keep you full and supports muscle repair. The fruit provides vitamins and antioxidants, while the cottage cheese offers calcium. It’s a nutrient-dense dessert that fuels your body rather than just filling it up. For those watching their weight, this is a game-changer because it satisfies sweet cravings without derailing your progress.
Conclusion
Making creamy strawberry protein ice cream at home is a simple way to save money and eat better. It’s a recipe that respects your budget while still delivering on flavor and satisfaction. You don’t need expensive ingredients or fancy equipment. Just a blender, some frozen fruit, and a little patience.
I hope you give this recipe a try. It’s become a staple in my kitchen for good reason. It’s easy, it’s cheap, and it’s delicious. Feel free to experiment with different fruits and protein powders to find your perfect combination. And if you do make it, I’d love to hear how it turned out for you. Leave a comment below with your favorite variation or any tips you’ve discovered along the way.
Remember, good food doesn’t have to be complicated or expensive. Sometimes, the best meals are the ones you make with what you already have. Happy blending!
Frequently Asked Questions
Can I use fresh strawberries instead of frozen?
Yes, but you’ll need to freeze them first. Fresh strawberries have high water content, which can make the ice cream icy and watery. If you use fresh strawberries, chop them and freeze them on a baking sheet for at least 4 hours before blending. This mimics the texture of frozen fruit.
Will the cottage cheese taste strong in the ice cream?
Not at all. When blended properly, the cottage cheese becomes completely smooth and neutral in flavor. It adds creaminess and protein without tasting like cheese. If you are worried, start with a smaller amount of cottage cheese and adjust to your taste.
How long does this ice cream last in the freezer?
It lasts for about 2 weeks in an airtight container. After that, it may start to develop freezer burn or lose its creamy texture. For the best quality, try to finish it within the first week.
Can I add other mix-ins like chocolate chips or nuts?
Absolutely. You can stir in chocolate chips, nuts, or granola after blending but before freezing. Just make sure to mix them in well so they are distributed evenly. This adds crunch and extra flavor, making the ice cream even more enjoyable.
Is this recipe suitable for vegans?
The standard recipe is not vegan because it uses cottage cheese and whey protein. However, you can make a vegan version by using silken tofu instead of cottage cheese and a plant-based protein powder. The texture will be slightly different, but it will still be creamy and delicious.
Pin This Recipe!
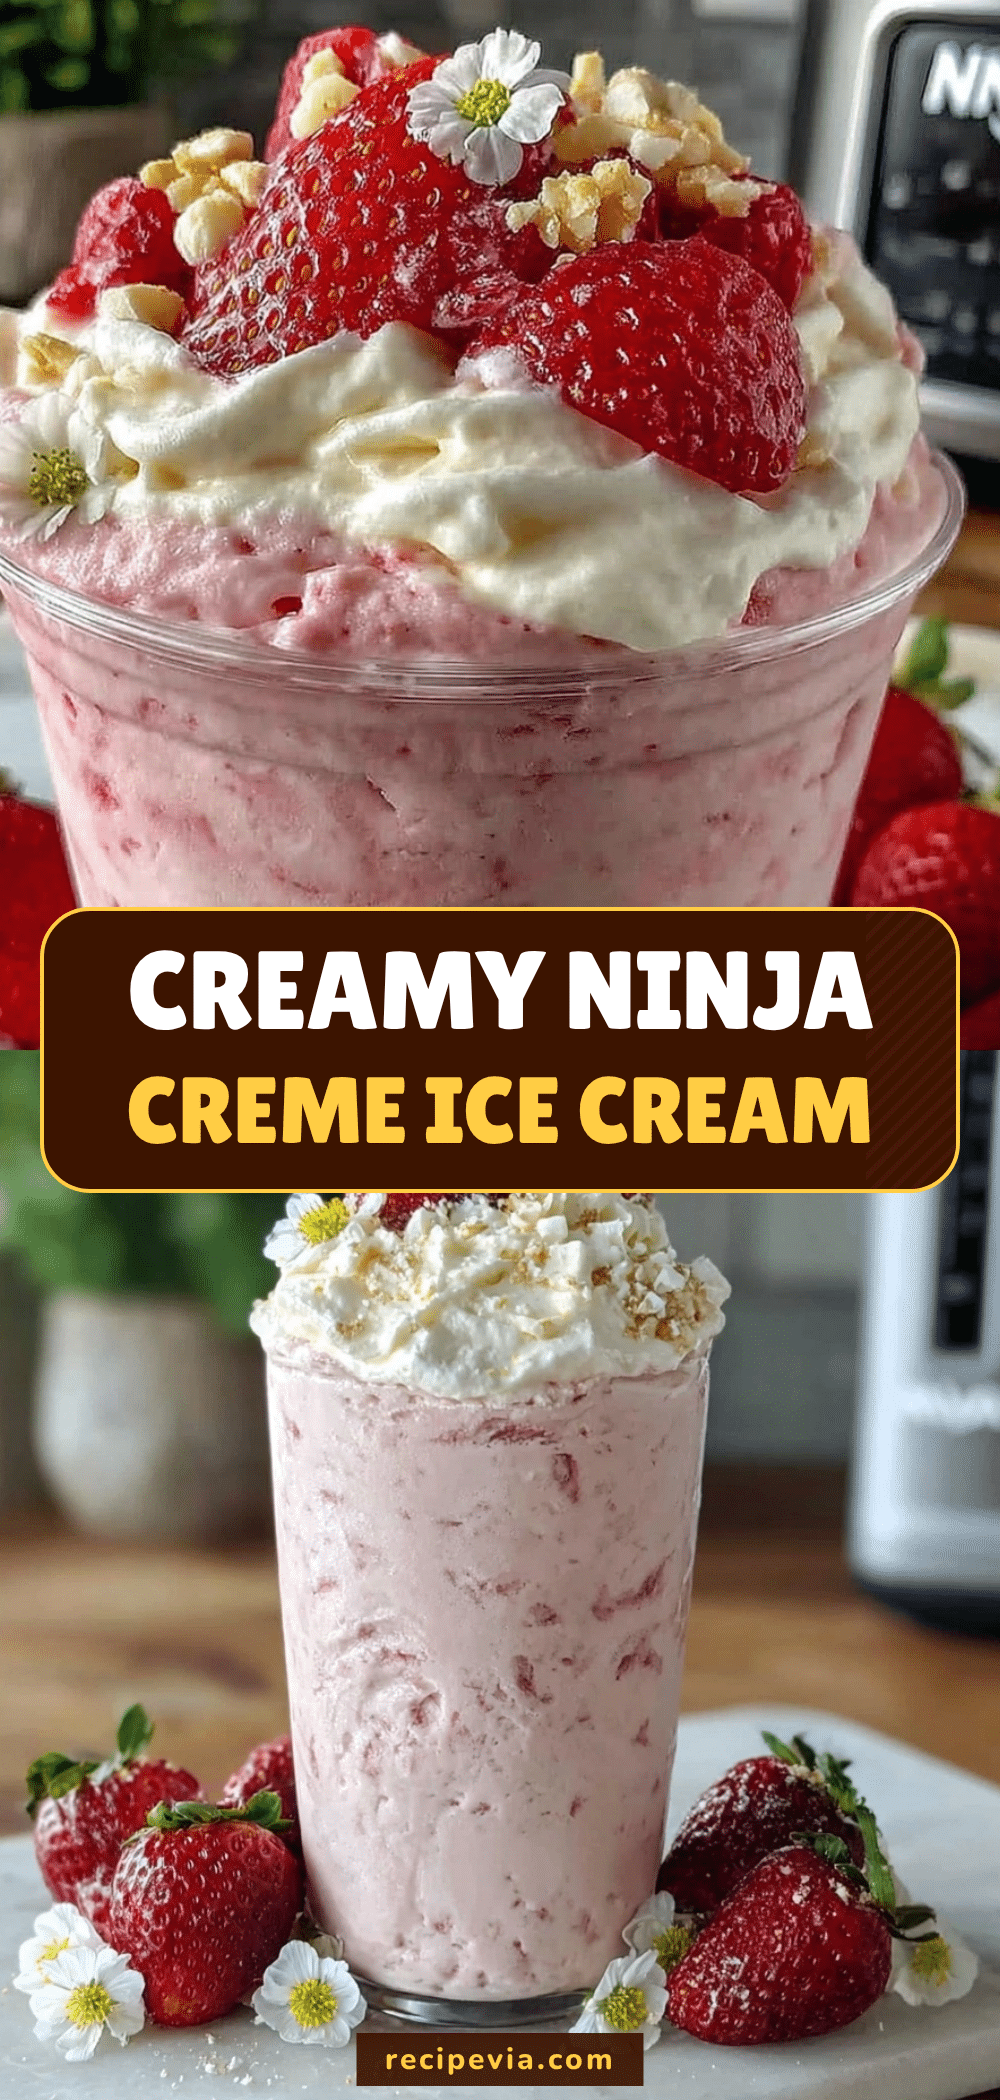

Creamy Strawberry Protein Ice Cream: 3-Ingredient Budget Sweet Treat
- Total Time: 4 hours 5 minutes
- Yield: 2 servings 1x
Description
A simple, budget-friendly dessert made with just three main ingredients: cottage cheese, frozen strawberries, and whey protein. This high-protein ice cream is creamy, delicious, and requires no ice cream maker.
Ingredients
- 2 cups frozen strawberries
- 1 cup small-curd cottage cheese
- 1 scoop unflavored whey protein isolate
- 1–2 tablespoons milk or water (optional, for blending)
Instructions
- Break apart frozen strawberries into smaller pieces if they are in large clumps.
- Add cottage cheese, frozen strawberries, and protein powder to a high-speed blender.
- Add optional liquid (milk or water) if the blender tends to run dry.
- Blend on low speed to break up fruit, then increase to high speed. Blend for 60-90 seconds until completely smooth and creamy.
- Check consistency; add more liquid if too thick or more fruit if too thin.
- Pour mixture into an airtight container and smooth the top.
- Freeze for at least 4 hours or overnight.
- Let sit on the counter for 5-10 minutes before scooping to soften.
Notes
Use small-curd cottage cheese for a smoother texture. Ensure you blend for at least 90 seconds to avoid grittiness. If using fresh strawberries, freeze them solid first. The ice cream tastes better on day 2 or 3 as flavors meld.
- Prep Time: 5 minutes
- Cook Time: 0 minutes
- Category: Dessert
- Cuisine: American
Nutrition
- Serving Size: 1 serving (approx. 1
- Calories: 150200
- Sugar: 12
- Sodium: 100
- Fat: 24
- Saturated Fat: 1
- Carbohydrates: 1520
- Fiber: 3
- Protein: 2025
Keywords: protein ice cream, healthy dessert, cottage cheese recipe, budget friendly, high protein, strawberry ice cream, no ice cream maker, meal prep