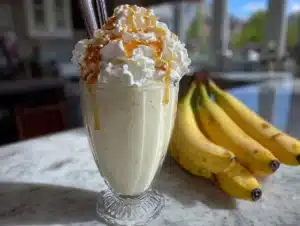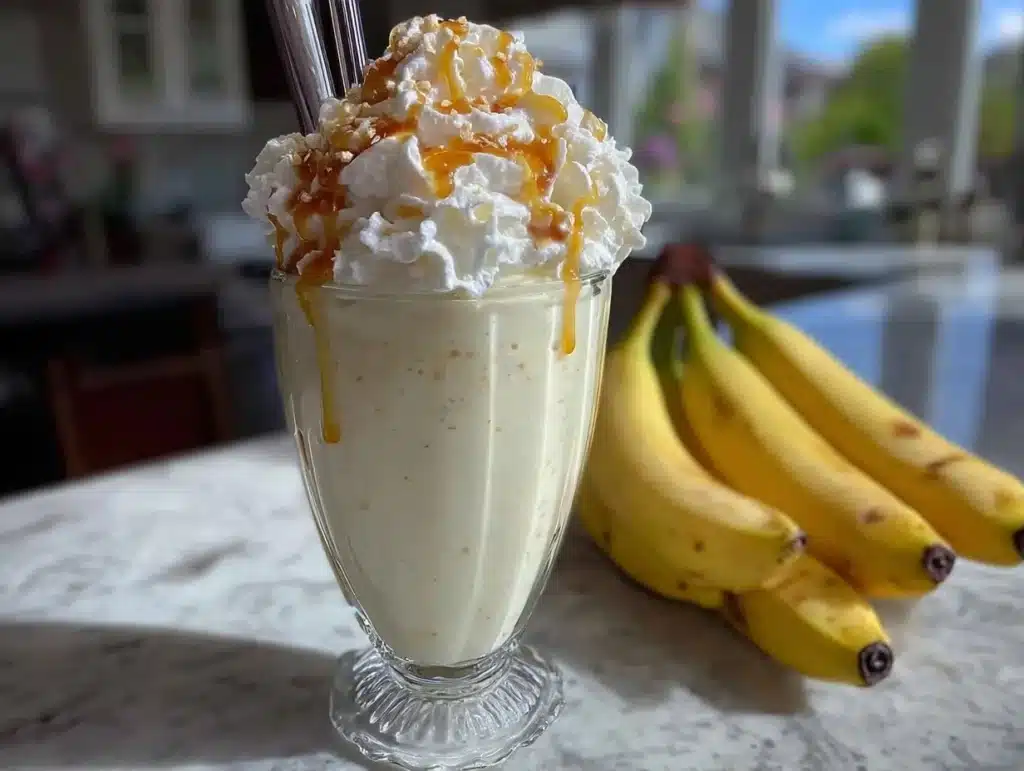
There is nothing quite like the specific, creamy sting of a Dairy Queen banana shake on a humid July afternoon. It’s a flavor that hits you in the soul before it even touches your tongue. I remember standing in line at the drive-thru window, squinting through the heat, clutching crumpled dollar bills. The promise of that thick, vanilla-bean sweetness was the only thing keeping me sane.
Honestly, those trips used to break my bank. You know how it goes. You order one shake, and by the time you add a small fry and maybe a treat for the kids, you’ve spent twenty bucks. That’s not a snack; that’s a small investment. But lately, I’ve been thinking about how we can keep that magic without the financial hangover.
This copycat Dairy Queen banana shake recipe changes the game. It uses just four ingredients that you likely already have sitting in your kitchen right now. The result is indistinguishable from the real thing. It’s thick, it’s cold, and it tastes like childhood. Best of all, it costs less than a single quarter of the original price.
I’ve tested this version over a dozen times. I wanted to get the ratio of banana to ice cream just right. Too much banana, and it tastes like a smoothie. Too little, and it lacks that distinct DQ banana punch. This version strikes the perfect balance. It’s rich, it’s indulgent, and it’s incredibly budget-friendly. Let’s face it, who doesn’t want a taste of the past without the price tag of the present?
Why You’ll Love This Budget-Friendly Shake Recipe
Let’s be real for a second. Not everyone has the time or the money to run to the fast-food joint every time a craving hits. This recipe is your solution. It’s designed for the savvy home cook who knows that the best meals are often the simplest ones. I’ve spent years perfecting quick, cheap recipes that don’t sacrifice flavor for cost. This shake is a prime example of that philosophy.
- Quick & Easy: This comes together in under five minutes. Seriously. That’s less time than it takes to drive to the restaurant and wait in line. It’s perfect for those unexpected afternoon slumps or when the kids demand a treat after school.
- Simple Ingredients: You don’t need a specialty grocery store for this. No fancy syrups or exotic fruits. Just banana, vanilla ice cream, milk, and a touch of banana flavoring. You likely have everything in your fridge right now.
- Perfect for Hot Days: There is nothing better than cooling down with a thick, icy treat. This shake is the ultimate summer refresher. It’s also great for potlucks or casual family dinners where you want something special but easy.
- Crowd-Pleaser: Kids love it because it tastes like the real thing. Adults love it because they know it’s made with simple, recognizable ingredients. It always gets rave reviews from everyone at the table.
- Unbelievably Delicious: The texture is key here. It’s not watery like a homemade smoothie. It’s dense and creamy, just like the soft-serve version. That mouthfeel is what makes it next-level comfort food.
What makes this recipe different is the attention to detail. Many copycat recipes skip the step of mashing the banana properly or use frozen bananas that turn it icy. I use fresh bananas mashed into the ice cream to create a natural, creamy base. It’s not just another version; it’s the best version. It’s the kind of shake that makes you close your eyes after the first bite. It’s comfort food reimagined—cheaper, faster, but with the same soul-soothing satisfaction.
What Ingredients You Will Need
This recipe relies on the power of simplicity. The quality of your ingredients matters more here than in complex dishes because there is nowhere to hide. You want good, honest flavors that shine through. The goal is to stretch your grocery budget while delivering maximum flavor. Here is what you need to make this copycat Dairy Queen banana shake shine.
- Vanilla Ice Cream (4 cups): This is the foundation. I recommend using a standard, creamy vanilla bean ice cream. Avoid the cheap, icy brands if you can help it. A store-brand premium vanilla works wonders and keeps costs down. Look for one that is smooth and thick. This provides the rich dairy base that makes the shake feel indulgent.
- Ripe Bananas (2 large): You want bananas that are spotted with brown. These are sweeter and mash easier. They add natural sweetness and that iconic banana flavor. Fresh is best here, but you can use frozen bananas if you blend them longer. The natural pectin in ripe bananas also helps thicken the shake without extra calories.
- Whole Milk (½ cup): This is the liquid component. Whole milk is non-negotiable for this texture. It adds the necessary creaminess and fat content. If you use skim milk, the shake will be watery and thin. You want it to coat the back of a spoon. Metric: approximately 120ml.
- Banana Extract (½ teaspoon): This is the secret weapon. While the fresh banana adds flavor, the extract adds that artificial-but-delicious DQ punch. It’s subtle but makes all the difference. You can find it in the baking aisle next to the vanilla extract. If you can’t find it, a few drops of banana flavoring oil works too. This is what separates a home shake from a fast-food classic.
I always buy my bananas in bulk when they are on sale. I’ll let them sit on the counter until they are perfectly ripe, then peel and freeze them for later use. This way, I always have banana-ready ingredients for shakes and baking. It’s a smart way to stretch your produce budget. The ice cream is another area where you can save. Look for sales on family-size tubs. If you find a good deal on a large tub of vanilla, stock up. It keeps well in the freezer for weeks.
Equipment Needed
You don’t need fancy gadgets to make this shake. In fact, keeping it simple is part of the budget appeal. Here is what you will need to get started.
- Blender: A standard countertop blender is perfect. You need something with enough power to crush the ice cream and blend the banana smoothly. A high-speed blender like a Vitamix is great, but a basic Oster or Cuisinart works just fine. Just make sure the blades are sharp.
- Measuring Cups and Spoons: Precision matters in shakes. Too much milk, and it’s soup. Too little, and it’s a solid block. Use standard liquid and dry measuring tools. For the banana extract, a small teaspoon measure is essential since you only need a tiny amount.
- Spatula: A rubber spatula is helpful for scraping down the sides of the blender jar. This ensures every bit of banana and ice cream is blended evenly. It also helps you get every last drop out of the jar for serving.
- Glasses or Shaker Cups: Serve it in tall glasses for that classic diner feel. If you are making it for kids, plastic shaker cups with lids are fun and spill-proof. These are great for on-the-go consumption.
I’ve tried making this in a food processor, but it doesn’t work as well. The blades are too wide, and you end up with uneven chunks. A blender creates that smooth, uniform texture we all love. If your blender is older, you might need to pulse it a few times to get everything moving. Don’t overload the blender. Make one shake at a time for the best results. This also keeps the ice cream from melting too quickly.
Preparation Method
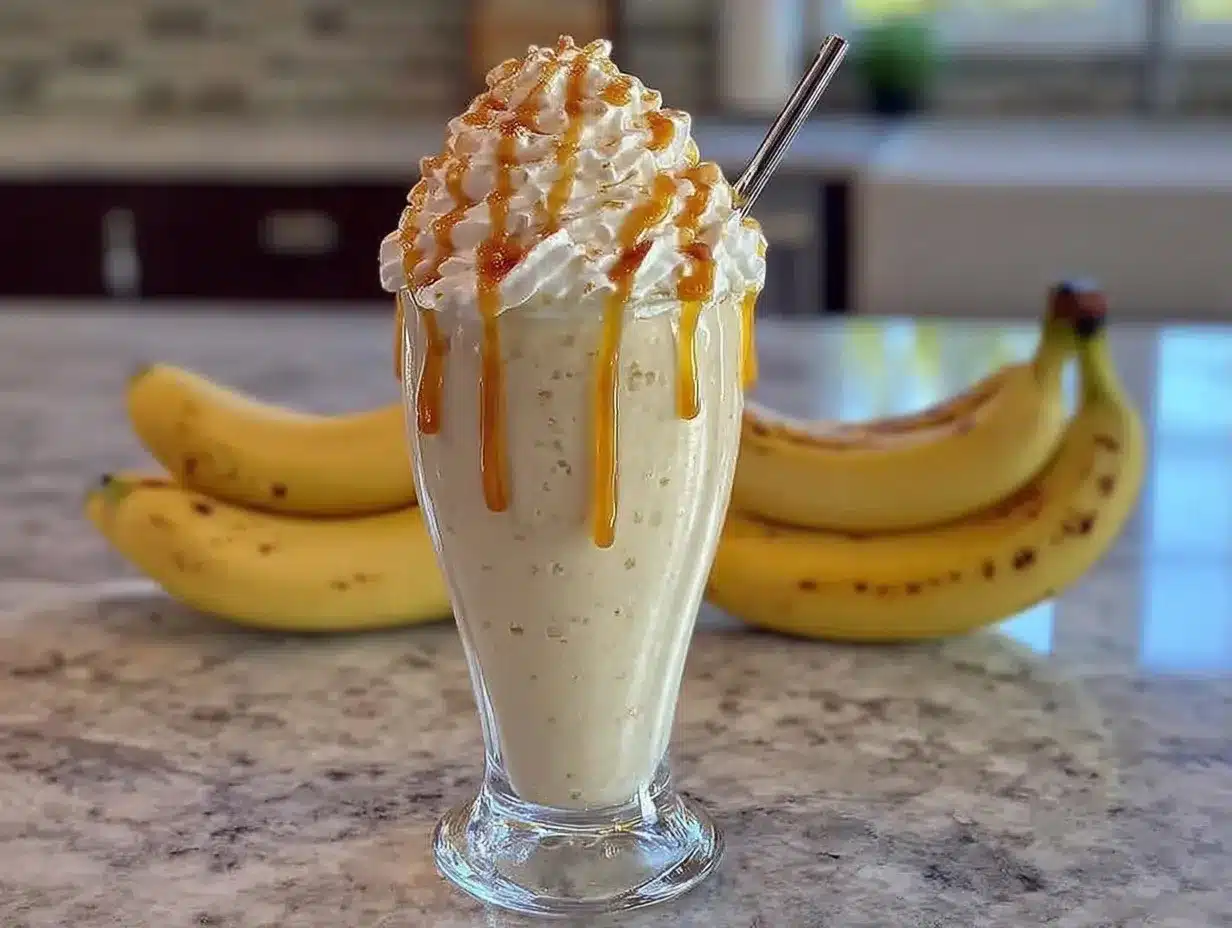
Making this copycat Dairy Queen banana shake is straightforward, but technique matters. You want to avoid over-blending, which can melt the ice cream and make the shake thin. Follow these steps carefully for the perfect consistency every time.
- Prepare the Bananas: Peel two large, ripe bananas. If they are very ripe, they might be a bit mushy. Place them in a bowl and mash them with a fork until they are mostly smooth with a few small lumps. This takes about one minute. The lumps help add texture. Set them aside. This step ensures the banana flavor is distributed evenly throughout the shake.
- Load the Blender: Add the mashed bananas to the blender jar. Next, scoop in the vanilla ice cream. Use four cups, which is about two standard pints. If your ice cream is very hard, let it sit out for five minutes to soften slightly. This makes it easier to blend. Add the banana extract now. This allows the flavor to infuse into the ice cream as it blends.
- Add the Milk: Pour in the half cup of whole milk. Be careful not to add too much. Start with less if you prefer a thicker shake. You can always add more milk later, but you can’t take it out. The milk helps the blades move and creates the liquid base of the shake.
- Blend on Low: Secure the lid tightly. Start the blender on the lowest speed. Let it run for ten seconds. This begins to break down the ice cream without generating too much heat. You want a chunky, mixed texture at this stage. The mixture will look like a thick, creamy soup.
- Increase Speed: Gradually increase the speed to medium-high. Blend for another twenty to thirty seconds. Watch the consistency closely. The shake should become smooth and uniform. It should look thick and creamy, clinging to the sides of the jar. Do not over-blend. If you blend for too long, the friction will melt the ice cream, and your shake will be thin and runny.
- Check Consistency: Stop the blender and lift the jar. Pour a small amount into a glass. It should pour slowly and thickly. If it is too thick, add a splash more milk, one tablespoon at a time, and blend briefly. If it is too thin, add a bit more ice cream and blend again. This adjustment step is crucial for getting that DQ-style thickness.
- Serve Immediately: Pour the shake into your glasses. It is best served immediately while it is cold and thick. You can add a dollop of whipped cream if you want to be fancy, but it’s not necessary. The shake stands on its own. Enjoy it with a straw and a spoon for the best experience.
Personal tip: If you are making this for a party, prepare the bananas ahead of time. Store them in an airtight container in the fridge. This saves prep time when guests arrive. Also, chill your glasses in the freezer for thirty minutes before serving. This keeps the shake cold longer and prevents it from melting as quickly. It’s a small trick that makes a big difference in the drinking experience.
Cooking Tips & Techniques
There are a few tricks I’ve learned over the years to make sure this shake is always perfect. These tips come from trial and error, and they will save you from disappointment.
First, temperature control is everything. The colder your ingredients, the thicker your shake. If your ice cream is already soft, your shake will be thin. Keep your ice cream in the freezer until the last possible moment. If you live in a hot climate, this is extra important. The ambient heat can melt the ice cream faster than you think.
Second, don’t skip the banana extract. I know some people think it’s artificial, but it’s what gives that specific fast-food taste. The natural banana flavor alone isn’t strong enough to mimic the DQ profile. A little goes a long way. Start with half a teaspoon and taste as you go. You can always add more, but you can’t take it out.
Third, avoid using frozen bananas unless you have a high-powered blender. Frozen bananas can make the shake icy and hard to blend. Fresh bananas blended with cold ice cream create a smoother, creamier texture. If you must use frozen bananas, let them thaw for a few minutes before blending. This prevents damage to your blender blades.
Another common mistake is over-mixing. When you blend, you are incorporating air and generating heat. Too much blending melts the ice cream. Blend just until smooth. If your shake is too thin, add more ice cream. If it’s too thick, add a tiny bit of milk. Patience is key. Take your time with the blending process.
Finally, clean your blender immediately after use. Ice cream residue hardens quickly and can be a pain to scrub off later. Rinse the jar with warm water and a drop of dish soap. Blend it for a few seconds to clean the blades. This makes cleanup a breeze and keeps your equipment in good shape for future shakes.
Variations & Adaptations
While the classic version is hard to beat, there are ways to tweak this recipe to suit different tastes or dietary needs. These variations allow you to keep the spirit of the shake while adapting to your preferences.
Dairy-Free Option: You can easily make this shake dairy-free. Use a high-quality vanilla coconut milk ice cream instead of dairy ice cream. Coconut milk ice cream is naturally thick and creamy, so it works well. You may need to add a splash more milk, depending on the brand. The banana flavor pairs beautifully with coconut, so the taste remains delicious.
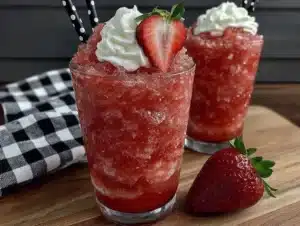
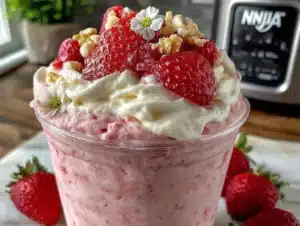
Strawberry Banana Twist: Add one cup of frozen strawberries to the blender. This creates a strawberry banana shake, which is another popular fast-food favorite. The strawberries add a tartness that balances the sweetness of the banana. Use a strawberry extract if you want an extra fruity punch. This variation is great for spring and summer.
Chocolate Banana Shake: Add two tablespoons of chocolate syrup or cocoa powder to the blender. This creates a banana split shake vibe. The chocolate and banana combination is rich and decadent. You can also drizzle chocolate syrup on the inside of the glass before pouring the shake. This adds a nice visual appeal and extra flavor.
Protein Boost: For those looking to add more protein, you can add a scoop of vanilla protein powder. This will thicken the shake, so you may need to add a bit more milk. Choose a protein powder that mixes well without clumping. This variation is great for post-workout recovery or as a filling breakfast shake.
Seasonal Berry Variation: In the summer, swap the banana for fresh berries. Raspberries or blueberries work well with vanilla ice cream. This creates a berry shake that is fresh and light. The banana extract can be omitted in this case. The natural fruit flavor is strong enough on its own.
I personally love the strawberry banana variation. It’s a nice change from the pure banana taste. The tartness of the strawberry cuts through the sweetness, making it less heavy. It’s also a great way to use up berries that are about to go bad. It’s a smart way to reduce food waste while enjoying a delicious treat.
Serving & Storage Suggestions
Serving this shake is simple, but presentation can make it feel special. Pour it into tall, chilled glasses. This enhances the visual appeal and keeps the shake cold. Add a straw and a spoon. The spoon is essential for eating the thicker parts of the shake. You can garnish with a slice of banana or a dollop of whipped cream if you want to be fancy.
Pair this shake with a light meal. It’s rich, so it works well as a dessert after a simple dinner. Grilled chicken sandwiches or a side salad are good complements. The shake can also be a standalone snack for kids. Serve it with a few crackers or fruit slices to make it a more balanced treat.
Storage is tricky with shakes because they are meant to be consumed immediately. If you have leftovers, store them in an airtight container in the freezer. The shake will harden, so you will need to let it sit at room temperature for ten minutes before blending it again. Add a splash of milk to help it blend smoothly. It won’t be quite as thick as fresh, but it’s still good.
Reheating is not recommended. This is a cold treat, and heating it will ruin the texture. If you must warm it, do so gently, but it will lose its shake-like quality. It’s best to enjoy it fresh. Make only what you plan to drink to avoid waste.
Flavors develop over time in the freezer. If you store the shake, the banana flavor may intensify. The ice cream may also separate slightly. Blending it again will restore the texture. However, for the best experience, consume it within twenty-four hours. Fresh is always best for dairy-based shakes.
Nutritional Information & Benefits
Understanding the nutritional content of this shake helps you make informed choices. While it is a treat, it’s not devoid of benefits. Here is an estimated breakdown per serving (one shake).
- Calories: Approximately 400-500 calories, depending on the ice cream brand and banana size.
- Carbohydrates: Around 60-70 grams, mostly from the bananas and ice cream sugars.
- Protein: About 8-10 grams from the dairy ingredients.
- Fat: Roughly 15-20 grams, primarily from the ice cream.
Bananas are a good source of potassium and vitamin B6. They provide natural energy and help with muscle function. The dairy in the ice cream offers calcium and vitamin D, which are important for bone health. While this shake is high in sugar and fat, it can be enjoyed as an occasional treat.
For those watching their sugar intake, consider using a low-sugar ice cream or sugar-free banana extract. This reduces the overall sugar content while maintaining the flavor. The banana extract adds flavor without significant calories, making it a smart choice for budget-conscious dieters.
I view this shake as a mindful indulgence. It’s not a daily health food, but it’s a way to enjoy a favorite flavor without breaking the bank. Balance is key. Enjoy it as part of a varied diet. The satisfaction it brings is worth the occasional treat. It’s about finding joy in simple, affordable pleasures.
Conclusion
This copycat Dairy Queen banana shake is more than just a drink. It’s a budget-friendly way to bring a bit of nostalgia into your home. It’s thick, creamy, and tastes exactly like the real thing. The best part is that it costs pennies to make. You don’t need to spend a fortune to enjoy a premium treat.
I encourage you to try this recipe and make it your own. Experiment with different extracts or add-ins. Maybe you like it with chocolate drizzle. Maybe you prefer it extra thick. Customize it to fit your taste. The beauty of this recipe is its simplicity and flexibility.
I love this recipe because it reminds me of simpler times. It’s a connection to my childhood, but made for my current budget. It’s proof that you don’t need to spend a lot to live well. Share this recipe with your friends and family. Let them taste the magic of a homemade shake.
Please leave a comment below and let me know how it turned out for you. Did you add any special twists? I love hearing about your adaptations. Share this post on Pinterest to help others save money on their treats. Enjoy every sip of your delicious, budget-friendly shake!
Frequently Asked Questions
Can I use frozen bananas for this shake?
Yes, you can use frozen bananas, but they may make the shake thicker and icier. If you use frozen bananas, let them thaw for a few minutes before blending. You may also need to blend for a longer time to achieve a smooth texture. Fresh bananas generally provide a creamier result.
How can I make the shake thicker?
To make the shake thicker, use less milk or more ice cream. You can also add a frozen banana or a scoop of frozen yogurt. Chilling your glasses beforehand also helps maintain the thickness. Avoid over-blending, as this can melt the ice cream and thin the shake.
Is this shake gluten-free?
Yes, this shake is naturally gluten-free. The ingredients—banana, vanilla ice cream, milk, and extract—are all gluten-free. Just ensure that your ice cream and extract do not contain any gluten-containing additives. Most standard brands are safe, but always check the labels.
Can I make this shake dairy-free?
Absolutely. Substitute the vanilla ice cream with a dairy-free alternative, such as coconut milk ice cream. Use almond milk or oat milk instead of dairy milk. The shake will still be creamy and delicious. Coconut milk ice cream works particularly well due to its high fat content.
How long does it take to make this shake?
It takes about five minutes to make this shake. This includes prep time for mashing the bananas and blending the ingredients. It’s a quick recipe that is perfect for last-minute cravings. You can have it ready in no time flat.
Pin This Recipe!
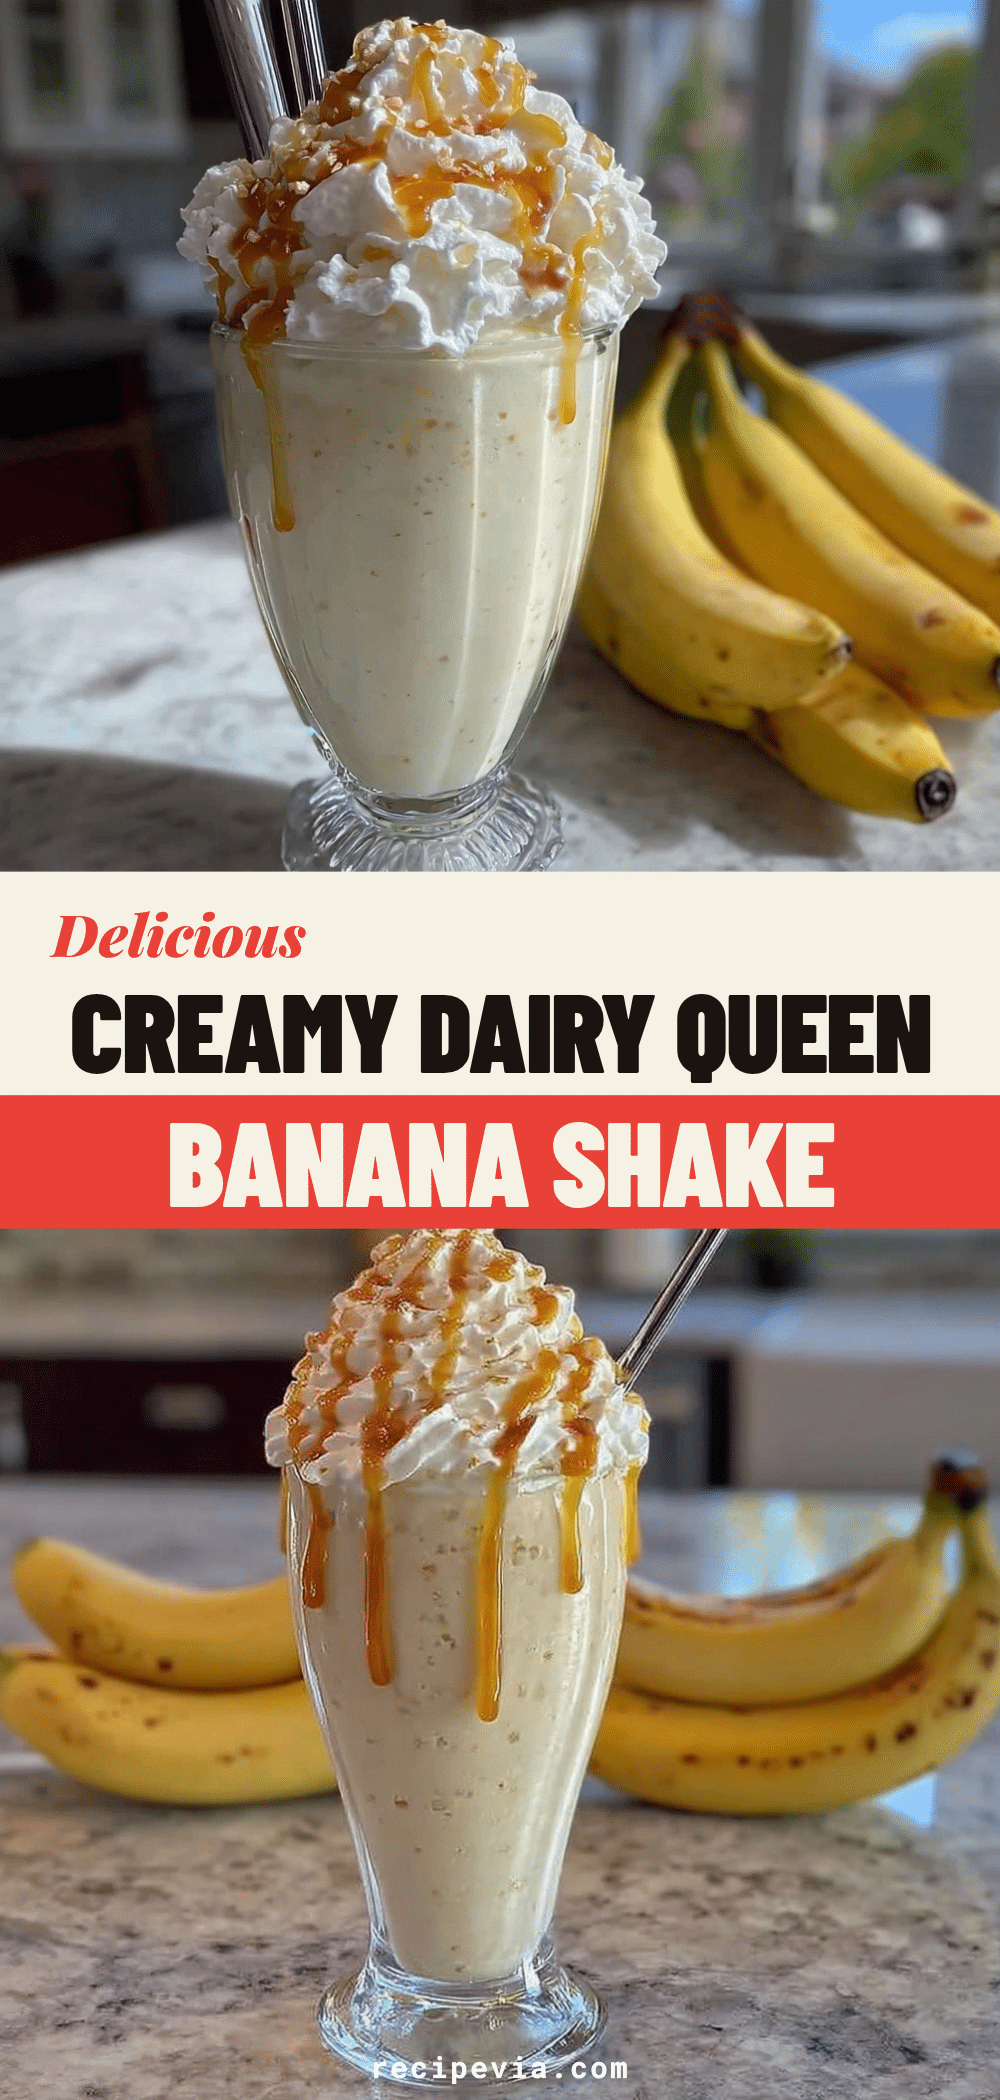

Copycat Dairy Queen Banana Shake: 4-Ingredient Budget Shake
- Total Time: 5 minutes
- Yield: 2 servings 1x
Description
A thick, creamy, and budget-friendly copycat recipe for a Dairy Queen banana shake using just four simple ingredients: vanilla ice cream, ripe bananas, whole milk, and banana extract.
Ingredients
- 4 cups vanilla ice cream
- 2 large ripe bananas
- 1/2 cup whole milk
- 1/2 teaspoon banana extract
Instructions
- Peel two large, ripe bananas and mash them with a fork until mostly smooth with a few small lumps.
- Add the mashed bananas, vanilla ice cream, and banana extract to a blender jar.
- Pour in the half cup of whole milk.
- Secure the lid and blend on low speed for ten seconds to break down the ice cream.
- Gradually increase speed to medium-high and blend for another 20-30 seconds until smooth and thick.
- Check consistency; add a splash of milk if too thick or more ice cream if too thin.
- Pour immediately into chilled glasses and serve with a straw and spoon.
Notes
For best results, use cold ingredients and chill glasses in the freezer beforehand. Do not over-blend as this melts the ice cream and thins the shake. Fresh bananas provide a creamier texture than frozen ones. If using frozen bananas, let them thaw slightly before blending.
- Prep Time: 5 minutes
- Cook Time: 0 minutes
- Category: Dessert
- Cuisine: American
Nutrition
- Serving Size: 1 shake
- Calories: 450
- Sugar: 55
- Sodium: 80
- Fat: 17.5
- Saturated Fat: 10
- Carbohydrates: 65
- Fiber: 3
- Protein: 9
Keywords: copycat dairy queen, banana shake, budget recipe, 4 ingredient recipe, homemade shake, dairy queen banana shake, quick dessert, summer drinks