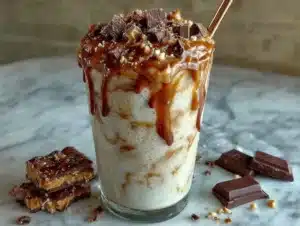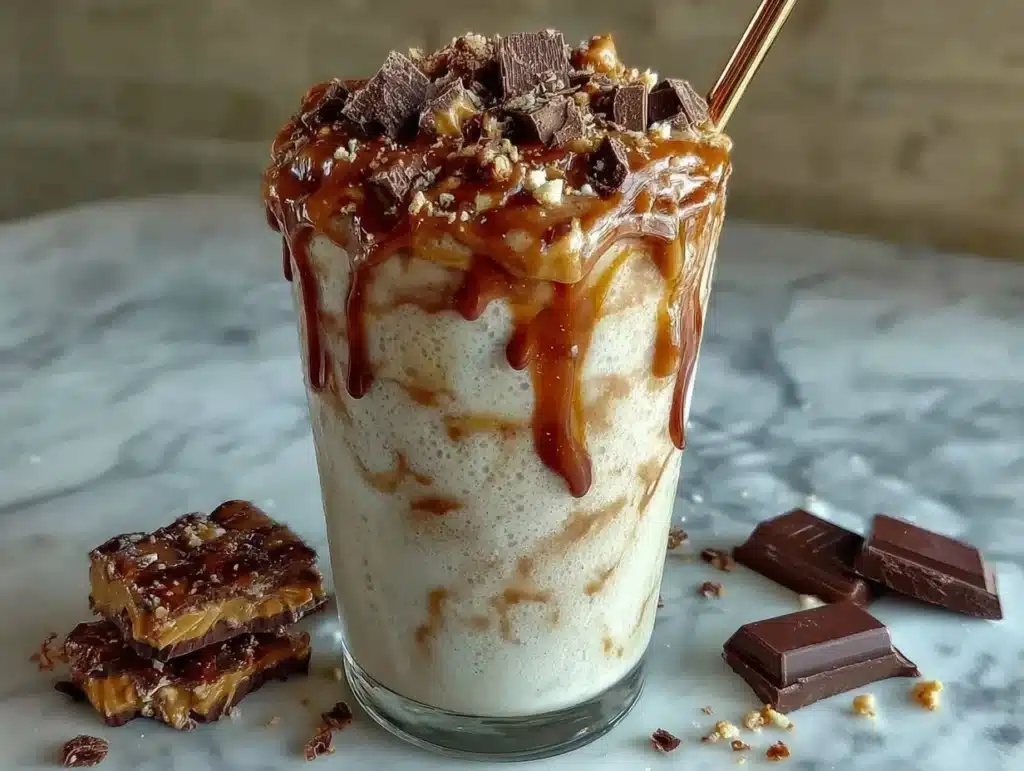
Let’s be honest for a second. We’ve all been there. You’re staring into the freezer, hoping something magical has appeared, but all you see is a half-empty jar of peanut butter and some old milk. I used to think making a decent frozen treat at home was a luxury reserved for people with expensive gadgets and grocery bills that made my wallet cry. But then I got the Ninja Creami, and honestly? It changed the game. Not because it’s fancy, but because it lets me stretch a dollar until it screams.
I first attempted this Ninja Creami Protein Shake (Peanut Butter) during a particularly tight week in the budget. I had $1 to spend on ingredients, and I refused to let that stop me from having a dessert that felt indulgent. Most protein ice creams cost a fortune. They’re loaded with fancy sweeteners and premium whey isolates that cost more than my actual lunch. I wanted something creamy, rich, and packed with protein that didn’t require a credit card swipe. So, I experimented. I blended cottage cheese, cheap peanut butter, and a splash of milk into a smooth base, froze it, and spun it. The result? Thick, dreamy, peanut buttery ice cream that costs pennies per serving.
People ask me how I make such good treats on such a small budget. It’s simple. It’s about knowing how to bulk up a dish with a filler ingredient that tastes intentional, not cheap. Cottage cheese is that secret weapon. It adds creaminess without the heavy cost of heavy cream or expensive ice cream bases. When you spin it in the Creami, you can’t taste the cottage cheese at all. You just taste rich, velvety peanut butter. This Ninja Creami Protein Shake (Peanut Butter) is my go-to for when I need a high-protein snack that feels like a cheat meal. It’s perfect for post-workout recovery, late-night cravings, or just because you want something cold and sweet without breaking the bank. Let’s face it, who doesn’t want to stretch their grocery budget further and nobody can tell? That’s the magic of this recipe.
Why You’ll Love This Recipe
After testing this Ninja Creami Protein Shake (Peanut Butter) over a dozen times, I’ve learned that the secret isn’t in expensive ingredients—it’s in the technique. This isn’t just another frozen protein dessert; it’s a masterclass in resourceful cooking. I’ve tried using ice cream bases, heavy creams, and even condensed milk, but they all fall short on value. This version uses pantry staples you likely already have, making it the ultimate budget-friendly win.
Here is why this recipe has earned a permanent spot in my freezer:
- Quick & Easy: The prep time is almost zero. You just blend, pour, and freeze. It comes together in under 10 minutes, which is perfect for those busy weeknights when you’re exhausted and just want a sweet treat without the fuss.
- Simple Ingredients: No fancy grocery trips needed. You probably have peanut butter, protein powder, and cottage cheese in your kitchen right now. It’s wholesome, simple, and requires no special sourcing.
- Perfect for Post-Workout: High in protein and low in added sugar, this is the ideal refuel after a tough gym session. It satisfies the sweet tooth while helping your muscles recover, without the guilt of a sugary store-bought bar.
- Crowd-Pleaser: Even my picky eaters love this. Kids think it’s just creamy peanut butter ice cream, and they have no idea it’s packed with protein. It’s a great way to sneak nutrition into their diet without a fight.
- Unbelievably Delicious: The texture is next-level comfort food. The cottage cheese creates an ultra-smooth mouthfeel that rivals expensive dairy ice creams. It’s rich, salty, and sweet all at once.
What makes this recipe different from the rest is the use of cottage cheese as a base. Many people shy away from it, thinking it will taste cheesy. But when blended with peanut butter and frozen, the flavor disappears completely, leaving only the creamy texture. It’s a hack that feels like a secret. This isn’t just good—it’s the kind of recipe that makes you close your eyes after the first bite and sigh. It’s comfort food reimagined—healthier, faster, but with the same soul-soothing satisfaction. Plus, it stretches further than any other protein treat I’ve made, proving you don’t need to splurge to eat well.
What Ingredients You Will Need
This recipe uses simple, wholesome ingredients to deliver bold flavor and satisfying texture without the fuss. The beauty of this Ninja Creami Protein Shake (Peanut Butter) lies in its affordability. Each component is chosen not just for taste, but for how well it stretches the budget while maintaining a premium mouthfeel. You don’t need organic, artisanal ingredients to get great results here. In fact, sticking to standard brands often helps keep the cost down.
- Small-Curd Cottage Cheese (1 cup): This is the star of the show. It adds protein and creaminess without the cost of heavy cream. Look for a standard brand; you don’t need the premium stuff. The small curds blend smoother than large curds, which is crucial for a silky texture. It acts as a filler that tastes intentional, not cheap.
- Peanut Butter (2 tablespoons): Use standard, creamy peanut butter. Natural peanut butter can separate and make the texture grainy, so stick to the processed kind for consistency. It provides the rich, salty flavor that defines this treat. A little goes a long way, stretching your jar further.
- Whey Protein Powder (1 scoop): Any vanilla or unflavored whey works best. Vanilla adds sweetness and masks any “eggy” taste from the protein. I recommend using a standard bulk brand rather than expensive boutique powders. This keeps the cost per serving incredibly low.
- Milk (2-3 tablespoons): Any milk works—dairy, almond, or soy. Use just enough to help the blender process the ingredients smoothly. Too much milk will make the final product icy, so keep it minimal. This helps the mixture blend into a creamy base before freezing.
- Sweetener (Optional, 1-2 teaspoons): If your protein powder isn’t sweet enough, add a bit of stevia, erythritol, or honey. I usually skip this because the peanut butter adds enough sweetness, but taste the batter before freezing if you have a sweet tooth.
- Salt (A pinch): This is non-negotiable. Salt enhances the peanut butter flavor and balances the sweetness. It makes the whole dish taste more complex and expensive, even though it costs almost nothing.
By focusing on these affordable staples, you create a base that is both nutritious and economical. The cottage cheese stretches the volume, while the peanut butter provides the flavor profile that makes everyone think they’re getting a treat. It’s a smart way to eat well on a budget.
Equipment Needed
You don’t need a fancy kitchen to make this Ninja Creami Protein Shake (Peanut Butter). The only essential piece of equipment is the Ninja Creami itself. It’s a specialized blender that spins frozen blocks into ice cream, sorbet, or shakes. If you don’t have one, you can try using a high-speed blender like a Vitamix, but the texture won’t be quite as creamy because it lacks the specific spinning mechanism. I’ve tried other methods, and the Creami is worth the investment if you make frozen treats often.
You’ll also need a standard blender or food processor to mix the ingredients before freezing. A simple handheld blender works too, but a countertop blender ensures the cottage cheese is completely smooth. For freezing, you’ll need the pint-sized containers that come with the Creami. Make sure they are freezer-safe and have tight-fitting lids. I recommend buying extra lids because they tend to get lost or break. For a budget-friendly alternative, you can use small mason jars, but you’ll need to let them sit out longer to soften before blending.
Maintenance for the Creami is easy. Just rinse the blade assembly after each use. Don’t put it in the dishwasher, as the harsh water can dull the blades over time. A quick hand wash keeps it running smoothly for years. For the blender, clean it immediately after use to prevent protein powder from drying and sticking to the sides. These tools are all you need to stretch your ingredients and create something delicious.
How Do I Get the Smoothest Texture?
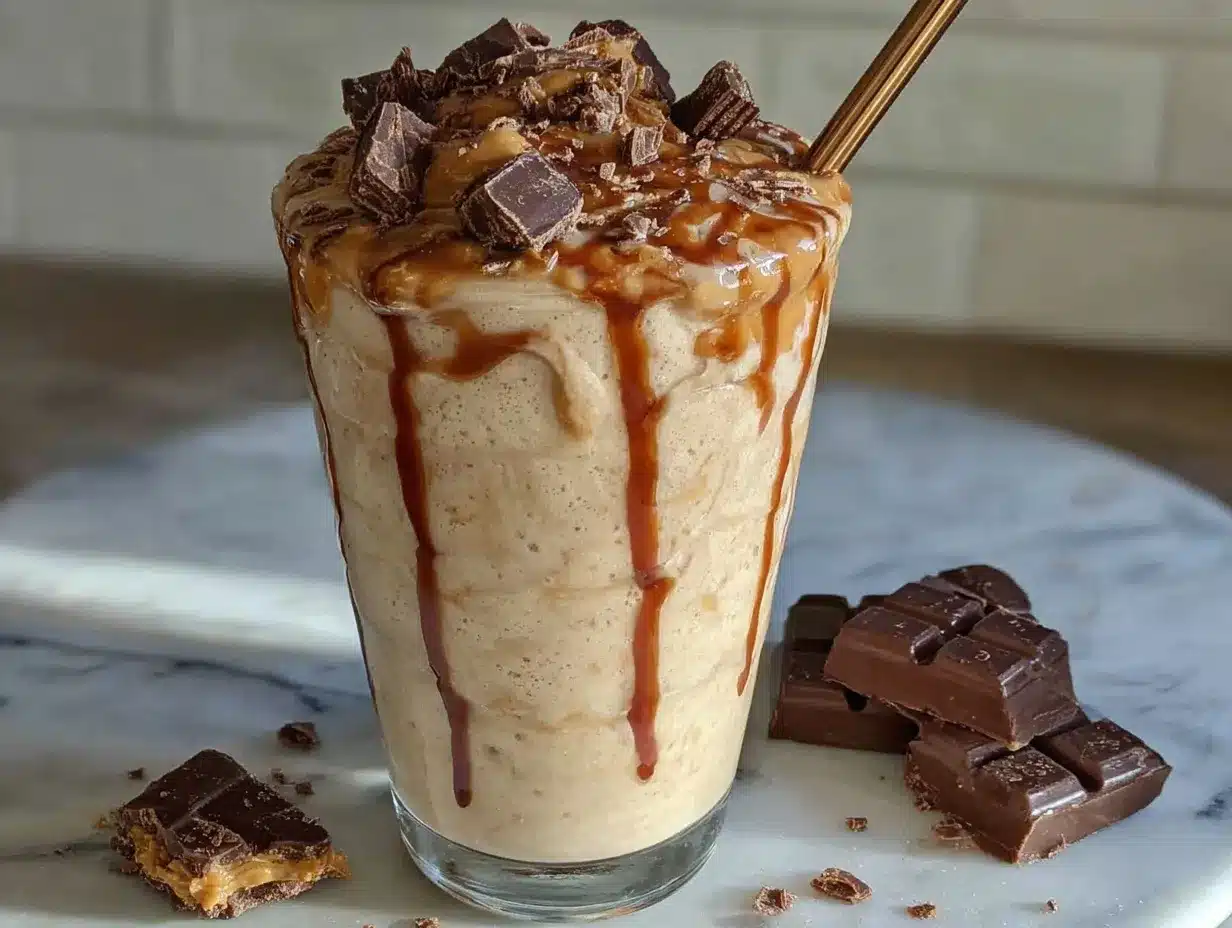
The key is blending the base ingredients thoroughly before freezing. If there are lumps of cottage cheese, they will remain lumpy after spinning. Blend until it looks like pancake batter. Also, ensure your mixture is completely frozen solid before spinning. If it’s even slightly soft, the result will be icy rather than creamy.
Preparation Method
Making this Ninja Creami Protein Shake (Peanut Butter) is straightforward, but there are a few steps that matter for the final texture. Follow these instructions carefully to ensure your treat is thick, creamy, and perfectly balanced.
- Blend the Base (2 minutes): In a blender, combine the cottage cheese, peanut butter, protein powder, milk, and salt. Blend on high until the mixture is completely smooth and liquid. This step is crucial. You want no visible curds. If your blender isn’t powerful enough, let it sit for a minute and blend again. The mixture should look like thick milk. Time estimate: 2 minutes.
- Pour into the Pint (1 minute): Pour the blended mixture into the Ninja Creami pint container. Fill it to the “Max Fill” line. Do not overfill, as the mixture expands slightly when frozen. Tap the container gently on the counter to remove any air bubbles. This helps prevent ice crystals from forming. Time estimate: 1 minute.
- Freeze Solid (24 hours): Place the lid on the pint and put it in the freezer. You need to freeze it for at least 24 hours. This is the hardest part, but it’s necessary for the Creami to work. If you rush this step, the ice cream will turn into a slush. Time estimate: 24 hours.
- Spin the Ice Cream (5 minutes): Take the pint out of the freezer. Insert the blade lid onto the pint. Place it in the Ninja Creami machine. Select the “Ice Cream” or “Frozen Dessert” setting. Press start. The machine will spin the frozen block into a creamy texture. Time estimate: 5 minutes.
- Check and Adjust (2 minutes): After the first spin, check the texture. If it’s too dry or crumbly, don’t worry. This is common. Add a splash of milk (about 1 tablespoon) through the lid hole. Select the “Re-Spin” setting and run it again. This will bring it back to a smooth, creamy consistency. Time estimate: 2 minutes.
- Serve Immediately: Scoop the ice cream into a bowl. It’s best eaten immediately while it’s soft and creamy. If you let it sit, it will harden in the freezer. Enjoy your budget-friendly treat! Time estimate: 1 minute.
Remember, the key to success is patience during the freezing stage. If you skip the 24-hour wait, the results will be disappointing. But once you get it right, you’ll have a delicious, high-protein treat that costs less than a dollar per serving.
What If My Ice Cream Is Too Dry?
If the ice cream comes out looking like crumbs after the first spin, it needs more liquid. Add 1-2 tablespoons of milk and use the “Re-Spin” function. This is a common issue with high-protein mixes, as protein absorbs moisture. Adding a little liquid fixes it every time.
Cooking Tips & Techniques
I’ve made plenty of mistakes with this Ninja Creami Protein Shake (Peanut Butter) along the way. Here are some tips to help you avoid common pitfalls and get the best results.
First, don’t skimp on the blending time. If you don’t blend the cottage cheese thoroughly, you’ll end up with a grainy texture. I used to rush this step and was disappointed with the result. Now, I blend for a full minute to ensure it’s silky. Second, use room temperature ingredients if possible. Cold ingredients blend better and create a smoother emulsion. If your milk is straight from the fridge, let it sit for 10 minutes.
Another tip is to taste the batter before freezing. Protein powders vary in sweetness and flavor. If your powder is unsweetened, you might need to add a bit of sweetener. If it’s already sweet, skip it. This saves you from making a treat that’s too sugary or too bland. Also, be careful with the amount of peanut butter you use. Too much can make the ice cream oily. Two tablespoons is the sweet spot for flavor and texture.
Multitasking is key here. While your pint is freezing for 24 hours, you can prep other meals or snacks. Don’t let the freezing time intimidate you. It’s passive time. You’re just waiting for the magic to happen. And finally, clean your blender immediately. Protein powder dries like glue and is a nightmare to clean later. A quick rinse saves you hours of scrubbing.
Can I Use Frozen Fruit Instead of Milk?
You can, but it changes the texture. Frozen fruit adds fiber and flavor, but it can make the ice cream denser. If you use frozen fruit, you may need to add a bit more milk during the re-spin step to help it blend smoothly.
Variations & Adaptations
One of the best things about this recipe is how adaptable it is. You can tweak it to fit your dietary needs or taste preferences without losing that budget-friendly vibe.
- Vegan Version: Swap the whey protein for a vegan protein powder and use almond milk instead of dairy milk. Use vegan cottage cheese or silken tofu for the base. It works surprisingly well and keeps the cost down.
- Chocolate Peanut Butter: Add a tablespoon of cocoa powder to the base. This creates a rich chocolate-peanut butter flavor that feels like a candy bar. It’s a popular variation that kids love.
- Banana Nut: Add half a frozen banana to the blender. This adds natural sweetness and creaminess. You can also add a sprinkle of chopped walnuts before serving for crunch.
- Low-Carb Option: Use a zero-sugar protein powder and sugar-free sweetener. This keeps the carb count low while maintaining the high protein content. It’s great for keto dieters.
I’ve tried adding a swirl of caramel sauce, but it can make the texture icy. Instead, I prefer to keep it simple. The pure peanut butter flavor is what makes this recipe special. It’s a clean, honest taste that doesn’t rely on fancy add-ins. Try these variations to keep things interesting, but always stick to the core principles of affordable, simple ingredients.
How Do I Store Leftovers?
If you have any leftovers, store them in an airtight container in the freezer. They will last for up to two weeks. However, the texture may become harder over time. Let it sit on the counter for 5-10 minutes before scooping to soften it up.
Serving & Storage Suggestions
Serving this Ninja Creami Protein Shake (Peanut Butter) is simple, but presentation matters. Scoop it into a bowl and top with a drizzle of peanut butter or a few crushed peanuts. It looks fancy, but it’s just a dollar’s worth of ingredients. Serve it immediately for the best texture. If you’re meal prepping, portion it into small cups for easy grab-and-go snacks.
For storage, keep the pint in the freezer. If you don’t have the Creami pint, transfer the ice cream to a freezer-safe container. It will keep well for up to two weeks. When reheating, let it sit at room temperature for 5-10 minutes. Microwaving is not recommended as it can melt the protein structure and make it oily. The flavors develop nicely over the first few days, becoming slightly sweeter as the ingredients meld together.
Pair this treat with a hot coffee or tea for a cozy afternoon snack. It’s also great alongside a savory lunch like a turkey sandwich. The contrast of cold, sweet ice cream with salty, savory food is delightful. This recipe is versatile enough to fit into any meal plan. It’s a budget-friendly way to enjoy dessert without the guilt.
Can I Freeze the Base for Later?
Yes, you can freeze the blended mixture in the pint container for up to a month. Just make sure it’s sealed tightly. When you’re ready to eat, let it thaw for 10 minutes before spinning. This saves time on busy days.
Nutritional Information & Benefits
This Ninja Creami Protein Shake (Peanut Butter) is not just cheap; it’s nutritious. Each serving contains approximately 20-25 grams of protein, depending on the protein powder used. It’s low in added sugar and high in healthy fats from the peanut butter. The cottage cheese provides calcium and casein protein, which is slow-digesting and keeps you full longer.
It’s gluten-free if you use certified gluten-free protein powder. It’s also low-carb friendly for those who avoid sugar. The ingredients are simple and unprocessed, making it a clean eating option. From a wellness perspective, this recipe helps me meet my protein goals without relying on supplements alone. It’s a whole-food approach to nutrition that feels indulgent. It’s a great way to stretch your budget while supporting your health goals.
Is This Recipe Keto Friendly?
Yes, if you use a zero-sugar protein powder and limit the sweetener. The cottage cheese and peanut butter are keto-friendly, making this a great option for low-carb diets.
Conclusion
This Ninja Creami Protein Shake (Peanut Butter) is proof that you don’t need to spend a lot to eat well. It’s creamy, delicious, and packed with protein. I love this recipe because it’s resourceful and satisfying. It stretches my grocery budget further and nobody can tell. I hope you try it and find joy in making something special from simple ingredients. Customize it to your taste and enjoy the process. Let me know in the comments how you like to tweak this recipe. Happy freezing!
FAQs
Can I use large-curd cottage cheese?
It’s not recommended. Large curds don’t blend as smoothly, which can leave lumps in your ice cream. Small-curd cottage cheese creates a much creamier texture.
How long does it take to freeze the pint?
You need to freeze it for at least 24 hours. This ensures the mixture is solid enough for the Creami to spin properly.
Can I add mix-ins like chips or nuts?
Yes, but add them after the first spin. If you add them before freezing, they can get stuck in the blade. Stir them in manually after spinning for the best distribution.
Is this recipe suitable for children?
Yes, it’s a great snack for kids. It’s high in protein and satisfies sweet cravings. Just make sure the protein powder is safe for their age.
What happens if I use too much milk?
Too much milk will make the ice cream icy and watery. Stick to 2-3 tablespoons for the best creamy texture.
Pin This Recipe!

Ninja Creami Protein Shake (Peanut Butter)
- Total Time: 24 hours 10 minutes
- Yield: 1 serving 1x
Description
A budget-friendly, high-protein frozen treat made with cottage cheese, peanut butter, and protein powder. This recipe uses the Ninja Creami to create a creamy, ice-cream-like dessert that costs less than a dollar per serving.
Ingredients
- 1 cup small-curd cottage cheese
- 2 tablespoons creamy peanut butter
- 1 scoop vanilla or unflavored whey protein powder
- 2–3 tablespoons milk (dairy, almond, or soy)
- 1–2 teaspoons sweetener (optional, such as stevia, erythritol, or honey)
- A pinch of salt
Instructions
- Blend the cottage cheese, peanut butter, protein powder, milk, and salt in a blender on high until the mixture is completely smooth and liquid, resembling pancake batter.
- Pour the blended mixture into the Ninja Creami pint container, filling to the ‘Max Fill’ line. Tap the container gently to remove air bubbles.
- Place the lid on the pint and freeze for at least 24 hours until the mixture is completely solid.
- Insert the blade lid onto the frozen pint and place it in the Ninja Creami machine. Select the ‘Ice Cream’ or ‘Frozen Dessert’ setting and press start to spin the mixture.
- Check the texture after spinning. If it is too dry or crumbly, add 1 tablespoon of milk through the lid hole and select the ‘Re-Spin’ setting to achieve a smooth consistency.
- Serve immediately for the best texture, or store in an airtight container in the freezer for up to two weeks.
Notes
Ensure the mixture is frozen solid for at least 24 hours for best results. Use small-curd cottage cheese for a smoother texture. If the ice cream is too dry after spinning, add a splash of milk and re-spin. Clean the blender immediately after use to prevent protein powder from sticking.
- Prep Time: 10 minutes
- Cook Time: 24 hours
- Category: Dessert
- Cuisine: American
Nutrition
- Serving Size: 1 pint
- Calories: 350
- Sugar: 10
- Sodium: 300
- Fat: 14
- Saturated Fat: 3
- Carbohydrates: 15
- Fiber: 2
- Protein: 25
Keywords: Ninja Creami, protein ice cream, peanut butter, budget recipe, cottage cheese, high protein, keto friendly, gluten-free, frozen dessert