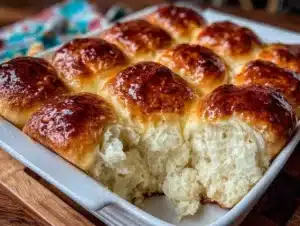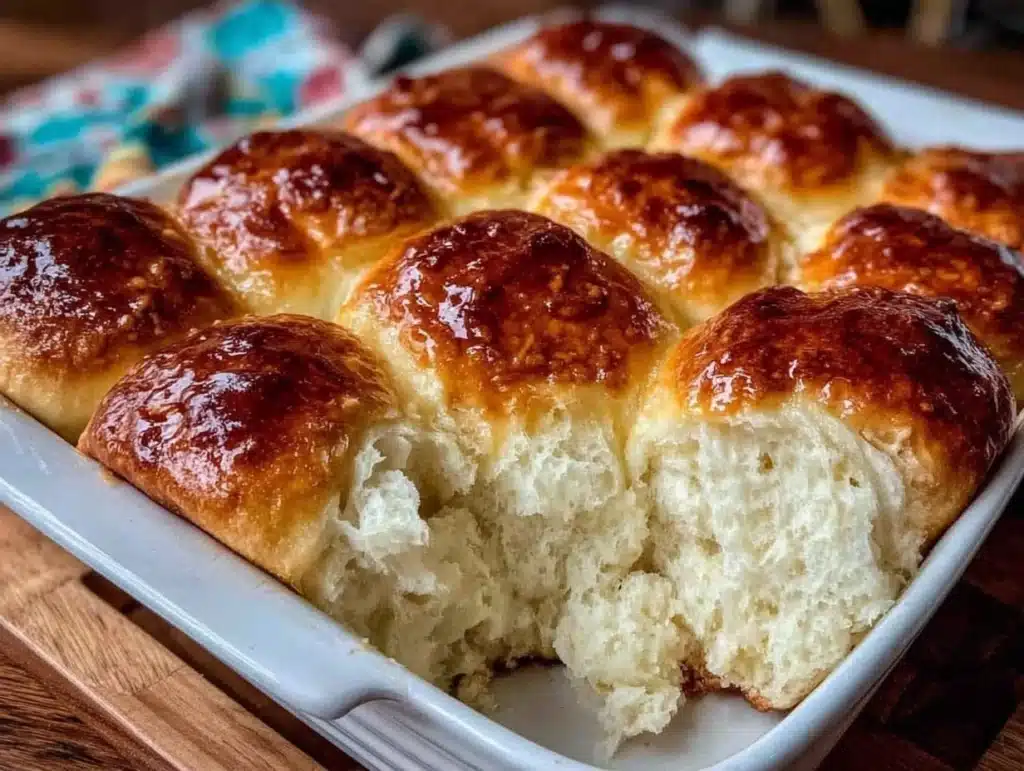
There is nothing quite like the smell of fresh bread baking to fill a home with warmth and comfort. But let’s face it, buying a loaf of artisanal bread from the bakery every week can really drain your wallet. I remember standing in the aisle of my local grocery store a few years ago, staring at a small package of dinner rolls that cost nearly four dollars. I walked away empty-handed and came home with flour, yeast, and a plan.
That decision changed how I view cooking for my family. Making these soft buttery dinner rolls at home isn’t just about saving money; it is about creating something truly special. You know that feeling when you pull a pan of golden, pillowy rolls out of the oven? It feels like a hug on a plate. And the best part? You can stretch your budget significantly by using simple pantry staples instead of expensive pre-made dough or specialty ingredients.
I’ve tested this recipe over a dozen times to get the texture just right. It needs to be soft enough for toddlers but substantial enough for a hungry adult. The secret lies in balancing the flour with just enough fat to keep them tender, while using water and milk wisely. This method allows you to bulk up the meal with a filler ingredient that tastes intentional, not cheap. When you serve these, nobody can tell you saved money. They will just ask for seconds.
Whether you are feeding a large family on a tight budget or just want to enjoy homemade bread without the hassle, this recipe is your new best friend. It is reliable, forgiving, and incredibly delicious. Let’s get started on making your grocery bill disappear into a basket of warm, buttery goodness.
Why You’ll Love This Recipe
After years of experimenting with different dough recipes, I have found that simplicity is key to success. This recipe stands out because it does not require fancy equipment or hard-to-find ingredients. You likely have everything you need right now in your kitchen. Here is why this specific version of soft buttery dinner rolls has become a staple in my home:
- Quick & Easy: You can have these rolls in the oven in under two hours from start to finish. This is perfect for busy weeknights when you need a side dish fast, or for lazy Sunday mornings when you want something cozy.
- Simple Ingredients: No fancy grocery trips needed. The recipe relies on basic items like flour, sugar, yeast, milk, water, and butter. You do not need bread flour or expensive milk alternatives to make this work.
- Perfect for Meal Prep: These rolls freeze beautifully. You can make a double batch when you have time and freeze them for later. This is a huge time-saver when you are stretched thin during the work week.
- Crowd-Pleaser: They are soft, slightly sweet, and buttery. Kids love them, and adults appreciate the homemade taste. They pair well with almost any main dish, from roasted chicken to hearty stews.
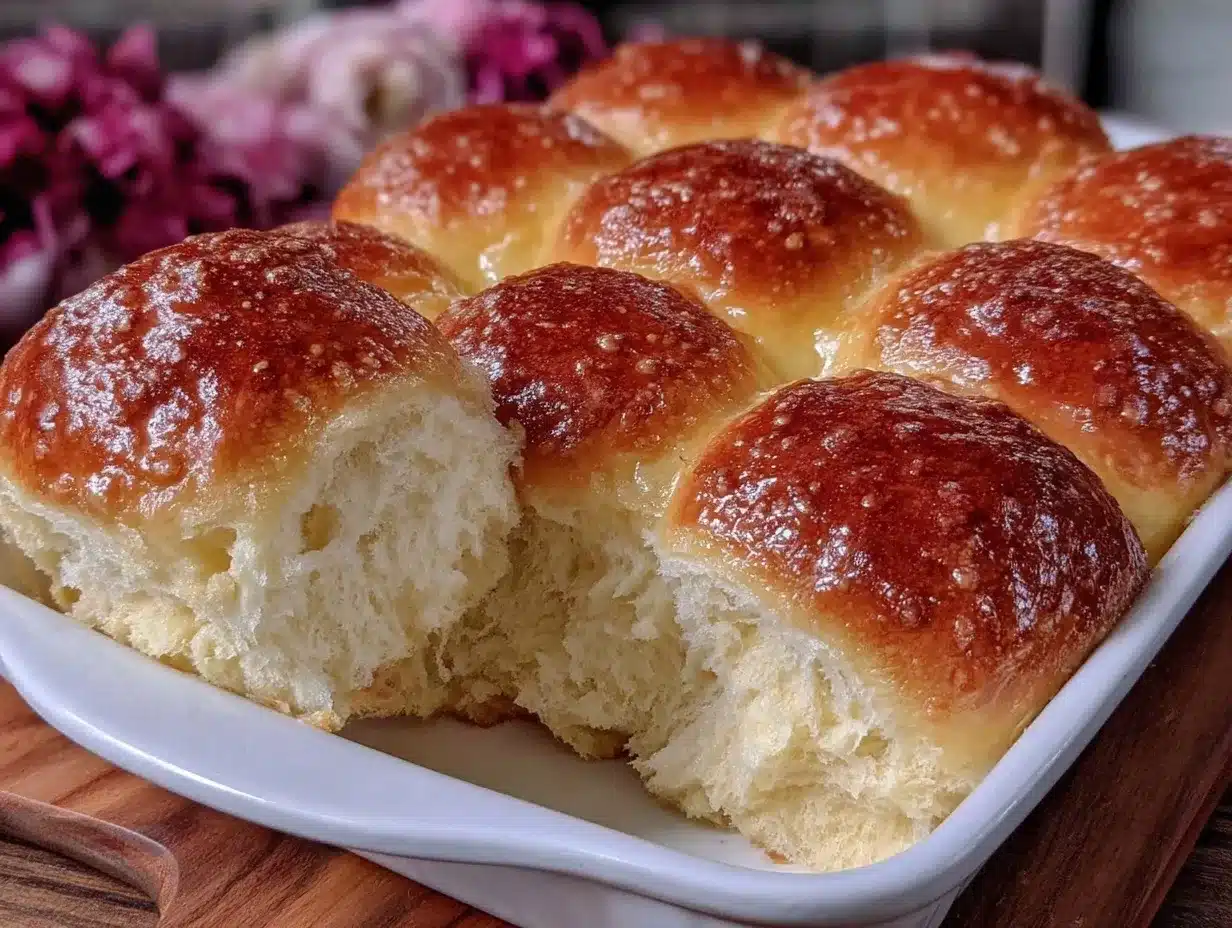
- Unbelievably Delicious: The texture is light and airy, not dense or heavy. The buttery glaze on top adds a rich flavor that makes them taste like they came from a high-end bakery, despite the low cost.
What makes this recipe different from others is the specific ratio of liquid to flour. Many recipes fail because the dough is too wet or too dry. I have found that using a mix of milk and water helps keep the rolls soft for longer. Milk adds richness, while water helps with the rise. This balance ensures that the rolls stay fresh for days, which is crucial when you are trying to stretch your food budget.
Emotionally, these rolls bring back memories of family dinners. There is something comforting about breaking off a warm piece of bread and dipping it into soup or stew. It turns a simple meal into a memorable experience. You do not need to stress about presentation; the rustic look of homemade rolls adds charm to any table. It is comfort food reimagined for the modern, budget-conscious cook.
What Ingredients You Will Need
This recipe uses simple, wholesome ingredients to deliver bold flavor and satisfying texture without the fuss. The beauty of these rolls is that they rely on pantry staples that you probably already have on hand. By choosing the right types of ingredients, you can ensure the best results without breaking the bank.
Here is what you will need to make these soft buttery dinner rolls:
- All-Purpose Flour: You will need about 4 cups of all-purpose flour. This is the most common type of flour and is usually the most affordable option. Avoid using bread flour if you want a softer texture, as it creates a chewier roll. Look for a brand that is unbleached if you prefer, but standard white flour works perfectly fine.
- Active Dry Yeast: One packet (about 2 ¼ teaspoons) of active dry yeast is all you need. This is the leavening agent that makes the rolls rise. Make sure your yeast is not expired, or your rolls will be flat. You can buy yeast in bulk to save money over time.
- Warm Milk: You will need 1 cup of warm milk. Whole milk gives the best flavor and color, but 2% or even skim milk will work if that is what you have on sale. The warmth helps activate the yeast. Do not use hot milk, or you will kill the yeast.
- Warm Water: Add ½ cup of warm water to the dough. This helps to hydrate the flour and creates a lighter crumb. Using water also stretches the milk, allowing you to use less dairy while still getting great results.
- Sugar: Use ¼ cup of granulated sugar. This feeds the yeast and adds a slight sweetness that balances the savory butter. You can substitute with honey if you prefer, but sugar dissolves more easily in cold water.
- Salt: Add 1 teaspoon of salt. Salt is crucial for flavor and also helps control the yeast activity. Do not skip this step, or the rolls will taste bland.
- Unsalted Butter: You will need 4 tablespoons of melted butter for the dough, plus extra for the topping. Using real butter is important for the rich flavor. If you are on a very tight budget, you can use vegetable oil, but the taste will not be as buttery.
- Extra Butter for Topping: Melt another 2 tablespoons of butter to brush on top after baking. This gives them that shiny, appetizing look and adds extra moisture.
I recommend buying your flour in larger bags when it is on sale. Yeast can also be purchased in larger quantities if you bake often. These small adjustments in how you shop can add up to significant savings over the year. Also, look for store-brand dairy products, as they often taste just as good as name brands.
Can I use instant yeast instead of active dry yeast?
Yes, you can use instant yeast. You do not need to proof it in warm water first. Simply mix it directly with the dry ingredients. The results will be very similar, though active dry yeast often gives a slightly more robust rise.
What if I don’t have milk?
If you are out of milk, you can use all water. The rolls will be slightly less rich, but they will still be soft and delicious. You can add a tablespoon of oil to the dough to compensate for the missing fat in the milk.
Equipment Needed
You do not need a lot of fancy gear to make these rolls. Here is the basic equipment you will need:
- Mixing Bowl: A large bowl, preferably glass or ceramic, is ideal for mixing the dough. It allows you to see the texture clearly.
- Measuring Cups and Spoons: Accurate measurements are key in baking. Use standard measuring cups for dry ingredients and liquid measuring cups for wet ingredients.
- Rolling Pin: You will need this to roll out the dough before cutting it into rolls. A standard wooden rolling pin works best.
- Baking Pan: A 9×13 inch baking dish is perfect for this recipe. It allows the rolls to touch, which helps them rise up rather than out.
- Oven: A standard oven that can maintain a consistent temperature of 375°F (190°C).
- Pastry Brush: This is useful for brushing the melted butter on top of the rolls. It gives an even coating.
If you do not have a rolling pin, you can use a clean glass bottle. For the baking pan, a metal pan works best for even browning, but glass is fine too. Just be aware that glass may take slightly longer to bake. Avoid using non-stick spray on the pan, as the butter will handle the greasing. This saves money on cooking spray and ensures a better crust.
Preparation Method
Making these rolls is straightforward, but attention to detail makes all the difference. Follow these steps carefully for the best results.
- Activate the Yeast: In a small bowl, combine the warm water, warm milk, sugar, and yeast. Stir gently and let it sit for about 5-10 minutes. You should see foam form on top. This means the yeast is active. If there is no foam, your yeast might be dead, and you should start over.
- Mix the Dough: In a large mixing bowl, combine the flour and salt. Make a well in the center and pour in the yeast mixture and the melted butter. Stir with a wooden spoon or use a stand mixer with a dough hook on low speed. Mix until the dough starts to come together. This takes about 2 minutes.
- Knead the Dough: Turn the dough out onto a lightly floured surface. Knead by hand for about 5-7 minutes. Push the dough away from you with the heel of your hand, fold it over, and repeat. The dough should become smooth and elastic. If it is too sticky, add a little more flour. If it is too dry, add a splash of water. The goal is a soft, slightly tacky dough.
- First Rise: Place the dough in a lightly oiled bowl. Cover it with a damp towel or plastic wrap. Let it rise in a warm place for about 1 hour, or until it has doubled in size. A warm oven (turned off) with the light on is a good spot.
- Shape the Rolls: Punch down the dough to release air bubbles. Roll it out into a rectangle about ½ inch thick. Cut the dough into squares or triangles. You can make 12 large rolls or 16 smaller ones, depending on your preference. Place them in the greased 9×13 baking pan, leaving a little space between them.
- Second Rise: Cover the pan again and let the rolls rise for another 30 minutes. They should look puffy and soft. This step is crucial for getting that light, airy texture.
- Bake: Preheat your oven to 375°F (190°C). Bake the rolls for 15-20 minutes, or until they are golden brown on top. If they start browning too quickly, cover them loosely with foil.
- Glaze: As soon as the rolls come out of the oven, brush them with melted butter. This adds flavor and keeps them soft. Let them cool for 5 minutes before serving.
Pay attention to the texture of the dough during kneading. It should feel like an earlobe. If it sticks to your hands, it needs more flour. If it cracks, it needs more moisture. Trust your hands.
Cooking Tips & Techniques
There are a few tricks to ensure your rolls turn out perfectly every time. Here are some tips I have learned over the years.
First, temperature is everything. Your liquid ingredients should be warm, not hot. If they are too hot, they will kill the yeast. If they are too cold, the yeast will not activate. Aim for about 105°F to 110°F. If you do not have a thermometer, test it on your wrist. It should feel like warm bath water.
Second, do not skip the kneading. Kneading develops the gluten, which gives the rolls their structure. Without enough kneading, the rolls will be dense and flat. But be careful not to over-knead, or they will become tough. Stop when the dough is smooth.
Third, be patient during the rising phases. Rushing the rise will result in dense rolls. If your kitchen is cold, you can place the dough in a slightly warm oven with the light on. This creates a draft-free, warm environment.
Finally, watch the baking time closely. Ovens vary, so check your rolls at the 15-minute mark. They are done when they are golden brown and sound hollow when tapped on the bottom. If they are pale, they need more time. If they are dark, they are done.
Why are my rolls dense?
Dense rolls are usually caused by old yeast, insufficient kneading, or rushing the rising process. Check your yeast expiration date and ensure you knead the dough until it is smooth.
Can I freeze the dough?
Yes, you can freeze the dough after the first rise. Let it rise until doubled, then punch it down and shape the rolls. Place them in the pan, cover tightly, and freeze. When ready to bake, let them thaw and rise for a second time before baking.
Variations & Adaptations
While the basic recipe is delicious, you can easily adapt it to suit your tastes or dietary needs.
- Whole Wheat Rolls: Substitute half of the all-purpose flour with whole wheat flour. This adds fiber and a nuttier flavor. You may need to add a little more water, as whole wheat absorbs more liquid.
- Honey Butter Rolls: Replace the sugar in the dough with honey. Brush the rolls with a mixture of melted butter and honey after baking for a sweet and savory twist.
- Garlic Herb Rolls: Add 1 teaspoon of dried garlic powder and 1 teaspoon of dried parsley to the dough. This adds a savory flavor that pairs well with pasta dishes.
- Cinnamon Sugar Rolls: After baking, brush the rolls with melted butter and sprinkle them with a mixture of cinnamon and sugar. These are great for breakfast or dessert.
- Dairy-Free Option: Use water instead of milk and use a dairy-free butter alternative. The rolls will be slightly less rich, but still delicious.
I have tried adding cheese to the dough, and it works well too. Just add ½ cup of shredded cheddar cheese during the mixing stage. This makes the rolls perfect for serving with soup.
Serving & Storage Suggestions
These rolls are best served warm. They are perfect alongside roasted chicken, beef stew, or a simple salad. You can also serve them with a bowl of tomato soup for a comforting lunch.
If you have leftovers, store them in an airtight container at room temperature for up to 2 days. They will stay soft for a while. For longer storage, freeze the rolls. Place them in a freezer-safe bag or container. They will last for up to 3 months.
To reheat, simply warm them in the oven at 350°F for 5-10 minutes. This restores their softness. You can also microwave them for 10-15 seconds, but they may become chewy. Avoid storing them in the refrigerator, as this will make them go stale faster.
The flavors of these rolls develop over time. If you make them ahead of time, let them cool completely before storing. This prevents condensation, which can make them soggy. They are also great for meal prep. Pack them in your lunchbox for a homemade touch.
Nutritional Information & Benefits
While these rolls are a treat, they can fit into a balanced diet. Here is an approximate nutritional value per roll:
- Calories: 120-150 calories
- Carbohydrates: 20-25 grams
- Protein: 3-4 grams
- Fat: 4-5 grams
- Fiber: 1 gram
The flour provides energy, while the milk adds calcium and protein. Using whole wheat flour can increase the fiber content, which aids in digestion. These rolls are a good source of carbohydrates for active individuals. However, they are not low-carb. If you are watching your carb intake, enjoy them in moderation.
From a wellness perspective, homemade bread allows you to control the ingredients. You know exactly how much sugar and salt is going into your food. This is a huge advantage over store-bought bread, which often contains preservatives and added sugars. Making these rolls is a step towards healthier eating without sacrificing taste.
Are these rolls gluten-free?
No, this recipe uses wheat flour. To make them gluten-free, you would need to use a gluten-free flour blend that includes xanthan gum. However, the texture may be different.
Can I make these rolls vegan?
Yes, simply use plant-based milk and vegan butter. The process remains the same.
Conclusion
Making soft buttery dinner rolls at home is a rewarding experience that saves money and brings joy to your table. This recipe is simple, reliable, and delicious. You do not need to be a professional baker to make these. With just a few basic ingredients, you can create something special for your family.
I encourage you to try this recipe and customize it to your liking. Add your favorite herbs, cheeses, or spices. The possibilities are endless. Remember, the key to success is patience and attention to detail. Trust the process, and you will be rewarded with warm, fluffy rolls.
Please share your results with me. I love hearing about your baking adventures. Try these rolls for your next family dinner and see how they stretch your budget while filling your home with the smell of fresh bread. Happy baking!
Frequently Asked Questions
Why did my rolls not rise?
This is usually due to inactive yeast. Make sure your water and milk are warm, not hot, and that your yeast is not expired. Also, ensure the dough is covered during rising to prevent it from drying out.
Can I use bread flour instead of all-purpose flour?
You can, but the rolls will be chewier. All-purpose flour gives a softer texture, which is ideal for dinner rolls. If you use bread flour, reduce the water slightly.
How do I know when the rolls are done?
They are done when they are golden brown and sound hollow when tapped on the bottom. The internal temperature should be around 190°F.
Can I make these rolls in a bread machine?
Yes, you can use the dough setting on your bread machine. After the cycle finishes, shape the rolls and let them rise before baking.
Why are my rolls flat?
Flat rolls are often caused by over-proofing or under-kneading. Ensure you knead the dough until it is smooth and elastic. Also, do not let the rolls rise for too long before baking.
Pin This Recipe!
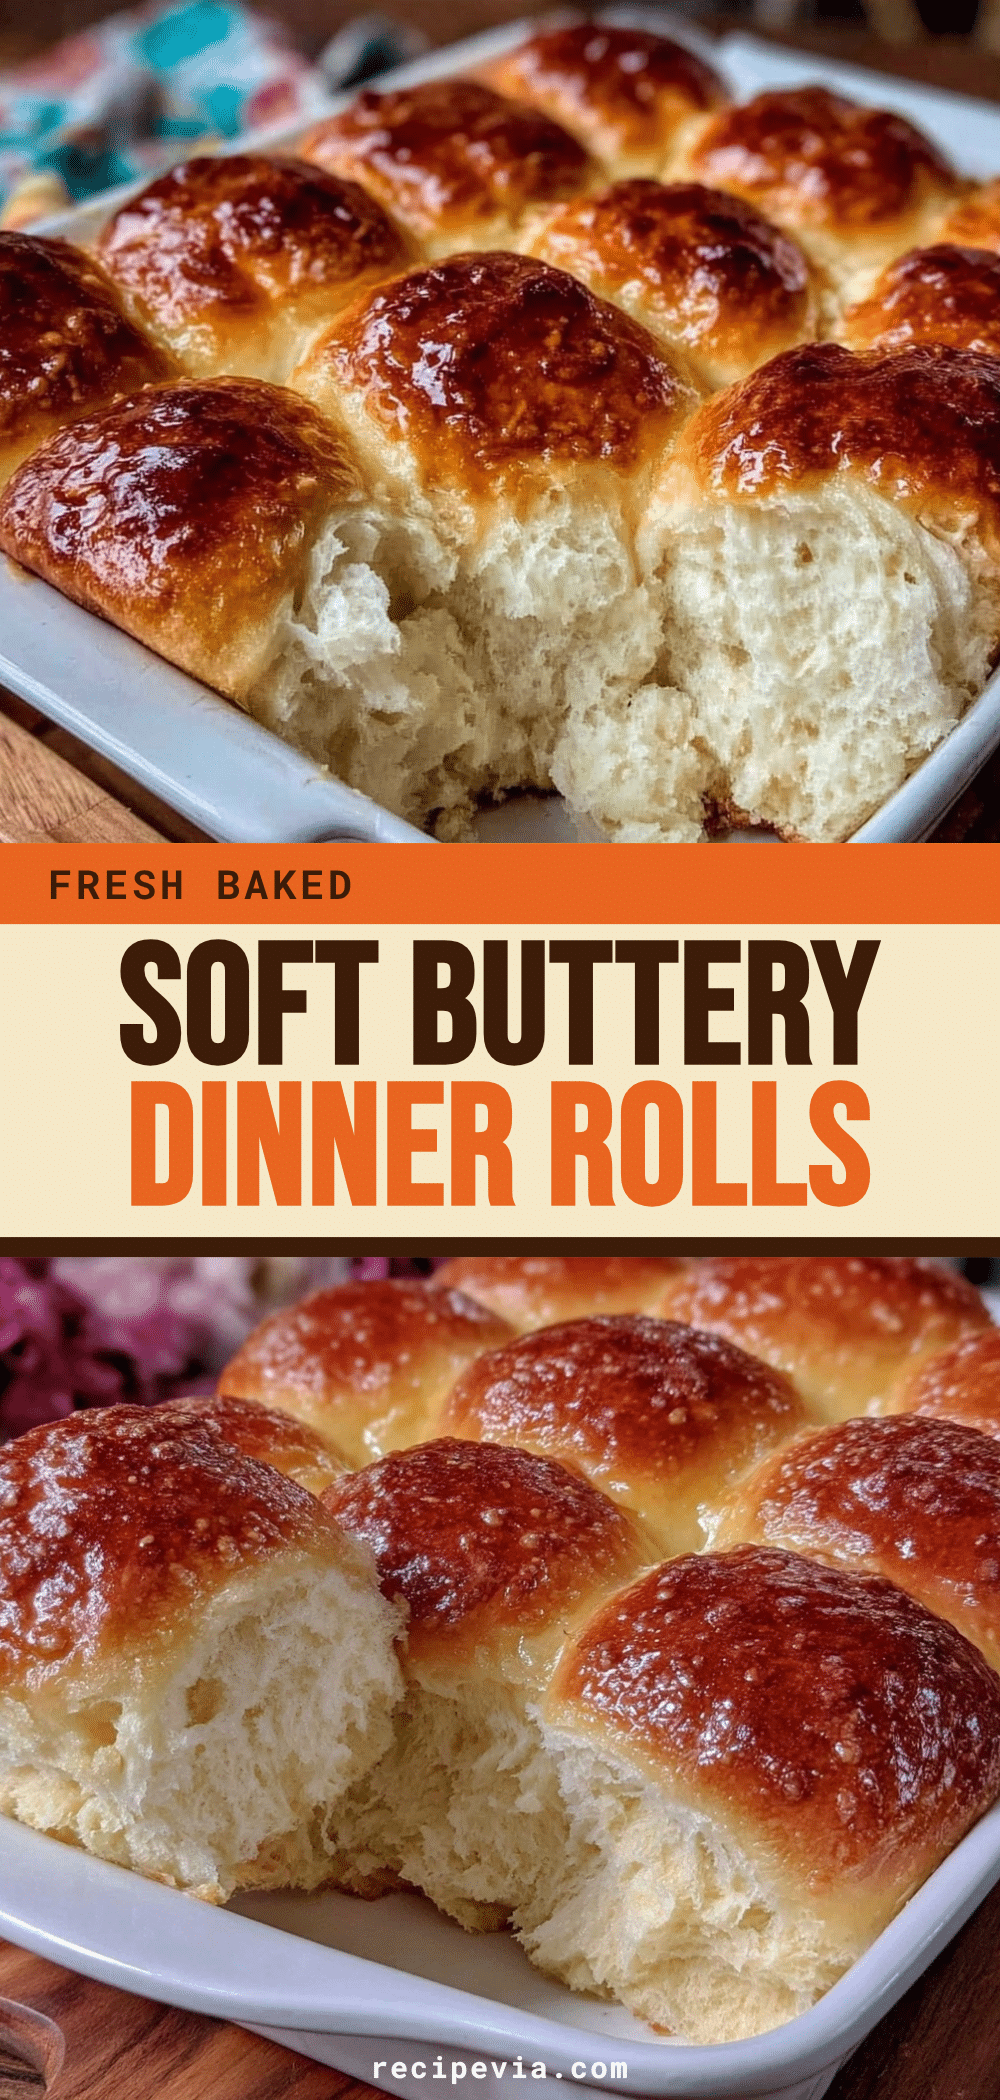

Soft Buttery Dinner Rolls: 6 Ingredients to Stretch Budget
- Total Time: 2 hours
- Yield: 12-16 servings 1x
Description
These soft, buttery dinner rolls are made with simple pantry staples to save money without sacrificing taste. They are perfect for busy weeknights, meal prep, and feeding a crowd.
Ingredients
- 4 cups all-purpose flour
- 1 packet (2 ¼ teaspoons) active dry yeast
- 1 cup warm milk
- ½ cup warm water
- ¼ cup granulated sugar
- 1 teaspoon salt
- 4 tablespoons unsalted butter, melted (for dough)
- 2 tablespoons unsalted butter, melted (for topping)
Instructions
- In a small bowl, combine warm water, warm milk, sugar, and yeast. Stir gently and let sit for 5-10 minutes until foamy.
- In a large mixing bowl, combine flour and salt. Make a well and pour in the yeast mixture and melted butter. Mix until dough comes together.
- Turn dough onto a floured surface and knead for 5-7 minutes until smooth and elastic.
- Place dough in a lightly oiled bowl, cover, and let rise in a warm place for about 1 hour or until doubled in size.
- Punch down dough and roll out into a ½ inch thick rectangle. Cut into squares or triangles.
- Place rolls in a greased 9×13 inch baking pan, leaving space between them.
- Cover and let rolls rise for another 30 minutes until puffy.
- Preheat oven to 375°F (190°C). Bake rolls for 15-20 minutes until golden brown.
- Immediately brush hot rolls with melted butter. Let cool for 5 minutes before serving.
Notes
Ensure liquid ingredients are warm (105°F-110°F) but not hot to avoid killing the yeast. Knead until dough feels like an earlobe. Rolls can be frozen after the first rise or baked and frozen for later. Store leftovers in an airtight container at room temperature for up to 2 days.
- Prep Time: 30 minutes
- Cook Time: 20 minutes
- Category: Side Dish
- Cuisine: American
Nutrition
- Serving Size: 1 roll
- Calories: 135
- Sugar: 4
- Sodium: 150
- Fat: 4.5
- Saturated Fat: 2.5
- Carbohydrates: 22.5
- Fiber: 1
- Protein: 3.5
Keywords: dinner rolls, budget baking, homemade bread, soft rolls, buttery rolls, easy bread recipe, meal prep