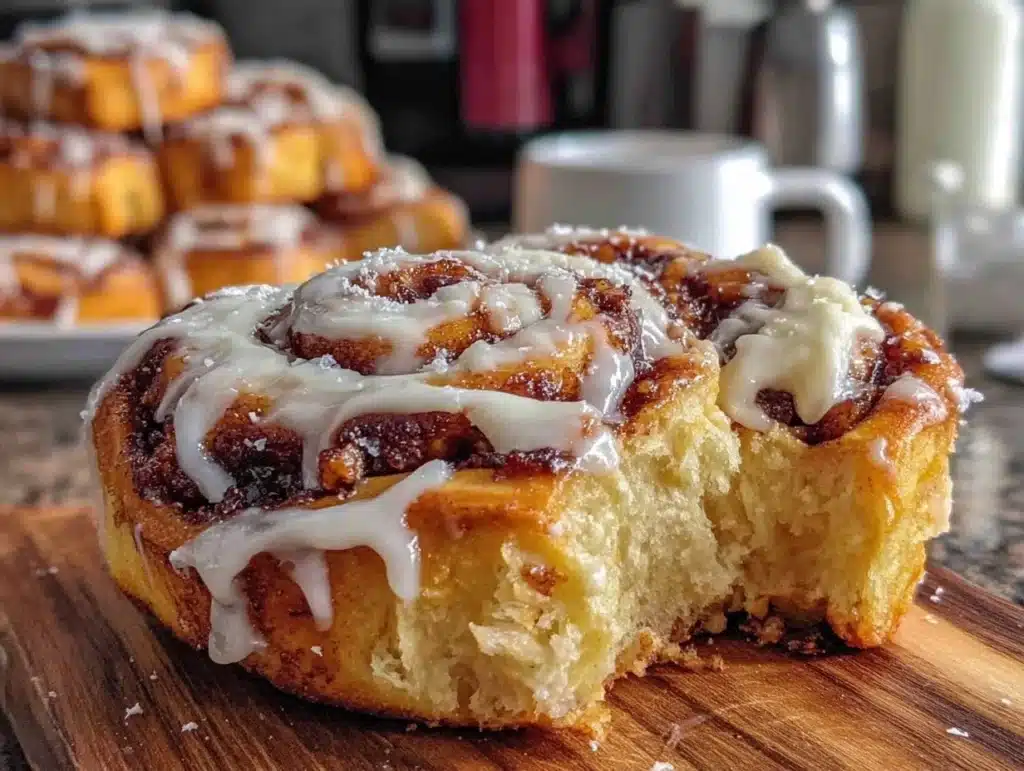
The smell of warm cinnamon and brown sugar drifting through the kitchen is enough to stop traffic. Honestly, it’s the kind of aroma that makes neighbors knock on your door just to see what you’re baking. I first made these Amish cinnamon rolls during a particularly chaotic weekend when I needed to feed a crowd without spending a fortune or spending hours in the kitchen. Let’s face it, feeding a hungry family or a group of friends can drain your wallet faster than you can say “grocery run.”
That’s when I decided to test a recipe that relied entirely on pantry staples. You know the drill, those ingredients you already have tucked away in your cupboards. I’ve tested this Amish cinnamon roll recipe over a dozen times, tweaking the dough hydration and the glaze ratio until it hit that perfect sweet spot. It’s not just about saving money; it’s about creating a comforting, sweet treat that feels homemade without the premium price tag of bakery-style pastries.
This recipe is worth making because it delivers on flavor, convenience, and value. It’s perfect for busy families, Sunday morning brunches, or even potlucks where you want to bring something impressive but effortless. The texture is soft, pillowy, and soaked in a creamy glaze that isn’t overly sweet. It’s the kind of breakfast that makes you feel like you’re being pampered, yet it costs pennies on the dollar compared to store-bought versions. Plus, the leftovers freeze beautifully, which is a lifesaver for weekday mornings.
I remember the first time I served these to my husband’s family. He was skeptical about “Amish” rolls, thinking they might be dry or bland. But after one bite, he went back for seconds. That’s the magic of this recipe. It’s simple, reliable, and always gets rave reviews. Whether you are a seasoned baker or just starting out, these rolls are forgiving and delicious. They prove that you don’t need expensive ingredients to make something extraordinary. It’s all about technique and patience, two things that are free but priceless in the kitchen.
Why You’ll Love This Recipe
After spending years in the kitchen, testing countless doughs and glazes, I’ve learned that the best recipes are the ones that work every single time. This Amish cinnamon roll recipe is my go-to because it balances simplicity with incredible flavor. It’s not just another cinnamon roll recipe; it’s a tested, trusted method that yields consistent results. I’ve shared this with friends, family, and even my local church bake sale, and it’s always the first thing to disappear.
- Quick & Easy: While the dough needs time to rise, the active prep time is minimal. You can have these in the oven in under an hour if you’re short on time, or let them rise slowly for a deeper flavor. It’s perfect for busy weeknights or lazy Sunday mornings.
- Simple Ingredients: No fancy grocery trips needed. You likely already have flour, sugar, yeast, and butter in your kitchen. This recipe uses basic pantry staples, making it incredibly accessible for anyone.
- Perfect for Brunch: These rolls are the star of any breakfast table. They pair beautifully with coffee or tea, making them ideal for weekend gatherings or holiday mornings.
- Crowd-Pleaser: Kids and adults alike love the soft texture and sweet glaze. They are easy to eat with your hands and always get compliments.
- Unbelievably Delicious: The combination of the spiced filling and the creamy glaze is next-level comfort food. It’s sweet, spicy, and satisfying in every bite.
What makes this recipe different is the specific ratio of ingredients that creates a dough that is both tender and sturdy enough to hold the glaze. I’ve found that using a mix of all-purpose flour and a touch of bread flour gives the best chew. Also, the glaze is made with cream cheese and powdered sugar, which adds a tangy contrast to the sweet rolls. It’s not just good—it’s the kind that makes you close your eyes after the first bite. It’s comfort food reimagined, focusing on value and taste without the stress of complicated techniques.
What Ingredients You Will Need
This recipe uses simple, wholesome ingredients to deliver bold flavor and satisfying texture without the fuss. The beauty of Amish baking lies in its simplicity. You don’t need exotic spices or expensive imports. Just good, basic ingredients that you probably already have on hand. I like to keep it straightforward so that anyone can follow along without feeling overwhelmed by a long shopping list.
For the Dough
- All-purpose flour: 3 to 3 1/2 cups (360g to 420g). I recommend King Arthur Flour for its consistent protein content, which helps the dough rise properly.
- Granulated sugar: 1/4 cup (50g). This feeds the yeast and adds a little sweetness to the dough itself.
- Active dry yeast: 1 packet (2 1/4 teaspoons or 7g). Make sure it’s fresh for the best rise. If it’s old, your rolls will be flat.
- Milk: 1 cup (240ml), warm. Not hot, just warm to the touch. This helps activate the yeast.
- Unsalted butter: 1/4 cup (60g), melted. Adds richness and softness to the crumb.
- Large egg: 1, room temperature. Helps bind the dough and adds structure.
- Salt: 1 teaspoon. Enhances the flavor and balances the sweetness.
For the Filling
- Unsalted butter: 1/2 cup (115g), softened. This is crucial for spreading evenly.
- Brown sugar: 1 cup (200g). Dark brown sugar adds a deeper molasses flavor, but light works too.
- Ground cinnamon: 2 tablespoons. Don’t skimp on this; it’s the star of the show.
- Optional: A pinch of nutmeg or cardamom for extra warmth.
For the Cream Cheese Glaze
- Cream cheese: 4 oz (115g), softened. I prefer Philadelphia brand for its smooth texture.
- Powdered sugar: 1 cup (120g). Sifted to avoid lumps in the glaze.
- Milk: 1-2 tablespoons. Adjust for desired consistency.
- Vanilla extract: 1 teaspoon. Adds a nice aromatic finish.
For the best results, ensure your butter and egg are at room temperature. This helps them incorporate smoothly into the dough. If you’re short on time, you can soften butter by microwaving it for a few seconds, but be careful not to melt it completely. Also, look for fresh cinnamon; old spice loses its potency quickly. In winter, I often add a dash of nutmeg to the filling for a cozier flavor profile.
Equipment Needed
You don’t need any fancy gadgets to make these Amish cinnamon rolls. A few basic tools will get you through the process smoothly. Here’s what you’ll need:
- Stand mixer or Hand mixer: While you can knead by hand, a mixer saves time and effort. I use my stand mixer with a dough hook, but a sturdy wooden spoon works too if you’re willing to put in some elbow grease.
- 9×13 inch Baking Dish: A standard glass or ceramic dish works best. Metal pans heat up faster, so keep an eye on them. I prefer Pyrex because I can see the browning on the bottom.
- Rolling Pin: A standard wooden rolling pin is fine. Just make sure it’s clean and dry.
- Mixing Bowls: One large bowl for the dough and a smaller one for the glaze.
- Pastry Brush: Useful for brushing melted butter on the dough before rolling.
- Measuring Cups and Spoons: Accuracy is key in baking. Invest in a good set of metal or plastic measuring cups.
- Cooling Rack: Essential for cooling the rolls so the glaze doesn’t melt off immediately.
If you don’t have a stand mixer, don’t worry. Kneading by hand is a great workout and helps you feel the dough’s texture. Just be prepared to spend about 10 minutes kneading. Also, a digital kitchen scale is helpful for measuring flour accurately, as packing it into cups can lead to dry rolls. But if you’re using cups, fluff the flour first and spoon it in.
How to Make Amish Cinnamon Rolls
- Activate the Yeast (5 minutes): In a small bowl, combine the warm milk and sugar. Sprinkle the yeast over the top and let it sit for 5-10 minutes until it becomes foamy. If it doesn’t foam, your yeast might be old, and you should start over. This step ensures your rolls will rise properly.
- Mix the Dough (10 minutes): In a large bowl or stand mixer, combine the flour and salt. Add the yeast mixture, melted butter, and egg. If using a stand mixer, use the dough hook on low speed. Mix until the ingredients come together. If kneading by hand, mix with a spoon until a shaggy dough forms.
- Knead the Dough (8-10 minutes): Turn the dough out onto a lightly floured surface. Knead for 8-10 minutes until the dough is smooth and elastic. It should pass the “windowpane test,” meaning you can stretch a small piece thin enough to see light through it without tearing. Add more flour if it’s too sticky, but be careful not to add too much, or the rolls will be dense.
- First Rise (1-2 hours): Place the dough in a greased bowl, turning once to coat. Cover with plastic wrap or a damp towel. Let it rise in a warm place for 1-2 hours, or until doubled in size. A warm oven (turned off) with a bowl of hot water inside works well.
- Prepare the Filling (5 minutes): While the dough rises, mix the softened butter, brown sugar, and cinnamon in a small bowl until it forms a paste. Set aside.
- Shape the Rolls (10 minutes): Punch down the risen dough and turn it out onto a floured surface. Roll it out into a large rectangle, about 12×18 inches. Spread the cinnamon butter mixture evenly over the surface, leaving a small border at the edges. Starting from the long edge, roll the dough tightly into a log. Cut the log into 12 equal pieces using dental floss or a sharp knife. Place them in a greased 9×13 inch baking dish.
- Second Rise (30-45 minutes): Cover the dish and let the rolls rise again for 30-45 minutes. They should look puffy and jiggly. Preheat your oven to 350°F (175°C) during the last 15 minutes of rising.
- Bake (25-30 minutes): Bake the rolls for 25-30 minutes, or until golden brown. If the tops brown too quickly, cover them loosely with foil. The internal temperature should reach about 190°F (88°C).
- Make the Glaze (5 minutes): While the rolls bake, beat the softened cream cheese, powdered sugar, vanilla, and milk until smooth. Adjust consistency with more milk or sugar as needed.
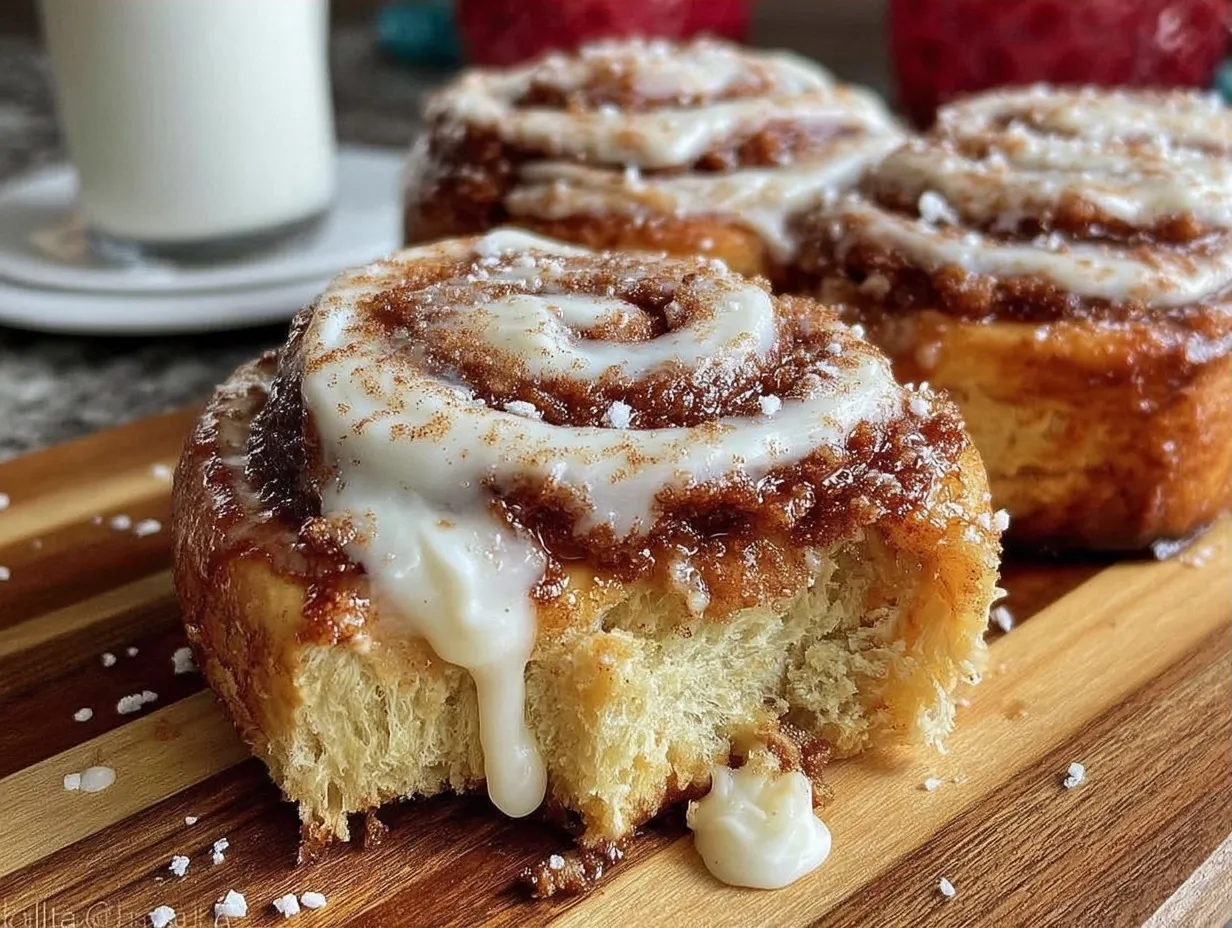
- Glaze and Serve: Let the rolls cool for 10 minutes in the pan. Drizzle the glaze over the warm rolls. Serve immediately while they are soft and gooey.
Common mistake: Overcrowding the pan. Make sure there is space between the rolls so they can expand. If they touch too early, they won’t rise properly. Another tip: Use dental floss to cut the rolls. It’s cleaner than a knife and prevents squishing the dough.
Cooking Tips & Techniques
Getting the dough right is the most important part of this recipe. Here are some tips to ensure success:
- Temperature Matters: Your milk should be warm, not hot. If it’s too hot, it will kill the yeast. If it’s too cold, the yeast won’t activate. Aim for 105-110°F (40-43°C).
- Don’t Over-flour: It’s tempting to add more flour if the dough is sticky, but this leads to dense rolls. The dough should be slightly tacky but not stick to your hands. If it’s too sticky, wet your hands instead of adding more flour.
- Roll Tight: When rolling the dough, make sure it’s tight. Loose rolls will unroll in the oven and the filling will spill out. Roll from the long side to get longer, more even rolls.
- Watch the Bake Time: Ovens vary, so keep an eye on your rolls. They are done when they are golden brown on top. If you’re unsure, check the internal temperature.
- Glaze Timing: Don’t glaze hot rolls straight from the oven. Let them cool for 10 minutes so the glaze sets slightly but still soaks in. If you glaze them too soon, the glaze will run off. If you wait too long, it won’t soak in.
I once made these rolls with cold butter, and the filling didn’t spread evenly. Lesson learned: always soften your butter. Also, I’ve tried using margarine instead of butter, and the flavor just isn’t the same. Stick with real butter for the best taste.
Variations & Adaptations
While the classic version is amazing, you can tweak this recipe to suit your tastes:
- Gluten-Free: Use a 1:1 gluten-free flour blend. Note that the dough may be stickier, so you might need less liquid.
- Dairy-Free: Use plant-based milk and butter. For the glaze, use dairy-free cream cheese alternatives.
- Lower Sugar: Reduce the sugar in the dough and filling by half. You can also use a sugar substitute in the glaze.
- Apple Cinnamon: Add chopped apples to the filling for a fall twist.
- Maple Glaze: Substitute the cream cheese glaze with a maple syrup glaze for a different flavor profile.
I’ve tried adding pecans to the filling, and it adds a nice crunch. It’s a great variation for those who like a bit of texture. Also, you can make these ahead of time. Assemble the rolls the night before, cover them, and let them rise in the fridge overnight. Bake them in the morning for a fresh breakfast.
Serving & Storage Suggestions
These rolls are best served warm. Pair them with a cup of coffee or hot chocolate for a complete breakfast experience. They also go well with bacon or sausage for a hearty meal.
Storage: Store leftovers in an airtight container at room temperature for up to 2 days. For longer storage, freeze them. Wrap individual rolls in plastic wrap and place them in a freezer bag. They can be frozen for up to 3 months.
Reheating: To reheat, microwave individual rolls for 20-30 seconds. For a crisper bottom, bake them in a 350°F oven for 5-10 minutes. If frozen, thaw overnight in the fridge before reheating.
The flavors develop over time, especially if you let them sit with the glaze overnight. However, they are best fresh out of the oven. The glaze softens the rolls, making them even more tender.
Nutritional Information & Benefits
These rolls are indulgent but can be enjoyed in moderation. Each roll contains approximately 350 calories, with 15g of fat, 50g of carbohydrates, and 6g of protein. They are a good source of energy, making them perfect for a busy morning.
Health Benefits: Cinnamon is known for its anti-inflammatory properties and can help regulate blood sugar. The eggs provide protein, which helps keep you full. While these are a treat, using whole ingredients like real butter and fresh yeast makes them a better choice than processed bakery items.
Allergens: These rolls contain gluten, dairy, and eggs. Use the variations mentioned above to accommodate dietary restrictions.
I view these rolls as a special occasion treat rather than a daily staple. They are a way to enjoy simple pleasures without guilt. Balance is key in any diet, and these rolls fit perfectly into a balanced lifestyle when enjoyed in moderation.
Conclusion
These Amish cinnamon rolls are a testament to the power of simple ingredients and good technique. They are budget-friendly, delicious, and always a crowd-pleaser. Whether you are feeding a family or just treating yourself, these rolls will satisfy your sweet tooth. I love making them because they bring people together and create wonderful memories in the kitchen.
Feel free to customize the recipe to your liking. Add nuts, change the glaze, or adjust the sweetness. The possibilities are endless. I encourage you to try this recipe and share your results. Leave a comment below with your tips or variations. I’d love to hear how they turned out for you.
Happy baking! Let these rolls fill your home with the smell of cinnamon and happiness. It’s a simple joy that’s worth the effort.
Frequently Asked Questions
Can I use instant yeast instead of active dry yeast?
Yes, you can. Instant yeast doesn’t need to be activated in milk first. You can mix it directly with the flour. Just reduce the liquid slightly if needed, as instant yeast absorbs moisture differently.
Why are my cinnamon rolls dense?
This is usually caused by over-flouring the dough or not letting it rise long enough. Make sure you measure your flour correctly and allow the dough to double in size before shaping.
Can I make these rolls ahead of time?
Absolutely. You can assemble the rolls, cover them tightly, and refrigerate them overnight. Let them come to room temperature and rise for an hour before baking. This is perfect for busy mornings.
How do I prevent the glaze from running off?
Let the rolls cool for about 10 minutes before glazing. This allows the glaze to set slightly and soak into the rolls rather than sliding off. Also, make sure your glaze isn’t too thin.
Can I freeze the baked rolls?
Yes, bake the rolls, let them cool completely, and then wrap them individually in plastic wrap. Place them in a freezer bag and freeze for up to 3 months. Reheat in the microwave or oven when ready to eat.
Pin This Recipe!
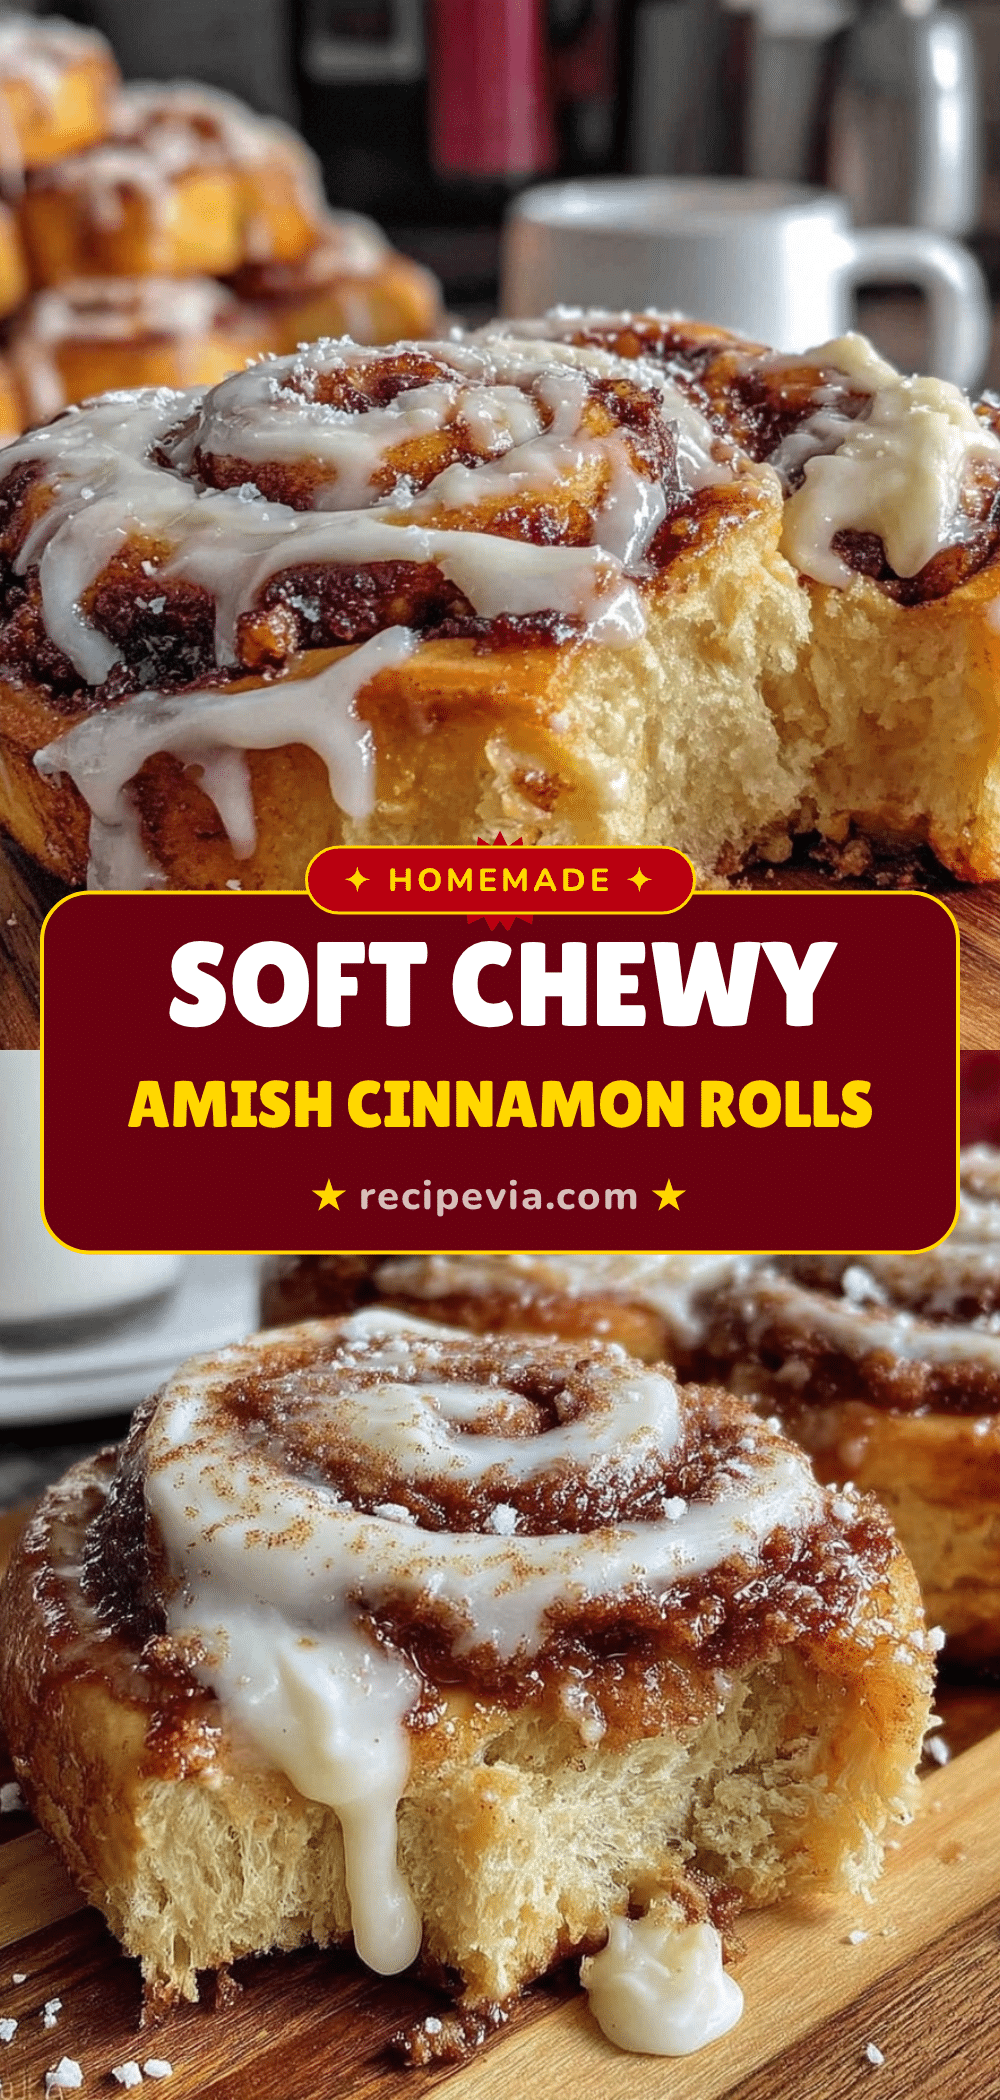

Best Amish Cinnamon Rolls: Easy, Budget-Friendly Crowd Pleaser
- Total Time: 3 hours 15 minutes
- Yield: 12 servings 1x
Description
Soft, pillowy Amish cinnamon rolls made with simple pantry staples, featuring a rich brown sugar cinnamon filling and a tangy cream cheese glaze. This budget-friendly recipe is perfect for brunches and crowds.
Ingredients
- 3 to 3 1/2 cups all-purpose flour
- 1/4 cup granulated sugar
- 1 packet (2 1/4 teaspoons) active dry yeast
- 1 cup warm milk
- 1/4 cup unsalted butter, melted
- 1 large egg, room temperature
- 1 teaspoon salt
- 1/2 cup unsalted butter, softened
- 1 cup brown sugar
- 2 tablespoons ground cinnamon
- 4 oz cream cheese, softened
- 1 cup powdered sugar, sifted
- 1–2 tablespoons milk
- 1 teaspoon vanilla extract
Instructions
- Activate the yeast: In a small bowl, combine warm milk and sugar. Sprinkle yeast over the top and let sit for 5-10 minutes until foamy.
- Mix the dough: In a large bowl or stand mixer, combine flour and salt. Add the yeast mixture, melted butter, and egg. Mix until ingredients come together.
- Knead the dough: Turn dough onto a lightly floured surface and knead for 8-10 minutes until smooth and elastic.
- First rise: Place dough in a greased bowl, cover, and let rise in a warm place for 1-2 hours until doubled in size.
- Prepare the filling: While dough rises, mix softened butter, brown sugar, and cinnamon in a small bowl until it forms a paste.
- Shape the rolls: Punch down risen dough and roll into a 12×18 inch rectangle. Spread filling evenly, leaving a border. Roll tightly into a log and cut into 12 equal pieces.
- Second rise: Place rolls in a greased 9×13 inch baking dish. Cover and let rise for 30-45 minutes until puffy. Preheat oven to 350°F (175°C) during the last 15 minutes.
- Bake: Bake for 25-30 minutes until golden brown. Internal temperature should reach 190°F (88°C).
- Make the glaze: While rolls bake, beat cream cheese, powdered sugar, vanilla, and milk until smooth.
- Glaze and serve: Let rolls cool for 10 minutes in the pan. Drizzle with glaze and serve warm.
Notes
Ensure butter and egg are at room temperature for best incorporation. Use dental floss to cut rolls for clean slices without squishing. Do not glaze hot rolls immediately; let them cool for 10 minutes so the glaze sets but still soaks in. Leftovers freeze well for up to 3 months.
- Prep Time: 45 minutes
- Cook Time: 30 minutes
- Category: Breakfast
- Cuisine: American
Nutrition
- Serving Size: 1 roll
- Calories: 350
- Sugar: 32
- Sodium: 280
- Fat: 15
- Saturated Fat: 9
- Carbohydrates: 50
- Fiber: 1
- Protein: 6
Keywords: Amish cinnamon rolls, easy cinnamon rolls, budget-friendly breakfast, cream cheese glaze, homemade cinnamon rolls, brunch recipes