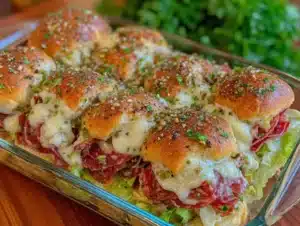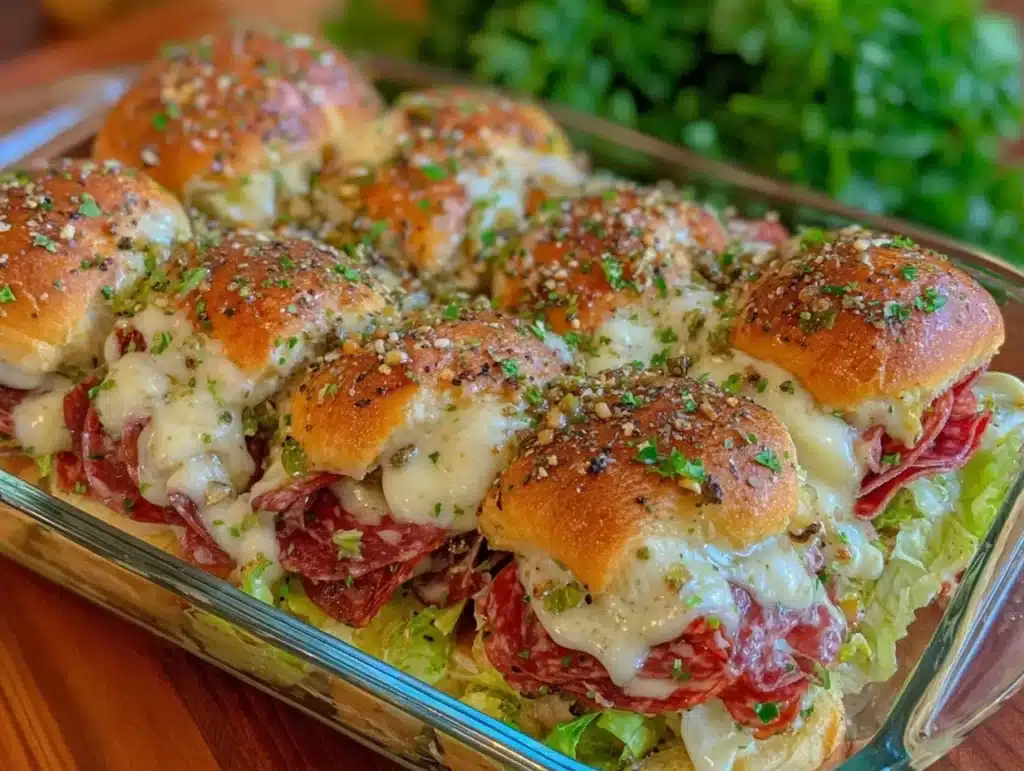
I still remember the panic of that Tuesday night in November. The house was cold, the kids were hungry, and my bank account was staring back at me with a grimace. I needed dinner fast, cheap, and something that would actually make my picky eater put down his tablet. That’s when I stumbled onto the idea for these cheap Italian sliders. Honestly, I was skeptical. Could a ten-dollar grocery run really turn into a full family feast? It did. And not just any feast—a meal that left everyone asking for seconds.
Let’s face it, we’ve all been there. You’re staring into the fridge, hoping some magic ingredient will appear. Instead, you find half a loaf of roll, some old salami, and a jar of marinara. Most people would throw it out or order takeout. I decided to stretch it. I swapped the expensive prosciutto for a budget-friendly salami, used store-brand mozzarella, and skipped the fancy olive oil drizzle. The result? Sliders that tasted like they came from a restaurant, but cost pennies on the dollar.
These cheap Italian sliders are the swap that saves money and nobody notices. I’ve made them over a dozen times now. Sometimes I add peppers if they’re on sale. Sometimes I keep it simple with just cheese and sauce. The key is the assembly. You layer it right, you bake it just long enough to get that golden, melty top, and suddenly you have a crowd-pleaser. It’s comfort food that doesn’t break the bank. If you’re looking for a weeknight win that feels indulgent but is actually super affordable, this is your recipe. Trust me, your wallet will thank you.
Why You’ll Love This Recipe
After testing this recipe so many times, I’ve learned a thing or two about what makes it work. It’s not just about saving money; it’s about getting a high-quality result without the high-quality price tag. Here is why this specific version of Italian sliders has become a staple in my kitchen:
- Quick & Easy: You can have these on the table in under 30 minutes. Preheat the oven, slice the rolls, layer the ingredients, and bake. It’s perfect for those chaotic weeknights when you don’t have hours to cook.
- Simple Ingredients: You likely already have most of this in your kitchen. Bread, cheese, sauce, and cured meat. No fancy grocery trips needed. This is pantry-staple cooking at its finest.
- Perfect for Meal Prep: These sliders hold up well in the fridge. I often make a double batch on Sunday. By Wednesday, I’m heating up two sliders for lunch, and they still taste fresh and delicious.
- Crowd-Pleaser: Kids love the bite-sized format. Adults love the warm, gooey cheese. It’s a texture combo that works for everyone at the table.
- Unbelievably Delicious: The combination of salty salami, tangy pepperoni, and sweet marinara with melted provolone is next-level comfort food. It hits all the right notes.
- The Budget Hack: This isn’t just another slider recipe. By using a whole loaf of Hawaiian rolls (which are cheap and sweet) and stretching the meat, you get maximum flavor for minimum cost. It’s a clever twist that makes a cheap meal feel special.
This recipe isn’t just good—it’s the kind that makes you close your eyes after the first bite. It’s comfort food reimagined—healthier, faster, but with the same soul-soothing satisfaction. I use it to impress guests without stress, or just to turn a simple meal into something memorable. It’s proof that you don’t need to spend a lot to eat well.
What Ingredients You Will Need
This recipe uses simple, wholesome ingredients to deliver bold flavor and satisfying texture without the fuss. The beauty here is that we are using cheap cuts and store brands to keep the cost down, but the flavor profile remains rich and authentic. Here is what you need to gather for your shopping trip.
For the Bread Base
- Hawaiian Sweet Rolls: One 12-count package. These are cheap, soft, and slightly sweet which balances the savory meat. Look for the store brand; they are identical to name brands.
- Unsalted Butter: Half a cup, melted. This helps create that crispy, golden crust. Use whatever you have; salted works if you reduce added salt elsewhere.
- Dried Oregano: One teaspoon. Adds that classic Italian herbal note.
- Garlic Powder: One teaspoon. Essential for depth of flavor.
- Red Pepper Flakes: Half a teaspoon. Just a pinch for a little heat.
For the Filling
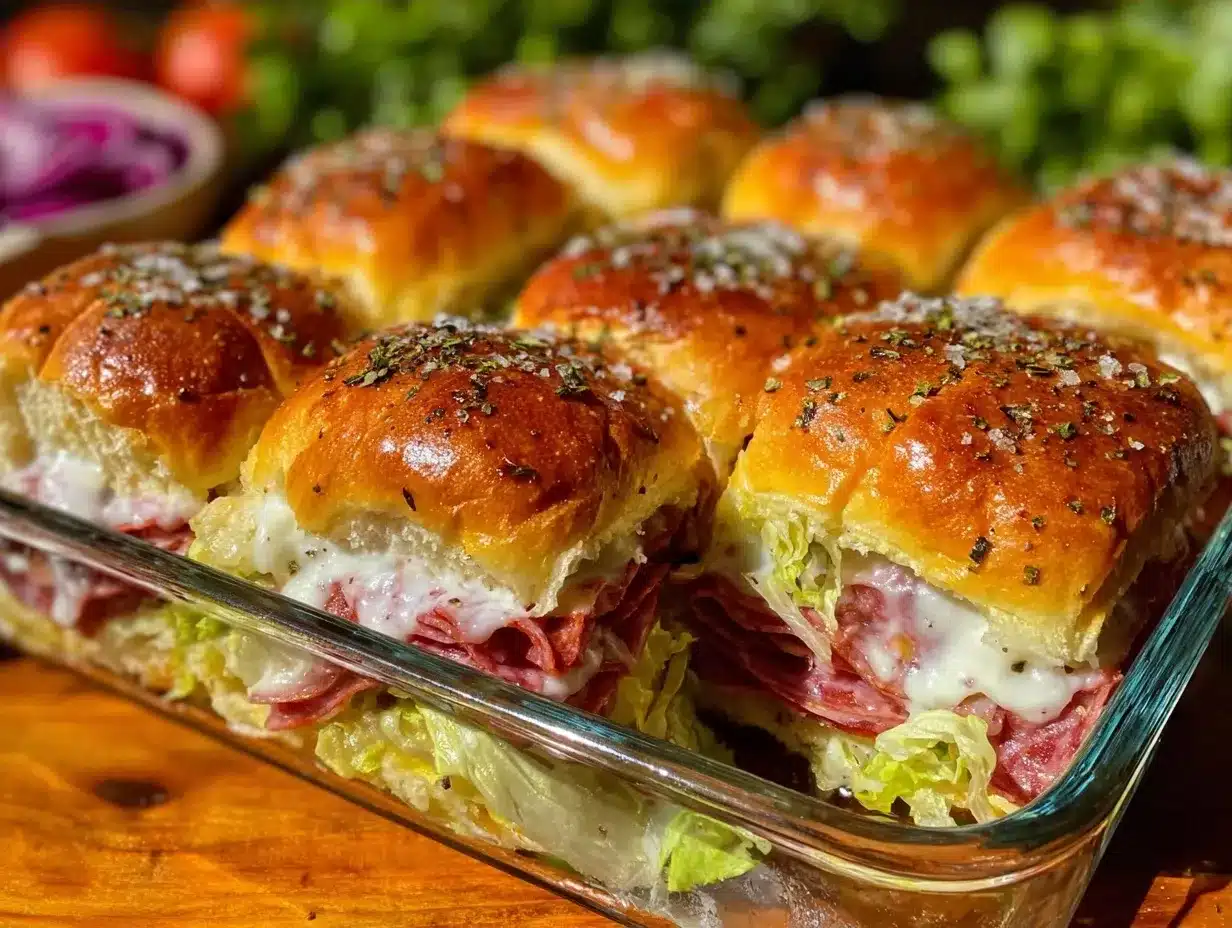
- Salami: One package (about 8 oz). I prefer the cheaper, pre-sliced deli salami. It’s salty and flavorful. (Tip: Look for sales on deli meats to save even more.)
- Pepperoni: One package (about 4-6 oz). Sliced thin. This adds a nice tang that pairs well with the sweet rolls.
- Provolone Cheese: One 8-ounce block, sliced. Provolone melts beautifully. (Note: I buy the block and slice it myself to save money compared to pre-sliced.)
- Mozzarella Cheese: One cup, shredded. Adds the stretchy, gooey texture everyone loves. Use low-moisture mozzarella for best melting.
- Marinara Sauce: One cup. Use a jarred sauce to save time. Look for one with no added sugar if possible, though standard jarred works fine.
- Black Olives: Half a cup, sliced. Optional, but adds a nice briny contrast.
Substitutions & Tips
If you want to go gluten-free, you can use gluten-free Hawaiian-style rolls, though they can be pricey. For a protein swap, turkey salami works, but it’s less flavorful. You can also swap provolone for mozzarella if you want a milder taste. The key is to keep the cheese volume high, as that’s where the satisfaction comes from.
Equipment Needed
You don’t need any fancy gadgets to make these cheap Italian sliders. Here is what you’ll need to get started:
- 9×13 Baking Dish: A standard glass or metal baking dish works best. Glass heats evenly, which helps the bottom cook through without burning the top.
- Baking Sheet: Place your baking dish on a baking sheet. This catches any cheese drips or sauce spills, making cleanup a breeze.
- Sharp Chef’s Knife: You need a good knife to slice the roll loaf in half horizontally. A dull knife will squish the rolls. (Personal tip: I keep a specific serrated bread knife just for this.)
- Small Mixing Bowl: For combining the butter and spices.
- Pastry Brush: To spread the butter mixture evenly over the rolls. (Budget alternative: Just use a spoon to drizzle and tilt the rolls to coat.)
If you don’t have a 9×13 dish, a 9×9 square pan works too, but you might need to adjust the baking time slightly. Keep an eye on them.
Preparation Method
- Preheat the Oven: Start by heating your oven to 350°F (175°C). This should take about 10-15 minutes, so use that time to prep your ingredients.
- Prepare the Butter Mixture: In a small bowl, melt the half cup of butter. Stir in the dried oregano, garlic powder, and red pepper flakes. Whisk until combined. This is your flavor bomb.
- Slice the Rolls: Carefully slice the Hawaiian roll loaf in half horizontally. You want two flat layers. Keep them attached so they stay together during baking. (Warning: Be gentle so you don’t break the bottom layer.)
- Layer the Meat: On the bottom half of the rolls, layer the salami and pepperoni. Fold the slices in half or quarters to fit them neatly. Don’t worry about perfect alignment; rustic looks better. Aim for an even distribution of meat across the entire loaf.
- Add the Cheese: Place the provolone slices on top of the meat. Then, sprinkle the shredded mozzarella evenly over the provolone. The mozzarella will help bind everything together.
- Add the Sauce: Spoon the marinara sauce over the cheese. Use about 2 tablespoons per slider. Don’t soak them too much, or the bread will get soggy. We want moisture, not soup.
- Top It Off: Add the black olives if you are using them. Then, place the top half of the rolls onto the sliders. Press down gently to secure the layers.
- Apply the Butter: Brush the butter mixture generously over the top of the rolls. Make sure to get into the cracks between the rolls. This ensures every bite is flavorful and crispy.
- Bake: Place the baking dish on the baking sheet and put it in the oven. Bake for 12-15 minutes. You want the cheese to be bubbly and the tops to be golden brown. (Sensory cue: It should smell like a pizzeria by this point.)
- Rest and Serve: Remove from the oven and let them rest for 5 minutes. This helps the cheese set slightly so the sliders don’t fall apart when you cut them. Slice between the rolls and serve warm.
Troubleshooting Tips
If the tops are browning too fast, cover them loosely with foil. If the bottom isn’t crispy, bake for an extra 2-3 minutes. Always let them rest; rushing this step leads to messy sliders.
Cooking Tips & Techniques
I’ve made a few mistakes along the way, so you don’t have to. Here are some pro tips for the best results.
Don’t Skip the Rest: I know it’s hard to wait, but if you pull them out and cut immediately, the cheese will slide off. Letting them rest for 5 minutes allows the cheese to re-harden slightly, holding the layers together.
Butter is Key: Don’t skimp on the butter mixture. It’s what gives the cheap rolls a gourmet finish. If you use too little, the tops will be dry and bland. If you use too much, they’ll be greasy. Aim for a generous coating.
Meat Placement: Fold the salami and pepperoni. Flat slices can curl up in the oven. Folding them keeps them flat and ensures even cooking. It also makes it easier to eat.
Sauce Control: The biggest mistake people make is adding too much sauce. The bread absorbs liquid quickly. Add just enough to moisten the cheese. You can always serve extra sauce on the side for dipping.
Temperature Check: Make sure your butter is melted but not boiling hot when you mix it with spices. This prevents the spices from burning. Also, ensure your oven is fully preheated before putting the sliders in.
Variations & Adaptations
Once you master the basic cheap Italian sliders, you can tweak them to fit your taste or budget.
- Spicy Version: Add sliced jalapeños or use spicy salami. This adds a kick that pairs well with the sweet rolls.
- Veggie Heavy: Add sautéed onions and mushrooms. Sauté them first to remove moisture, then layer them. This adds bulk and nutrition without adding much cost.
- Chicken Italian: Swap the cured meats for shredded rotisserie chicken. Toss the chicken in the marinara sauce first. This is a great way to use up leftover chicken.
- Gluten-Free: Use gluten-free dinner rolls. They can be crumbly, so handle with care. You might need to press them down more firmly.
- Personal Favorite: I sometimes add a thin layer of pesto under the cheese. It adds a fresh, herbal note that cuts through the richness of the cheese and meat.
Serving & Storage Suggestions
These sliders are best served warm, right out of the oven. Pair them with a simple green salad with vinaigrette to balance the richness. A side of roasted potatoes or crusty bread (if you want extra carbs) also works well.
Storage: Leftovers can be stored in an airtight container in the fridge for up to 3 days. Reheating: Reheat in the oven at 350°F for 10 minutes to keep them crispy. Avoid the microwave, as it will make the bread soggy. Freezing: You can freeze unbaked sliders. Assemble them, wrap tightly in plastic and foil, and freeze. Bake from frozen, adding 5-10 minutes to the cook time.
The flavors actually meld together nicely after a day in the fridge, making them great for meal prep lunches.
Nutritional Information & Benefits
While these are indulgent, they are balanced. Each slider contains protein from the meat and cheese, carbs from the bread, and fat from the cheese and butter. They are not gluten-free unless you use GF rolls. They contain dairy and gluten. For a lighter option, use turkey salami and part-skim mozzarella. Personally, I view these as a treat meal, not an everyday health food, but they are a great way to stretch a protein budget.
Conclusion
These cheap Italian sliders are a game-changer for busy weeknights. They are affordable, easy, and delicious. I love that I can feed my family a meal that feels special without spending a fortune. Give this recipe a try. Customize it with your favorite ingredients. I’d love to hear how you adapt it. Leave a comment below with your variations. Happy cooking!
FAQs
Can I make these sliders ahead of time?
Yes! Assemble them up to 24 hours in advance. Cover and refrigerate. Bake when ready, adding a few minutes to the cook time if cold from the fridge.
What kind of bread is best?
Hawaiian rolls are the standard for their sweetness. Brioche buns work too. Avoid dense breads like sourdough, as they won’t soften nicely.
How do I keep the sliders from getting soggy?
Don’t over-sauce. Use a moderate amount of marinara, and ensure your cheese layer is thick to act as a barrier between the sauce and the bread.
Can I use fresh mozzarella?
It’s possible, but fresh mozzarella has high moisture. Pat it dry very well before using, or it will make the sliders wet. Low-moisture is better.
Are these freezer-friendly?
Unbaked sliders freeze well. Baked sliders can be frozen but may lose some texture. Reheat in the oven to restore crispness.
Pin This Recipe!

Cheap Italian Sliders: Easy $10 Dinner Swap
- Total Time: 30 minutes
- Yield: 12 servings 1x
Description
These budget-friendly Italian sliders use Hawaiian rolls, salami, pepperoni, and cheese to create a restaurant-quality meal for under $10. Perfect for busy weeknights, they are quick to assemble, crowd-pleasing, and designed to stretch ingredients without sacrificing flavor.
Ingredients
- 1 package (12-count) Hawaiian Sweet Rolls
- 1/2 cup unsalted butter, melted
- 1 teaspoon dried oregano
- 1 teaspoon garlic powder
- 1/2 teaspoon red pepper flakes
- 1 package (8 oz) pre-sliced salami
- 1 package (4-6 oz) sliced pepperoni
- 1 block (8 oz) provolone cheese, sliced
- 1 cup shredded low-moisture mozzarella cheese
- 1 cup marinara sauce
- 1/2 cup sliced black olives (optional)
Instructions
- Preheat oven to 350°F (175°C).
- In a small bowl, combine melted butter, dried oregano, garlic powder, and red pepper flakes; whisk until combined.
- Carefully slice the Hawaiian roll loaf in half horizontally, keeping the rolls attached.
- Layer the salami and pepperoni on the bottom half of the rolls, folding slices to fit neatly.
- Place provolone slices on top of the meat, then sprinkle shredded mozzarella evenly over the provolone.
- Spoon marinara sauce over the cheese (about 2 tablespoons per slider), avoiding soaking the bread.
- Add black olives if using, then place the top half of the rolls onto the sliders and press gently.
- Brush the butter mixture generously over the top of the rolls, ensuring it gets into the cracks.
- Place the baking dish on a baking sheet and bake for 12-15 minutes until cheese is bubbly and tops are golden brown.
- Remove from oven and let rest for 5 minutes before slicing between the rolls and serving warm.
Notes
Do not skip the resting time; it allows the cheese to set so the sliders hold together. If tops brown too quickly, cover loosely with foil. For a gluten-free version, use gluten-free Hawaiian-style rolls. To prevent sogginess, do not over-sauce and ensure a thick cheese layer acts as a barrier.
- Prep Time: 15 minutes
- Cook Time: 15 minutes
- Category: Appetizer
- Cuisine: Italian
Nutrition
- Serving Size: 1 slider
- Calories: 350
- Sugar: 6
- Sodium: 850
- Fat: 18
- Saturated Fat: 9
- Carbohydrates: 28
- Fiber: 1
- Protein: 14
Keywords: cheap italian sliders, budget dinner, hawaiian roll sliders, easy weeknight dinner, family friendly recipes, meal prep, comfort food, dollar menu meals