Let’s be honest for a second. There is nothing worse than biting into a store-bought hot dog bun that crumbles like a stale cookie or feels like you’re eating cardboard. It ruins the whole experience, you know? I used to buy those fancy, expensive artisanal buns thinking they were worth the extra few dollars. Spoiler alert: they weren’t.
The truth hit me during a chaotic summer barbecue last year. I had bought a premium brand, and half the buns fell apart when I tried to add just one extra pickle. My guests were staring, and I felt like a failure. That’s when I decided to stop wasting money and start baking my own. I wanted something that tasted bakery-fresh but cost pennies to make.
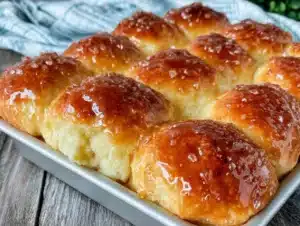
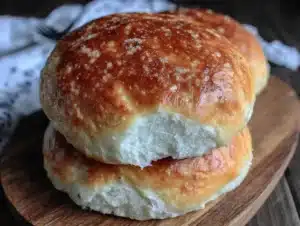
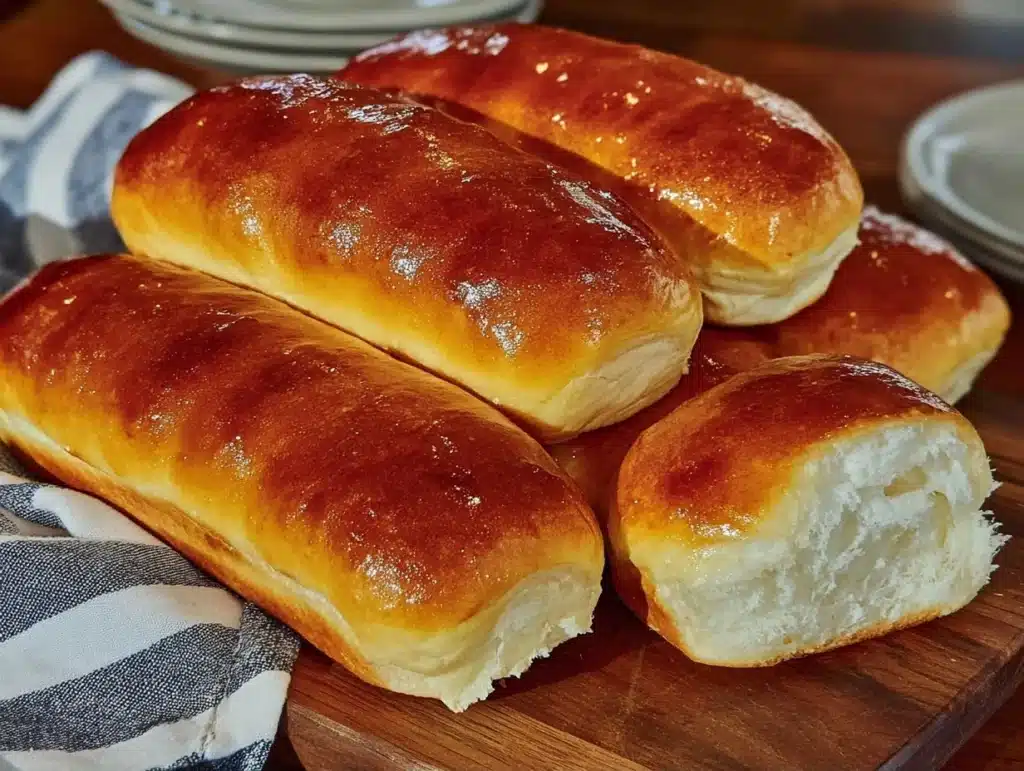
After testing over a dozen yeast dough recipes, I finally nailed it. These easy yeast hot dog buns are soft, slightly sweet, and hold up to all the toppings you can throw at them. Best of all, this recipe feeds 12 people for less than the cost of a single fancy bakery loaf. It’s the ultimate budget hack for backyard grilling season.
I’ve made these buns for tailgates, family reunions, and lazy Sunday dinners. Every time, people ask where I bought them. The secret isn’t in expensive ingredients; it’s in the technique and giving the dough enough time to rest. If you’re tired of dry, disappointing bread, this is the recipe you’ve been waiting for. It’s simple, forgiving, and absolutely delicious.
Why You’ll Love This Recipe
There is a specific kind of magic that happens when you bake bread at home. It’s not just about the taste; it’s about the feeling of accomplishment. But let’s get real—you don’t have time for complicated sourdough starters or expensive flours. You want something that works. Here is why these easy yeast hot dog buns have become a staple in my kitchen:
- Quick & Easy: Yes, yeast takes time to rise, but the active prep work is minimal. You mix, you wait, you shape. It’s perfect for busy weeknights or last-minute weekend plans.
- Simple Ingredients: You likely have everything in your pantry right now. Flour, yeast, sugar, salt, milk, butter, and an egg. No fancy grocery trips needed.
- Perfect for Summer: Whether it’s a backyard BBQ, a pool party, or a cozy dinner, these buns are the ultimate crowd-pleaser.
- Crowd-Pleaser: Kids love them because they are soft and sweet. Adults love them because they hold up to juicy burgers and hot dogs without falling apart.
- Unbelievably Delicious: The texture is pillowy and light. The flavor is buttery and warm. It’s comfort food at its finest.
- Cost-Effective: This is the big one. Making these at home costs a fraction of what you pay at the store. You get fresh, preservative-free bread for less than you think.
What makes these buns different from the rest is the balance. Many homemade buns are too dense or too bread-like. These are designed to be a vessel for your favorite toppings while still being delicious on their own with a little butter. I’ve tested this recipe with different flours and yeast types, and this ratio is the sweet spot. It’s the kind of recipe that makes you close your eyes after the first bite. It’s comfort food reimagined for the budget-conscious cook.
What Ingredients You Will Need
This recipe relies on wholesome, accessible ingredients to deliver bold flavor and satisfying texture without the fuss. The key to soft buns is using milk instead of water, which adds richness and tenderness. Here is what you need to get started:
- Warm Milk: 1 cup (240ml). Make sure it’s warm to the touch, not hot, or you’ll kill the yeast. This activates the yeast and adds creaminess.
- Active Dry Yeast: 1 packet (2 ¼ tsp or 7g). Standard yeast works perfectly. Don’t skip this, as it’s what makes them rise.
- Granulated Sugar: 2 tablespoons. This feeds the yeast and adds a subtle sweetness that pairs well with savory hot dogs.
- All-Purpose Flour: 3 to 3 ½ cups (360g to 420g). This is the main structure. Don’t use bread flour unless you want a chewier texture.
- Unsalted Butter: 3 tablespoons, melted. Adds flavor and keeps the crumb soft for days.
- Salt: 1 ½ teaspoons. Essential for flavor. If you use salted butter, reduce this slightly.
- Large Egg: 1 egg, beaten. This helps bind the dough and gives the buns a golden color.
- Egg Wash: 1 egg beaten with 1 tablespoon of water. For that shiny, bakery-style finish.
- Optional Topping: Sesame seeds, poppy seeds, or everything bagel seasoning for extra flair.
I always recommend using a reliable brand of yeast, like Red Star, for consistent results. Look for fresh yeast packets; if they are old, they might not activate properly. The milk should be around 110°F (43°C). If you don’t have a thermometer, just test it on your wrist—it should feel warm, like a baby’s bath.
Can I use instant yeast instead?
Yes! You can use instant yeast directly. You might not need to proof it in the milk first, but I still like to do it to ensure the yeast is alive. If you use instant yeast, you can mix it straight into the flour.
Equipment Needed
You don’t need fancy gadgets to make these buns. Here is what I use:
- Mixing Bowl: A large bowl is best. Glass or stainless steel works well.
- Measuring Cups and Spoons: Accuracy is key with yeast recipes. Level off your flour.
- Cooking Thermometer: Highly recommended for checking milk and dough temperature.
- Baking Sheet: A standard 13×18 inch sheet pan. Line it with parchment paper for easy cleanup.
- Clean Kitchen Towel: For covering the dough while it rises.
- Pastry Brush: For applying the egg wash.
If you don’t have a stand mixer, you can knead this by hand. It takes about 10 minutes, but it’s a good workout. I prefer using a wooden spoon to mix the initial dough, then switching to my hands. It’s a nice tactile experience.
Preparation Method
- Activate the Yeast: In a large mixing bowl, combine the warm milk, sugar, and yeast. Stir gently and let it sit for 5-10 minutes until it becomes foamy. If it doesn’t foam, your yeast might be dead. Start over with fresh yeast. (Time: 10 minutes)
- Mix the Dough: Add the melted butter, salt, and beaten egg to the yeast mixture. Stir to combine. Then, gradually add the flour, one cup at a time. Mix with a wooden spoon or your hand until a shaggy dough forms. (Time: 5 minutes)
- Knead the Dough: Turn the dough onto a lightly floured surface. Knead for 8-10 minutes until the dough is smooth and elastic. It should pass the “windowpane test” (you can stretch a small piece thin without it tearing). Add more flour if it’s too sticky, but don’t overdo it. (Time: 10 minutes)
- First Rise: Place the dough in a lightly oiled bowl. Cover with a damp towel or plastic wrap. Let it rise in a warm spot for 1-1.5 hours, or until doubled in size. (Time: 90 minutes)
- Shape the Buns: Punch down the dough to release air. Divide it into 12 equal pieces. Roll each piece into an oval shape, about 5 inches long. Place them on the prepared baking sheet, about 2 inches apart. (Time: 10 minutes)
- Second Rise: Cover the shaped buns again and let them rise for 30-45 minutes until puffy. (Time: 45 minutes)
- Bake: Preheat your oven to 375°F (190°C). Brush the buns with egg wash and sprinkle with seeds if desired. Bake for 15-18 minutes until golden brown. (Time: 18 minutes)
- Cool: Remove from the oven and brush with a little melted butter for extra softness. Let them cool on a wire rack for at least 15 minutes before slicing. (Time: 15 minutes)
Troubleshooting Tip: If your buns are dense, you might have over-proofed them or used too much flour. Remember, yeast needs time and warmth. If your kitchen is cold, put the dough in a turned-off oven with the light on for a warm spot.
Cooking Tips & Techniques
After making these buns dozens of times, I’ve learned a few tricks to ensure success every time.
Don’t Rush the Rise: The first rise is crucial for flavor development. If you rush it, your buns will be dense. Let them go until they are visibly doubled. This usually takes about an hour, but it depends on your kitchen temperature.
Handle Gently: When shaping the buns, handle them gently to keep the air bubbles intact. These bubbles create the soft, airy texture we love. Be rough, and you’ll get tight, chewy buns.
Egg Wash is Key: Don’t skip the egg wash! It gives those buns that professional, shiny golden-brown look. If you want a matte finish, you can skip it, but the color won’t be as appealing.
Watch the Oven: Ovens vary. Check your buns at 15 minutes. If they are browning too fast, cover them loosely with foil. They should be golden brown, not dark brown.
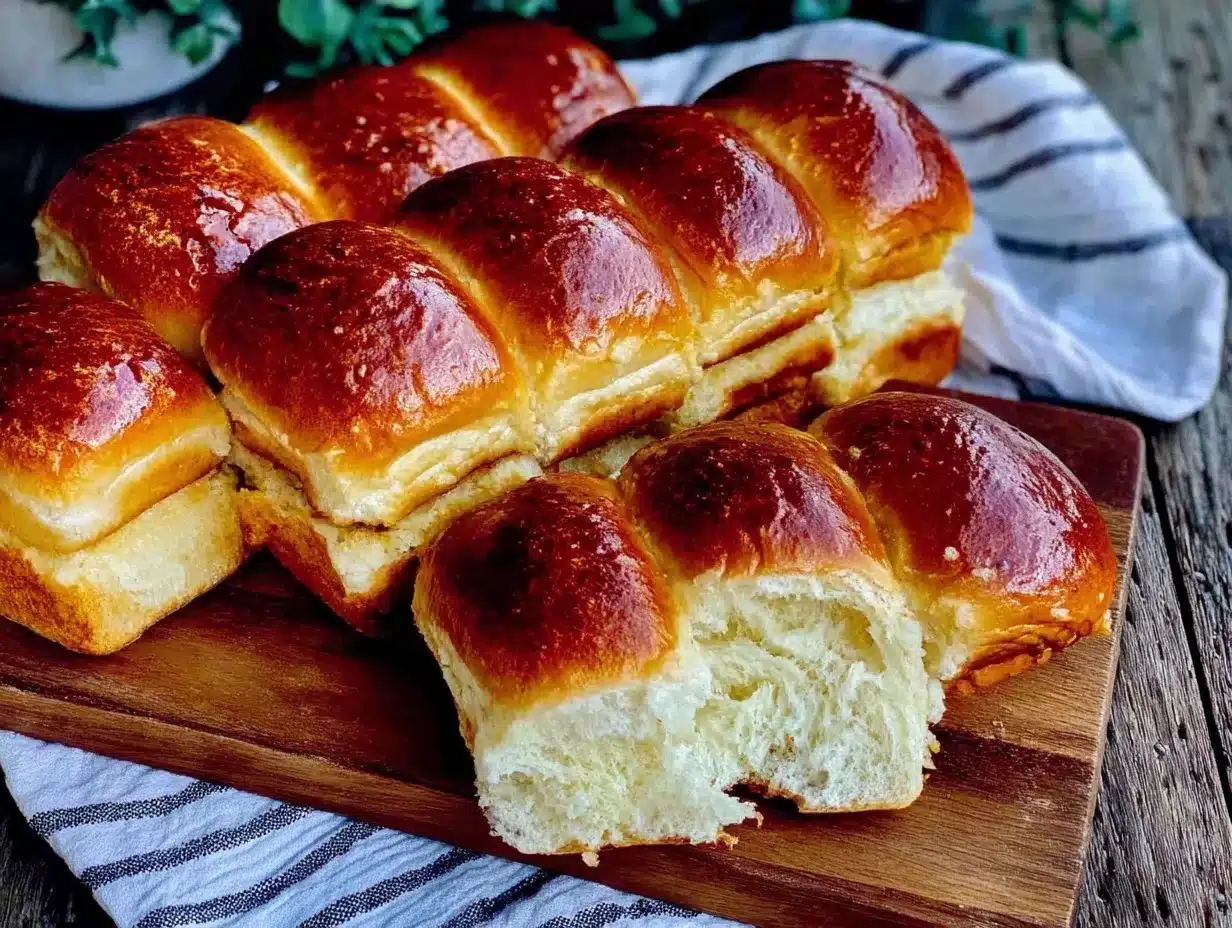
Softness Secret: Brushing the warm buns with melted butter immediately after baking keeps them soft and adds a rich flavor. It’s a small step that makes a big difference.
Variations & Adaptations
While the classic white bun is great, here are some ways to switch things up:
- Whole Wheat: Substitute half of the all-purpose flour with whole wheat flour for a nuttier flavor and more fiber. The buns will be slightly denser.
- Gluten-Free: Use a 1:1 gluten-free flour blend. Note that GF dough is stickier and may require less flour. The texture will be different but still tasty.
- Dairy-Free: Use plant-based milk (like almond or oat) and coconut oil instead of butter. The flavor will be slightly different, but the texture will remain soft.
- Savory Twist: Add 1 teaspoon of garlic powder and 1 teaspoon of onion powder to the dough for a savory bun that pairs well with burgers.
- Seeds and Grains: Add 2 tablespoons of rolled oats or flaxseeds to the dough for added nutrition and texture.
I once tried making these with honey instead of sugar, and they turned out beautifully sweet. It’s a nice variation for autumn gatherings.
Serving & Storage Suggestions
These buns are best served warm, straight out of the oven. They are perfect for hot dogs, hamburgers, sandwiches, or even as dinner rolls with soup.
Storage: Store leftover buns in an airtight container or plastic bag at room temperature for up to 3 days. They will stay soft and fresh.
Freezing: You can freeze these buns for up to 3 months. Let them thaw at room temperature or warm them in the microwave for 20 seconds. They reheat beautifully.
Reheating: To refresh day-old buns, wrap them in foil and warm them in a 350°F (175°C) oven for 5-10 minutes. This restores their softness.
The flavor actually improves slightly after a day, as the moisture distributes evenly. But honestly, they rarely last that long in my house.
Nutritional Information & Benefits
Here is an estimated nutritional breakdown per bun (without toppings):
- Calories: ~180
- Carbohydrates: 32g
- Protein: 5g
- Fat: 4g
- Fiber: 1g
These buns are a good source of energy from carbohydrates. Using whole milk adds calcium and protein. While they are not low-carb, they are a wholesome, homemade alternative to processed store-bought options. They contain no preservatives or artificial additives, which is a huge win for your health. I like to enjoy them as part of a balanced meal, paired with plenty of vegetables and lean proteins.
Conclusion
Making your own easy yeast hot dog buns is one of the most rewarding kitchen experiences you can have. It’s affordable, delicious, and surprisingly simple. You get to control the ingredients, and the result is bread that is soft, fresh, and perfect for any occasion.
I encourage you to try this recipe and make it your own. Add your favorite seeds, swap the flour, or experiment with different toppings. The possibilities are endless. I love these buns because they bring people together around the table. There is nothing quite like sharing food you made with your own hands.
So, next time you’re planning a cookout, skip the store-bought buns and give this recipe a try. Your taste buds (and your wallet) will thank you. Don’t forget to leave a comment below with how they turned out for you! I’d love to hear your stories.
Frequently Asked Questions
Can I make these buns ahead of time?
Yes! You can shape the buns and let them do their second rise in the fridge overnight. In the morning, let them come to room temperature and bake as directed. This is great for meal prep.
Why did my buns turn out flat?
This usually happens if the yeast was old or the milk was too hot. Make sure your yeast is active and your milk is warm, not hot. Also, ensure you are using the correct amount of flour.
Can I use bread flour instead of all-purpose flour?
You can, but the buns will be chewier and denser. All-purpose flour gives the best balance of softness and structure for hot dog buns.
How do I know when the buns are done baking?
They should be golden brown on top. You can also tap the bottom of a bun; if it sounds hollow, it’s done. The internal temperature should reach 190°F (88°C).
Can I freeze the dough?
Yes, you can freeze the dough after the first rise. Thaw it in the fridge overnight, shape the buns, let them rise again, and then bake.
Pin This Recipe!
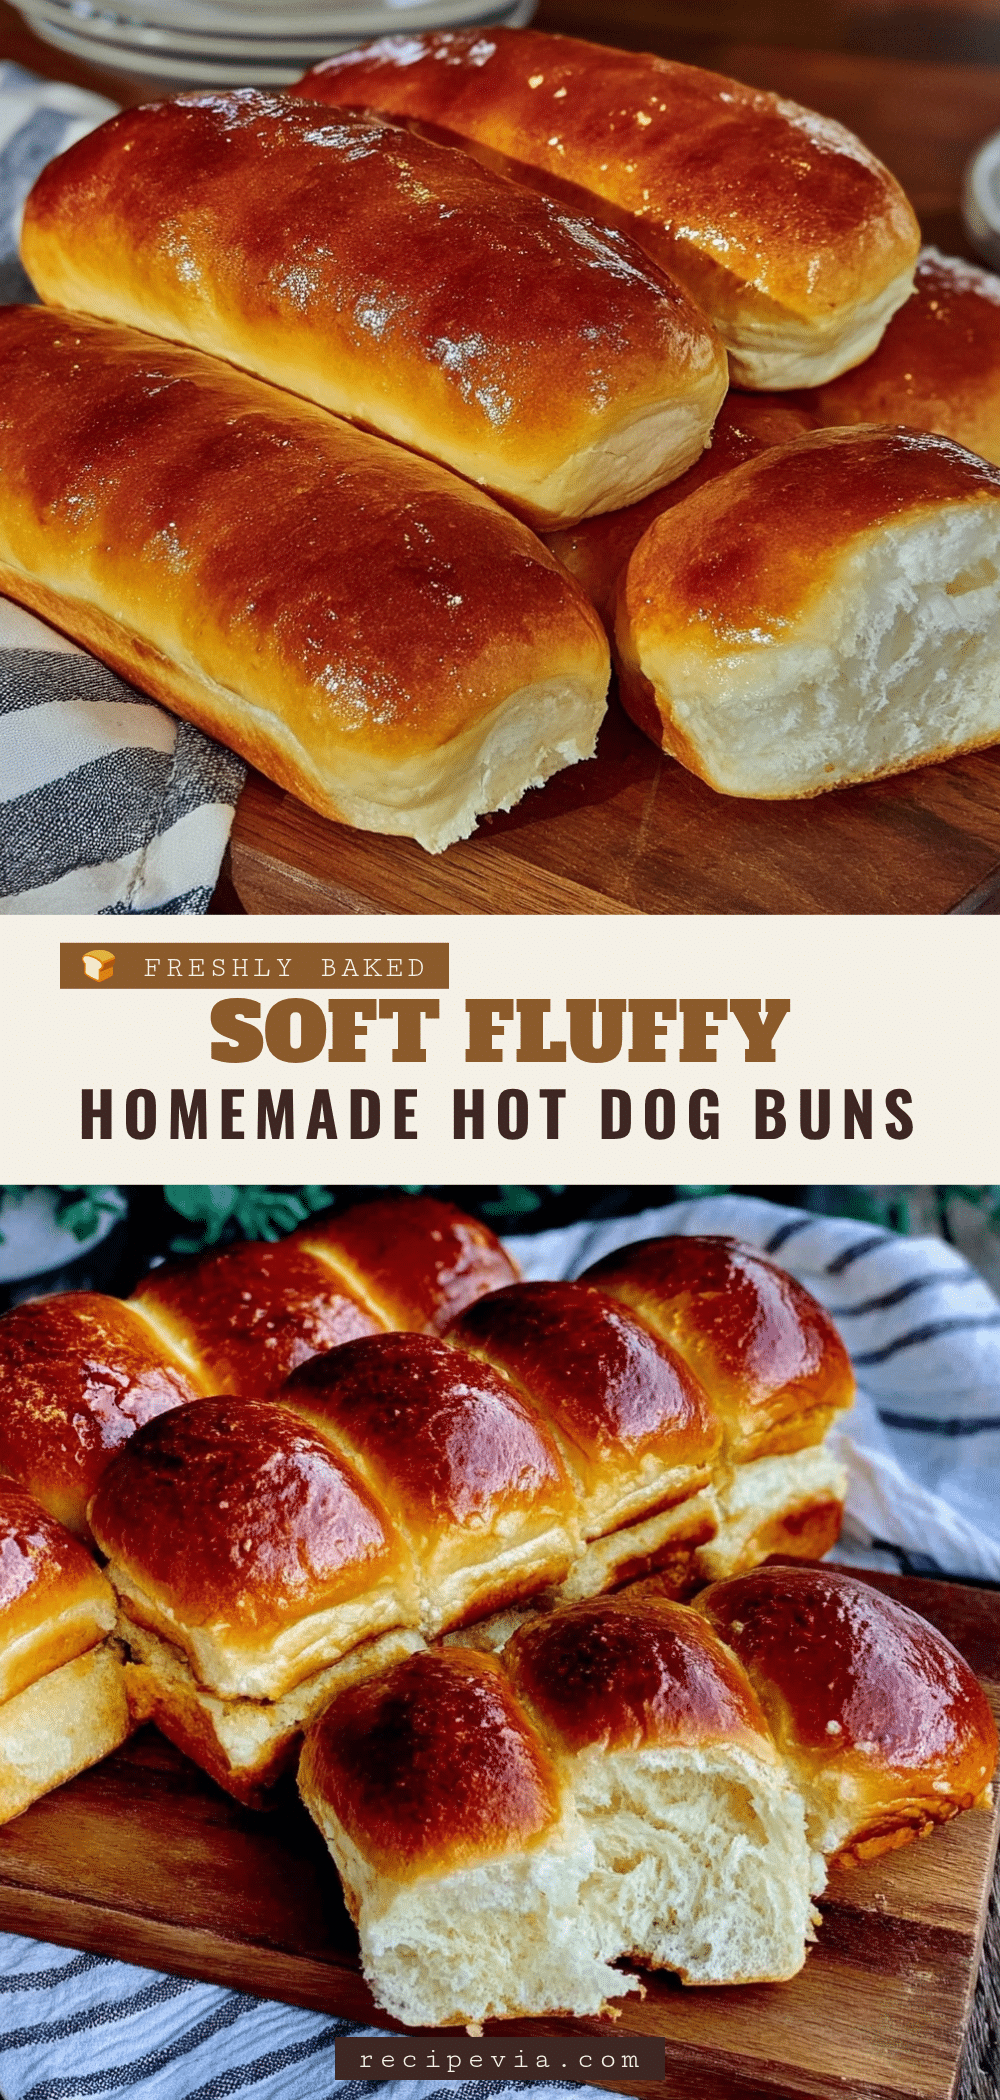

Easy Yeast Hot Dog Buns: Best Budget Recipe
- Total Time: 2 hours 30 minutes
- Yield: 12 servings 1x
Description
Soft, slightly sweet, and budget-friendly homemade yeast hot dog buns that hold up to toppings. This simple recipe uses pantry staples to create bakery-fresh results for less than the cost of store-bought options.
Ingredients
- 1 cup (240ml) warm milk (approx. 110°F/43°C)
- 1 packet (2 ¼ tsp or 7g) active dry yeast
- 2 tablespoons granulated sugar
- 3 to 3 ½ cups (360g to 420g) all-purpose flour
- 3 tablespoons unsalted butter, melted
- 1 ½ teaspoons salt
- 1 large egg, beaten
- 1 egg beaten with 1 tablespoon water (for egg wash)
- Sesame seeds, poppy seeds, or everything bagel seasoning (optional)
Instructions
- In a large mixing bowl, combine warm milk, sugar, and yeast. Stir gently and let sit for 5-10 minutes until foamy.
- Add melted butter, salt, and beaten egg to the yeast mixture. Stir to combine.
- Gradually add flour, one cup at a time, mixing with a wooden spoon or hand until a shaggy dough forms.
- Turn dough onto a lightly floured surface and knead for 8-10 minutes until smooth and elastic.
- Place dough in a lightly oiled bowl, cover with a damp towel or plastic wrap, and let rise in a warm spot for 1-1.5 hours until doubled in size.
- Punch down the dough to release air and divide into 12 equal pieces.
- Roll each piece into an oval shape (about 5 inches long) and place on a prepared baking sheet, 2 inches apart.
- Cover shaped buns and let rise again for 30-45 minutes until puffy.
- Preheat oven to 375°F (190°C). Brush buns with egg wash and sprinkle with seeds if desired.
- Bake for 15-18 minutes until golden brown.
- Remove from oven, brush with a little melted butter for softness, and let cool on a wire rack for at least 15 minutes before slicing.
Notes
Ensure milk is warm but not hot (around 110°F) to avoid killing the yeast. If your kitchen is cold, rise the dough in a turned-off oven with the light on. For best results, use fresh yeast packets. Brushing warm buns with melted butter immediately after baking keeps them soft.
- Prep Time: 35 minutes
- Cook Time: 18 minutes
- Category: Side Dish
- Cuisine: American
Nutrition
- Serving Size: 1 bun
- Calories: 180
- Sugar: 4
- Sodium: 250
- Fat: 4
- Saturated Fat: 2
- Carbohydrates: 32
- Fiber: 1
- Protein: 5
Keywords: hot dog buns, yeast bread, budget recipe, homemade buns, easy bread, summer grilling, backyard BBQ, soft buns