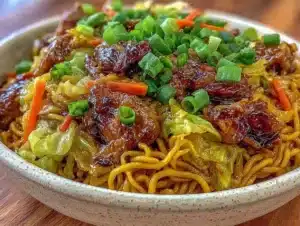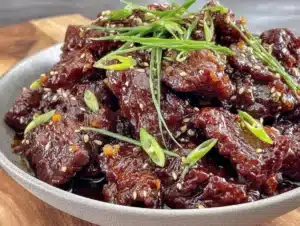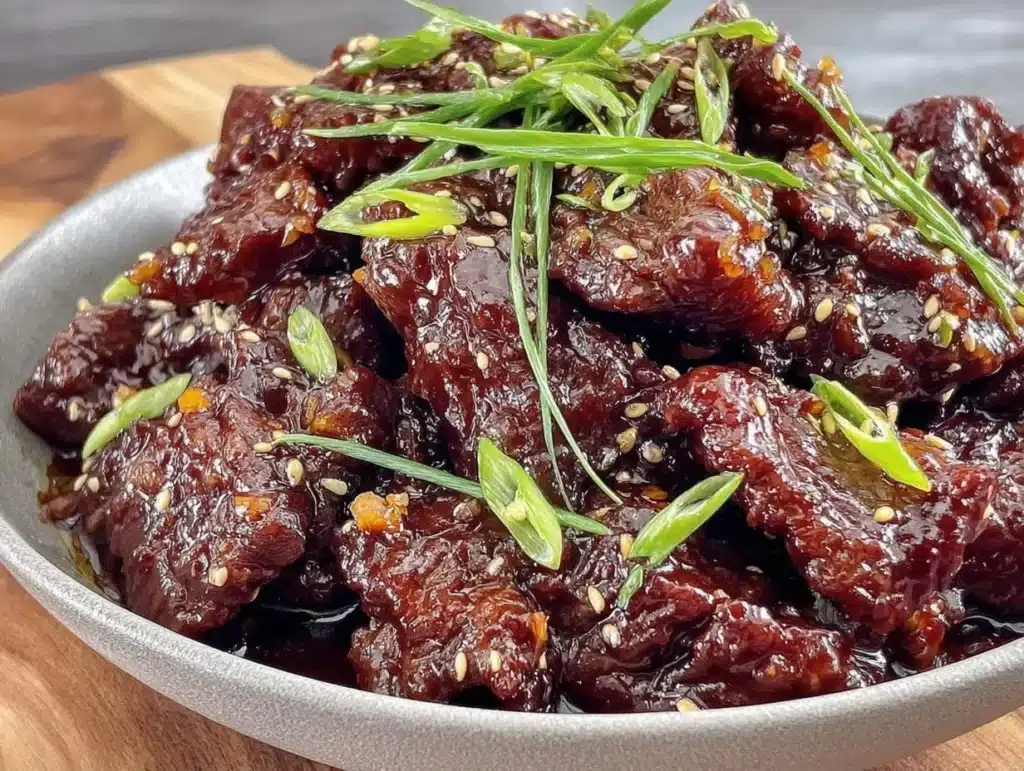
Let’s be honest for a second. The idea of making Mongolian beef at home used to scare me. I always thought it required a wok, a blast of high heat, and a wallet that would bleed dry for premium flank steak. I was wrong. Dead wrong. The truth is, you can make the best Crockpot Mongolian Beef at home for a fraction of the takeout price, and it tastes just as good, if not better. I remember the first time I made this, I was staring at my bank account after grocery shopping and feeling that familiar pinch. But then I smelled the garlic and ginger filling the house, and I knew I had struck gold.
This recipe isn’t just about saving money; it’s about convenience without sacrificing flavor. We are talking about tender, savory-sweet beef that melts in your mouth, cooked slowly while you go about your day. No standing over a hot stove, no splattering oil, and definitely no expensive cuts of meat required. In fact, using chuck roast makes it even cheaper and more forgiving. You know how sometimes you buy a fancy cut and it’s tough? This slow-cooker method guarantees tenderness every single time. It’s the kind of meal that feeds everyone, costs less than you’d think, and leaves everyone asking for seconds.
I’ve tested this recipe over a dozen times, tweaking the sauce ratios and experimenting with different cuts of beef. What I’ve found is that the secret lies in the balance of soy, brown sugar, and a touch of cornstarch to get that glossy, restaurant-quality finish. It’s a dish that feels indulgent but is actually quite resourceful. Whether you’re feeding a hungry family on a weeknight or looking for a cheap dinner idea that impresses guests, this is your answer. It’s comfort food reimagined—healthier, faster, but with the same soul-soothing satisfaction. Let’s face it, we all love takeout, but we love our wallets more. This recipe bridges that gap perfectly.
Why You’ll Love This Recipe
There are a million beef recipes out there, but this specific crockpot version has earned its spot in my weekly rotation for several reasons. It’s not just about the price tag, though that’s a huge bonus. It’s about the texture and the depth of flavor that develops when you let the beef simmer in that rich, aromatic sauce. I’ve shared this with friends who are picky eaters, and even the skeptics were asking for the recipe. Here is why this dish stands out from the crowd:
- Quick & Easy Prep: The actual hands-on time is minimal. You chop, you mix, you dump. It comes together in under 15 minutes before you leave for work or start your chores. Perfect for busy weeknights when you’re too tired to think.
- Simple Ingredients: No fancy grocery trips needed. You likely already have soy sauce, ginger, garlic, and cornstarch in your pantry. This isn’t a recipe that requires a special trip to an Asian market, which saves both time and gas money.
- Perfect for Meal Prep: This makes a large batch, which is ideal for leftovers. It reheats beautifully, making it a fantastic option for lunchboxes or quick dinners later in the week.
- Crowd-Pleaser: The sweet and savory profile is universally liked. Kids who usually turn their noses up at beef often love this because the sauce is so flavorful and the meat is so tender.
- Unbelievably Delicious: The texture is next-level. Because it’s slow-cooked, the beef absorbs all those flavors deeply. It’s not just coated on the outside; it’s infused throughout.
What makes this recipe different from the rest is the technique. Most people just throw everything in and hope for the best. I’ve learned that thickening the sauce at the end with a cornstarch slurry is the game-changer. It creates that sticky, glossy coating that clings to every piece of beef. It’s that special touch that makes you close your eyes after the first bite. It’s the kind of meal that turns a simple Tuesday night into something memorable without any stress. You feel like a pro chef, but you’re just using your slow cooker.
What Ingredients You Will Need
This recipe uses simple, wholesome ingredients to deliver bold flavor and satisfying texture without the fuss. The beauty of this dish is that it relies on pantry staples rather than expensive specialty items. You can find everything listed below at your local discount grocery store or even the dollar store for some items. Here is what you need to get started:
For the Beef
- Beef Chuck Roast: 2 to 3 pounds. This is the key to the budget-friendly aspect. Chuck roast is much cheaper than flank steak but becomes incredibly tender when slow-cooked. Look for a cut with some marbling for extra flavor.
- Vegetable Oil: 2 tablespoons. Used for searing the beef before adding it to the pot, which adds a layer of depth that boiling alone can’t achieve.
For the Sauce
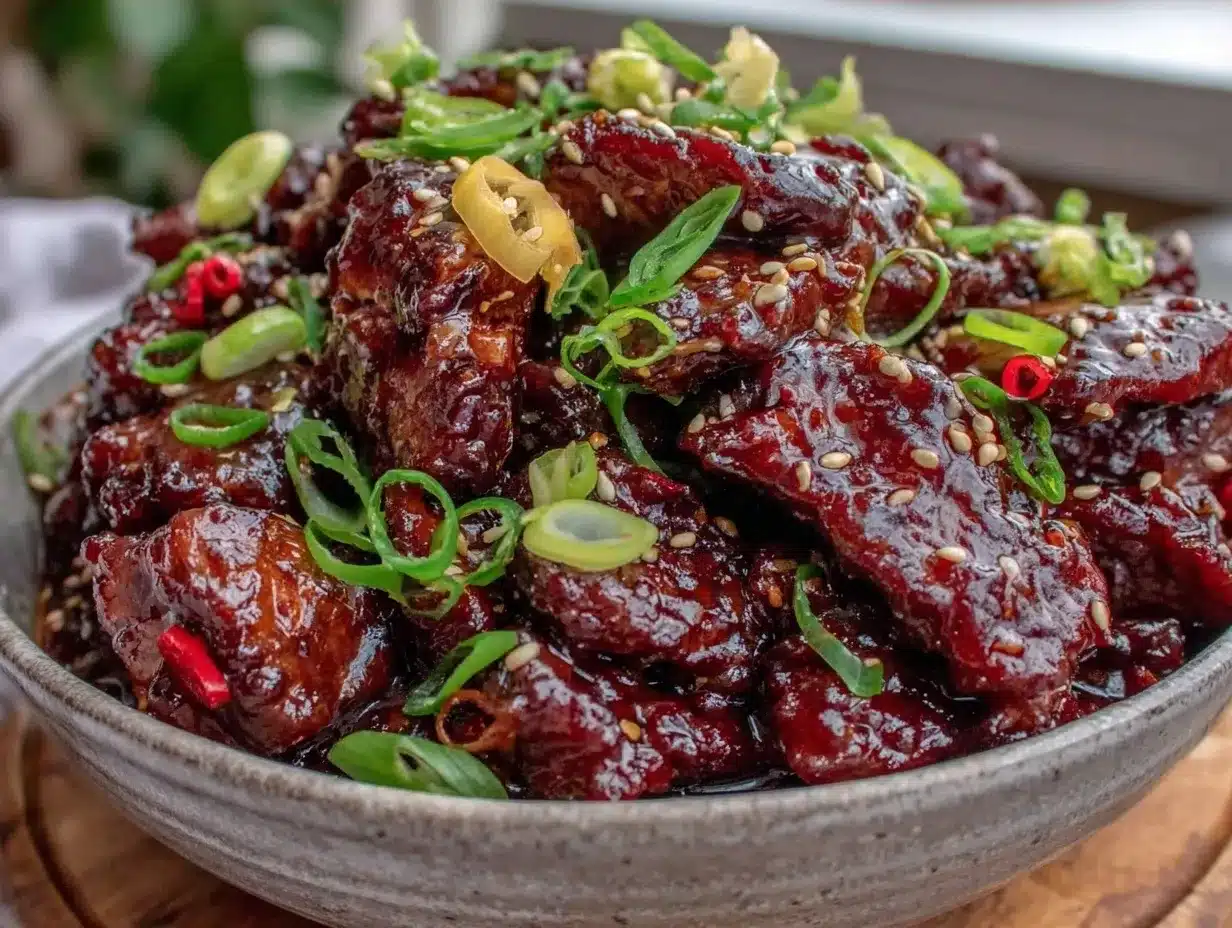
- Soy Sauce: 1 cup. Use low-sodium if you are watching your salt intake, but regular works fine too. I prefer brands like Kikkoman for consistency.
- Brown Sugar: 1/2 cup. Light or dark brown sugar both work. Dark sugar gives a deeper molasses flavor, which I personally love.
- Water: 1/2 cup. To thin out the sauce so it doesn’t become too salty.
- Minced Garlic: 1 tablespoon. Fresh is best, but jarred garlic works in a pinch. Just avoid the ones with oil if possible to keep the texture right.
- Fresh Ginger: 1 tablespoon, minced. If you don’t have fresh, 1 teaspoon of ground ginger works, but fresh is much better for that bright flavor.
- Sesame Oil: 1 teaspoon. A little goes a long way. This adds that nutty aroma that defines Mongolian beef.
For the Thickening & Garnish
- Cornstarch: 2 tablespoons. Mixed with 2 tablespoons of cold water to create a slurry. This is essential for that glossy finish.
- Green Onions: 4 to 5 stalks, sliced. For garnish. They add a fresh crunch and color contrast.
- Red Pepper Flakes: Optional. For those who like a little heat. Adjust to your spice tolerance.
For the best texture, I recommend buying a block of ginger and grating it yourself rather than using pre-minced jars. It saves money and tastes infinitely better. Also, don’t skip the searing step! It might seem like an extra chore, but it adds a caramelized flavor that the slow cooker alone won’t provide. If you are on a tight budget, look for sales on chuck roast and buy in bulk when you can, then freeze it for later.
Equipment Needed
You don’t need a fancy kitchen to make this dish. The main tool is, of course, your crockpot or slow cooker. I use a 6-quart model, which is perfect for this amount of beef. If you have a smaller one, you might need to cook it in two batches, but a 6-quart is the sweet spot. You will also need a large skillet for searing the beef. A non-stick pan works well, but a stainless steel pan will give you a better sear if you have the patience to prevent sticking.
Other essential tools include a sharp knife for slicing the beef and chopping the green onions, and a cutting board. A measuring cups and spoons set is helpful for getting the sauce ratios right. I also recommend a small bowl for mixing your cornstarch slurry. Having this ready before you add it to the hot pot prevents lumps from forming. If you don’t have a slow cooker, you can adapt this for a Dutch oven on the stove, but the hands-off nature of the crockpot is half the appeal. Just make sure your slow cooker lid fits tightly to keep the moisture in during the long cook.
Preparation Method
Getting this dish ready is straightforward, but there are a few steps that matter more than others. Follow these instructions closely for the best results. The total time from start to finish is about 8 hours on low, but most of that is just waiting.
- Prep the Beef: Start by taking your chuck roast out of the fridge. Let it sit for about 15 minutes to take the chill off. Then, slice the beef against the grain into thin, bite-sized strips. Cutting against the grain is crucial for tenderness. If you cut with the grain, the beef will be chewy. Aim for strips that are about 1/4 inch thick. Place them in a large bowl.
- Sear the Beef: Heat the vegetable oil in your large skillet over medium-high heat. Once the oil is shimmering, add the beef strips in a single layer. Do not overcrowd the pan; you may need to do this in batches. Sear the beef for 2-3 minutes per side until it is browned. You don’t need to cook it through, just get that nice crust on it. This step takes about 10 minutes total. Transfer the seared beef to your slow cooker.
- Mix the Sauce: In a medium bowl, whisk together the soy sauce, brown sugar, water, minced garlic, minced ginger, and sesame oil. Stir until the brown sugar is mostly dissolved. Pour this mixture over the beef in the slow cooker. Give it a gentle stir to make sure all the beef is coated.
- Cook: Cover the slow cooker and cook on LOW for 6-8 hours or on HIGH for 3-4 hours. The beef should be fork-tender after this time. If you check it at 3 hours and it’s still tough, give it another hour. Slow cookers vary, so trust your fork.
- Thicken the Sauce: This is the most important step for the final texture. About 30 minutes before you plan to serve, mix the cornstarch and cold water in a small bowl until smooth. Pour this slurry into the slow cooker and stir well. Cover and cook on HIGH for the remaining 30 minutes. The sauce will thicken and become glossy. If it’s still too thin, you can add a little more slurry, but usually, 30 minutes is enough.
- Serve: Once the sauce has thickened, turn off the slow cooker. Taste the sauce and adjust seasoning if needed. Add a pinch of salt if it needs it, or a dash more brown sugar if it’s too salty. Garnish with sliced green onions and red pepper flakes if desired. Serve immediately over steamed rice.
Keep an eye on the sauce during the thickening stage. It can go from perfect to too thick quickly. If it gets too thick, you can add a splash of water to thin it out. The goal is a sauce that coats the beef but isn’t gloopy. Also, make sure to stir the slurry well before adding it, as cornstarch settles at the bottom of the bowl.
Cooking Tips & Techniques
I’ve made my fair share of mistakes in the kitchen, and this recipe has taught me a few valuable lessons. The biggest mistake people make is skipping the sear. I know it’s tempting to just dump everything in, but searing the beef adds a Maillard reaction that creates complex flavors. It’s the difference between boiled beef and savory beef. Don’t skip it.
Another tip is about the cornstarch slurry. Always mix it with cold water, not hot. If you use hot water, the cornstarch will clump up immediately, and you’ll end up with lumpy sauce. Also, add it towards the end of the cooking process. If you add it too early, the prolonged cooking can break down the thickening power of the cornstarch, leaving you with a thin sauce.
Multitasking is key here. While the beef is searing, you can prep your vegetables and mix the sauce. This keeps the workflow smooth. Also, be careful not to overcook the green onions. If you add them at the beginning, they will turn mushy and lose their vibrant color and fresh flavor. Add them only as a garnish right before serving.
For consistency, try to slice the beef uniformly. If some pieces are thick and some are thin, the thin ones will overcook while the thick ones remain tough. Uniform slices ensure even cooking and a better texture throughout the dish. And remember, patience pays off. Letting the beef sear properly takes a few minutes, but it’s worth it for the depth of flavor it adds.
Variations & Adaptations
One of the best things about this recipe is how adaptable it is. You can tweak it to fit your dietary needs or taste preferences without losing the core flavor profile. Here are a few variations I’ve tried:
- Spicy Version: If you like heat, add 1-2 teaspoons of chili garlic sauce or sriracha to the sauce mixture. You can also increase the red pepper flakes. This adds a nice kick that balances the sweetness.
- Vegetable Boost: Add sliced bell peppers, broccoli, or snap peas during the last hour of cooking. They will cook through and add a nice crunch and nutritional value. Just make sure not to add them too early, or they will become mushy.
- Gluten-Free Option: Swap regular soy sauce for tamari or a gluten-free soy sauce alternative. Also, ensure your brown sugar is gluten-free (some brands use anti-caking agents that contain gluten, though rare). Cornstarch is naturally gluten-free, so the thickening agent is safe.
- Low-Carb/Keto: Reduce the brown sugar to 2 tablespoons or use a keto-friendly sweetener like erythritol. Serve over cauliflower rice instead of regular rice to keep the carb count low.
I personally love adding a handful of broccoli florets to the last hour of cooking. It soaks up the sauce and adds a nice texture contrast. If you are watching your sodium, using low-sodium soy sauce and adding a bit of water to compensate for the volume is a good strategy. You can always add more salt at the end if needed.
Serving & Storage Suggestions
This dish is best served hot, straight from the slow cooker. I recommend serving it over fluffy white rice or brown rice. The rice is essential for soaking up that delicious sauce. You can also serve it over noodles, quinoa, or even cauliflower rice for a lighter option. Garnish with sesame seeds for an extra nutty flavor and visual appeal.
For storage, let the beef cool completely before transferring it to an airtight container. It will keep in the refrigerator for up to 4 days. The flavors actually deepen over the first day or two, making it even better for leftovers. To reheat, you can microwave individual portions or warm the whole batch in a skillet over medium heat. If the sauce has thickened too much in the fridge, add a splash of water when reheating to loosen it up.
You can also freeze this dish. Place it in a freezer-safe container and freeze for up to 3 months. Thaw it in the refrigerator overnight before reheating. Note that the texture of the beef might be slightly softer after freezing, but the flavor will remain excellent. This makes it a great meal prep option for busy weeks.
Nutritional Information & Benefits
While this is a comfort food, it’s not devoid of nutritional value. Beef is a great source of protein, iron, and zinc, which are essential for energy and immune function. The ginger and garlic in the sauce have anti-inflammatory properties and can aid in digestion. Green onions add a touch of vitamins A and C. However, do keep in mind that the sauce contains sugar and sodium, so it’s best enjoyed in moderation. A typical serving with rice contains approximately 400-500 calories, depending on the portion size and rice type. It’s a hearty meal that will keep you full and satisfied. For those watching their weight, sticking to a reasonable portion size and adding extra vegetables can help balance the meal. It’s a treat, but a smart one.
Conclusion
Making the best Crockpot Mongolian Beef at home is easier than you think, and it’s a fantastic way to save money without compromising on taste. This recipe has become a staple in my home because it’s reliable, delicious, and budget-friendly. It’s the kind of meal that brings the family together around the table. I encourage you to try it and see how much you can customize it to your liking. Maybe you’ll add extra veggies, or maybe you’ll make it spicy. Whatever you choose, I’m sure you’ll love it. If you make this recipe, I’d love to hear how it turned out! Leave a comment below with your thoughts or share your variations. Happy cooking!
Frequently Asked Questions
Can I use flank steak instead of chuck roast?
Yes, you can use flank steak, but it’s more expensive. If you do, slice it very thinly against the grain and cook it on HIGH for only 2-3 hours. Flank steak can become tough if overcooked in a slow cooker, so keep a close eye on it.
Why is my sauce too thin?
If your sauce is too thin, you can make another cornstarch slurry (1 tablespoon cornstarch + 1 tablespoon cold water) and add it to the slow cooker. Cook on HIGH for another 15-20 minutes until it thickens. Make sure to stir well to avoid lumps.
Can I make this in an Instant Pot?
Absolutely! Sear the beef using the Sauté function, then add the sauce. Cook on High Pressure for 20 minutes, then do a quick release. Thicken the sauce with the cornstarch slurry using the Sauté function at the end.
Is this recipe spicy?
The base recipe is not spicy, just sweet and savory. However, you can add heat by including red pepper flakes, chili garlic sauce, or fresh jalapeños. Start with a small amount and adjust to your taste.
How do I store leftovers?
Store leftovers in an airtight container in the refrigerator for up to 4 days. Reheat in the microwave or on the stovetop with a splash of water to loosen the sauce. You can also freeze it for up to 3 months.
Pin This Recipe!
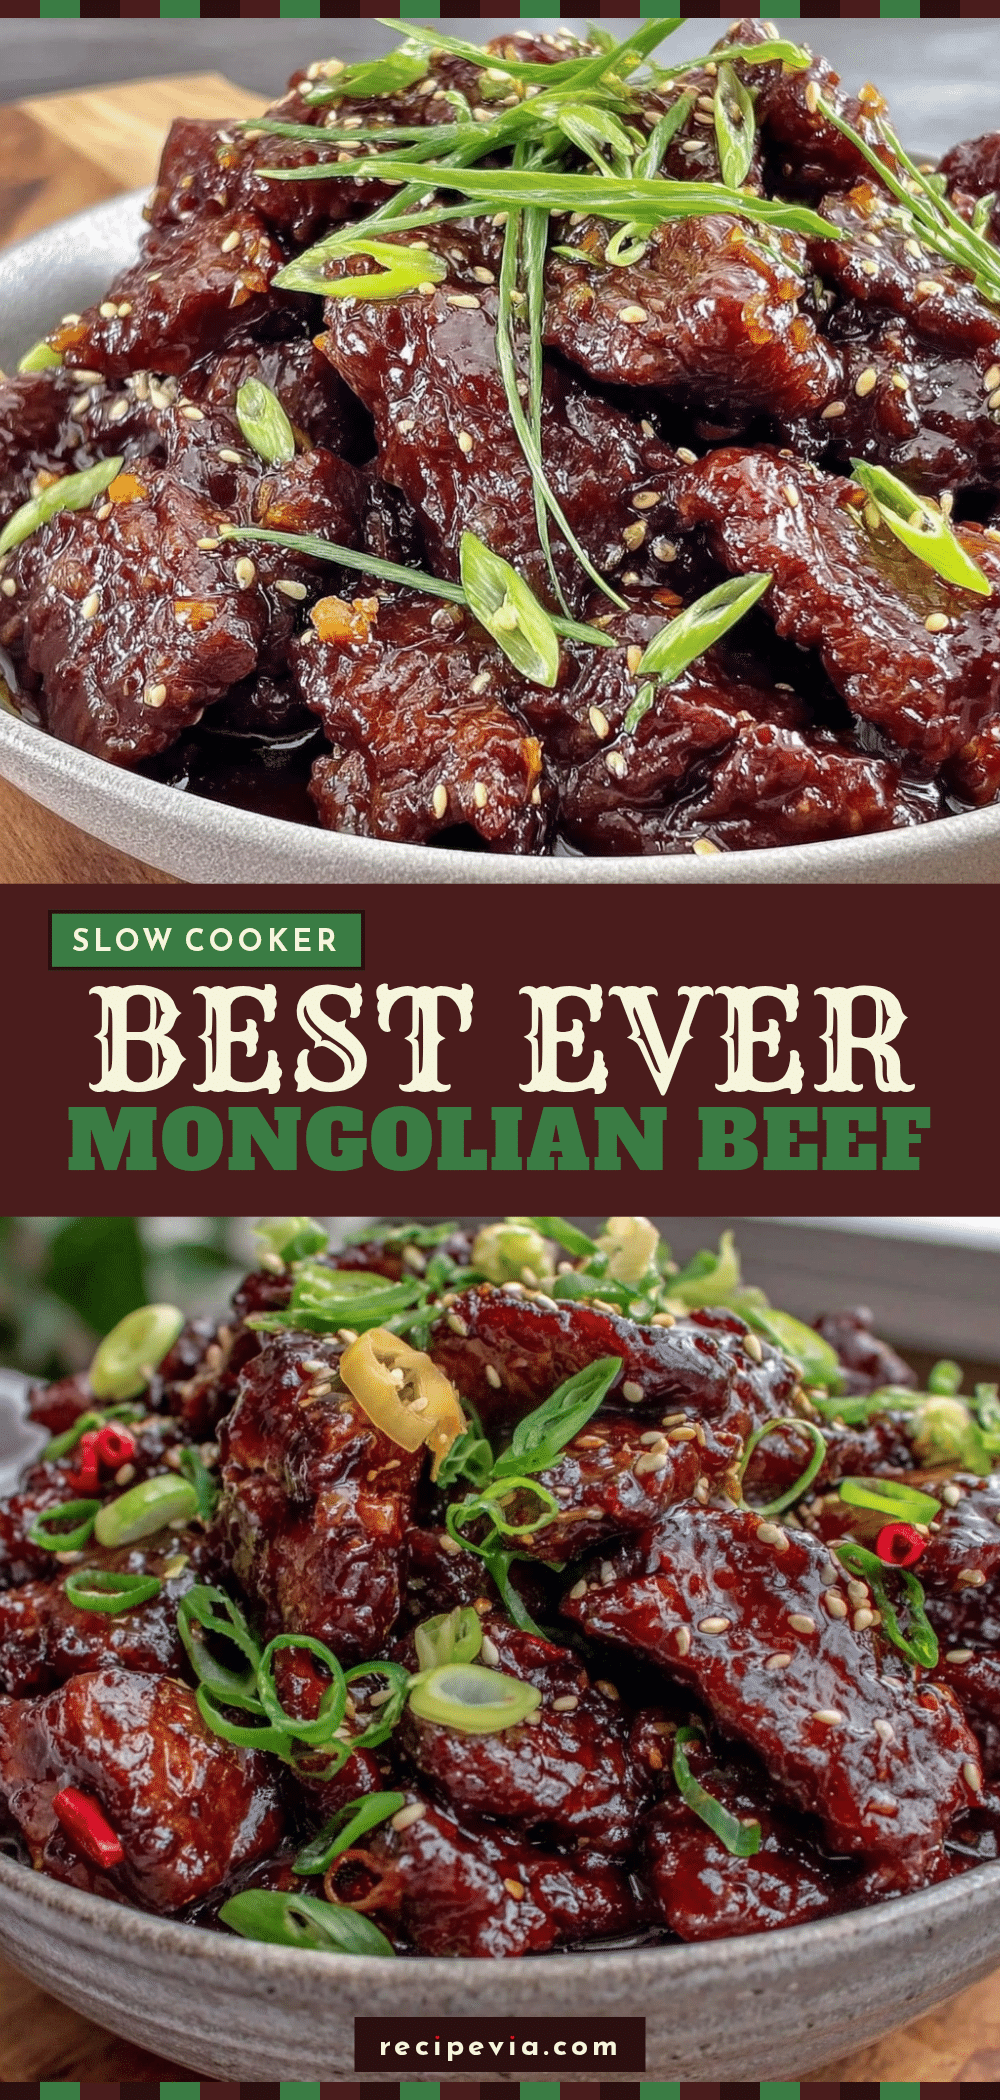

Budget Friendly Crockpot Mongolian Beef: Easy & Cheap
- Total Time: 8 hours
- Yield: 6 servings 1x
Description
A tender, savory-sweet slow-cooker Mongolian beef made with affordable chuck roast and simple pantry staples. This recipe offers a restaurant-quality glossy finish and rich flavor without the high cost or effort of traditional takeout.
Ingredients
- 2 to 3 pounds Beef Chuck Roast, sliced against the grain into 1/4 inch strips
- 2 tablespoons Vegetable Oil
- 1 cup Soy Sauce
- 1/2 cup Brown Sugar
- 1/2 cup Water
- 1 tablespoon Minced Garlic
- 1 tablespoon Fresh Ginger, minced
- 1 teaspoon Sesame Oil
- 2 tablespoons Cornstarch
- 2 tablespoons Cold Water (for slurry)
- 4 to 5 stalks Green Onions, sliced (for garnish)
- Red Pepper Flakes (optional, for heat)
Instructions
- Let the chuck roast sit for 15 minutes to take the chill off, then slice against the grain into thin, bite-sized strips (about 1/4 inch thick).
- Heat vegetable oil in a large skillet over medium-high heat. Sear beef strips in batches for 2-3 minutes per side until browned; do not overcrowd the pan. Transfer seared beef to the slow cooker.
- In a medium bowl, whisk together soy sauce, brown sugar, water, minced garlic, minced ginger, and sesame oil until the sugar is mostly dissolved. Pour over the beef in the slow cooker and stir to coat.
- Cover and cook on LOW for 6-8 hours or on HIGH for 3-4 hours, until the beef is fork-tender.
- About 30 minutes before serving, mix cornstarch and cold water in a small bowl until smooth. Pour the slurry into the slow cooker, stir well, and cook on HIGH for the remaining 30 minutes until the sauce is thick and glossy.
- Taste and adjust seasoning if needed. Garnish with sliced green onions and red pepper flakes. Serve immediately over steamed rice.
Notes
Slicing the beef against the grain is crucial for tenderness. Do not skip the searing step as it adds depth of flavor. Always mix cornstarch with cold water to prevent clumping. Add vegetables like broccoli or bell peppers during the last hour of cooking if desired. For a spicy version, add chili garlic sauce or sriracha to the sauce.
- Prep Time: 15 minutes
- Cook Time: 6 to 8 hours (LOW) or 3 to 4 hours (HIGH)
- Category: Main Course
- Cuisine: Asian
Nutrition
- Serving Size: Approximately 1 cup
- Calories: 450
- Sugar: 28
- Sodium: 1200
- Fat: 18
- Saturated Fat: 6
- Carbohydrates: 35
- Fiber: 1
- Protein: 30
Keywords: crockpot mongolian beef, budget friendly dinner, slow cooker beef, easy weeknight meals, cheap family dinner, chinese takeout copycat, chuck roast recipes