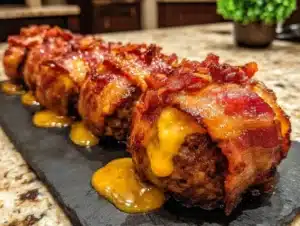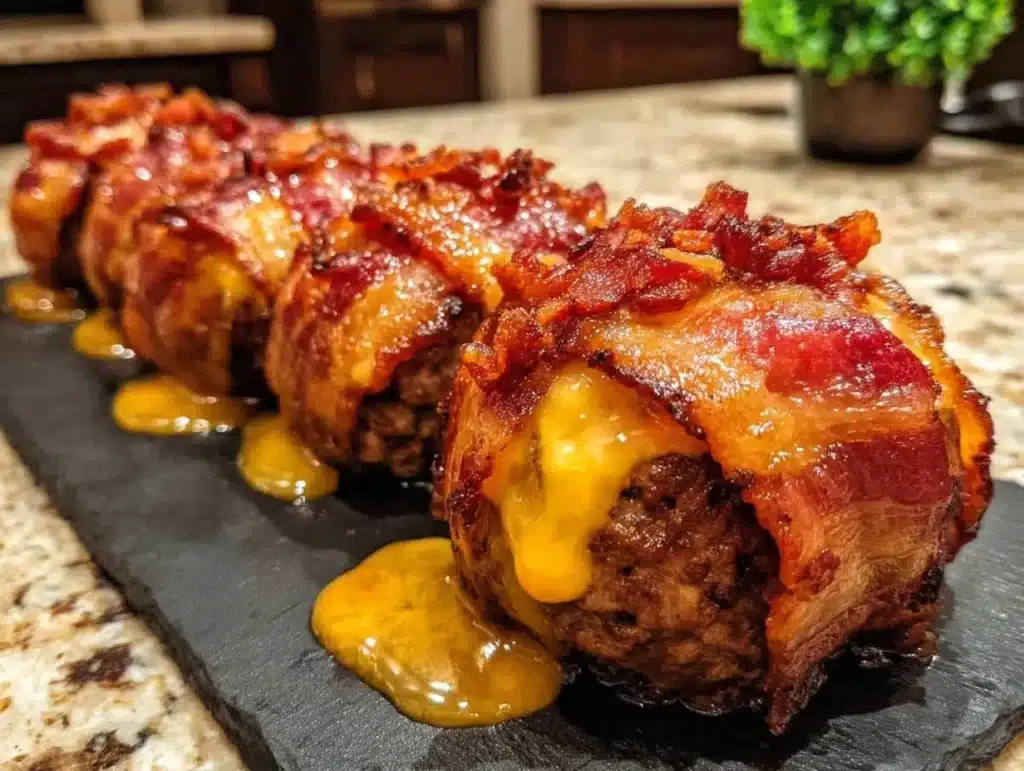
The smell of sizzling bacon mixed with melting cheddar hits you before you even walk into the kitchen. It’s that specific, mouth-watering aroma that stops conversation in its tracks. I remember the first time I made Cheesy Bacon Cheeseburger Bombs during the Super Bowl. My living room was packed, and the usual finger foods were gone within twenty minutes. But these? They lasted until the final whistle. Honestly, they are the reason my kitchen became the center of attention that day.
We’ve all been there. You’re trying to feed a crowd on a budget, but you don’t want to serve plain chips or boring dips. Everyone wants something hearty, something that feels like a treat but doesn’t break the bank. That’s exactly where these Cheesy Bacon Cheeseburger Bombs come in. They taste like a gourmet slider but cost a fraction of what you’d pay at a sports bar.
I’ve tested this recipe over a dozen times now. I wanted to find the perfect balance between the savory beef, the crispy bacon, and that gooey cheese pull. The result is a handheld masterpiece that’s easy to eat while cheering for your team. Whether you’re hosting a watch party or just craving a comfort food fix, these bombs deliver. Plus, they’re surprisingly simple to assemble. You don’t need fancy skills, just a little patience and some good ingredients. Let’s face it, game day snacks should be fun, not stressful.
Why You’ll Love This Recipe
These Cheesy Bacon Cheeseburger Bombs aren’t just another appetizer; they are the ultimate crowd-pleaser for any occasion. I’ve served them at tailgates, birthday parties, and quiet movie nights, and they get rave reviews every single time. Here is why this recipe has earned a permanent spot in my rotation.
- Quick & Easy: You can have these in the oven in under 30 minutes. This makes them perfect for last-minute cravings or when you’re rushing to get ready for the game.
- Simple Ingredients: You likely already have most of this in your fridge or pantry. Ground beef, refrigerated biscuits, bacon, and cheese are staples that most households keep on hand.
- Perfect for Game Day: These are the ideal finger food. They are easy to grab, mess-free (mostly), and satisfy that urge for something salty and savory.
- Crowd-Pleaser: Kids love the cheesy center, and adults appreciate the burger flavor. It’s a win-win for picky eaters and foodies alike.
- Unbelievably Delicious: The combination of juicy beef, smoky bacon, and melted cheese is next-level comfort food. It’s like biting into a mini burger, but better.
What makes these Cheesy Bacon Cheeseburger Bombs different from the rest is the texture contrast. Most stuffed appetizers can be soggy or bland. But by using refrigerated biscuit dough as the wrapper, you get a flaky, golden exterior that holds up well. Inside, the beef is seasoned just right, and the bacon adds a crucial crunch. It’s not just good; it’s the kind of snack that makes you close your eyes after the first bite. It’s comfort food reimagined—faster to make, but with the same soul-soothing satisfaction as a full meal. Plus, they are incredibly budget-friendly. You can feed a large group for less than the cost of a single large pizza.
What Ingredients You Will Need
This recipe uses simple, wholesome ingredients to deliver bold flavor and satisfying texture without the fuss. The beauty of this dish lies in its accessibility. You don’t need specialty cuts of meat or exotic spices. Just good, basic ingredients prepared with care.
- Ground Beef (1 lb): Use 80/20 lean-to-fat ratio for maximum juiciness. Leaner beef can dry out the bombs, so don’t skimp here. I prefer grass-fed if I can find it on sale, but regular works fine.
- Bacon (6-8 strips): Thick-cut bacon holds up better during cooking. You want it crispy but not burnt. I cook it in the oven first so it stays crunchy inside the dough.
- Refrigerated Biscuit Dough (1 can): A 16-ounce can works best. Look for a brand with flaky layers. Pillsbury or generic store brands are great. Avoid the ones that are too dense.
- Shredded Cheddar Cheese (1 cup): Pre-shredded cheese contains anti-caking agents that can prevent smooth melting. For the best gooeyness, shred a block of sharp cheddar yourself. It melts much better.
- Yellow Onion (1 small): Finely diced. This adds sweetness and depth to the beef mixture. Don’t skip it; it balances the saltiness of the bacon and cheese.
- Garlic (2 cloves): Minced fresh. Powdered garlic works in a pinch, but fresh gives a brighter flavor profile.
- Worcestershire Sauce (1 tsp): A secret weapon for savory depth. Just a little goes a long way. It enhances the beef flavor without overpowering it.
- Dijon Mustard (1 tsp): Adds a tangy kick that mimics the classic burger experience. It cuts through the richness of the cheese.
- Salt and Black Pepper: To taste. Remember the bacon and cheese are already salty, so go light on the extra salt.
For the best texture, I recommend looking for small-curd cottage cheese if you want to mix it into the beef for extra moisture, but standard cheddar is the classic choice. In summer, you might swap the cheddar for pepper jack for a spicy kick. You can also use turkey bacon for a lighter option, though the flavor will be milder. Use almond flour for a gluten-free wrapper if needed, though that changes the texture significantly. Keep this section scannable because you’ll be grabbing these items from your pantry quickly.
Equipment Needed
You don’t need a fancy kitchen to make these Cheesy Bacon Cheeseburger Bombs. Standard tools will do the job perfectly. Having the right equipment makes the process smoother and reduces cleanup time.
- Baking Sheet: A large, rimmed baking sheet is essential. Line it with parchment paper for easy cleanup. This prevents sticking and ensures even browning.
- Skillet: A medium-sized non-stick skillet is best for cooking the beef and onions. It allows you to break up the meat easily and drain excess fat.
- Mixing Bowls: One medium bowl for the beef mixture and one small bowl for whisking any optional glazes. Keep them separate to avoid cross-contamination.
- Pastry Brush: Useful for brushing the tops with egg wash or melted butter before baking. It gives them that professional, golden shine.
- Oven: Obviously, you need a reliable oven. Preheat it accurately. An oven thermometer can help ensure your temperature is spot-on.
If you don’t have a non-stick skillet, a cast-iron pan works great too. Just make sure it’s well-seasoned. For budget-friendly options, a basic glass baking dish can replace the metal sheet if needed, though it may brown slower. Clean your tools as you go to keep the kitchen tidy. A sharp knife helps with dicing the onions evenly. Don’t worry if you don’t have every fancy gadget; this recipe is designed for real home cooks.
Preparation Method
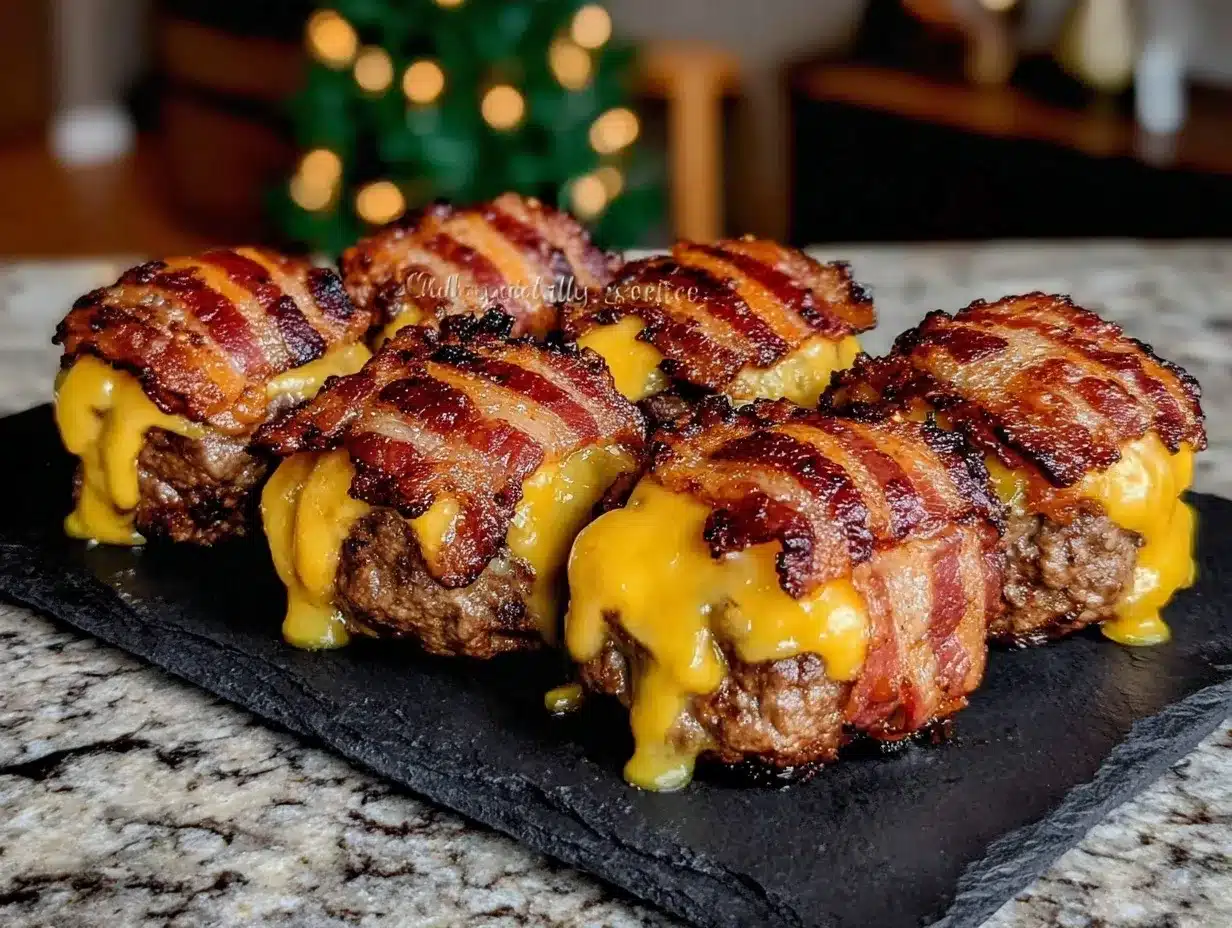
Making these Cheesy Bacon Cheeseburger Bombs is straightforward, but attention to detail ensures the best results. Follow these steps carefully for perfect, juicy bombs every time.
- Preheat and Prep: Preheat your oven to 375°F (190°C). Line a large baking sheet with parchment paper. This step takes about 5 minutes. Ensure your oven is fully heated before baking.
- Cook the Bacon: Place bacon strips on a separate baking sheet and bake for 10-12 minutes until crisp. Let them cool, then chop into small pieces. This takes about 15 minutes total. Crispy bacon prevents soggy bombs.
- Prepare the Beef: In a skillet over medium heat, brown the ground beef. Add the diced onion and minced garlic. Cook until the beef is no longer pink and onions are soft. Drain excess fat. This takes about 8-10 minutes. Let the mixture cool slightly so it doesn’t melt the cheese prematurely.
- Mix the Filling: In a bowl, combine the cooled beef mixture, chopped bacon, shredded cheddar, Worcestershire sauce, Dijon mustard, salt, and pepper. Mix gently until just combined. Overmixing can make the beef tough. Set aside.
- Divide the Dough: Open the biscuit dough. Cut each biscuit into four equal quarters. You should have 16 pieces total. Keep them covered to prevent drying out. This takes about 5 minutes.
- Assemble: Take a piece of dough and flatten it into a small circle. Place a teaspoon of the beef mixture in the center. Add a small piece of cheese on top if you want extra goo. Wrap the dough around the filling, pinching the seams tightly to seal. Place seam-side down on the baking sheet. Repeat with remaining dough. This is the most time-consuming step, taking about 15 minutes.
- Bake: Brush the tops lightly with egg wash or melted butter. Bake for 12-15 minutes until golden brown. Do not overcrowd the pan. Check at 10 minutes to ensure they aren’t burning.
- Cool and Serve: Let them cool for 2-3 minutes before serving. The filling will be extremely hot. Serve warm with your favorite dipping sauces.
If the dough tears, just patch it with a small piece. If the filling leaks, it’s okay; it adds flavor to the crust. Trust your instincts. The aroma will guide you.
Cooking Tips & Techniques
Professional chefs know that small details make a big difference. Here are some insider tips to ensure your Cheesy Bacon Cheeseburger Bombs turn out perfectly.
- Seal Tightly: The most common mistake is not sealing the dough properly. Pinch the edges well. If cheese leaks out, it can burn. A tight seal keeps the juices inside.
- Cool the Filling: Never put hot beef mixture into the dough. It will melt the cheese too early and make the dough sticky. Let it cool to room temperature first.
- Uniform Size: Try to make each bomb the same size. This ensures they all bake evenly. Use a scale if you have one, or eyeball carefully.
- Don’t Overfill: Too much filling causes bursting. Stick to a teaspoon per bomb. It’s better to have a thicker dough wall than a leaking bomb.
- Egg Wash Tip: For a deeper golden color, add a pinch of paprika to your egg wash. It enhances the visual appeal significantly.
I once made these without cooling the beef, and the dough fell apart. Lesson learned! Always cool your components. Also, multitask by prepping the dough while the beef cooks. This saves time. Consistency is key. If you make them too small, they dry out. Too large, and the center might not cook through. Aim for bite-sized perfection.
Variations & Adaptations
You can customize these Cheesy Bacon Cheeseburger Bombs to suit different tastes and dietary needs. Here are some ideas to try.
- Spicy Kick: Add diced jalapeños to the beef mixture. Use pepper jack cheese instead of cheddar. This is great for heat lovers.
- BBQ Twist: Mix BBQ sauce into the beef. Use smoked gouda cheese. Drizzle extra BBQ sauce on top after baking. Sweet and smoky flavor profile.
- Turkey Option: Substitute ground beef with ground turkey. Add extra herbs like thyme and rosemary. Lighter but still flavorful.
- Veggie Version: Use lentils or mushrooms instead of beef. Mix with spinach and feta cheese. A hearty vegetarian alternative.
- Gluten-Free: Use gluten-free biscuit dough or crescent roll dough. Check labels carefully. Texture may vary slightly.
I tried a buffalo chicken version once, and it was a hit. Swap beef for shredded chicken, blue cheese dressing, and hot sauce. It’s a unique twist that works well. Feel free to experiment. The base recipe is flexible. Just keep the balance of moisture and fat in mind.
Serving & Storage Suggestions
How you serve and store these bombs affects their quality. Follow these tips to keep them tasty.
- Serving: Serve warm with ketchup, mustard, or ranch dressing. They pair well with cold beer or soda. Present on a platter with lemon wedges for freshness.
- Storage: Store leftovers in an airtight container in the fridge for up to 3 days. Keep them separate from moist foods to maintain crispness.
- Freezing: Freeze unbaked bombs on a tray, then transfer to a bag. Bake from frozen, adding 5 minutes to cook time. Great for meal prep.
- Reheating: Reheat in an oven or air fryer at 350°F for 5-7 minutes. Microwave makes the dough soggy. Avoid the microwave if possible.
- Flavor Development: The flavors meld better the next day. Make them ahead for parties. They actually taste improved after resting.
I always make a double batch. They disappear fast, but having extras means no stress. The smell of reheated bombs is just as good as fresh ones. Just don’t overheat them. Warm is best.
Nutritional Information & Benefits
These Cheesy Bacon Cheeseburger Bombs are indulgent but can fit into a balanced diet. Here’s a general overview.
- Calories: Approximately 250-300 calories per bomb, depending on size and ingredients.
- Protein: High protein content from beef and cheese. Good for muscle repair and satiety.
- Carbs: Moderate carbs from the biscuit dough. Use whole wheat dough for more fiber.
- Fat: Contains saturated fat from cheese and beef. Enjoy in moderation.
- Allergens: Contains gluten, dairy, and eggs. Avoid if allergic. Use substitutes as noted.
I view these as a treat, not a daily staple. But they offer satisfaction that keeps you full. The protein helps curb hunger. Just be mindful of portion sizes. A few bombs with a side salad makes a balanced meal.
Conclusion
Cheesy Bacon Cheeseburger Bombs are the ultimate game day snack. They are easy to make, budget-friendly, and absolutely delicious. I love them because they bring people together. There’s nothing like sharing food you made with your own hands. Customize them to your liking. Add your favorite spices or cheeses. Make them your own.
I hope you try this recipe. It’s a winner in my book. Please share your results in the comments. Did you add jalapeños? Did you use turkey? I’d love to hear your variations. Tag me in your photos if you post them online. Let’s keep the conversation going. Enjoy every bite, and happy game day!
Frequently Asked Questions
Can I freeze these bombs before baking?
Yes, you can. Assemble them on a baking sheet and freeze until solid. Then transfer to a freezer bag. Bake directly from frozen, adding 5-7 minutes to the cooking time. They freeze well and taste fresh.
What dipping sauce goes best with these?
Classic burger toppings work best. Ketchup, mustard, and ranch are popular. BBQ sauce is also a great choice. Try a garlic aioli for a gourmet touch. Pick what you love.
Can I use ground turkey instead of beef?
Absolutely. Ground turkey is a leaner option. You may need to add a little more seasoning or fat, like olive oil, to keep it moist. It works well with herbs like thyme.
How do I prevent the cheese from leaking out?
Seal the dough tightly. Pinch the edges well. Don’t overfill the bombs. Let the beef mixture cool completely before assembling. This helps the cheese stay inside during baking.
Can I make these gluten-free?
Yes, use gluten-free biscuit dough or crescent rolls. Check the labels to ensure they are certified gluten-free. The texture might be slightly different, but the flavor remains the same.
Pin This Recipe!
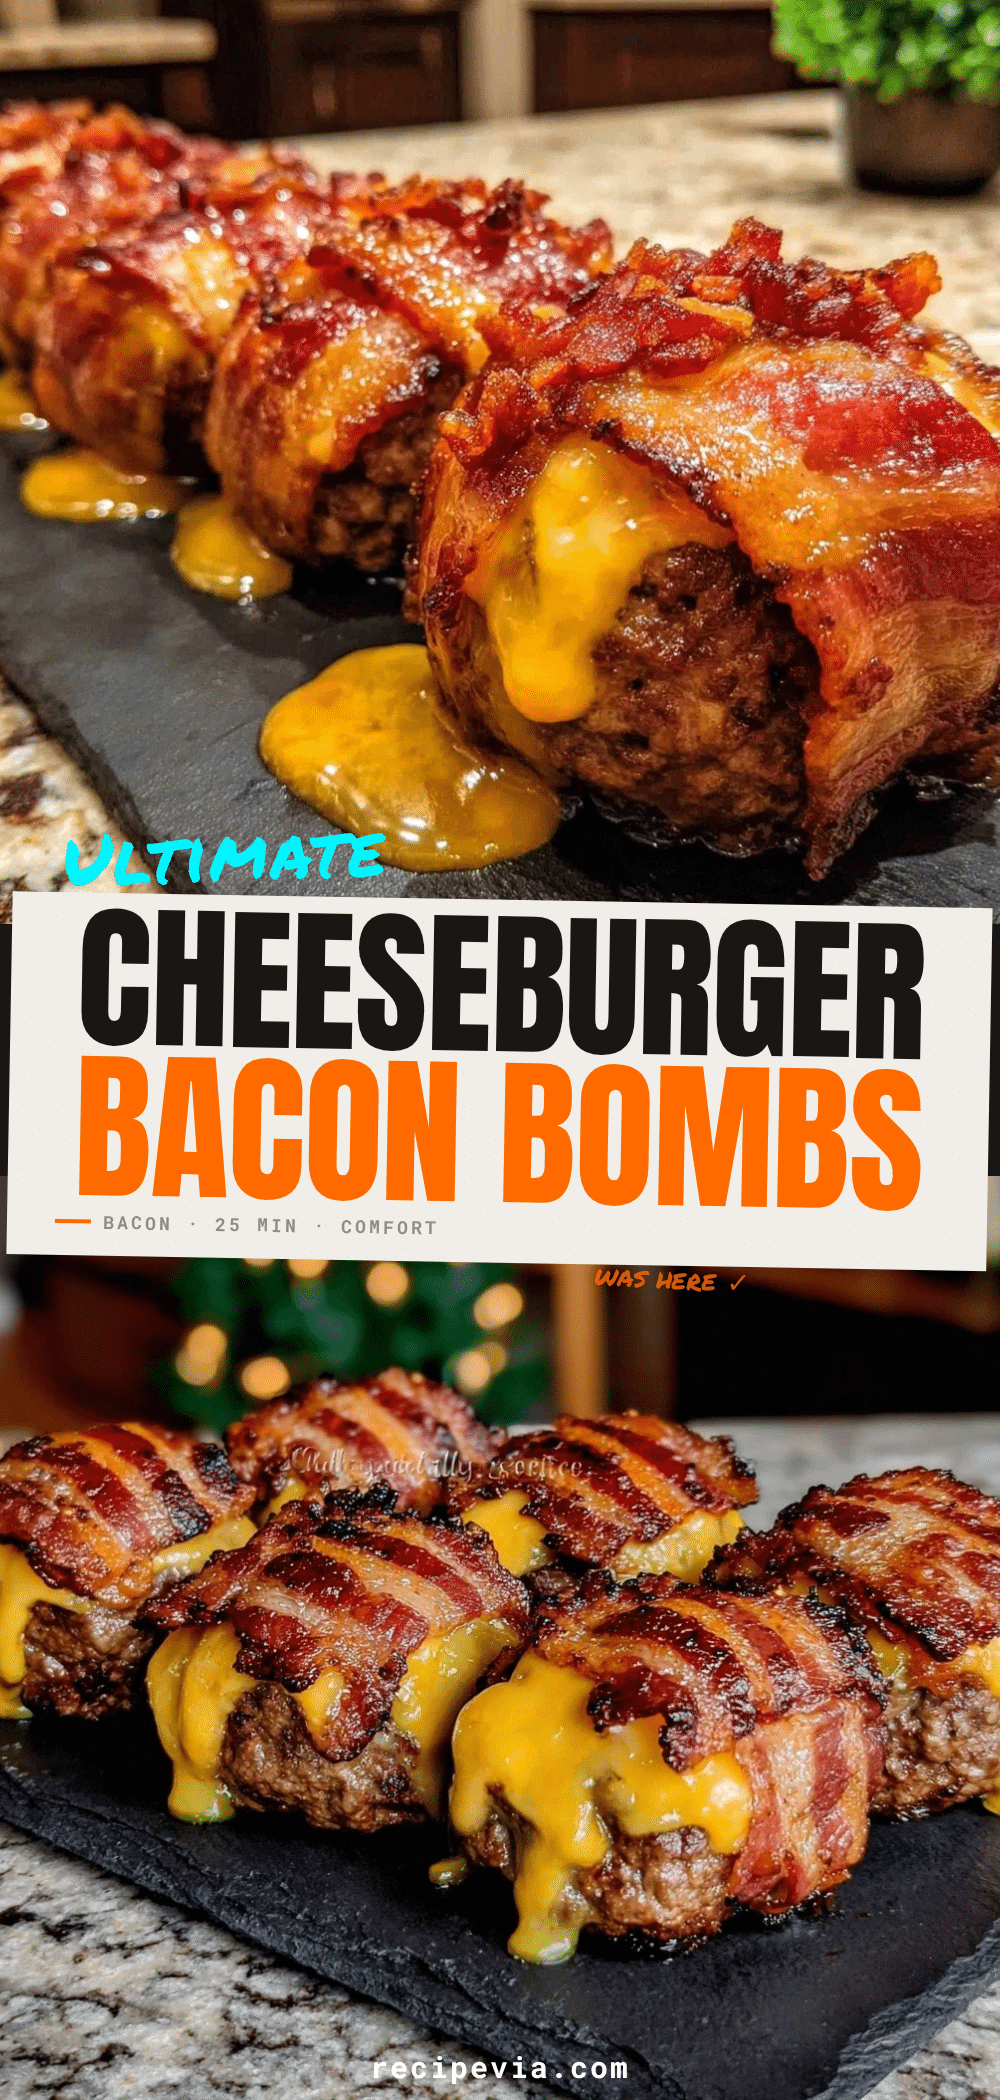

Cheesy Bacon Cheeseburger Bombs
- Total Time: 55 minutes
- Yield: 16 servings 1x
Description
Handheld appetizers featuring a flaky biscuit dough wrapper filled with seasoned ground beef, crispy bacon, and melted cheddar cheese. Perfect for game day and budget-friendly crowd-pleasing.
Ingredients
- 1 lb ground beef (80/20 lean-to-fat ratio)
- 6–8 strips thick-cut bacon
- 1 can (16 oz) refrigerated biscuit dough
- 1 cup shredded sharp cheddar cheese
- 1 small yellow onion, finely diced
- 2 cloves garlic, minced
- 1 tsp Worcestershire sauce
- 1 tsp Dijon mustard
- Salt and black pepper to taste
- Egg wash or melted butter for brushing
Instructions
- Preheat oven to 375°F (190°C) and line a large baking sheet with parchment paper.
- Bake bacon strips on a separate sheet for 10-12 minutes until crisp. Cool and chop into small pieces.
- In a skillet over medium heat, brown the ground beef with diced onion and minced garlic. Drain excess fat and let cool slightly.
- In a bowl, combine the cooled beef mixture, chopped bacon, shredded cheddar, Worcestershire sauce, Dijon mustard, salt, and pepper.
- Open biscuit dough and cut each biscuit into four equal quarters (16 pieces total).
- Flatten a dough piece into a circle, place a teaspoon of beef mixture in the center, and wrap the dough around it, pinching seams tightly to seal.
- Place bombs seam-side down on the prepared baking sheet.
- Brush tops lightly with egg wash or melted butter.
- Bake for 12-15 minutes until golden brown.
- Cool for 2-3 minutes before serving warm.
Notes
Ensure the beef mixture is cooled completely before assembling to prevent the cheese from melting prematurely and making the dough sticky. Seal the dough tightly to prevent leaking. For a gluten-free version, use gluten-free biscuit dough.
- Prep Time: 30 minutes
- Cook Time: 25 minutes
- Category: Appetizer
- Cuisine: American
Nutrition
- Serving Size: 1 bomb
- Calories: 275
- Sugar: 2
- Sodium: 450
- Fat: 18
- Saturated Fat: 8
- Carbohydrates: 15
- Fiber: 1
- Protein: 12
Keywords: game day snacks, cheeseburger bombs, bacon appetizer, easy finger food, crowd pleaser, budget friendly recipes