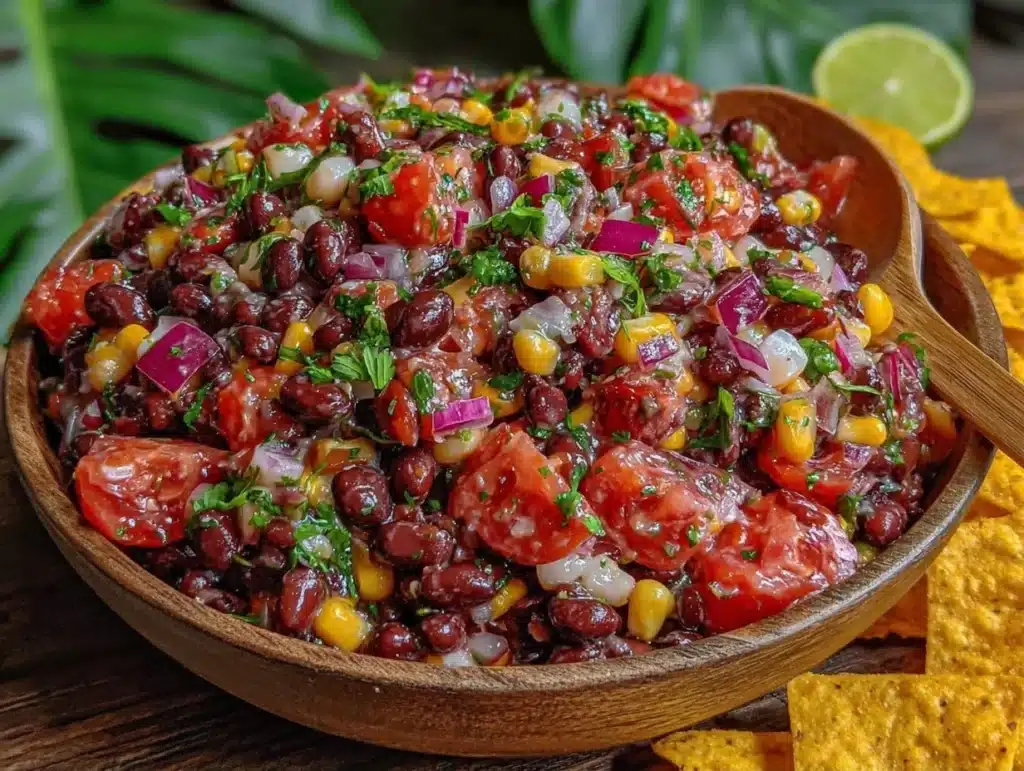
Let’s be honest, you know the feeling. You walk into a party, and there it is—that one bowl sitting on the table like it owns the place. The cheese dip. The green bean casserole. Or in our case, the cheesy Texas caviar dip. I remember my first attempt at hosting a summer BBQ back in 2018. I had grilled burgers, potato salad, and this weird jarred salsa I bought from the gas station. Nobody touched the burger. Everyone circled the dip like vultures. I was humbled, but also inspired.
That experience taught me that people don’t just want food; they want flavor bombs that are easy to eat. Cheesy Texas Caviar Dip hits that sweet spot. It’s not just a dip; it’s a party in a bowl. The combination of black beans, corn, peppers, and melty cheese is pure magic. It’s the kind of recipe that feels fancy but takes five minutes to throw together. Honestly, it’s my secret weapon for potlucks.
I’ve made this cheesy Texas caviar dip dozens of times now. Sometimes with rotisserie chicken, sometimes with just the veggies. But the core remains the same: bold tex-mex flavors wrapped in gooey, warm cheese. It’s perfect for game day, bridal showers, or just when you need a snack that doesn’t feel like junk food. Trust me, once you taste this, you’ll be making it every weekend.
Why You’ll Love This Recipe
Here is the truth about party food. Most of it is either too heavy or too bland. This cheesy Texas caviar dip changes the game. It’s light enough that you won’t feel sluggish after eating it, but rich enough that it satisfies your cravings. I’ve tested this recipe with different cheeses, different beans, and even different peppers. This version is the winner. It’s the one my family fights over.
- Quick & Easy: You can prep this in under 10 minutes. No complex techniques, no hours in the oven. Just mix, bake, and serve. It’s perfect for those last-minute invitations you get on Friday night.
- Simple Ingredients: You probably have most of this in your pantry right now. Black beans, corn, bell peppers, and cheese. It’s not some obscure ingredient hunt. It’s real food, made real fast.
- Perfect for Crowds: Whether you have five guests or fifty, this recipe scales up easily. It’s a crowd-pleaser that works for kids and adults alike. The mild spices appeal to everyone.
- Unbelievably Delicious: The texture is key here. You get the crunch of the peppers, the softness of the beans, and the stretchy melt of the cheese. It’s comfort food with a kick.
- Make-Ahead Friendly: You can mix it all the night before. This saves you so much stress on the day of the party. Just pop it in the oven when you arrive.
What makes this different from regular salsa dip? It’s the cheesy layer on top and the warm temperature. Cold salsa is fine, but warm, bubbling cheesy dip? That’s next level. It brings out the natural sweetness of the corn and the earthiness of the beans. It’s soul-soothing in a way that only warm cheese can be.
What Ingredients You Will Need
This recipe relies on high-quality, simple ingredients to create a complex flavor profile. You don’t need anything exotic. The magic happens in the combination. I recommend using fresh vegetables when possible, but frozen works too. Just make sure to drain them well. Wet ingredients ruin the texture, and nobody wants a soupy dip.
- Black Beans: One 15-ounce can, drained and rinsed. I prefer organic brands like Goya or Bush’s. They tend to have better texture and less sodium. Rinse them until the water runs clear to remove that metallic can taste.
- Sweet Corn: One cup. Fresh off the cob is best, but frozen kernels work perfectly. If using frozen, thaw them first. The sweetness of the corn balances the savory beans beautifully.
- Red Bell Pepper: One medium pepper, finely diced. The red color adds visual appeal, and the sweetness is milder than green peppers. If you can’t find red, yellow or orange works great too.
- Jalapeño Peppers: One or two, depending on heat preference. Finely minced. Remove the seeds for less heat. I use fresh jalapeños because they have a brighter, grassier flavor than jarred ones.
- Red Onion: Half a small onion, finely diced. Red onion adds a nice crunch and a bit of sharpness. If you are sensitive to raw onion flavor, soak the diced onion in ice water for ten minutes first.
- Cheddar Cheese: Two cups, shredded. Use a block and shred it yourself. Pre-shredded cheese has anti-caking agents that prevent it from melting smoothly. Sharp cheddar gives the best flavor.
- Mozzarella Cheese: One cup, shredded. This is for the stretch. It melts beautifully and creates that gooey layer on top. Don’t skip this part; it’s what makes it a dip, not just a salad.
- Garlic Powder: One teaspoon. Adds depth without the bite of raw garlic. It blends seamlessly with the other spices.
- Cumin: One teaspoon. This is the heart of tex-mex flavor. It’s earthy and warm. Use ground cumin, not whole seeds.
- Salt and Pepper: To taste. Start with half a teaspoon of salt and adjust from there. The beans and cheese already have some salt, so be careful.
- Sour Cream: Half a cup. This adds creaminess and tang. It balances the richness of the cheese. Greek yogurt can be used for a lighter option.
Equipment Needed
You don’t need much for this recipe, which is part of its charm. A large mixing bowl is essential. I use a 4-quart stainless steel bowl because it’s sturdy and easy to clean. Make sure it’s big enough to hold all the ingredients without spilling.
A baking dish is next. An 8×8 inch square dish works perfectly. It creates a nice thin layer so the cheese gets crispy edges. If you don’t have one, a 9×9 inch dish will work, but the cooking time might be slightly shorter. Glass or ceramic dishes are best because they heat evenly. Metal dishes can sometimes burn the edges too quickly.
A sharp knife and a cutting board are needed for the vegetables. A microplane or box grater is helpful for the cheese. I can’t stress enough how much better fresh-shredded cheese melts. It’s worth the extra two minutes.
For serving, a sturdy spoon is key. This dip is thick, so a flimsy spoon won’t cut it. A wooden spoon or a metal serving spoon works well. If you are bringing this to a party, consider bringing a small bread knife to cut tortilla chips if they are large. It’s a nice touch that guests appreciate.
Preparation Method
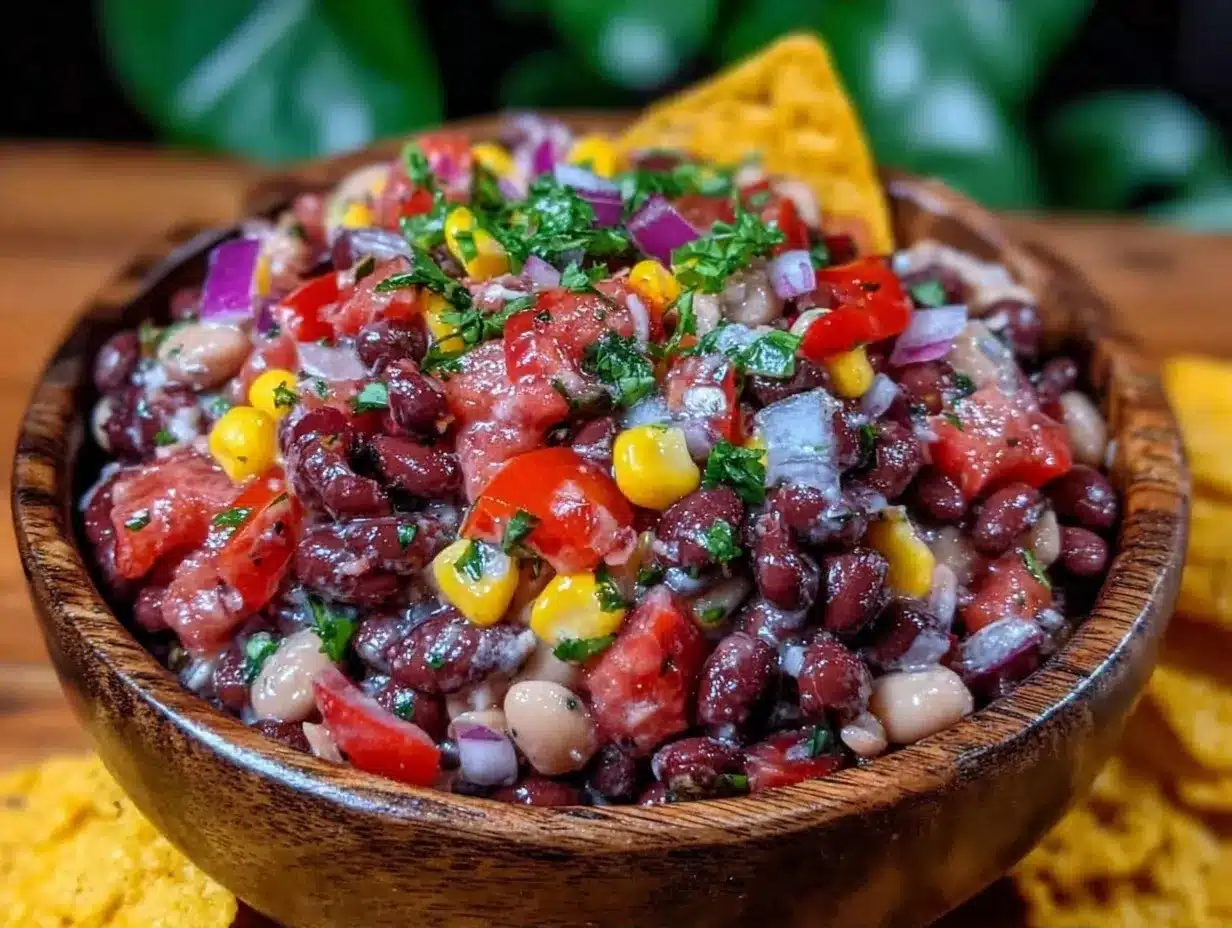
Let’s get into the nitty-gritty. This part is straightforward, but details matter. Follow these steps closely for the best results.
- Preheat Your Oven: Set your oven to 350°F (175°C). This gives you enough heat to melt the cheese without burning the vegetables. While the oven heats up, you can start prepping your ingredients. This saves time.
- Prepare the Vegetables: Dice the red bell pepper and red onion into small, uniform pieces. You want them small enough to eat easily with a chip, but not so small that they disappear. Mince the jalapeño carefully. Wear gloves if you have sensitive skin. It’s better to be safe than sorry.
- Drain the Beans and Corn: Open the cans of black beans and corn. Drain them thoroughly. Use a colander and rinse with cold water. Shake off excess water. If the beans are too wet, your dip will be runny. Pat them dry with a paper towel if needed. This step is crucial for texture.
- Mix the Base: In your large mixing bowl, combine the black beans, corn, bell pepper, jalapeño, and red onion. Add the garlic powder and cumin. Toss everything together until the spices are evenly distributed. You want every bean and kernel to have a bit of flavor.
- Add the Creaminess: Stir in the sour cream. Mix gently until the base is coated. It should look moist but not soupy. If it looks too dry, add a splash of milk. If it looks too wet, add a bit more cheese. Taste a small spoonful. Adjust salt and pepper if needed. This is your chance to fix flavors before baking.
- Transfer to Baking Dish: Pour the mixture into your prepared baking dish. Spread it out evenly. Use the back of a spoon to smooth the top. You want a flat surface so the cheese melts evenly.
- Add the Cheese: Sprinkle the shredded cheddar and mozzarella cheese evenly over the top. Don’t be shy with the cheese. This is the best part. Press the cheese down slightly so it sticks to the base. This helps it melt better.
- Bake: Place the dish in the preheated oven. Bake for 20-25 minutes. You are looking for the cheese to be fully melted and bubbly. The edges might get slightly golden. This is the sign of perfection. Do not overbake, or the cheese will separate and become oily.
- Cool and Serve: Remove from the oven and let it cool for 5 minutes. This allows the cheese to set slightly so it doesn’t slide off the chip. Garnish with fresh cilantro if you like. Serve warm with tortilla chips.
Cooking Tips & Techniques
I’ve learned a few things the hard way while making this dip. Here are some tips to ensure success.
Don’t Skimp on Draining: I cannot say this enough. Wet beans mean a watery dip. Take the extra minute to drain and pat them dry. It makes a huge difference in the final texture.
Shred Your Own Cheese: Pre-shredded cheese is convenient, but it doesn’t melt as well. The cellulose coating prevents a smooth melt. Buy a block of cheddar and mozzarella and shred it yourself. It takes two minutes and results in a much creamier dip.
Control the Heat: Jalapeños vary in heat. If you are serving kids or people who don’t like spice, remove the seeds and membranes. They hold most of the capsaicin. If you want more heat, add a diced green chili or a dash of cayenne pepper.
Watch the Oven: Ovens vary. Check your dip at the 20-minute mark. If the cheese is already melted and bubbly, take it out. Overbaking can cause the cheese to break, leaving you with a greasy surface. You want it gooey, not oily.
Let It Rest: Hot cheese is liquid. Letting the dip rest for five minutes allows it to thicken slightly. This makes it easier to scoop and less likely to burn your mouth. Patience pays off.
Variations & Adaptations
This recipe is very adaptable. Here are some ways to change it up.
Chicken Version: Add one cup of cooked, shredded rotisserie chicken. Mix it in with the beans. This turns the dip into a heartier meal. It’s great for lunch leftovers.
Vegetarian Boost: Add some diced avocado right before serving. It adds a cool, creamy contrast to the warm dip. It also adds healthy fats. Just stir it in gently so it doesn’t get mushy.
Spicy Kick: Use pepper jack cheese instead of cheddar. Or add a diced fresh habanero pepper. This is for the heat seekers. It’s intense but delicious.
Gluten-Free: This recipe is naturally gluten-free. Just make sure your chips are certified gluten-free. Many tortilla chips are, but some contain wheat flour.
Dairy-Free: Use dairy-free cheese shreds. They have improved a lot in recent years. Also, use a dairy-free sour cream alternative. The flavor will be slightly different, but still tasty.
Serving & Storage Suggestions
Serve this dip warm. It’s best enjoyed fresh out of the oven. Pair it with sturdy tortilla chips. Pita chips or veggie sticks also work well. For a complete meal, serve it alongside grilled chicken or tacos.
Store leftovers in an airtight container in the refrigerator. It will keep for up to three days. Reheat in the microwave for 30-60 seconds, or in the oven at 350°F for 10 minutes. The texture might change slightly, becoming thicker, but the flavor remains good.
You can also freeze this dip. Assemble it in a freezer-safe dish. Cover tightly with plastic wrap and foil. Freeze for up to three months. Thaw in the fridge overnight before baking. Add a few extra minutes to the baking time since it starts cold.
Nutritional Information & Benefits
This dip is a good source of protein and fiber from the black beans. It also provides vitamins A and C from the peppers and corn. The cheese adds calcium and healthy fats. However, it is also high in sodium and saturated fat. Enjoy in moderation.
For a healthier version, use low-fat cheese and Greek yogurt instead of sour cream. Add more vegetables to bulk it up. This dip can be part of a balanced diet if you watch your portions.
Conclusion
This cheesy Texas caviar dip is a game-changer for any gathering. It’s easy, delicious, and always a hit. I hope you try it and love it as much as I do. Feel free to customize it to your taste. Add more cheese, less heat, or extra veggies. Make it your own.
If you make this recipe, please leave a comment below. I love hearing how it turned out for you. Share your photos on social media and tag me. I’d love to see your creations. Thanks for reading, and happy cooking!
Frequently Asked Questions
Can I make this dip ahead of time?
Yes, you can mix all the ingredients except the cheese the night before. Cover and refrigerate. Add the cheese and bake when you are ready to serve. This saves time on the day of the party.
What kind of chips go best with this dip?
Thick-cut tortilla chips work best. They are sturdy enough to hold the thick dip without breaking. Pita chips or scoops are also good options.
Can I use canned corn instead of fresh?
Yes, canned corn works perfectly. Just drain it well. Frozen corn is also a great option. Thaw it and drain before adding to the mix.
How spicy is this dip?
It is mildly spicy. One jalapeño provides a gentle kick. If you remove the seeds, it will be very mild. Add more jalapeños or hot sauce for extra heat.
Can I freeze this dip?
Yes, you can freeze the assembled dip. Wrap it tightly and freeze for up to three months. Thaw in the fridge before baking. The texture may change slightly, but it will still taste good.
Pin This Recipe!
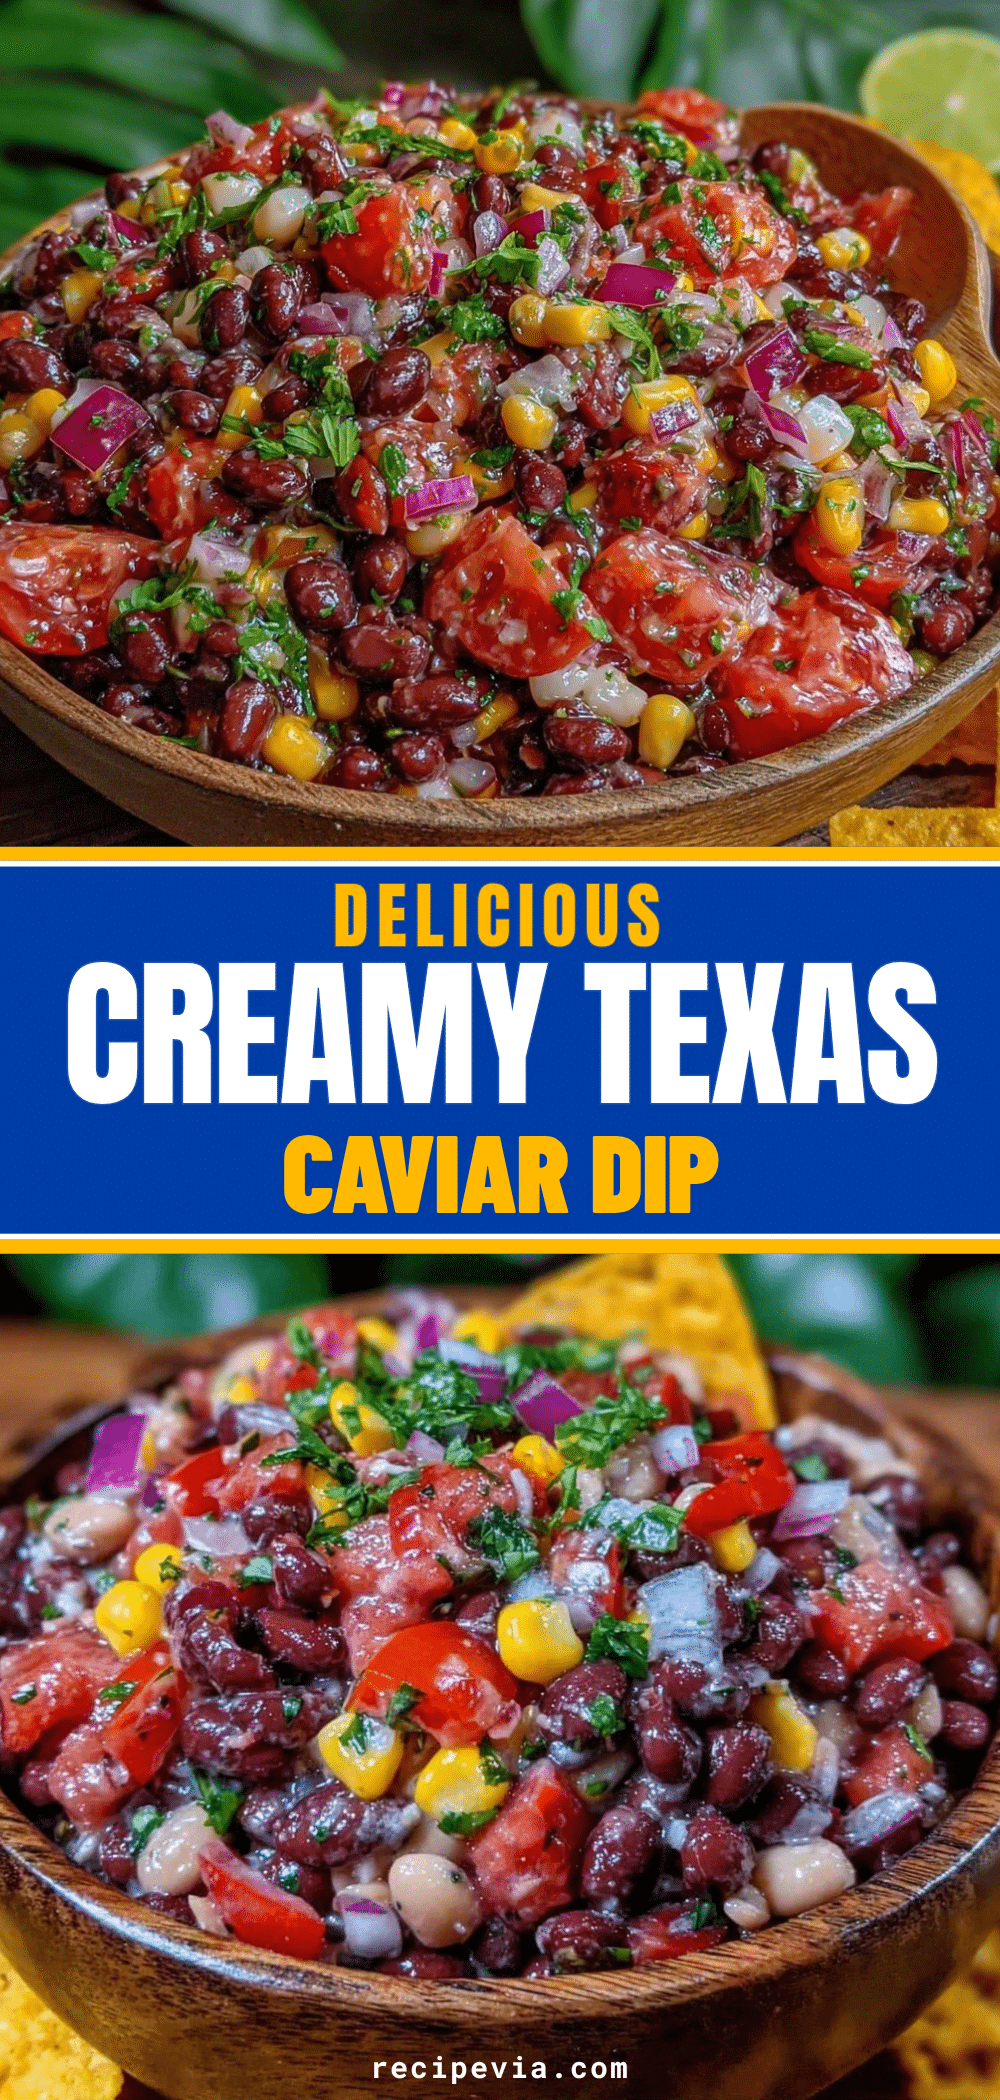

Cheesy Texas Caviar Dip
- Total Time: 35 minutes
- Yield: 8 servings 1x
Description
A quick and easy Tex-Mex party dip featuring black beans, corn, peppers, and a generous layer of melted cheddar and mozzarella cheese. Perfect for game day, potlucks, or any gathering.
Ingredients
- 1 (15-ounce) can black beans, drained and rinsed
- 1 cup sweet corn (fresh, frozen/thawed, or canned)
- 1 medium red bell pepper, finely diced
- 1–2 jalapeño peppers, finely minced (seeds removed for less heat)
- 1/2 small red onion, finely diced
- 2 cups sharp cheddar cheese, shredded
- 1 cup mozzarella cheese, shredded
- 1 teaspoon garlic powder
- 1 teaspoon ground cumin
- 1/2 teaspoon salt (adjust to taste)
- Black pepper to taste
- 1/2 cup sour cream
Instructions
- Preheat oven to 350°F (175°C).
- Finely dice the red bell pepper and red onion. Mince the jalapeño peppers.
- Drain and rinse the black beans and corn thoroughly. Pat them dry with a paper towel to remove excess moisture.
- In a large mixing bowl, combine the black beans, corn, bell pepper, jalapeño, and red onion.
- Add garlic powder and cumin to the vegetable mixture and toss until evenly distributed.
- Stir in the sour cream until the base is coated but not soupy. Taste and adjust salt and pepper if needed.
- Transfer the mixture to an 8×8 inch baking dish and spread evenly.
- Sprinkle the shredded cheddar and mozzarella cheese evenly over the top, pressing down slightly.
- Bake for 20-25 minutes, or until the cheese is fully melted and bubbly.
- Remove from oven and let cool for 5 minutes before serving with tortilla chips.
Notes
Ensure beans and corn are thoroughly drained and patted dry to prevent a watery dip. Shred cheese from a block rather than using pre-shredded cheese for better melting. Let the dip rest for 5 minutes after baking to allow the cheese to set slightly.
- Prep Time: 10 minutes
- Cook Time: 25 minutes
- Category: Appetizer
- Cuisine: Tex-Mex
Nutrition
- Serving Size: 1/8 of the dish
- Calories: 280
- Sugar: 3
- Sodium: 450
- Fat: 18
- Saturated Fat: 10
- Carbohydrates: 15
- Fiber: 4
- Protein: 14
Keywords: Texas caviar dip, cheesy dip, party appetizer, easy dip, tex-mex recipe, black bean dip, game day food, potluck recipe