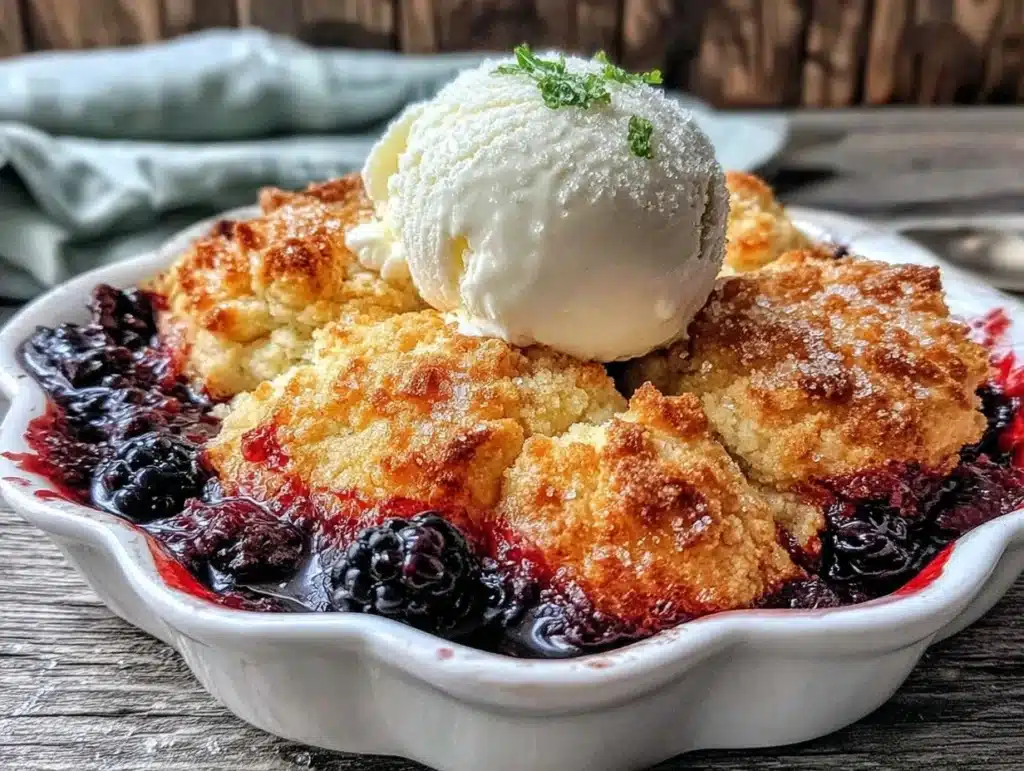
The smell of warm blackberries bubbling through a golden crust takes me straight back to my grandmother’s kitchen. You know that feeling when the air gets thick with humidity and the only thing on your mind is something cold and sweet? That is exactly what this classic blackberry cobbler delivers every single time. I remember standing on her porch, watching her pull the baking dish from the oven with those old pot holders she’d had since the seventies. The steam would rise up, carrying the scent of tart fruit and buttery dough, and I’d know dinner was almost over.
Honestly, I didn’t start making this recipe until I was in my thirties. Before that, I thought cobbler was just store-bought mix with some frozen berries tossed in. Let’s face it, I was lazy and I didn’t know any better. But after tasting the real deal at a county fair, I realized I had been missing out on one of the best comfort foods in America. This isn’t just dessert; it’s a memory you can eat. It’s the kind of dish that brings people together without you needing to spend a fortune at the grocery store.
I’ve tested this classic blackberry cobbler recipe over a dozen times. Some batches were too sweet, some were too doughy, and a few were just plain sad. But now? Now it’s perfect. The ratio of fruit to topping is balanced so that every bite has that juicy pop of berry and that crisp, cake-like crust. It’s easy enough for a weeknight but fancy enough for a Sunday dinner. Plus, it feeds a crowd, which means less stress for you and more time for chatting with your family. You’ll see why this has become my go-to when blackberry season rolls around.
Why You’ll Love This Recipe
There is a reason this recipe has been passed down through generations and why it keeps coming back to the top of my blog. It’s not just about the taste, though that part is undeniable. It’s about how easy it is to pull together when you’re tired or when unexpected guests show up. I’ve made this dish while juggling a toddler on my hip and a phone call with work. It works. Here is why this specific version of blackberry cobbler stands out from the rest.
- Quick & Easy: You don’t need to make a pie crust from scratch. The topping is a simple batter that drops right on top of the fruit. It comes together in under twenty minutes before baking. This is perfect for busy weeknights or when you need a last-minute dessert that still feels homemade.
- Simple Ingredients: You likely already have everything you need in your kitchen. Flour, sugar, butter, milk, and blackberries. No fancy grocery trips needed. This keeps the cost down and the stress out of the process. It’s a true budget-friendly dessert that doesn’t skimp on flavor.
- Perfect for Family Gatherings: Whether it’s a potluck, a holiday brunch, or just a cozy Tuesday night, this dish fits everywhere. It’s warm, comforting, and always gets rave reviews from kids and adults alike. It’s a crowd-pleaser that never fails to impress.
- Unbelievably Delicious: The texture and flavor combo is next-level comfort food. The berries turn into a thick, jammy sauce while the topping bakes into a crispy, golden cake. It’s the kind of dessert that makes you close your eyes after the first bite and just sigh.
- Cost-Effective: Blackberries can be pricey out of season, but in the summer, they are often on sale. This recipe stretches a few cups of berries into a full pan of dessert. It feeds everyone for less than you’d think, making it a savvy choice for any household.
What makes this recipe different is the technique. Many people dump the fruit and topping and walk away. I’ve found that letting the fruit macerate with the sugar for just ten minutes before adding the batter makes a huge difference. It releases more juices and creates a richer sauce. It’s a small step that elevates the whole dish without adding any real work. This isn’t just another version; it’s my tested, family-approved best version.
What Ingredients You Will Need
This recipe uses simple, wholesome ingredients to deliver bold flavor and satisfying texture without the fuss. You don’t need specialty items or expensive substitutes. The magic here comes from the quality of the blackberries and the balance of sweet and salty in the topping. I always recommend using fresh blackberries when they are in season because they have the best flavor. But frozen work just as well if you can’t find fresh ones. Just don’t thaw them first, or the batter will get soggy.
- Blackberries (4 cups): Use fresh, ripe blackberries for the best taste. If using frozen, keep them cold until you are ready to bake. They provide the juicy base of the dessert. Look for berries that are dark purple and plump, avoiding any that are mushy or moldy.
- Sugar (3/4 cup): I use a mix of white and brown sugar in the fruit layer. The brown sugar adds a hint of molasses flavor that pairs beautifully with the tart berries. It also helps create that sticky, caramel-like sauce at the bottom.
- Cornstarch (1 tablespoon): This is the secret to a thick sauce. Blackberries release a lot of water as they cook. The cornstarch absorbs that liquid so you don’t end up with a soupy mess. It ensures the cobbler holds its shape when you scoop it.
- Butter (1/2 cup): Unsalted butter is best so you can control the saltiness. I use room temperature butter for the topping because it mixes easier. The fat in the butter creates the tender, cake-like texture of the crust.
- All-Purpose Flour (1 cup): Standard flour works perfectly here. You don’t need cake flour or pastry flour. Just make sure your flour isn’t clumpy. Sift it if it looks old or packed down in the bag.
- Milk (1/2 cup): Whole milk gives the richest flavor, but 2% or even buttermilk works too. Buttermilk adds a nice tang that cuts through the sweetness. I keep it simple with regular milk most of the time.
- Egg (1 large): The egg binds the topping together and helps it rise slightly. It adds structure so the crust isn’t too dense. Room temperature eggs mix into the batter more evenly.
- Baking Powder (1 teaspoon): This helps the topping puff up in the oven. Make sure your baking powder is fresh for the best lift. Old baking powder will result in a flat, heavy crust.
- Salt (1/4 teaspoon): A pinch of salt is crucial. It balances the sweetness and makes the berry flavor pop. Don’t skip this step, even if you like sweet desserts.
- Vanilla Extract (1 teaspoon): A little vanilla adds warmth and depth to the topping. It’s a subtle note that ties all the flavors together. Use pure vanilla extract if you can find it.
I recommend using a good quality butter, like Kerrygold or Land O’Lakes, for the best flavor. The fat content matters in baking. Also, if you have a favorite brand of blackberry jam, you can stir a spoonful into the fruit for extra intensity. It’s an optional trick I use when the berries are a bit bland. For substitutions, you can use almond flour for a gluten-free option, though the texture will be slightly different. You can also swap the milk with a dairy-free alternative like oat milk if needed.
Equipment Needed
You don’t need a fancy kitchen to make this cobbler. Most of the tools you need are probably already in your drawer. The most important piece of equipment is a 9×13 inch baking dish. I prefer glass or ceramic dishes because they heat evenly and give you a nice golden crust. Metal pans can sometimes cause the edges to burn too quickly, so keep an eye on them. If you don’t have a 9×13 dish, a 2-quart casserole dish works just as well.
A large mixing bowl is needed for the fruit layer. I like using a glass bowl so I can see how well the berries are coated with the sugar. A medium bowl is sufficient for the topping. You’ll also need a whisk or a fork to mix the batter. I usually just use a fork because it’s faster and there is less cleanup. A spatula is helpful for spreading the fruit evenly in the dish. I also recommend using a measuring cup set for accuracy. Guessing amounts can lead to a dry or soggy result.
For maintenance, always let your baking dishes cool before washing them. Thermal shock can crack glass dishes if you run them under cold water while they are still hot. I’ve cracked more than one Pyrex dish this way! For budget-friendly options, you can use a disposable aluminum pan if you are taking the cobbler to a potluck. It’s easier to transport and there is no dishwashing afterward. Just make sure the pan is sturdy enough to hold the weight of the fruit.
Preparation Method
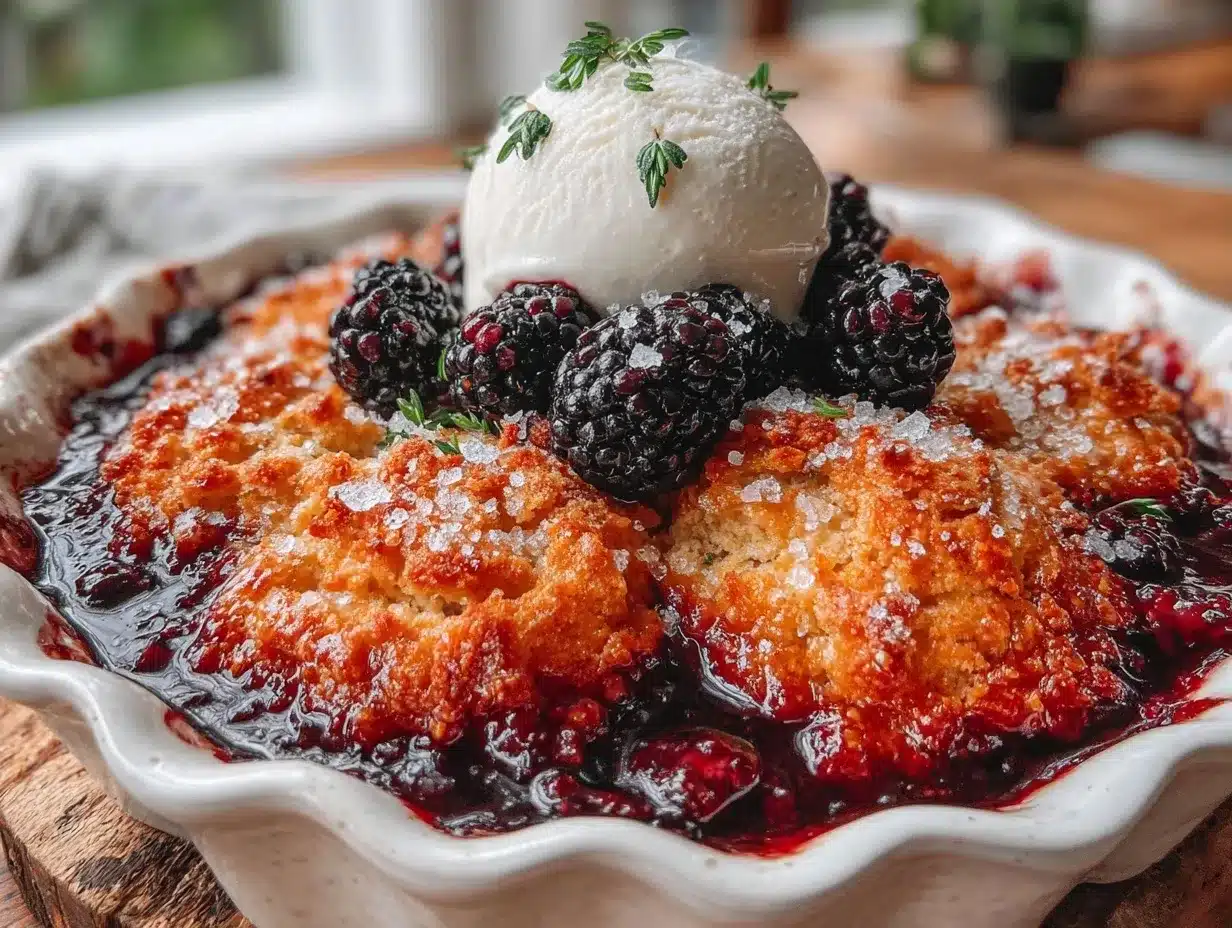
- Preheat your oven and prep the dish: Start by preheating your oven to 375°F (190°C). This ensures the oven is hot enough when the cobbler goes in. Grease your 9×13 inch baking dish with a little butter or cooking spray. This prevents sticking and makes cleanup easier. It takes about two minutes to get this ready.
- Prepare the blackberry filling: In a large bowl, combine the blackberries, sugar, and cornstarch. Toss them gently until the berries are evenly coated. The cornstarch will help thicken the juices as they cook. Let this mixture sit for about ten minutes. This step allows the sugar to draw out the juices from the berries. It creates a natural syrup that will mix with the topping. You will see the bowl fill up with liquid, which is a good sign.
- Spread the fruit: Pour the blackberry mixture into your prepared baking dish. Spread it out evenly so the topping will bake uniformly. Use a spatula to scrape out any remaining fruit from the bowl. You want every bit of that sweet juice in the dish. This step takes about one minute.
- Make the topping batter: In a medium bowl, whisk together the flour, baking powder, and salt. In a separate small bowl, beat the egg and mix in the milk and vanilla. Pour the wet ingredients into the dry ingredients. Stir gently until just combined. Do not overmix! Lumps are okay. Overmixing makes the topping tough and rubbery. This should take about three minutes.
- Combine and bake: Drop spoonfuls of the batter over the blackberries. You don’t need to cover them completely. The batter will spread as it bakes. The rustic look is part of the charm. Place the dish in the preheated oven. Bake for 45 to 50 minutes. You will know it is done when the topping is golden brown and the juices are bubbling thickly around the edges. The aroma will fill your kitchen!
- Cool and serve: Remove the cobbler from the oven and let it cool for at least ten minutes. This allows the sauce to thicken slightly. If you cut into it immediately, the filling might run out. Serve it warm with a dollop of whipped cream or a scoop of vanilla ice cream. The contrast of hot cobbler and cold cream is heavenly. Enjoy!
Watch the cobbler closely during the last ten minutes of baking. If the top is browning too fast, cover it loosely with aluminum foil. This prevents burning while the center finishes cooking. Also, if you see too much liquid bubbling over, place a baking sheet on the rack below to catch any drips. It saves you from cleaning a messy oven later.
Cooking Tips & Techniques
I’ve made my fair share of cobbler mistakes, so you don’t have to. One common error is using old blackberries. If they are soft or moldy, they will turn your dessert into a mushy mess. Always inspect your berries before washing them. Another mistake is overmixing the batter. I used to think I needed a smooth batter, but that leads to a dense, bread-like topping. Keep it lumpy and rustic. It bakes up lighter and fluffier.
Timing is everything. Make sure your oven is fully preheated. An oven that is too cool will result in a soggy bottom. Use an oven thermometer to check the temperature if you suspect your oven runs hot or cold. This small tool can save your dessert. Also, don’t skip the resting time. The sauce needs time to set. If you are impatient like me, try to wait at least ten minutes. The reward is worth the wait.
For consistency, measure your flour correctly. Scooping flour directly from the bag packs it down, leading to too much flour. Spoon the flour into the measuring cup and level it off. This ensures the right ratio of wet to dry ingredients. I also recommend using a glass baking dish. It lets you see the browning on the bottom and sides. It’s easier to judge doneness visually. These tips have helped me perfect this recipe over the years.
Variations & Adaptations
While I love the classic version, there are many ways to tweak this recipe. You can switch up the fruit depending on what is in season. Blueberry cobbler is another favorite of mine. It has a slightly milder flavor but works just as well. Peach cobbler is also delicious, especially in late summer. Just make sure to adjust the sugar if your fruit is very sweet. Stone fruits often need less sugar than berries.
For a dairy-free version, use a plant-based butter and milk. Oat milk or almond milk works well in the batter. You can also use a dairy-free ice cream for serving. For a gluten-free option, substitute the all-purpose flour with a 1-to-1 gluten-free flour blend. The texture might be slightly crumblier, but the flavor remains the same. I’ve tried this with almond flour, but it absorbs more liquid, so you may need to add a splash more milk.
If you want a spiced version, add a teaspoon of cinnamon or nutmeg to the fruit layer. It adds warmth and complexity. I also like to add a tablespoon of lemon juice to the berries. The acidity brightens the flavor and makes the blackberries taste more vibrant. For a richer topping, substitute half the milk with heavy cream. It makes the crust more like a cake. These variations allow you to customize the recipe to your taste. I often experiment with different fruits when I have a surplus from the farmers market.
Serving & Storage Suggestions
This cobbler is best served warm. The warmth releases the aromas of the blackberries and makes the topping soft. Serve it with a scoop of vanilla ice cream or a dollop of whipped cream. The cold cream contrasts nicely with the hot fruit. You can also serve it with a slice of sharp cheddar cheese. It’s a Southern tradition that adds a savory balance to the sweet dessert. It sounds odd, but it works! Try it once and you might be hooked.
Store any leftovers in an airtight container in the refrigerator. The cobbler will keep for up to three days. The topping will soften as it sits, which some people prefer. To reheat, place a slice in the microwave for 30 seconds. Or, warm it in the oven at 350°F for ten minutes. This restores the crispness of the topping. Avoid freezing the cobbler with the topping on. The texture changes too much. Instead, freeze the fruit mixture separately and add fresh topping when ready to bake.
The flavors develop over time. The berries become softer and the sauce thickens. Some people say it tastes even better the next day. Just make sure to cover it well to prevent it from drying out. It’s a great make-ahead dessert for parties. You can prepare it the night before and bake it in the morning. Just add a few extra minutes to the baking time if it goes in cold from the fridge.
Nutritional Information & Benefits
Blackberries are packed with antioxidants and fiber. They are a great source of vitamin C and manganese. This cobbler is a treat, but it does have some nutritional value. The fiber from the berries helps with digestion. However, it is still a dessert, so enjoy it in moderation. Each serving contains about 300 calories, depending on the size of the scoop. The sugar content is moderate, especially if you reduce the sugar in the recipe.
For those watching their sugar intake, you can use a sugar substitute. Erythritol or stevia work well in baking. Just follow the package instructions for conversion. The texture may be slightly different, but the flavor will be similar. This recipe is naturally gluten-free if you use gluten-free flour. It can also be made dairy-free with simple substitutions. It’s a flexible recipe that can fit many dietary needs. I like to think of it as a wholesome treat that uses real fruit. It’s better than processed desserts with artificial flavors.
Conclusion
This classic blackberry cobbler is a summer staple for a reason. It’s easy, delicious, and budget-friendly. It feeds a crowd without breaking the bank. I hope you try this recipe and make it your own. Feel free to add your own twists, like spices or different fruits. The beauty of cobbler is its flexibility. Share it with friends and family, and watch them enjoy it. I’d love to hear how you like it. Leave a comment below with your favorite variation. Did you add cream cheese? Did you use blueberries? Let me know!
Thank you for stopping by my kitchen. I hope this recipe brings you joy and delicious memories. Keep cooking and keep sharing. There is nothing better than a homemade dessert made with love. Enjoy every bite of this classic blackberry cobbler. It’s a taste of summer that lasts all year round.
FAQs
Can I use frozen blackberries for this recipe?
Yes, you can use frozen blackberries. Do not thaw them before baking. Frozen berries will release more water, so you might need to add an extra teaspoon of cornstarch. Bake for a few minutes longer to ensure the juices thicken properly.
How do I prevent the topping from getting too soggy?
To prevent sogginess, make sure your oven is fully preheated. Also, do not overmix the batter. Drop the batter in clumps rather than pouring it all at once. This allows air pockets to form, creating a lighter texture. Let the cobbler cool for ten minutes before serving to allow the sauce to set.
Can I make this cobbler ahead of time?
You can prepare the fruit mixture ahead of time and store it in the fridge. Mix the batter the night before and keep it covered. When you are ready to bake, pour the batter over the fruit and bake as directed. This saves time on the day of the event.
What is the best way to reheat leftover cobbler?
Reheat individual slices in the microwave for 30-60 seconds. For a crispier topping, warm slices in the oven at 350°F for 10 minutes. Avoid reheating the whole dish, as the topping may become too soft.
Can I substitute the blackberries with another fruit?
Absolutely. Blueberries, raspberries, and peaches work well. Adjust the sugar based on the sweetness of the fruit. Stone fruits may need less sugar, while tart berries might need a bit more. The baking time and temperature remain the same.
Pin This Recipe!
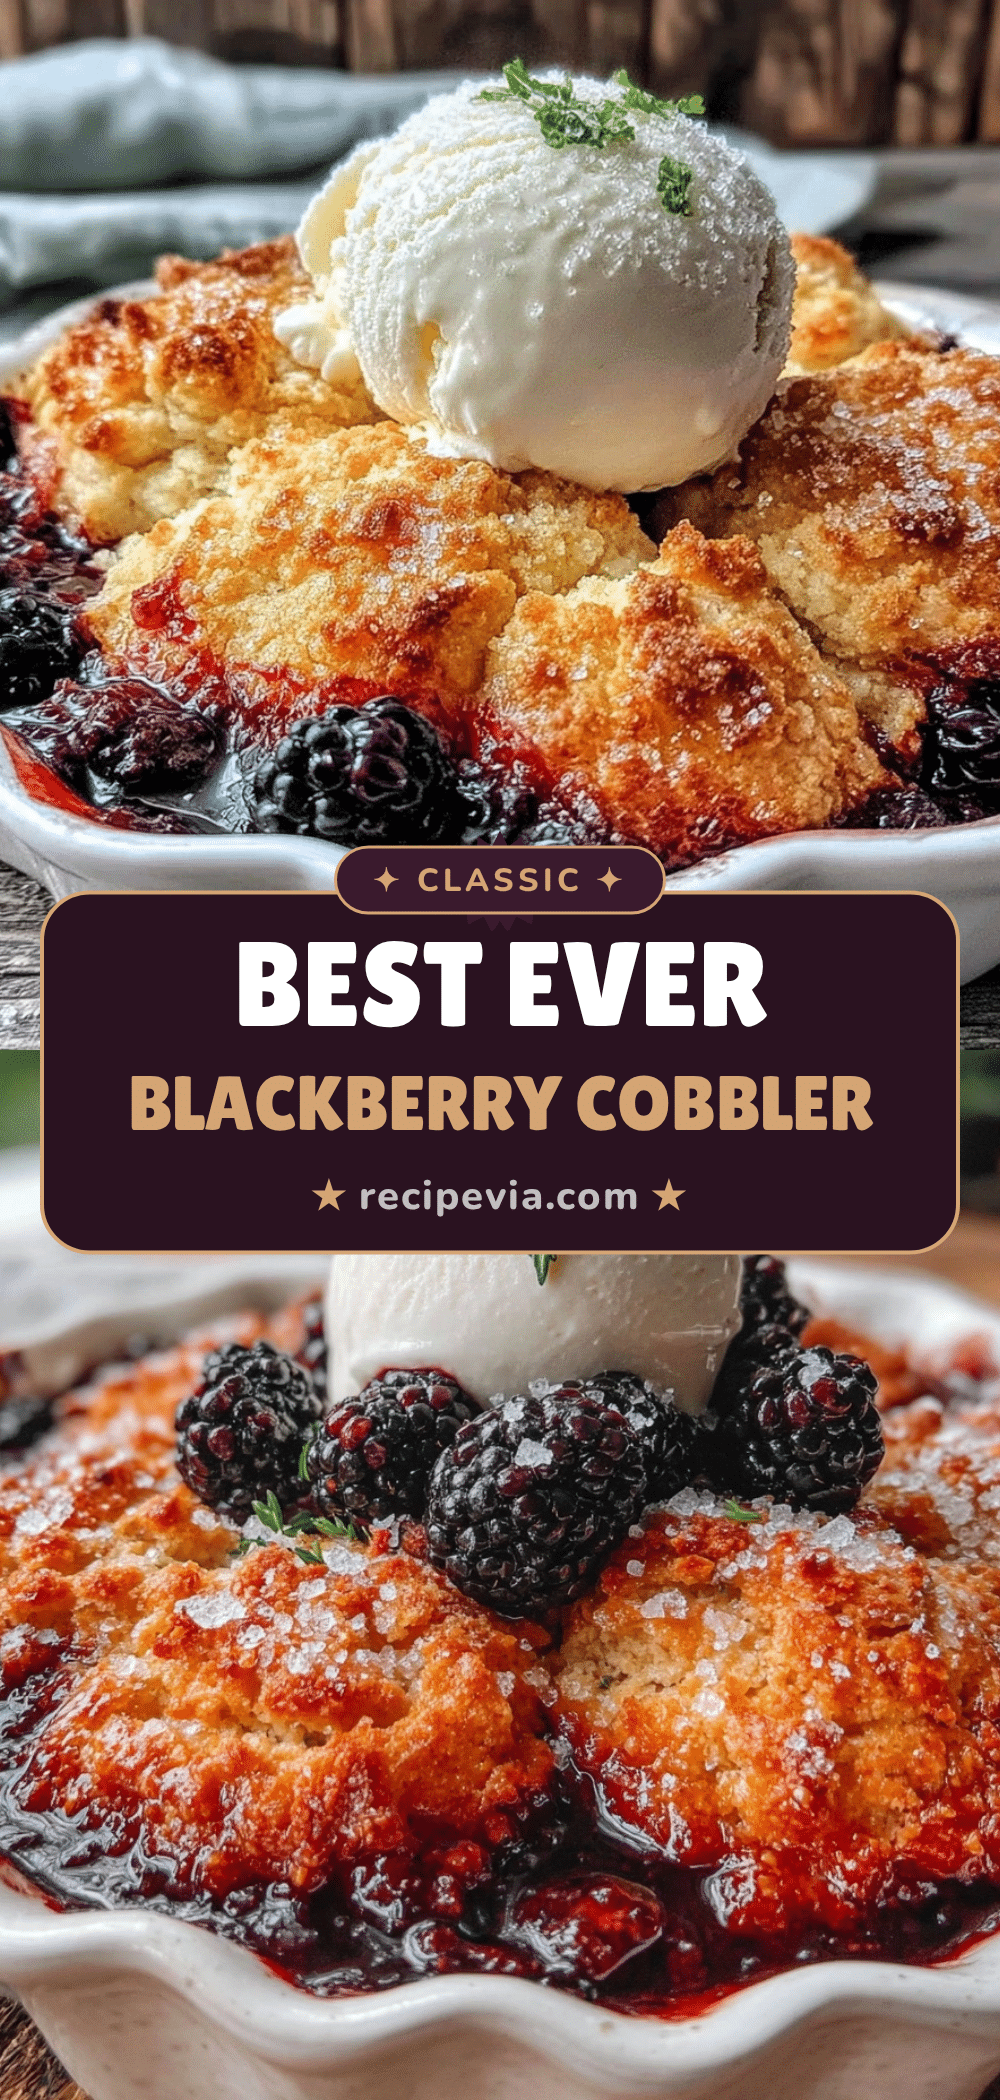

Classic Blackberry Cobbler: Easy Budget-Friendly Dessert
- Total Time: 65 minutes
- Yield: 8 servings 1x
Description
A nostalgic, easy-to-make blackberry cobbler with a golden, cake-like crust and juicy berry filling. This budget-friendly dessert is perfect for family gatherings and weeknight treats.
Ingredients
- 4 cups fresh or frozen blackberries
- 3/4 cup sugar (mix of white and brown)
- 1 tablespoon cornstarch
- 1/2 cup unsalted butter, room temperature
- 1 cup all-purpose flour
- 1/2 cup milk
- 1 large egg
- 1 teaspoon baking powder
- 1/4 teaspoon salt
- 1 teaspoon vanilla extract
Instructions
- Preheat oven to 375°F (190°C) and grease a 9×13 inch baking dish.
- In a large bowl, combine blackberries, sugar, and cornstarch. Toss to coat and let sit for 10 minutes to macerate.
- Spread the blackberry mixture evenly into the prepared baking dish.
- In a medium bowl, whisk together flour, baking powder, and salt.
- In a separate small bowl, beat the egg and mix in milk and vanilla.
- Pour wet ingredients into dry ingredients and stir gently until just combined (lumps are okay).
- Drop spoonfuls of batter over the blackberries.
- Bake for 45-50 minutes until topping is golden brown and juices are bubbling.
- Let cool for at least 10 minutes before serving.
Notes
If using frozen blackberries, do not thaw them first. If the top browns too quickly, cover loosely with foil. Let the cobbler cool for 10 minutes to allow the sauce to thicken. For a gluten-free option, substitute flour with a 1-to-1 gluten-free blend. For dairy-free, use plant-based butter and milk.
- Prep Time: 20 minutes
- Cook Time: 45 minutes
- Category: Dessert
- Cuisine: American
Nutrition
- Serving Size: 1 slice
- Calories: 300
- Sugar: 30
- Sodium: 150
- Fat: 12
- Saturated Fat: 7
- Carbohydrates: 45
- Fiber: 3
- Protein: 4
Keywords: blackberry cobbler, easy dessert, budget-friendly, comfort food, summer dessert, berry cobbler, homemade cobbler