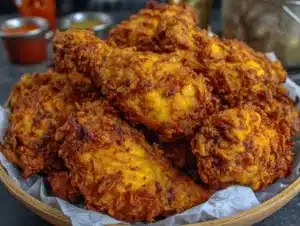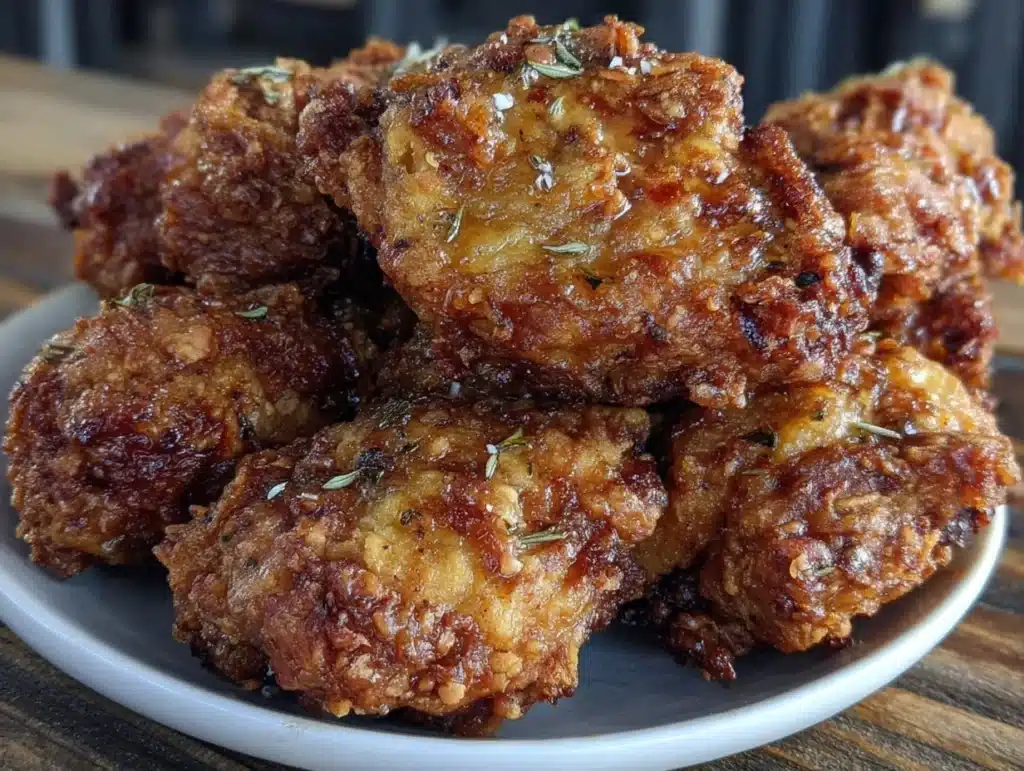
The smell of hot oil and sizzling spices hits you before you even see the pot. It’s that specific, heavy aroma that pulls you out of the kitchen and straight to the table. I remember standing over a cast-iron skillet in my grandma’s house, watching her work. She didn’t use the fancy drumsticks or the pretty breasts. She used the thighs and the wings, but specifically the parts most people ignore.
Let’s face it, chicken breasts are the default choice. They are safe. They are lean. But when it comes to Southern fried chicken, they dry out faster than you can say “buttermilk.” I’ve spent years testing cuts, trying to find that sweet spot between budget and flavor. The answer wasn’t in buying expensive organic birds. It was in choosing the right piece of the puzzle.
This recipe focuses on the classic Southern fried chicken method using the cheapest, most overlooked cuts. We are talking about bone-in, skin-on thighs and drumsticks. These parts have more fat, more connective tissue, and more soul. They stay juicy inside while getting that shatteringly crisp crust outside. It’s the kind of meal that stretches a grocery budget but feels like a feast. Honestly, it’s the best value you can get at the counter.
I’ve made this over a dozen times, tweaking the spice blend and the frying temperature. Each time, the result is the same: golden, crunchy, and incredibly tender. This isn’t just about feeding a family; it’s about reclaiming the art of cooking with what’s available and making it shine. If you’ve been looking for a way to make dinner feel special without breaking the bank, you’re in the right place.
Why You’ll Love This Recipe
There is a reason this method has been passed down for generations. It’s not just nostalgia; it’s science and flavor working together. After testing dozens of variations, I can confidently say that using these specific cuts changes everything. The fat content in the dark meat renders out during frying, basting the meat from the inside. This keeps it moist even if you leave it on the heat a few seconds too long.
- Quick & Easy: Once the oil is hot, the frying goes fast. You’re looking at about 30 to 40 minutes from start to finish. It’s perfect for a quick weeknight dinner when you want something hearty but don’t have hours to spare.
- Simple Ingredients: You likely have almost everything in your pantry right now. Flour, buttermilk, spices, and oil. No fancy grocery trips needed. This is pantry-friendly cooking at its best.
- Perfect for Budget Dinners: Dark meat is significantly cheaper than breast meat. By choosing this route, you save money without sacrificing taste. It’s the ultimate hack for feeding a crowd on a budget.
- Crowd-Pleaser: Kids love the crunch. Adults love the juiciness. It gets rave reviews from everyone, even the picky eaters who usually turn their noses up at fried food.
- Unbelievably Delicious: The texture is next-level. You get that audible crunch with every bite, followed by tender, flavorful meat. It’s comfort food reimagined for the modern, budget-conscious cook.
What makes this recipe different from the rest is the emphasis on the cut. Most people try to force breast meat to be tender by over-brining or pounding it flat. That’s a lot of work for a dry result. Here, we let the natural properties of the thigh and drumstick do the heavy lifting. It’s the kind of chicken that makes you close your eyes after the first bite. It’s soul-soothing satisfaction without the stress.
What Ingredients You Will Need
This recipe uses simple, wholesome ingredients to deliver bold flavor and satisfying texture without the fuss. The magic happens in the balance between the acid in the buttermilk and the heat in the spices. You don’t need expensive, hard-to-find items. In fact, the cheaper the ingredients, the better this dish tends to turn out. The key is quality control on the basics.
Here is what you need to gather:
- Chicken Pieces: 3 to 4 pounds of bone-in, skin-on chicken thighs and drumsticks. Look for firm, fresh meat. Avoid pre-marinated or overly wet packages. I prefer buying the family pack and breaking it down myself to save cash.
- Buttermilk: 2 cups. This is non-negotiable for the tenderizing process. The lactic acid breaks down proteins. If you can’t find it, mix 2 tablespoons of vinegar or lemon juice into 2 cups of milk and let it sit for 10 minutes. It works just as well.
- All-Purpose Flour: 2 cups. This forms the base of the crust. Don’t swap for cake flour unless you want a softer, less crunchy result. AP flour gives that classic shatter.
- Cornstarch: 1/4 cup. This is the secret weapon. It helps the coating get extra crispy and golden brown. It prevents the flour from becoming doughy.
- Vegetable Oil: 4 to 6 cups for frying. You need enough to submerge the chicken partially. Vegetable oil or peanut oil has a high smoke point, which is crucial for frying at high heat.
- Kosher Salt: 1 tablespoon. Use kosher salt for the brine and the dredge. It dissolves easily and seasons evenly. Table salt is too fine and can make the chicken too salty.
- Black Pepper: 1 tablespoon. Freshly cracked is best. It adds a sharp bite that cuts through the richness of the fried skin.
- Garlic Powder: 1 tablespoon. This adds a deep, savory background note. It’s not about tasting garlic; it’s about adding umami.
- Onion Powder: 1 tablespoon. Similar to garlic, this adds sweetness and depth. It balances the heat from the paprika.
- Smoked Paprika: 1 tablespoon. This gives the chicken that authentic Southern smokiness. Regular paprika works, but smoked adds a layer of complexity that feels expensive.
- Cayenne Pepper: 1 teaspoon. Adjust this based on your heat tolerance. Start with half a teaspoon if you are sensitive to spice. It adds warmth, not just fire.
- Dried Thyme: 1 teaspoon. This herb is classic in Southern cooking. It adds an earthy, slightly floral note that pairs perfectly with poultry.
- White Pepper: 1/2 teaspoon. This is the old-school secret. It adds a different kind of heat that hits the back of the throat. It’s subtle but essential for that “fried chicken shop” flavor.
I recommend sticking to these staples. Don’t get distracted by fancy spice blends. The power here is in the technique and the cut. For the oil, I always buy the large, budget-friendly bottles from the supermarket. It’s not worth spending extra on gourmet oils for frying.
Equipment Needed
You don’t need a fancy deep fryer to make great fried chicken. In fact, many of the best results come from simple stovetop methods. A heavy-bottomed Dutch oven is ideal. It retains heat well, which means the oil temperature doesn’t drop as much when you add the chicken. Cast iron skillets are also excellent choices. They distribute heat evenly and add a nice rustic touch.
Make sure you have a wire cooling rack set over a baking sheet. This allows air to circulate around the chicken so the bottom doesn’t get soggy. A paper towel-lined plate works in a pinch, but the rack is better for texture.
A candy or deep-fry thermometer is crucial. Guessing the oil temperature is a recipe for disaster. If it’s too cold, the chicken absorbs oil and gets greasy. If it’s too hot, the outside burns before the inside cooks. I use a clip-on thermometer that I’ve had for years. It’s worth the $10 investment.
Budget-friendly tip: If you don’t have a Dutch oven, a large, heavy pot will do. Just be careful not to fill it more than halfway with oil. Safety first. Also, make sure you have tongs for flipping. Metal tongs give you better control than forks, which can tear the crust.
Preparation Method
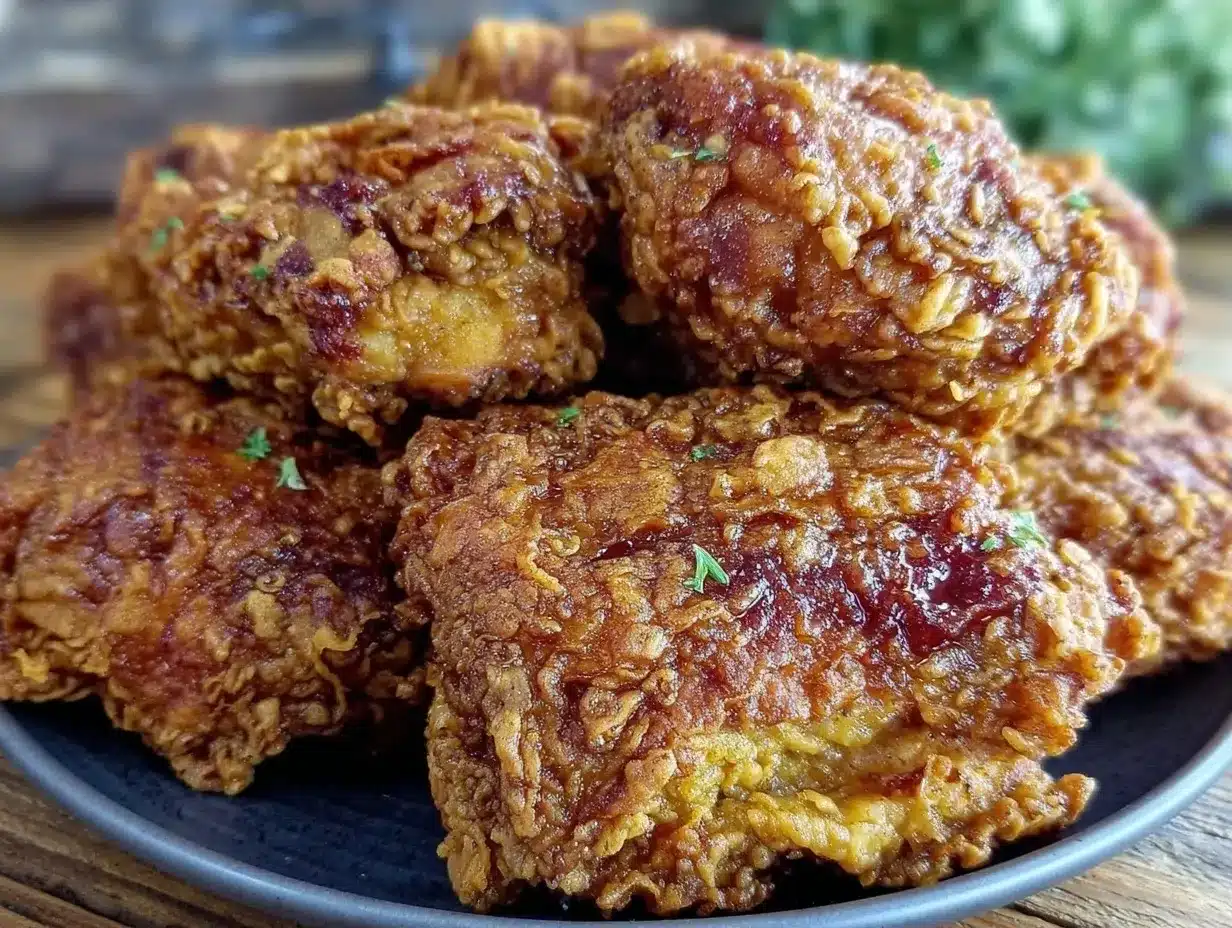
Getting the preparation right is half the battle. We start by prepping the chicken. Rinse the pieces under cold water and pat them completely dry with paper towels. Moisture is the enemy of crispy skin. If the chicken is wet, the flour won’t stick properly, and the oil will splatter dangerously.
Step 1: The Buttermilk Brine (30 minutes)
In a large bowl, mix the buttermilk with 1 tablespoon of salt. Add the chicken pieces, ensuring they are fully submerged. Cover and refrigerate for at least 30 minutes, but up to 12 hours is best. This tenderizes the meat and seasons it from the inside out. I usually do this the night before if I’m planning a weekend dinner.
Step 2: Prepare the Dredge (5 minutes)
In a large, shallow dish (like a pie plate or a baking sheet), whisk together the flour, cornstarch, black pepper, garlic powder, onion powder, paprika, cayenne, thyme, and white pepper. Add another tablespoon of salt. Whisk until the spices are evenly distributed. You want every part of the flour to be seasoned.
Step 3: Heat the Oil (15 minutes)
Pour about 2 to 3 inches of vegetable oil into your Dutch oven or heavy pot. Heat it over medium-high heat until it reaches 350°F (175°C). Use your thermometer to check. This step takes patience. Don’t rush it. If the oil isn’t hot enough, your chicken will be greasy.
Step 4: Dredge the Chicken (10 minutes)
Remove one piece of chicken from the buttermilk, letting the excess drip off. Place it into the flour mixture. Press the flour onto the chicken firmly. Flip and press again. You want a thick, even coating. Shake off any excess flour. If you see clumps, break them up. A smooth coating fries more evenly.
Step 5: Fry the Chicken (20-25 minutes)
Carefully lower the chicken into the hot oil using tongs. Do not drop it; this will cause oil splatter. Fry in batches to avoid overcrowding. Overcrowding drops the oil temperature. Fry the dark meat first as it takes longer. Drumsticks and thighs take about 12 to 15 minutes per side. Flip them halfway through to ensure even browning. The internal temperature should reach 165°F (74°C) for white meat and 175°F-185°F (79°C-85°C) for dark meat. Dark meat benefits from being cooked slightly higher to break down connective tissue.
Step 6: Rest and Drain (10 minutes)
Remove the chicken from the oil and place it on the wire rack. Let it rest for at least 5 to 10 minutes. This allows the juices to redistribute. If you cut into it immediately, all the juice will run out, leaving you with dry chicken. The resting period is crucial for that juicy bite.
Cooking Tips & Techniques
I’ve made plenty of mistakes in the kitchen, and some of them were greasy disasters. Learning from those failures has sharpened my technique. The biggest mistake people make is frying in batches that are too large. When you add too much cold chicken to the oil, the temperature plummets. The chicken soaks up the oil like a sponge. Keep the batches small.
Another common error is not drying the chicken enough. After removing it from the buttermilk, let it sit on a rack for a minute to air dry slightly before dredging. This helps the flour adhere better. Think of it like glue; a slightly tacky surface holds the coating better than a dripping wet one.
Pay attention to the sound. When the chicken is frying, it should sizzle steadily. If the sound becomes a low rumble, the oil is too cold. If it’s a violent roar, it’s too hot. Adjust the burner accordingly. I keep a spray bottle of water nearby just in case of flare-ups, though proper oil levels should prevent this.
Consistency is key. Try to keep the pieces similar in size. If you have huge thighs and tiny wings, fry them separately. You don’t want to overcook the wings while waiting for the thighs to finish. Use your thermometer. It’s the only way to be sure. Visual cues are helpful, but temperature is truth.
Variations & Adaptations
While the classic method is hard to beat, there are ways to tweak this recipe to suit your needs. For a spicy kick, increase the cayenne pepper to 2 teaspoons or add a pinch of crushed red pepper flakes to the flour mix. I like to add a little extra black pepper for a sharper bite.
If you want to make this slightly healthier, you can bake the chicken after frying it for a few minutes. Or, try an air fryer method. Coat the chicken as usual, spray lightly with oil, and cook at 375°F for 20-25 minutes, flipping halfway. It won’t be quite as crunchy, but it’s less messy.
For a gluten-free option, swap the all-purpose flour for a 1-to-1 gluten-free flour blend. Cornstarch is already gluten-free, so that part stays the same. The texture might be slightly different, but the flavor remains strong.
I once tried adding grated Parmesan cheese to the flour mix. It created a nice, savory crust that was almost like a breaded cutlet. It was a fun variation, though it burned faster than the plain flour. Watch the heat closely if you try this.
Serving & Storage Suggestions
Serve this chicken hot, right off the rack. It pairs beautifully with creamy macaroni and cheese, collard greens, or cornbread. A cold glass of sweet tea or lemonade is the perfect companion. The richness of the chicken needs something acidic and refreshing to balance the meal.
For storage, let the chicken cool completely. Store it in an airtight container in the refrigerator for up to 3 days. To reheat, avoid the microwave. It will make the crust soggy. Instead, use an oven or air fryer. Preheat to 375°F and heat for 10-15 minutes. This restores the crispiness. You can also freeze the cooked chicken for up to 3 months. Reheat from frozen in the oven at 350°F for 20-25 minutes.
The flavors actually develop over time. Leftover fried chicken tastes even better the next day. The spices have had time to meld into the meat. It’s great for sandwiches or salads.
Nutritional Information & Benefits
While fried chicken isn’t typically considered a diet food, it does provide high-quality protein. Dark meat contains more iron and zinc than breast meat. The skin adds flavor but also increases the calorie count. If you are watching your intake, consider removing the skin before eating or balancing your meal with plenty of vegetables.
This recipe is naturally gluten-free if you use a GF flour blend. It is also dairy-free if you skip the buttermilk brine and use a vinegar-milk substitute or just oil-based marinade. Always check your spice blends for hidden allergens. Most pure spices are safe, but pre-mixed blends can contain wheat or dairy.
From a wellness perspective, this recipe is about enjoyment. Food is meant to be savored. Moderation is key. Enjoy this as a special treat or a weekend family meal. It’s not something you need to eat every day, but when you do, make it count.
Conclusion
Making classic Southern fried chicken at home doesn’t have to be expensive or complicated. By focusing on the cheap, overlooked cuts like thighs and drumsticks, you get better flavor and juiciness than you ever would with breast meat. This recipe is a testament to the idea that good cooking is about resourcefulness and respect for ingredients.
I hope you try this at home. It’s a recipe that brings people together. The smell alone is enough to gather the family. Feel free to adjust the spices to your liking. Make it yours. And if you do, I’d love to hear how it turned out. Leave a comment below with your favorite side dish or your own spice tweaks. Let’s keep this tradition alive. Happy cooking!
Frequently Asked Questions
Can I use chicken breasts instead of thighs?
You can, but they will dry out faster. If you must use breasts, pound them to an even thickness and fry for a shorter time. Dark meat is superior for this recipe due to its fat content.
Why is my fried chicken soggy?
Sogginess usually comes from overcrowding the pan or not letting the chicken rest on a wire rack. Make sure your oil is at 350°F and drain the chicken properly after frying.
How do I know when the oil is ready?
Use a thermometer. It should read 350°F. If you don’t have one, drop a pinch of flour into the oil. If it sizzles immediately and turns golden, it’s ready.
Can I make this ahead of time?
You can marinate the chicken in the buttermilk up to 24 hours in advance. However, it’s best to fry it fresh for the crispiest result.
What is the best oil for frying?
Vegetable oil, peanut oil, or canola oil are all good choices. They have high smoke points and neutral flavors. Avoid olive oil as it burns easily.
Pin This Recipe!

Classic Southern Fried Chicken: Best Cheap Cut Nobody Uses
- Total Time: 70 minutes
- Yield: 4 servings 1x
Description
A budget-friendly recipe for crispy, juicy Southern fried chicken using overlooked bone-in, skin-on thighs and drumsticks. This method ensures a shatteringly crisp crust and tender meat without breaking the bank.
Ingredients
- 3 to 4 pounds bone-in, skin-on chicken thighs and drumsticks
- 2 cups buttermilk
- 2 cups all-purpose flour
- 1/4 cup cornstarch
- 4 to 6 cups vegetable oil (for frying)
- 1 tablespoon kosher salt (for brine)
- 1 tablespoon black pepper
- 1 tablespoon garlic powder
- 1 tablespoon onion powder
- 1 tablespoon smoked paprika
- 1 teaspoon cayenne pepper
- 1 teaspoon dried thyme
- 1/2 teaspoon white pepper
- 1 tablespoon salt (for dredge)
Instructions
- Rinse chicken pieces under cold water and pat completely dry with paper towels.
- In a large bowl, mix buttermilk with 1 tablespoon of salt. Submerge chicken, cover, and refrigerate for at least 30 minutes (up to 12 hours).
- In a large shallow dish, whisk together flour, cornstarch, black pepper, garlic powder, onion powder, paprika, cayenne, thyme, white pepper, and 1 tablespoon of salt.
- Pour 2-3 inches of vegetable oil into a Dutch oven or heavy pot. Heat over medium-high heat to 350°F (175°C).
- Remove one piece of chicken from buttermilk, letting excess drip off. Place in flour mixture, press firmly to coat, flip, and press again. Shake off excess flour.
- Carefully lower chicken into hot oil using tongs. Fry in batches to avoid overcrowding. Fry dark meat for 12-15 minutes per side, flipping halfway, until internal temperature reaches 175°F-185°F (79°C-85°C).
- Remove chicken from oil and place on a wire cooling rack. Let rest for 5-10 minutes before serving.
Notes
Ensure chicken is completely dry before dredging to prevent oil splatter and ensure crispiness. Do not overcrowd the pan, as this drops the oil temperature and leads to greasy chicken. Dark meat benefits from being cooked to a higher internal temperature (175°F-185°F) to break down connective tissue. Leftovers taste better the next day as spices meld into the meat.
- Prep Time: 30 minutes
- Cook Time: 40 minutes
- Category: Main Course
- Cuisine: Southern
Nutrition
- Serving Size: 1-2 pieces of chicke
- Calories: 650
- Sugar: 2
- Sodium: 1200
- Fat: 45
- Saturated Fat: 12
- Carbohydrates: 25
- Fiber: 1
- Protein: 40
Keywords: Southern fried chicken, budget dinner, cheap chicken cuts, crispy fried chicken, buttermilk chicken, dark meat chicken, comfort food, easy dinner