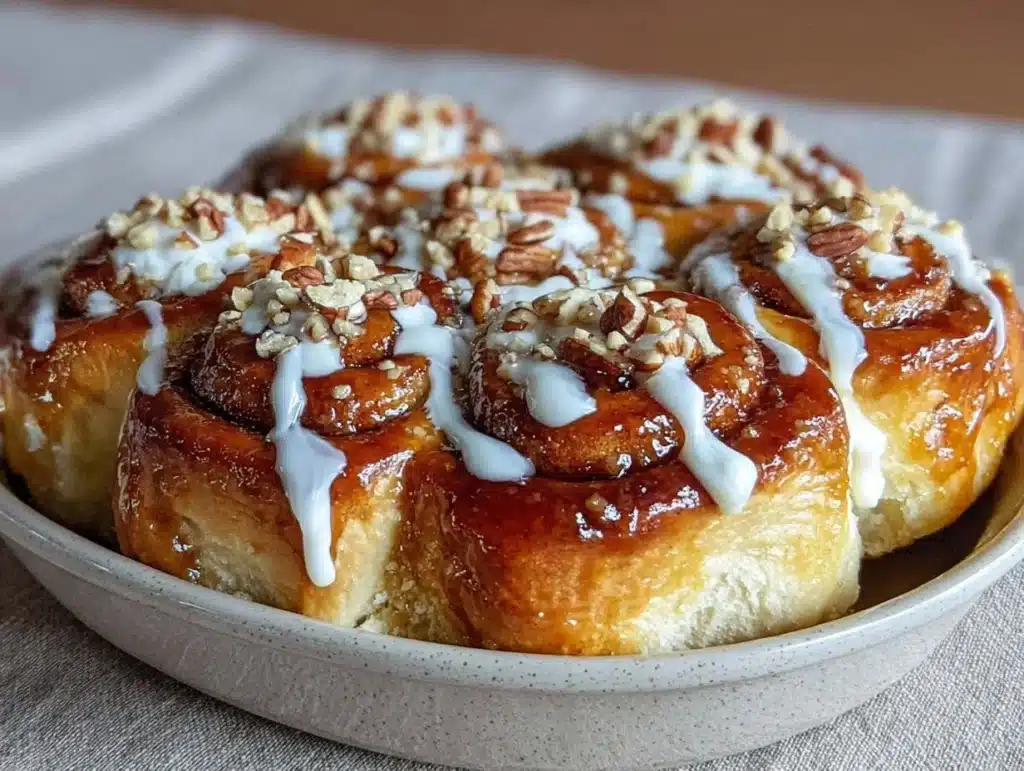
The smell of warm cinnamon and brown sugar drifting through the house is the best alarm clock I know. It pulls you out of a deep sleep and into a state of pure comfort before your feet even hit the floor. I remember the first time I decided to tackle homemade cinnamon rolls during a particularly stressful winter. I was juggling work deadlines and wanted something that felt special but didn’t require me to be awake at 5 a.m. to bake them fresh. That was when I discovered the magic of making them ahead of time. You just mix, shape, and pop them in the fridge overnight.
Now, these cozy cinnamon rolls are a weekend staple in our house. They are soft, pillowy, and loaded with that classic gooey center we all crave. The beauty of the make-ahead method is that you can prep everything the night before. Then, in the morning, you just let them rise and bake while you get ready. It feels like a luxury brunch without the morning stress. Honestly, nobody needs to know you started this process hours ago. It’s just pure, sweet satisfaction.
I’ve tested this recipe dozens of times to get the dough just right. It’s forgiving enough for beginners but impressive enough for guests. The key is letting the yeast do its work slowly in the cold fridge. This develops a deeper flavor that fresh dough just doesn’t have. If you love comfort food that stretches your budget and your patience, this is it. These cinnamon rolls are the perfect way to start a lazy Sunday or impress last-minute guests.
Why You’ll Love This Make-Ahead Recipe
After years of experimenting with different yeast doughs, I can confidently say this is the best version I’ve found. It balances ease with incredible flavor, making it accessible for anyone who wants to bake. Here is why this recipe stands out from the rest:
- Stress-Free Mornings: The biggest win is the time savings. You handle all the messy work the night before. Mornings become about baking and eating, not kneading dough.
- Pantry Staples: You likely have most of these ingredients already. Flour, sugar, yeast, and butter are basics. No need for a special grocery run.
- Perfect for Brunch: Whether it’s a holiday morning or a casual weekend treat, these rolls fit any occasion. They look professional but are easy to make.
- Crowd-Pleaser: Kids and adults alike love the soft texture and sweet glaze. They are always a hit at family gatherings.
- Next-Level Comfort: The texture is unlike store-bought rolls. They are tender and melt in your mouth. The cinnamon swirl is bold and aromatic.
What makes this recipe truly different is the overnight fermentation. It allows the flavors to meld and the dough to relax. This results in a roll that is incredibly soft and not dense. It’s not just a recipe; it’s a way to reclaim your morning routine. You get the pride of homemade baking without the early wake-up call. It’s the kind of comfort that makes you feel like you’re at a fancy bakery, but at a fraction of the cost.
What Ingredients You Will Need
This recipe relies on simple, wholesome ingredients to deliver bold flavor. You don’t need fancy imports or expensive specialty items. The magic is in the technique, not the price tag. Here is what you need to get started:
- All-Purpose Flour: 3 1/2 cups (450g). This is the base. Don’t overmeasure it, or the rolls will be tough. Spoon it into the cup and level it off.
- Instant Yeast: 2 1/4 teaspoons (one packet). This makes the process easier since you don’t need to activate it first. I prefer active dry yeast if instant isn’t available, but adjust the liquid slightly.
- Granulated Sugar: 1/4 cup (50g). This feeds the yeast and adds sweetness to the dough itself.
- Salt: 1 teaspoon. Salt is crucial for flavor balance. It cuts through the sweetness of the glaze.
- Whole Milk: 3/4 cup (180ml). Warm milk helps activate the yeast. Using whole milk makes the dough richer and softer.
- Unsalted Butter: 4 tablespoons (55g). Melted butter adds moisture and flavor. You can use vegetable oil in a pinch, but butter is better for taste.
- Large Eggs: 2 large eggs, room temperature. Eggs provide structure and richness. Room temperature ingredients mix better.
- Vanilla Extract: 1 teaspoon. Adds a subtle depth of flavor to the dough.
- For the Filling: 1/2 cup (115g) softened butter, 3/4 cup (150g) brown sugar, and 2 tablespoons cinnamon. Use good quality cinnamon for the best flavor.
- For the Glaze: 1 cup (120g) powdered sugar, 2-3 tablespoons milk, and 1/2 teaspoon vanilla extract. Adjust milk for desired consistency.
I recommend using a reliable brand of yeast for consistent results. Also, look for fresh cinnamon if possible. Old cinnamon loses its punch. For the butter, unsalted is best so you control the salt level. If you are dairy-free, you can swap the milk for oat milk and use a dairy-free butter alternative. The results are still delicious.
Do I Need Special Equipment?
You don’t need a fancy mixer to make these rolls. A large mixing bowl and a wooden spoon work fine. However, a stand mixer with a dough hook makes the kneading process much faster. It saves your arms and ensures the dough is smooth. If you don’t have one, hand kneading works but takes about 10 minutes. A 9×13 inch baking pan is essential for the right shape. Parchment paper makes cleanup easier and prevents sticking. A pastry brush helps spread the glaze evenly. A kitchen thermometer is helpful to check the milk temperature. You want it warm, not hot, to avoid killing the yeast.
Preparation Method
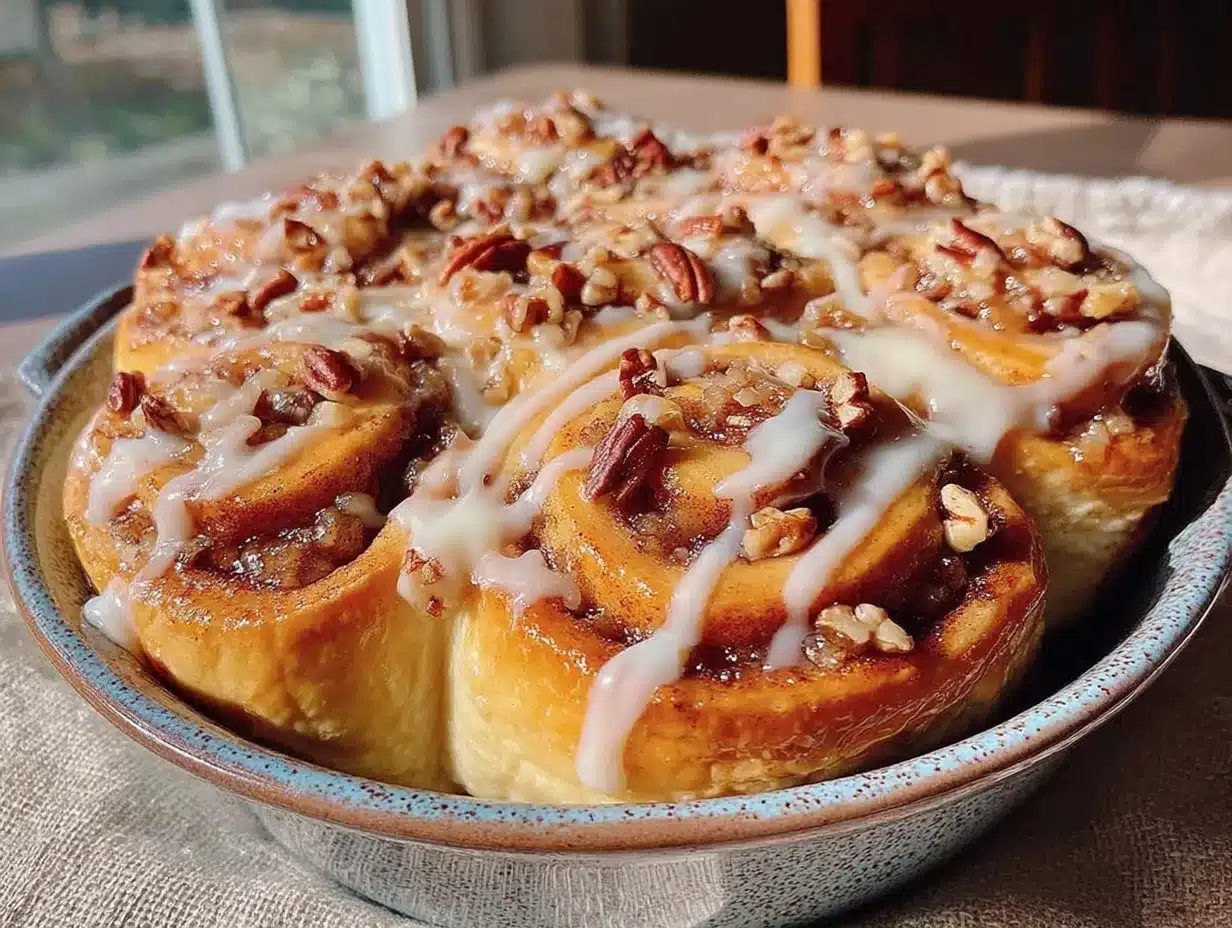
- Make the Dough Base: In a large bowl, whisk together the flour, sugar, and salt. Make a well in the center. In a separate cup, combine the warm milk and melted butter. Add the eggs and vanilla extract to this mixture and whisk well. Pour the wet ingredients into the dry ingredients. Mix until a shaggy dough forms. This takes about 2 minutes. If using a mixer, use the dough hook on low speed.
- Knead the Dough: Turn the dough out onto a lightly floured surface. Knead for about 8-10 minutes until smooth and elastic. The dough should pass the windowpane test. This means you can stretch a small piece thin without it tearing. Add a little more flour if it is too sticky. Don’t add too much, or the rolls will be dense. Place the dough in a greased bowl. Cover it with plastic wrap or a damp towel.
- First Rise: Let the dough rise in a warm place for about 1 hour. It should double in size. You can speed this up by placing it in a slightly warm oven with the light on. But don’t bake it yet! The overnight method happens after this step.
- Shape the Rolls: Punch down the risen dough. Roll it out into a large rectangle, about 12×16 inches. Spread the softened butter evenly over the surface, leaving a small border at the top. Mix the brown sugar and cinnamon in a small bowl. Sprinkle this mixture evenly over the butter. Starting from the long edge, roll the dough up tightly. Use a knife to cut the roll into 12 equal pieces. You can use dental floss for clean cuts if you prefer.
- Make Ahead Step: Place the cut rolls into a greased 9×13 inch baking pan. Cover the pan tightly with plastic wrap. Refrigerate overnight. This is the key to the make-ahead magic. The slow rise develops flavor and makes morning prep easy.
- Morning Rise: The next morning, take the pan out of the fridge. Let it sit at room temperature for 30-60 minutes. The rolls should look puffy and rise slightly. Preheat your oven to 350°F (175°C) about 15 minutes before baking.
- Bake: Bake the rolls for 25-30 minutes. They should be golden brown on top. If they start browning too fast, cover them loosely with foil. Check for doneness by inserting a toothpick. It should come out clean. Remove from the oven and let them cool for 5 minutes.
- Make the Glaze: While the rolls cool, whisk together the powdered sugar, milk, and vanilla. Start with 2 tablespoons of milk. Add more if the glaze is too thick. It should be pourable but not runny.
- Glaze and Serve: Drizzle the glaze over the warm rolls. The heat will melt the glaze slightly into the crevices. Serve immediately while they are soft and gooey. Enjoy the aroma and the taste!
Keep an eye on the oven temperature. Every oven is different. If your rolls are browning too quickly on top but are still doughy inside, lower the temperature by 25 degrees next time. The visual cue is key. You want a deep golden color, not pale or burnt.
Common Mistakes to Avoid
One common error is using milk that is too hot. This can kill the yeast and stop the rise. Use a thermometer to be safe. Another mistake is over-flouring the dough. It should be slightly tacky but not sticky. Also, don’t skip the overnight rest. Rushing the rise results in dense rolls. Make sure your pan is well-greased to prevent sticking. If the glaze is too thick, add milk drop by drop. If it’s too thin, add more powdered sugar.
Variations & Adaptations
This recipe is very flexible. You can change it up based on what you have or what you like. Here are a few ideas:
- Gluten-Free Option: Use a 1:1 gluten-free flour blend. Add a bit more liquid if the dough feels dry. The texture will be slightly different but still tasty.
- Dairy-Free: Swap milk for almond or oat milk. Use vegan butter for the dough and filling. The glaze can be made with coconut cream.
- Maple Pecan Rolls: Add chopped pecans to the cinnamon sugar filling. Drizzle with maple syrup instead of vanilla glaze. This adds a nice crunch.
- Mini Rolls: Cut the rolls into smaller pieces for individual portions. These bake faster and are great for kids’ lunches.
I once tried adding cream cheese to the filling. It was delicious but made the rolls very rich. If you want a tangier flavor, add a layer of cream cheese before rolling. For a nuttier taste, stir toasted walnuts into the cinnamon mix. These variations keep the recipe interesting. You can rotate them based on the season or your mood.
Serving & Storage Suggestions
These rolls are best served warm. Pair them with a cup of coffee or hot chocolate for a complete breakfast. They also go well with fresh fruit or yogurt on the side. For storage, keep leftover rolls in an airtight container at room temperature for up to 2 days. For longer storage, freeze them. Place cooled rolls in a freezer-safe bag. They last for up to 3 months. To reheat, thaw them overnight in the fridge. Then warm them in the microwave for 20-30 seconds. Or bake them at 350°F for 10 minutes. The flavors develop nicely after a day. They become even softer and more flavorful. Don’t be surprised if day-old rolls are your favorite.
Nutritional Information & Benefits
Each roll contains approximately 250-300 calories, depending on size. They provide carbohydrates for energy and some protein from the eggs and milk. The cinnamon has anti-inflammatory properties and helps regulate blood sugar. Using whole milk adds calcium and vitamin D. While these are a treat, they can fit into a balanced diet. They are better than store-bought options which often contain preservatives. Making them at home allows you to control the sugar content. You can reduce the sugar in the filling by 1/4 cup without losing much flavor. This makes them a slightly healthier indulgence.
Conclusion
These cozy cinnamon rolls are worth the effort. They bring warmth and joy to your mornings. I hope you try this make-ahead method. It changes the game for busy families. Customize them to fit your taste. Add nuts or swap flavors. Share them with friends and family. The joy of baking is in the sharing. Let me know how they turn out for you. Leave a comment below with your variations. I love hearing about your baking adventures. Happy baking!
Frequently Asked Questions
Can I freeze the unbaked rolls?
Yes, you can. After shaping, place the pan in the freezer. Once solid, transfer the rolls to a freezer bag. Thaw and rise in the fridge the next day. Bake as usual.
Why did my rolls turn out dense?
This usually happens if the dough is over-floured or the yeast was dead. Make sure your milk is warm but not hot. Also, check the expiration date of your yeast.
Can I use bread flour instead?
Yes, bread flour will make the rolls chewier. All-purpose flour gives a softer texture. Both work well, but the result will be different.
How do I know when the rolls are done?
They should be golden brown on top. A toothpick inserted into the center should come out clean. The internal temperature should reach 190°F.
Can I make the dough ahead of the first rise?
Yes, after kneading, you can refrigerate the dough for up to 24 hours. Let it come to room temperature before rolling and shaping.
Pin This Recipe!
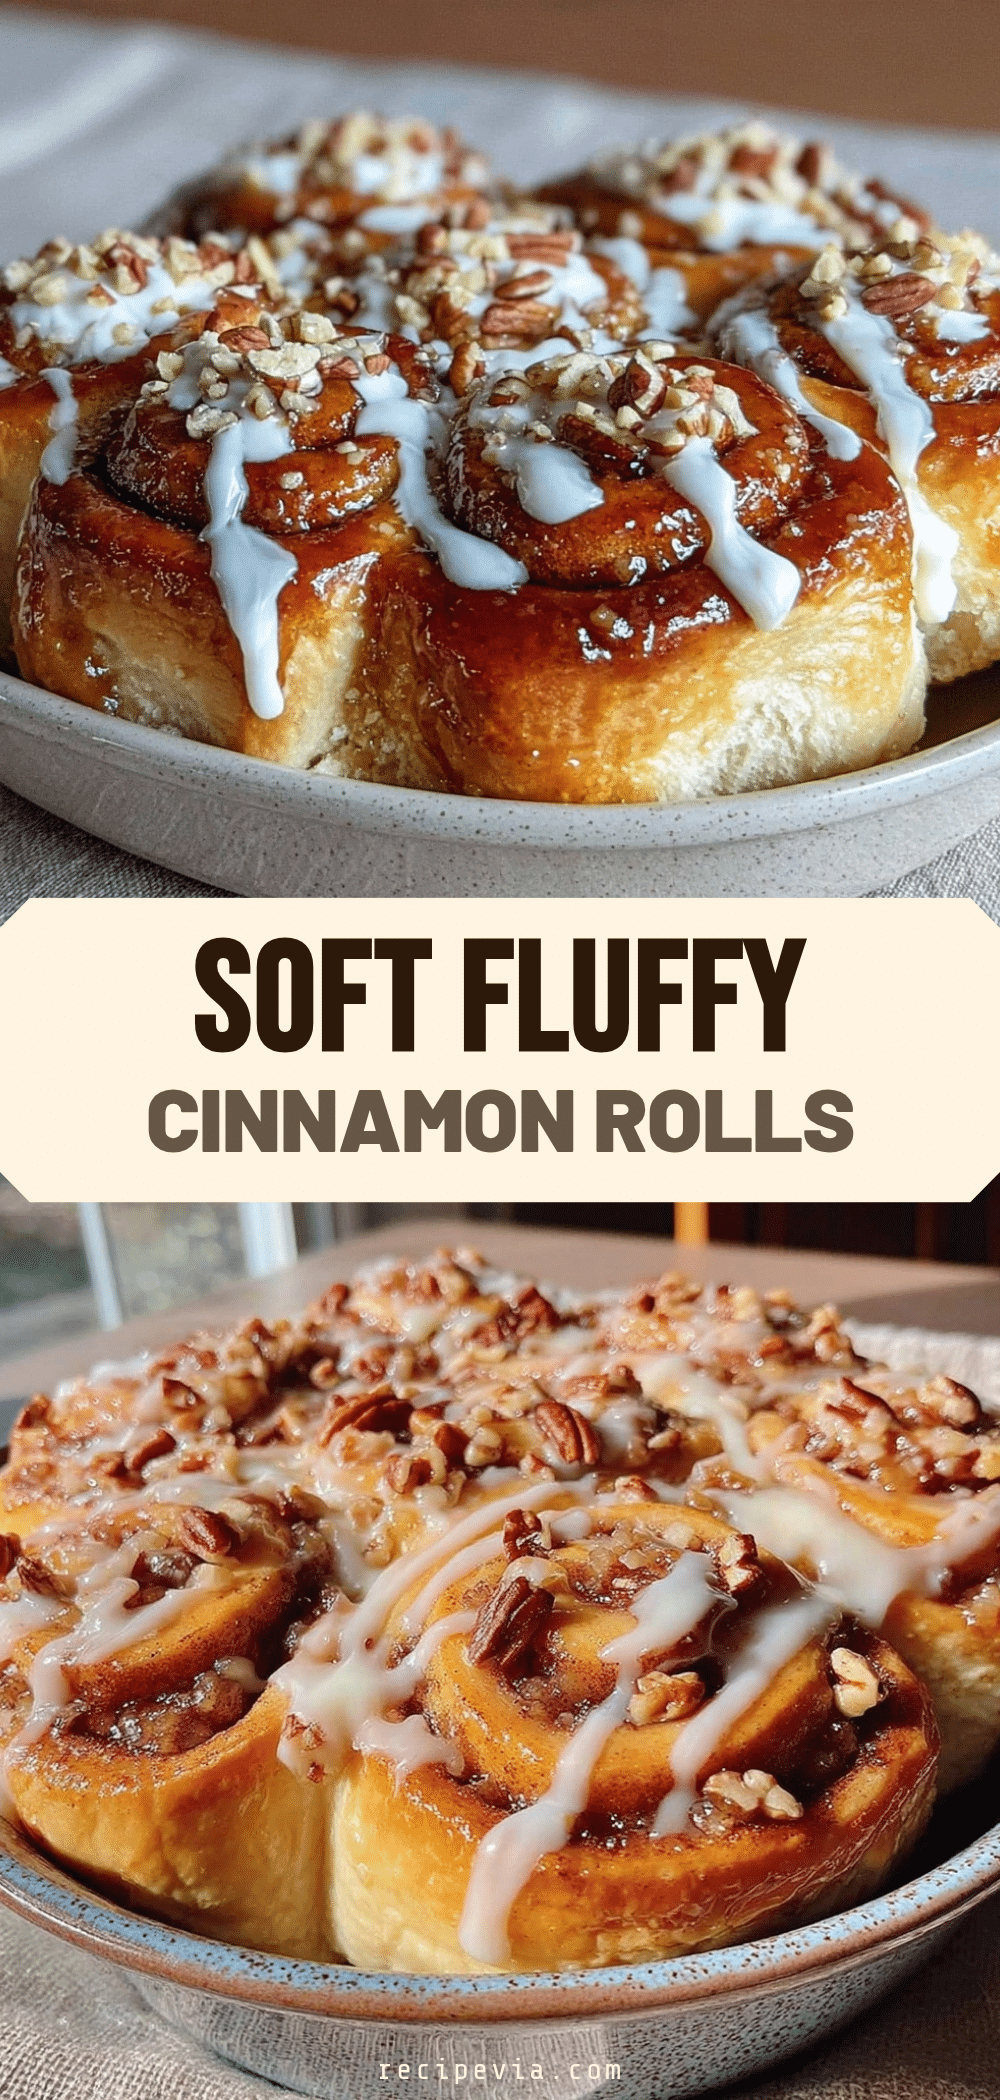
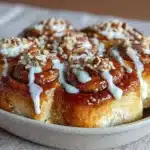
Cozy Cinnamon Rolls: Easy Make Ahead Swap
- Total Time: 1 hour
- Yield: 12 servings 1x
Description
Soft, pillowy homemade cinnamon rolls with a gooey cinnamon center, designed for make-ahead convenience so you can enjoy a luxury brunch without the morning stress.
Ingredients
- 3 1/2 cups (450g) All-Purpose Flour
- 2 1/4 teaspoons (one packet) Instant Yeast
- 1/4 cup (50g) Granulated Sugar
- 1 teaspoon Salt
- 3/4 cup (180ml) Whole Milk, warm
- 4 tablespoons (55g) Unsalted Butter, melted
- 2 large Eggs, room temperature
- 1 teaspoon Vanilla Extract
- 1/2 cup (115g) Softened Butter (for filling)
- 3/4 cup (150g) Brown Sugar (for filling)
- 2 tablespoons Cinnamon (for filling)
- 1 cup (120g) Powdered Sugar (for glaze)
- 2–3 tablespoons Milk (for glaze)
- 1/2 teaspoon Vanilla Extract (for glaze)
Instructions
- In a large bowl, whisk together flour, sugar, and salt. Make a well in the center.
- In a separate cup, combine warm milk and melted butter. Add eggs and vanilla extract, then whisk well.
- Pour wet ingredients into dry ingredients and mix until a shaggy dough forms (about 2 minutes).
- Turn dough onto a lightly floured surface and knead for 8-10 minutes until smooth and elastic.
- Place dough in a greased bowl, cover with plastic wrap or a damp towel, and let rise in a warm place for 1 hour until doubled.
- Punch down the risen dough and roll it out into a 12×16 inch rectangle.
- Spread softened butter evenly over the surface, leaving a small border at the top.
- Mix brown sugar and cinnamon, then sprinkle evenly over the butter.
- Roll the dough tightly from the long edge and cut into 12 equal pieces.
- Place cut rolls into a greased 9×13 inch baking pan, cover tightly with plastic wrap, and refrigerate overnight.
- The next morning, let the pan sit at room temperature for 30-60 minutes until puffy.
- Preheat oven to 350°F (175°C).
- Bake rolls for 25-30 minutes until golden brown. Cover with foil if browning too fast.
- Remove from oven and let cool for 5 minutes.
- Whisk together powdered sugar, milk, and vanilla to make the glaze.
- Drizzle glaze over warm rolls and serve immediately.
Notes
Ensure milk is warm but not hot to avoid killing the yeast. Do not over-flour the dough; it should be slightly tacky. For clean cuts, dental floss can be used. Rolls can be frozen unbaked after shaping, or baked and frozen for up to 3 months.
- Prep Time: 30 minutes
- Cook Time: 30 minutes
- Category: Breakfast
- Cuisine: American
Nutrition
- Serving Size: 1 roll
- Calories: 275
- Sugar: 22
- Sodium: 250
- Fat: 12
- Saturated Fat: 7
- Carbohydrates: 38
- Fiber: 1
- Protein: 5
Keywords: cinnamon rolls, make ahead, breakfast, brunch, yeast dough, comfort food, homemade baking