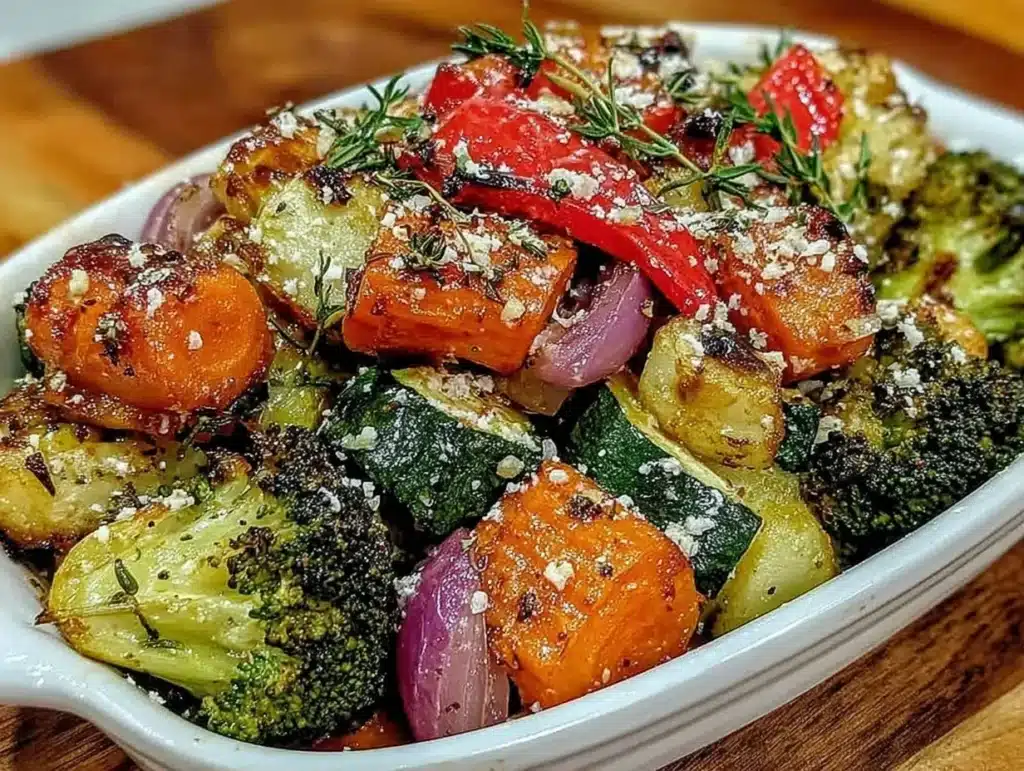
Let’s face it, not everyone wakes up craving roasted broccoli. I learned this the hard way during our first year of marriage when I tried to serve him a steamed medley of greens. He looked at the plate with a mix of pity and confusion, then politely pushed it aside. That was the moment I realized that if I wanted him to actually eat his veggies, they needed to be irresistible. Fast forward five years, and now we have a standing Friday night tradition centered around one dish: crispy garlic roasted veggies. It started as a desperate attempt to use up the wilting produce from the fridge, but it quickly became the highlight of our week. The smell of garlic sizzling in olive oil while the oven does its magic is honestly the best scent in the house. You know that feeling when you take a bite and it crunches just right? That’s the goal here. This isn’t about healthy eating in the restrictive sense; it’s about flavor so good you forget you’re eating plants. I’ve tested this method over a dozen times, tweaking the temperature and the garlic ratio until it was perfect. Whether you are feeding a picky toddler or just want a side dish that doesn’t feel like a chore, this recipe is your answer. It’s simple, it’s forgiving, and it delivers that savory, crunchy satisfaction that keeps people coming back for seconds.
Why You’ll Love This Recipe
After spending years in the kitchen, I’ve learned that the secret to a great side dish isn’t fancy technique; it’s patience and heat. This recipe stands out because it transforms ordinary vegetables into something crispy and caramelized. Most people boil or steam their veggies, which leaves them soggy and bland. We are doing the opposite. By roasting at a high temperature, we drive off the moisture and concentrate the flavors. Here is why this specific method works so well for your weekly meal prep:
- Quick & Easy: The prep work takes about ten minutes. You chop, toss, and dump. The oven does the heavy lifting while you relax. It’s perfect for busy weeknights when you are exhausted after work.
- Simple Ingredients: You likely have everything in your pantry already. Olive oil, garlic, salt, pepper, and whatever seasonal vegetables you have on hand. No need for a special grocery run.
- Perfect for Meal Prep: These veggies taste great warm, but they also hold up well in the fridge. They make an excellent addition to lunch bowls or as a side for reheated proteins.
- Crowd-Pleaser: I have served this to friends who claim they hate vegetables, and they always ask for the recipe. The garlic flavor bridges the gap between savory and sweet beautifully.
- Unbelievably Delicious: The edges get crispy, the centers stay tender, and the garlic infuses every bite. It is comfort food that happens to be good for you.
What makes this different from other roasted veggie recipes is the attention to detail in the drying process. Many people skip patting their veggies dry before roasting, which leads to steaming instead of crisping. I learned this lesson the hard way in my early days of cooking. By ensuring the surface is dry, you get that Maillard reaction that creates those beautiful brown spots. It is the kind of dish that makes you close your eyes after the first bite and just smile. It takes a simple ingredient list and turns it into something memorable without any stress.
What Ingredients You Will Need
This recipe relies on the quality of your produce and the balance of your seasonings. The beauty of this dish is its flexibility, but getting the basics right is key to achieving that signature crunch. We are using high-heat roasting to caramelize the natural sugars in the vegetables, so fresh, firm produce works best. If you are buying from a local farmer’s market, that is ideal. If you are using supermarket produce, just look for firmness and avoid any bruising. Here is what you need to gather before you start cooking:
- Broccoli Florets: Cut into bite-sized pieces. I prefer small curds for better crispiness. They roast up with a nutty, toasted flavor that pairs perfectly with garlic.
- Red Bell Peppers: Chopped into one-inch squares. They add a necessary sweetness that balances the savory garlic. Look for peppers that feel heavy for their size.
- Red Onion: Cut into thick wedges, keeping the layers intact. This prevents them from falling apart in the oven and gives you a nice char on the outside.
- Yellow Squash: Sliced into half-moons. Be careful not to make them too thin, or they will burn. Yellow squash has a mild flavor that soaks up the seasoning well.
- Carrots: Peeled and cut into batons or thick rounds. Carrots take longer to cook, so cutting them uniformly ensures they are done at the same time as the softer veggies.
- Extra Virgin Olive Oil: Use a good quality oil here. It carries the flavor and helps the heat transfer to the vegetable surfaces. I recommend a robust oil like Bertolli or a local cold-pressed brand for the best taste.
- Fresh Garlic: Minced finely. Pre-minced garlic in jars often has a metallic taste and can burn easily. Fresh cloves give you that sharp, aromatic punch that defines this dish.
- Kosher Salt: For even seasoning. I prefer Diamond Crystal or Morton, as the grain size is consistent. It draws out moisture and enhances the natural flavors of the vegetables.
- Black Pepper: Freshly cracked is non-negotiable. Pre-ground pepper loses its potency quickly and can taste dusty. Crack it right before you toss the veggies.
- Dried Red Pepper Flakes: Optional, but highly recommended if you like a little heat. It adds a subtle background warmth that complements the garlic without overwhelming it.
If you are looking to substitute ingredients based on what is in season, feel free to swap in zucchini, asparagus, or even Brussels sprouts. The technique remains the same. Just remember that watery vegetables like zucchini need to be salted and drained beforehand to prevent sogginess.
Equipment Needed
You do not need fancy gadgets to make this dish, but having the right tools makes a huge difference in the final texture. The most critical piece of equipment is a large, heavy-duty baking sheet. I use a rimmed half-sheet pan, preferably aluminum or stainless steel. Dark non-stick pans can sometimes cause the edges to burn too quickly, so keep an eye on them. If you only have one pan, you might need to roast in two batches to avoid overcrowding. Overcrowding is the enemy of crispiness because it creates steam. If you must use one pan, choose vegetables that cook at similar rates. You will also need a large mixing bowl to toss the vegetables in. A glass or stainless steel bowl works best because it is sturdy and easy to clean. A silicone spatula is helpful for scraping the oil and garlic mixture off the sides of the bowl. Finally, have a pair of tongs ready for turning the vegetables halfway through the cook time. This ensures even browning on all sides. If you don’t have tongs, a sturdy spoon works, but tongs give you better control. I also recommend using parchment paper or a silicone baking mat. It makes cleanup a breeze and prevents sticking, though a lightly oiled pan works fine too. Keeping your oven thermometer handy is a pro tip. Ovens often run hot or cold, and knowing your actual temperature helps you get consistent results every time.
Preparation Method
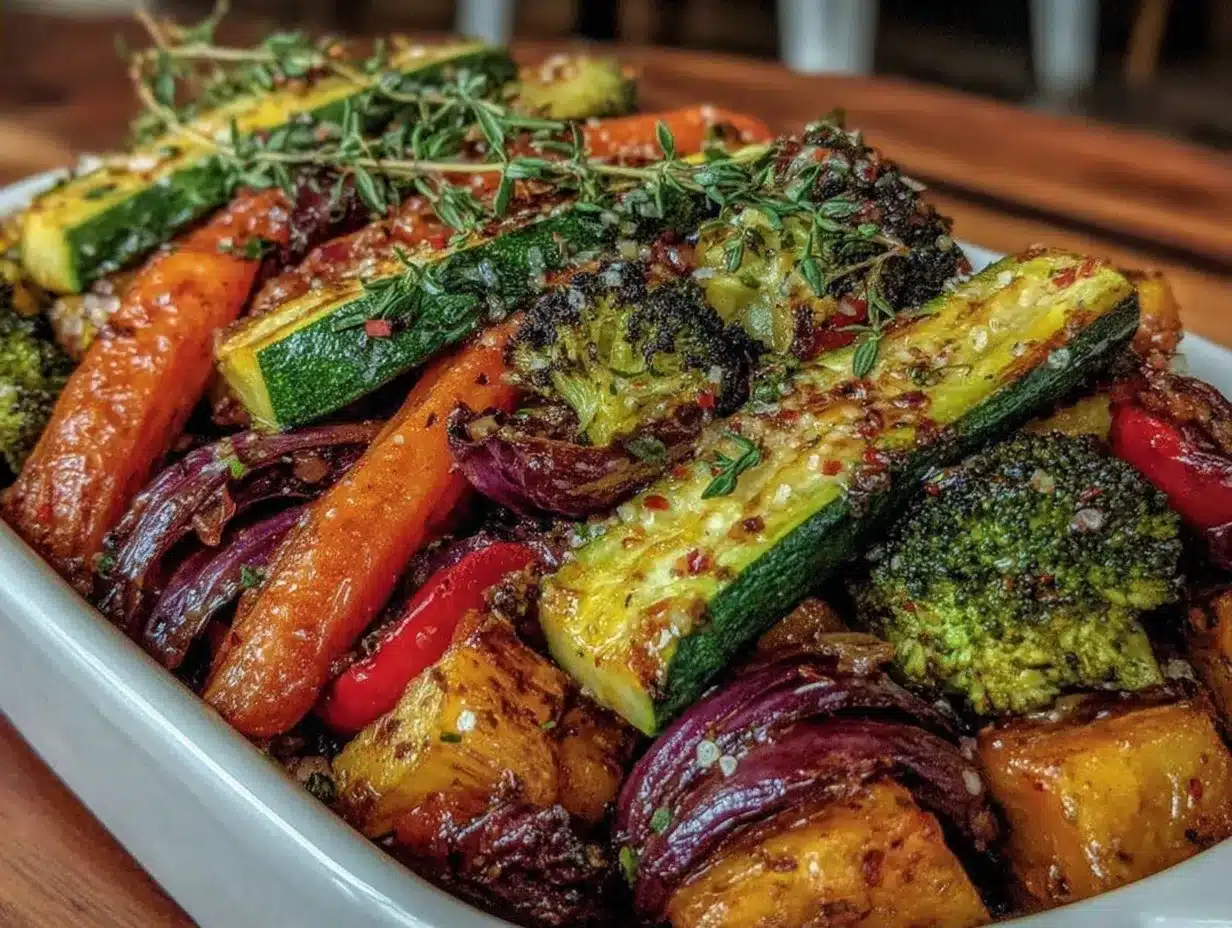
Getting started is the easiest part. Preheat your oven to 425°F (220°C). This high temperature is crucial for achieving that crispy exterior. While the oven heats up, wash and dry all your vegetables thoroughly. Moisture is the enemy of crispiness, so take the time to pat them dry with paper towels. This step is often skipped, but it makes a massive difference in the texture. Now, let’s get chopping. Cut the broccoli into uniform florets. Try to keep them small so they roast quickly and evenly. Chop the red bell peppers into one-inch squares. For the red onion, cut it into thick wedges. Make sure to keep the root end intact on the wedges so the layers don’t separate. Slice the yellow squash into half-moons that are about half an inch thick. Peel the carrots and cut them into batons or thick rounds, depending on their size. The goal is uniformity so that everything cooks at the same pace. Place all the chopped vegetables into your large mixing bowl. In a small bowl, whisk together the olive oil, minced garlic, kosher salt, black pepper, and red pepper flakes. You want the garlic to be evenly distributed in the oil. Pour this mixture over the vegetables. Use your hands or a sturdy spoon to toss everything together. Make sure every piece is coated lightly but thoroughly. Do not drown the vegetables in oil; a thin, even coat is all you need. Spread the vegetables out on your prepared baking sheet. This is the most important step for success. Leave space between each piece. If they are touching, they will steam instead of roast. You want hot air to circulate around every vegetable. If your pan is too full, use two pans or roast in batches. Place the pan in the preheated oven. Roast for 20 minutes. After 20 minutes, remove the pan and use your tongs to flip and stir the vegetables. This ensures even browning. Sprinkle a little extra salt if you feel like it needs more seasoning. Return the pan to the oven and roast for another 10 to 15 minutes. Watch them closely during the last few minutes. You want the edges to be crispy and browned, and the carrots to be tender when pierced with a fork. Remove from the oven and let them cool for a minute or two. The garlic will continue to infuse as they rest. Taste one to check for seasoning. Add more salt or pepper if needed. Serve immediately while they are still hot and crispy. This method yields vegetables that are tender inside and crunchy outside, with a rich garlic flavor that is impossible to resist.
Why does my garlic burn?
Garlic burns easily because it has a low sugar content and a high surface area. To prevent this, make sure your garlic is finely minced but not paste-like. Also, ensure your vegetables are not too crowded, as this lowers the oven temperature and causes the garlic to sit in oil longer before the veggies start crisping. If you notice the garlic getting too dark, cover the pan loosely with foil for the last few minutes.
Can I use frozen vegetables?
I strongly recommend against using frozen vegetables for this recipe. Frozen veggies release a lot of water as they thaw, which makes them soggy. They will never get crispy. Always use fresh vegetables for the best texture. If you must use frozen, thaw them completely and pat them very dry, but the results will not be the same.
How do I know when the veggies are done?
Look for browned edges and caramelization. The carrots should be tender but not mushy. You can test this by piercing a carrot with a fork; it should go in with slight resistance. The broccoli should have crispy, dark green edges. If they look shiny and wet, they need more time. If they are black, they are burnt.
Can I add other seasonings?
Absolutely. While garlic is the star, you can add dried oregano, thyme, or rosemary. Fresh herbs like parsley or basil should be added after roasting to preserve their flavor. Parmesan cheese is also a delicious addition if you add it in the last 5 minutes of cooking.
Why are my veggies soggy?
Sogginess usually comes from overcrowding the pan or not drying the vegetables before roasting. Make sure you have space between each piece. Also, check your oven temperature with a thermometer to ensure it is actually reaching 425°F. If your oven runs cold, the veggies will steam instead of roast.
Cooking Tips & Techniques
I have made my fair share of soggy vegetable disasters in my time. The biggest mistake people make is overcrowding the baking sheet. When vegetables are packed too tightly, they release moisture that gets trapped. Instead of roasting, they steam in their own juices. This leads to a mushy texture rather than the desired crispiness. To avoid this, use two pans if necessary. It is better to roast in batches than to compromise on space. Another tip is to cut your vegetables uniformly. If you have small pieces and large pieces, the small ones will burn while the large ones are still raw. Aim for consistent sizes so they cook evenly. Also, do not skip the step of patting your vegetables dry. Washing them adds water, and if you don’t dry them, that water has to evaporate before the roasting can begin. This delays the crisping process. Tossing the vegetables halfway through the cooking time is essential. It exposes all sides to the heat and prevents sticking. Use tongs for this; they give you better control than a spoon. Finally, let the vegetables rest for a minute after taking them out of the oven. This allows the juices to redistribute and the flavors to settle. It also prevents burns when you serve them. I also recommend using a heavy-duty baking sheet. Thin pans can have hot spots that cause uneven cooking. A thick aluminum pan distributes heat more evenly. If you are using a non-stick pan, be careful not to use metal utensils that can scratch the surface. Silicone or wooden utensils are safer. Keep an eye on the oven during the last few minutes. Ovens vary, and what works for one might not work for another. Adjust the time as needed based on visual cues rather than strictly following the clock.
What is the best oil for roasting vegetables?
Extra virgin olive oil is great for flavor, but it has a lower smoke point. If you are roasting at a very high temperature, you might want to use avocado oil or grapeseed oil, which have higher smoke points. However, for 425°F, extra virgin olive oil works perfectly fine and adds a nice richness.
Should I salt the vegetables before or after roasting?
Salting before roasting helps draw out moisture and seasons the vegetables throughout. However, if you are using very salty cheese like parmesan, you might want to reduce the amount of salt you add before roasting. Always taste at the end and adjust as needed.
Can I cook this in an air fryer?
Yes, you can! The air fryer is excellent for making vegetables crispy. Cook at 400°F (200°C) for about 12-15 minutes, shaking the basket halfway through. You will need to cook in smaller batches to avoid overcrowding. The results will be even crispier than oven-roasting.
Variations & Adaptations
One of the best things about this recipe is how adaptable it is. You can change the vegetables based on what is in season or what you have in your fridge. In the spring, try adding asparagus or snap peas. They cook quickly, so add them in the last 10 minutes of roasting. In the fall, Brussels sprouts are a fantastic addition. Halve them and roast them with the other veggies. They get incredibly crispy and nutty. If you want to change up the flavor profile, try swapping the garlic for ginger and soy sauce for an Asian-inspired twist. Add sesame seeds and green onions after roasting for a nice crunch. For a spicy kick, add chili flakes or a drizzle of hot sauce after cooking. If you are dairy-free, this recipe is naturally free of dairy, but you can add nutritional yeast after roasting for a cheesy flavor without the dairy. For a gluten-free option, ensure your soy sauce (if used) is gluten-free. I once tried adding chickpeas to this mix for extra protein. They got crispy and delicious, adding a nice texture contrast. Another variation I love is adding sweet potatoes. Cube them and roast them with the other veggies. They take a little longer to cook, so start them first or cut them smaller. You can also add fresh herbs like basil or cilantro after roasting to brighten up the dish. The possibilities are endless, and it keeps the recipe from getting boring.
How do I make this recipe spicier?
Add red pepper flakes to the oil mixture before roasting. You can also add a diced jalapeño or serrano pepper with the other vegetables. For more heat, drizzle with sriracha or chili crisp after cooking.
Can I add protein to this dish?
Yes, chickpeas, edamame, or tofu cubes work well. Tofu needs to be pressed and dried thoroughly to get crispy. Toss it with the vegetables in the last 15 minutes of roasting. For meat lovers, you can serve this alongside grilled chicken or steak.
What herbs go well with garlic roasted veggies?
Dried oregano, thyme, and rosemary are great for roasting. Fresh parsley, cilantro, or basil should be added after cooking to preserve their fresh flavor. Lemon zest is also a wonderful addition to brighten the dish.
Serving & Storage Suggestions
These veggies are best served immediately while they are still hot and crispy. They make a perfect side dish for grilled chicken, fish, or steak. They also pair well with pasta or grain bowls. For a complete meal, serve them with a squeeze of fresh lemon juice to cut through the richness of the olive oil. If you have leftovers, store them in an airtight container in the refrigerator for up to four days. To reheat, use an air fryer or a conventional oven at 400°F for 5-10 minutes. This will restore some of the crispiness. The microwave will make them soggy, so avoid it if you want to maintain texture. The flavors actually meld together over time, so they taste great cold in salads too. I often pack these for lunch because they hold up well and don’t get mushy like steamed veggies. Garnish with fresh herbs or a sprinkle of parmesan cheese before serving for an extra touch of elegance. They are also great for meal prep, as they can be eaten cold or reheated. Just remember that the garlic flavor will intensify slightly as they sit in the fridge.
How long do these veggies last in the fridge?
They last for about 3-4 days in an airtight container. Make sure they are completely cooled before storing them to prevent condensation, which can make them soggy.
Can I freeze roasted vegetables?
It is not recommended to freeze roasted vegetables. They will become very soft and watery when thawed. They are best enjoyed fresh. If you need to freeze vegetables, blanch them first and freeze them raw.
What is the best way to reheat them?
Use an air fryer or oven to reheat. This will help crisp them up again. Avoid the microwave, as it will steam them and make them soggy. Reheat at 400°F for 5-10 minutes.
Nutritional Information & Benefits
This dish is not only delicious but also packed with nutrients. Vegetables like broccoli and carrots are rich in vitamins A and C, as well as fiber. Garlic has anti-inflammatory properties and supports immune health. Olive oil provides healthy monounsaturated fats that are good for heart health. The combination of these ingredients makes for a balanced and wholesome side dish. It is naturally gluten-free and can be made vegan. The fiber content helps with digestion and keeps you feeling full. The antioxidants in the colorful vegetables help protect your cells from damage. I love this recipe because it allows me to eat more vegetables without feeling like I am depriving myself. It is a healthy way to enjoy the flavors of the garden. The calorie count is relatively low, making it a great option for weight management. However, keep in mind that the olive oil adds calories, so use it in moderation. Overall, this is a nutritious and satisfying addition to any meal.
Is this recipe low-carb?
Yes, this recipe is relatively low-carb, especially if you focus on non-starchy vegetables like broccoli, peppers, and onions. Carrots and squash have more natural sugars, so adjust your portions if you are strictly limiting carbs.
What are the health benefits of garlic?
Garlic is known for its antibacterial and antiviral properties. It may help lower blood pressure and cholesterol levels. It also contains antioxidants that support brain health. Using fresh garlic provides the most health benefits.
How much fiber is in this dish?
Depending on the vegetables used, this dish can provide a good amount of fiber. Broccoli and carrots are particularly high in fiber. A serving can provide around 3-5 grams of fiber, which is beneficial for digestive health.
Conclusion
Making crispy garlic roasted veggies is easier than you think, and the results are absolutely worth it. This recipe has transformed the way my family views vegetables. It is simple, flavorful, and versatile. I encourage you to try it and customize it to your liking. Use whatever vegetables you have on hand, and don’t be afraid to experiment with different seasonings. This dish is perfect for busy weeknights, meal prep, or impressing guests. I hope you enjoy it as much as we do. If you try this recipe, please leave a comment below and let me know how it turned out. I love hearing from readers and seeing their variations. Share your photos on social media and tag me. Happy cooking!
FAQs
What vegetables are best for roasting?
Hardy vegetables like broccoli, carrots, Brussels sprouts, and potatoes roast best. Softer vegetables like zucchini and spinach cook quickly and can become mushy if overcooked.
Can I use dried garlic instead of fresh?
It is not recommended. Dried garlic has a different flavor profile and can become bitter when roasted. Fresh garlic provides the best aroma and taste.
Why do my vegetables stick to the pan?
Sticking usually happens if the pan is not oiled enough or if the vegetables are overcrowded. Using parchment paper or a silicone mat can prevent sticking.
How do I make the veggies extra crispy?
Ensure they are dry before roasting, do not overcrowd the pan, and roast at a high temperature. Tossing them halfway through also helps.
Can I add cheese to this dish?
Yes, parmesan or pecorino cheese added in the last 5 minutes of cooking adds a delicious salty and nutty flavor. Just be careful not to burn the cheese.
Pin This Recipe!
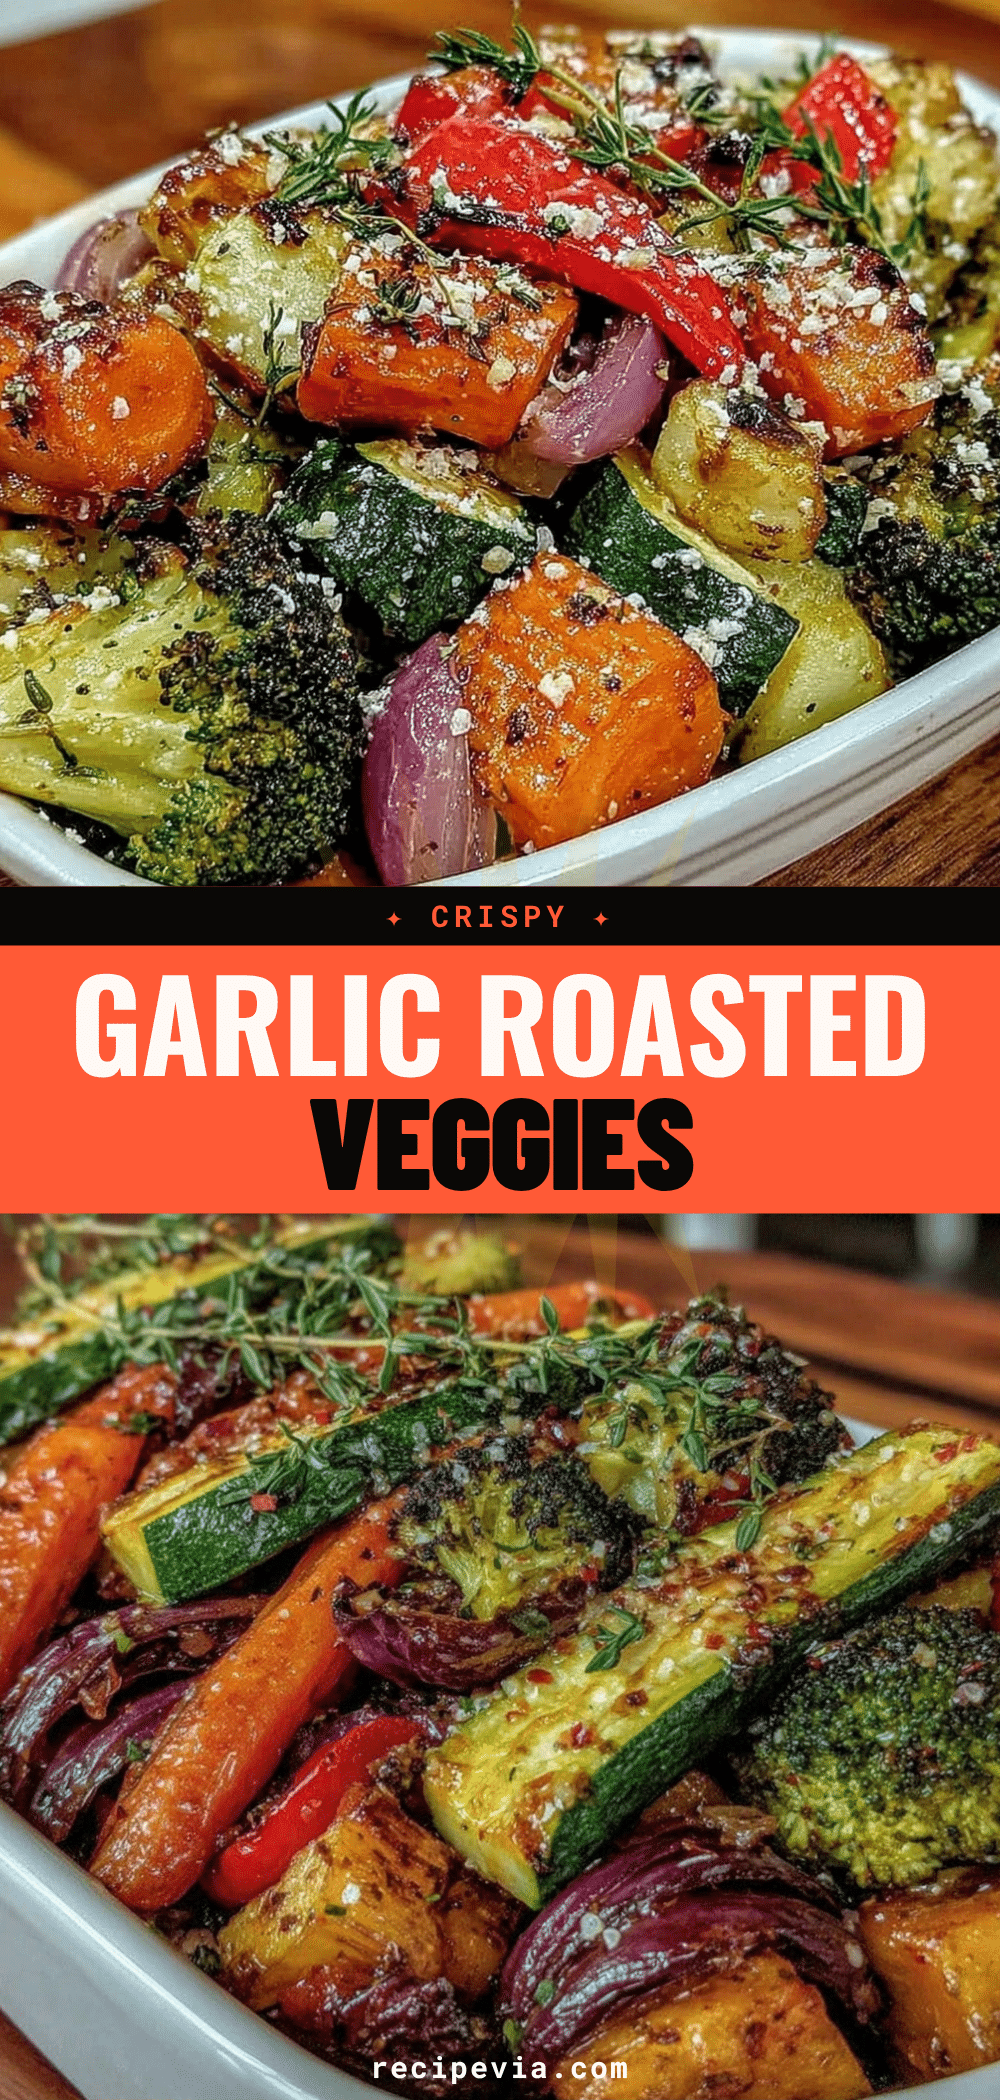

Crispy Garlic Roasted Veggies: Best Easy Side Dish
- Total Time: 40-45 minutes
- Yield: 4 servings
Description
Transform ordinary vegetables into a crispy, caramelized side dish with this easy high-heat roasting method. Infused with fresh garlic and olive oil, these veggies are the perfect savory, crunchy addition to any meal.
Ingredients
- Broccoli florets, cut into bite-sized pieces
- Red bell peppers, chopped into one-inch squares
- Red onion, cut into thick wedges
- Yellow squash, sliced into half-moons
- Carrots, peeled and cut into batons or thick rounds
- Extra virgin olive oil
- Fresh garlic, minced finely
- Kosher salt
- Black pepper, freshly cracked
- Dried red pepper flakes (optional)
Instructions
- Preheat your oven to 425°F (220°C).
- Wash and thoroughly dry all vegetables with paper towels to ensure crispiness.
- Chop vegetables into uniform sizes: small broccoli florets, one-inch pepper squares, thick onion wedges, half-inch squash half-moons, and carrot batons.
- Place all chopped vegetables in a large mixing bowl.
- In a small bowl, whisk together olive oil, minced garlic, kosher salt, black pepper, and red pepper flakes.
- Pour the oil mixture over the vegetables and toss until evenly coated with a thin layer of oil.
- Spread vegetables in a single layer on a prepared baking sheet, ensuring space between pieces to prevent steaming.
- Roast for 20 minutes.
- Remove from oven, flip and stir vegetables with tongs, and sprinkle with extra salt if desired.
- Return to oven and roast for another 10-15 minutes until edges are crispy and browned, and carrots are tender.
- Remove from oven and let cool for 1-2 minutes before serving.
Notes
Do not overcrowd the pan, as this causes steaming instead of roasting. Ensure vegetables are completely dry before tossing with oil. If using a dark non-stick pan, watch closely to prevent burning. For air fryer instructions, cook at 400°F for 12-15 minutes, shaking halfway through.
- Prep Time: 10 minutes
- Cook Time: 30-35 minutes
- Category: Side Dish
- Cuisine: American
Nutrition
- Serving Size: 1 cup
- Calories: 150
- Sugar: 6
- Sodium: 300
- Fat: 10
- Saturated Fat: 1.5
- Carbohydrates: 15
- Fiber: 4
- Protein: 3
Keywords: roasted vegetables, garlic veggies, crispy side dish, healthy dinner, meal prep, vegetarian, gluten-free, oven roasted