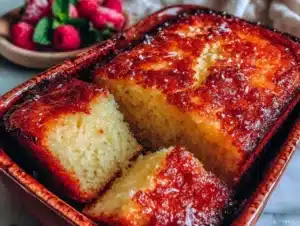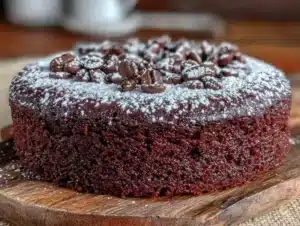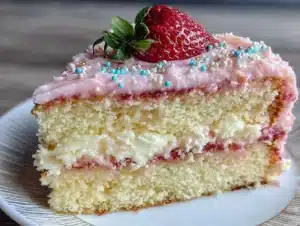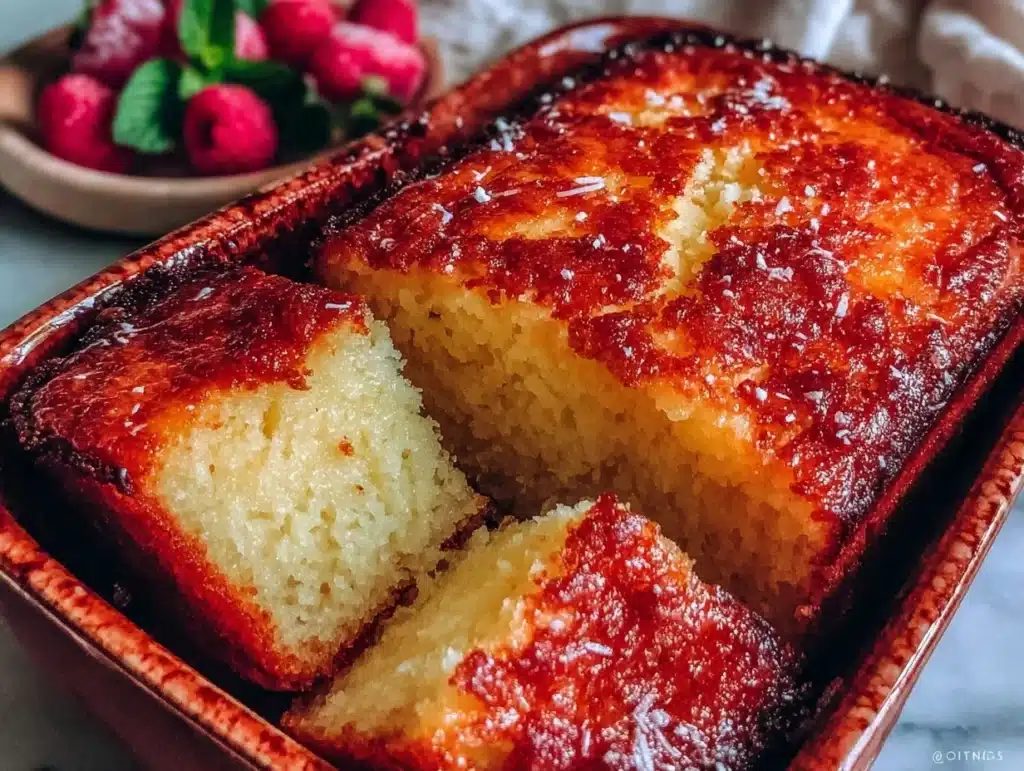
You know that feeling when you bite into something so rich it actually stops you in your tracks? I had that moment last spring. I was sitting at my kitchen table, watching the rain hit the window, with a slice of cake that cost me less than two dollars to make. It was warm, golden, and smelled like pure comfort. Honestly, it tasted like a $12 dessert from a Parisian patisserie, minus the pretentious attitude.
I’ve always loved French butter cake, but I never thought I could make it at home without breaking the bank. Store-bought versions are often dry, or they use cheap margarine that leaves a weird aftertaste. I wanted the real deal. I wanted that dense, moist crumb that melts in your mouth. So, I spent months tweaking my recipe, testing different flours, and learning how to stretch ingredients without losing quality.
This isn’t just another cake recipe. It’s my solution for when I crave something sweet but don’t want to spend a fortune. You know how grocery prices have gone up? Yeah, me too. That’s why I focus on simple, affordable ingredients. You probably already have most of these in your pantry. The secret isn’t fancy equipment; it’s technique and patience. And let’s be honest, who doesn’t love a good deal?
When I first shared this with my neighbors, they thought I was buying it from the bakery down the street. They were shocked when I told them the cost. It’s become my go-to for weekend breakfasts or when friends drop by unexpectedly. It’s reliable, delicious, and incredibly budget-friendly. If you’re tired of expensive treats that don’t deliver, this homemade French butter cake might just become your new obsession. Trust me, once you try it, you’ll never go back to the store-bought stuff again.
Why You’ll Love This Budget-Friendly French Butter Cake
Let’s face it, baking at home can feel like a gamble. You spend money on ingredients, only to end up with a dense brick or a dry mess. I’ve been there, and it’s frustrating. But this cake? It’s different. It’s consistent, reliable, and surprisingly easy to make. I’ve tested this recipe over a dozen times, adjusting ratios until I got it just right. The result is a cake that is moist, tender, and packed with flavor without costing a fortune.
- Quick & Easy: You don’t need to wake up at dawn for this one. It comes together in under 30 minutes of prep time. Perfect for those busy weeknights when you need a sweet fix fast.
- Simple Ingredients: No fancy grocery trips needed. You likely already have butter, sugar, eggs, and flour in your kitchen. It’s pantry-friendly cooking at its best.
- Perfect for Brunch: This cake is great for weekend brunch or potlucks. It holds up well at room temperature, so you can make it ahead of time without stress.
- Crowd-Pleaser: Kids and adults alike love it. The subtle vanilla flavor and rich buttery taste make it a hit with everyone, even picky eaters.
- Unbelievably Delicious: The texture is next-level comfort food. It’s dense yet airy, rich yet not overwhelming. It’s the kind of cake that makes you close your eyes after the first bite.
- Cost-Effective: This recipe is a fraction of what takeout or bakery purchases would cost. You’re getting premium taste for a fraction of the price.
What makes this recipe stand out is the technique. We use a specific mixing method that ensures the butter is fully incorporated, creating that signature moist crumb. It’s not just another version of a pound cake; it’s my best version. It’s comfort food reimagined for the modern, budget-conscious home cook. It’s healthier in the sense that you control the ingredients, and it’s faster than waiting for delivery.
What Ingredients You Will Need
This recipe uses simple, wholesome ingredients to deliver bold flavor and satisfying texture without the fuss. The beauty of French butter cake lies in its simplicity. You don’t need exotic spices or expensive chocolates. Just a few key items that work together to create magic. Most of these are pantry staples, which means you can make this whenever the craving strikes without a special trip to the store.
- All-Purpose Flour (2 ½ cups / 315g): The base of the cake. I recommend a standard brand like Gold Medal or King Arthur for consistent results. Don’t substitute with whole wheat unless you want a denser texture.
- Unsalted Butter (1 cup / 226g): This is the star of the show. Use high-quality butter if you can, but don’t feel pressured to buy the most expensive brand. The flavor comes from the butter itself, so quality matters, but budget-friendly options work fine if they’re fresh.
- Granulated Sugar (1 ½ cups / 300g): Provides sweetness and helps create that tender crumb. I use regular white sugar, but you can substitute with half brown sugar for a deeper, caramel-like flavor if you prefer.
- Large Eggs (3 large / room temperature): Eggs add structure and richness. Make sure they are at room temperature; this helps them emulsify better with the butter and sugar. Cold eggs can cause the mixture to curdle.
- Whole Milk (½ cup / 120ml): Adds moisture and tenderness. You can use skim milk if you’re watching calories, but whole milk gives the best texture. Dairy-free alternatives like almond milk work too, though the flavor might be slightly different.
- Vanilla Extract (2 teaspoons): Enhances the flavor. Use pure vanilla extract, not imitation. It makes a noticeable difference in the final taste.
- Baking Powder (2 teaspoons): Helps the cake rise. Make sure it’s fresh; old baking powder won’t give you the lift you need.
- Salt (½ teaspoon): Balances the sweetness. Don’t skip this step; it brings out the flavors of the butter and vanilla.
For the topping, I keep it simple. A light dusting of powdered sugar is classic, but you can add a glaze if you want something extra sweet. I’ve found that using a basic powdered sugar and milk glaze adds a nice touch without adding too much cost. If you’re feeling fancy, fresh berries on top can elevate the presentation without breaking the bank.
Equipment Needed
You don’t need a fancy kitchen to make this cake. Basic tools will do the job just fine. Here’s what you’ll need to get started.
- 9×5 Inch Loaf Pan: This is the standard size for this recipe. If you don’t have one, a 9-inch round cake pan works too, but adjust the baking time accordingly. Grease the pan well with butter or non-stick spray to prevent sticking.
- Mixing Bowls: You’ll need a large bowl for dry ingredients and a medium bowl for wet ingredients. Glass or metal bowls work best.
- Hand Mixer or Stand Mixer: A hand mixer is sufficient for this recipe. If you have a stand mixer, use the paddle attachment. Beating the butter and sugar properly is key to the texture.
- Measuring Cups and Spoons: Accurate measurements are crucial in baking. Use standard measuring cups for dry ingredients and liquid measuring cups for wet ingredients.
- Wire Cooling Rack: Allows air to circulate around the cake, preventing sogginess. If you don’t have one, you can use a clean kitchen towel, but a rack is better for even cooling.
- Sifter or Fine Mesh Strainer: For sifting the flour and baking powder. This removes lumps and ensures a smooth batter. If you don’t have one, you can whisk the dry ingredients thoroughly.
I’ve used different pans over the years, and I’ve found that a metal loaf pan gives the best crust. Glass pans can cause the bottom to brown too quickly. If you’re on a budget, a simple metal pan is your best bet. Also, don’t forget to have a spatula on hand for scraping down the sides of the bowl. It ensures all ingredients are evenly mixed.
How Do I Get the Perfect Moist Texture?
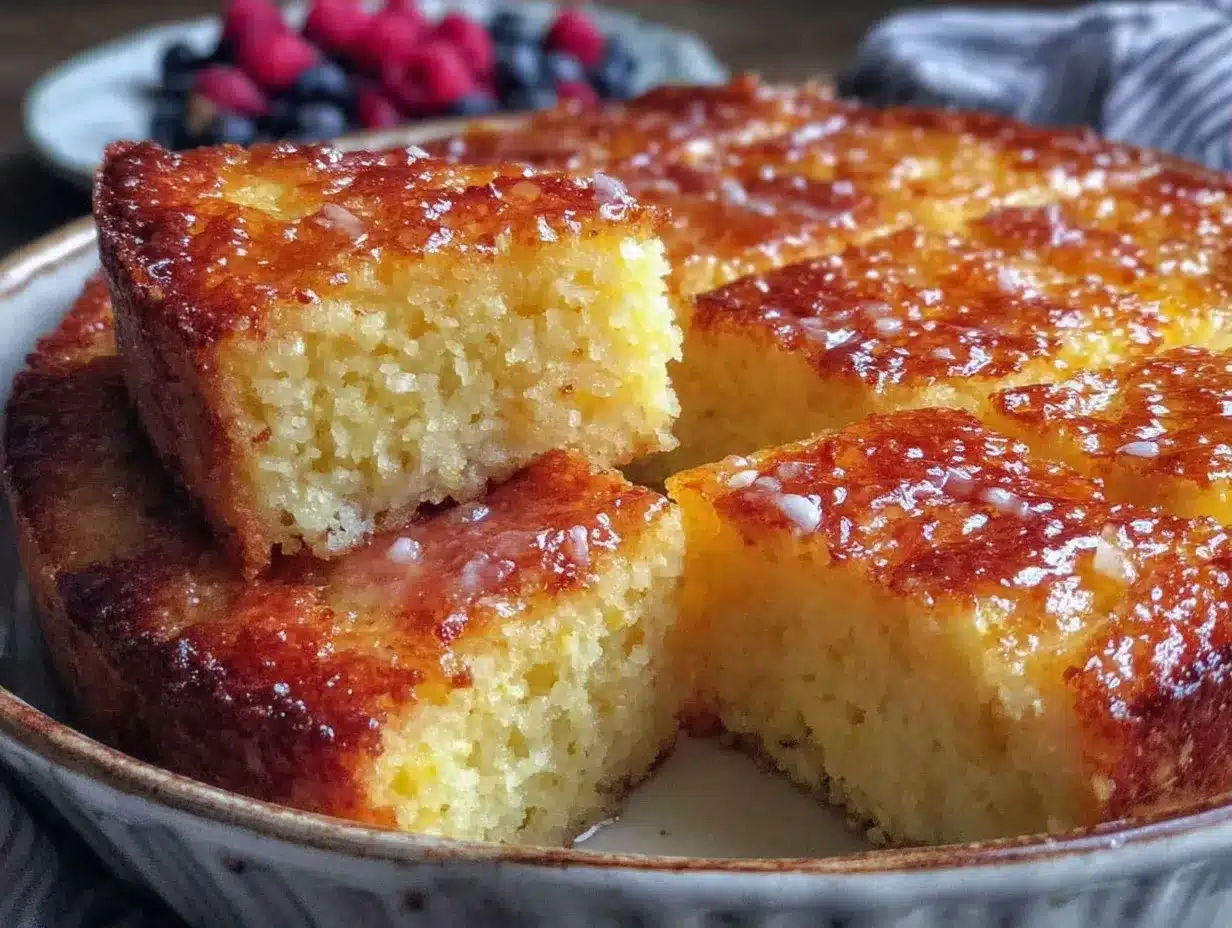
The secret to moisture is not overmixing the batter. Once you add the flour, mix just until combined. Overmixing develops gluten, which leads to a tough cake. Also, using room temperature ingredients helps them blend smoothly, creating an emulsion that traps air and moisture. Don’t rush this step; patience pays off.
Preparation Method
Making this cake is straightforward, but attention to detail makes all the difference. Follow these steps carefully for the best results.
- Preheat and Prep (5 minutes): Preheat your oven to 350°F (175°C). Grease your 9×5 inch loaf pan with butter or non-stick spray. You can also line the bottom with parchment paper for easy removal. This step ensures your cake doesn’t stick and comes out cleanly.
- Mix Dry Ingredients (2 minutes): In a medium bowl, whisk together the flour, baking powder, and salt. Sifting is optional but recommended for a lighter texture. Whisking ensures the leavening agent is evenly distributed, preventing bitter spots.
- Cream Butter and Sugar (3 minutes): In a large bowl, beat the softened butter and granulated sugar together using a hand mixer or stand mixer. Beat on medium speed for about 3 minutes until the mixture is light and fluffy. This step incorporates air, which helps the cake rise. The mixture should look pale and creamy.
- Add Eggs and Vanilla (2 minutes): Add the eggs one at a time, beating well after each addition. Scrape down the sides of the bowl to ensure everything is incorporated. Mix in the vanilla extract. The batter might look slightly curdled at this point, which is normal. Don’t worry; it will come together.
- Combine Wet and Dry (3 minutes): Add half of the dry ingredients to the butter mixture and mix on low speed. Then, add the milk, and mix until combined. Add the remaining dry ingredients and mix just until no streaks of flour remain. Overmixing at this stage can make the cake dense. Stop mixing as soon as the batter looks smooth.
- Pour and Bake (45-50 minutes): Pour the batter into the prepared loaf pan and smooth the top with a spatula. Bake in the preheated oven for 45-50 minutes. The cake is done when a toothpick inserted into the center comes out clean or with a few moist crumbs. Avoid opening the oven door too early, as this can cause the cake to collapse.
- Cool and Serve (1 hour): Let the cake cool in the pan for 10 minutes, then transfer it to a wire rack to cool completely. This prevents the bottom from getting soggy. Once cool, you can dust it with powdered sugar or slice and serve. The cake tastes best at room temperature, allowing the flavors to fully develop.
I’ve learned that timing is everything. If your oven runs hot, check the cake 5 minutes early. Every oven is different, so keep an eye on it. The smell of baking butter and vanilla will fill your kitchen, signaling that it’s almost ready. Trust your senses; if it smells amazing, it’s likely done.
What If My Cake Sinks in the Middle?
A sinking middle usually means the cake wasn’t fully baked or the oven door was opened too early. Make sure to test with a toothpick a few minutes before the suggested time. If it comes out clean, it’s done. Also, avoid opening the oven door during the first 30 minutes of baking to prevent temperature fluctuations.
Cooking Tips & Techniques
After making this cake many times, I’ve picked up a few tricks that ensure success every time. Here are my best tips for avoiding common mistakes.
Room Temperature Ingredients: This is non-negotiable. Cold butter and eggs won’t blend properly, leading to a grainy batter. Take your butter out of the fridge 30 minutes before you start. If you’re in a hurry, you can soften it in the microwave for 10-second bursts, but be careful not to melt it.
Don’t Overmix: I’ve ruined many cakes by overmixing the batter. Once you add the flour, mix gently. The goal is to combine ingredients, not to develop gluten. A few lumps are okay; they’ll disappear during baking.
Check Your Oven Temperature: Ovens can vary in accuracy. If you notice your cakes browning too quickly or not baking through, invest in an oven thermometer. This small tool can save you from wasted ingredients and disappointment.
Use Quality Butter: While you don’t need the most expensive butter, avoid margarine. Margarine has a higher water content and can affect the texture. Real butter provides the rich flavor and tender crumb that defines this cake.
Let It Cool: I know it’s tempting to slice into a warm cake, but let it cool completely. Slicing a warm cake can cause it to crumble and lose its moisture. Patience really is a virtue in baking.
I once tried to rush the cooling process by putting the cake in the fridge. It turned out dense and dry. Lesson learned. Always let it cool at room temperature. It’s worth the wait.
How Can I Tell If the Cake Is Done Without a Toothpick?
Another way to check is to gently press the top of the cake. If it springs back, it’s done. If it leaves an indentation, it needs more time. Also, the edges should pull away slightly from the sides of the pan.
Variations & Adaptations
This recipe is versatile, allowing you to customize it to your taste or dietary needs. Here are a few ideas to try.
- Lemon Glaze: Add the zest of one lemon to the batter and top with a glaze made from powdered sugar and lemon juice. It adds a bright, citrusy flavor that pairs beautifully with the rich butter.
- Berry Swirl: Fold in ½ cup of fresh or frozen blueberries into the batter before baking. The berries add bursts of flavor and moisture. Note that this may increase baking time slightly.
- Gluten-Free Option: Substitute all-purpose flour with a 1:1 gluten-free flour blend. Ensure the blend contains xanthan gum for better texture. The cake may be slightly more delicate, so handle with care.
- Dairy-Free: Use dairy-free butter and almond milk. The flavor will be slightly different, but the texture will still be moist and tender. This is a great option for those with dairy sensitivities.
- Lower Sugar: Reduce the sugar to 1 cup if you prefer a less sweet cake. You can also substitute half the sugar with a natural sweetener like maple syrup, but adjust the milk accordingly.
I’ve tried adding a swirl of cinnamon sugar before baking, and it adds a nice crunch and warmth. It’s a simple tweak that makes a big difference. Feel free to experiment and find your favorite combination. Baking is all about having fun and making it your own.
Can I Freeze This Cake?
Yes, this cake freezes well. Wrap it tightly in plastic wrap and then in aluminum foil. It can be stored in the freezer for up to 3 months. Thaw it at room temperature before serving. The texture remains moist and tender after freezing.
Serving & Storage Suggestions
Serving this cake is easy and versatile. It’s perfect for breakfast, brunch, or afternoon tea. Here are some ideas for presentation and storage.
Serving Ideas: Slice the cake into thick pieces and serve with a cup of coffee or tea. A dollop of whipped cream or a scoop of vanilla ice cream adds a luxurious touch. Fresh berries on top can add color and freshness. It’s also great for picnics or potlucks because it travels well.
Storage: Store leftover cake in an airtight container at room temperature for up to 3 days. For longer storage, refrigerate it for up to a week. The cake may become slightly denser in the fridge, so let it come to room temperature before serving. Avoid freezing with glaze, as it can become sticky.
Reheating: If you want to enjoy a warm slice, microwave a piece for 10-15 seconds. It will be soft and moist, almost like it just came out of the oven. Be careful not to overheat it, as it can become dry.
I love making this cake ahead of time. It actually tastes better the next day as the flavors meld together. It’s a great option for busy mornings when you need something quick and satisfying. Just slice and serve with your favorite beverage.
Does the Cake Stay Moist in the Fridge?
Yes, but it’s best to bring it to room temperature before eating. Cold cake can taste less flavorful. Cover it tightly to prevent it from absorbing odors from the fridge. A cake stand with a dome cover works well for short-term storage.
Nutritional Information & Benefits
While this cake is a treat, it’s made with simple ingredients that you can control. Here’s a rough estimate of the nutritional value per slice (assuming 8 slices).
- Calories: Approximately 350-400 calories per slice.
- Fat: Around 18g, mostly from butter.
- Carbohydrates: About 45g, primarily from flour and sugar.
- Protein: Roughly 4g from eggs and flour.
This cake is not particularly low in sugar or fat, but it’s made with real ingredients. You can adjust the sugar content to reduce calories if desired. It’s also not gluten-free unless you use a gluten-free flour blend. For those with dietary restrictions, the variations section offers some alternatives.
I view this cake as an occasional treat rather than a daily staple. It’s a way to enjoy homemade baking without the guilt of store-bought options. Knowing exactly what’s in your food is empowering. You can choose high-quality butter and real vanilla, which makes a big difference in health and taste.
Is This Cake Suitable for Diabetics?
Due to the high sugar content, this cake is not recommended for diabetics unless modified. You can reduce the sugar or use a sugar substitute, but the texture may change. Consult with a healthcare provider for personalized advice.
Conclusion
Making homemade French butter cake doesn’t have to be expensive or complicated. With simple ingredients and a few key techniques, you can create a cake that rivals any bakery version. It’s a budget-friendly way to enjoy a delicious treat at home. I hope this recipe becomes a staple in your kitchen.
Feel free to customize it with your favorite flavors or toppings. Baking is a personal journey, so don’t be afraid to experiment. Share your creations with friends and family, and enjoy the process. There’s something special about making something from scratch.
I’d love to hear how your cake turns out. Leave a comment below with your thoughts or any variations you tried. Don’t forget to share this recipe with others who might appreciate a good deal. Happy baking!
Frequently Asked Questions
Can I use margarine instead of butter?
It’s not recommended. Margarine has a higher water content and different fat structure, which can affect the texture and flavor of the cake. Real butter provides the rich, tender crumb that defines this recipe.
How do I store leftover cake?
Store the cake in an airtight container at room temperature for up to 3 days. For longer storage, refrigerate it for up to a week. You can also freeze it for up to 3 months.
Can I make this cake in a round pan?
Yes, you can use a 9-inch round cake pan. Adjust the baking time to 30-35 minutes, as round pans bake faster than loaf pans. Check for doneness with a toothpick.
Why did my cake turn out dry?
Dry cake is usually caused by overbaking or overmixing the batter. Make sure to check the cake a few minutes before the suggested time and avoid mixing the batter too much after adding the flour.
Can I add chocolate chips to this cake?
Absolutely! Fold ½ cup of chocolate chips into the batter before baking. They add a nice crunch and sweetness. Note that this may slightly increase the baking time.
Pin This Recipe!
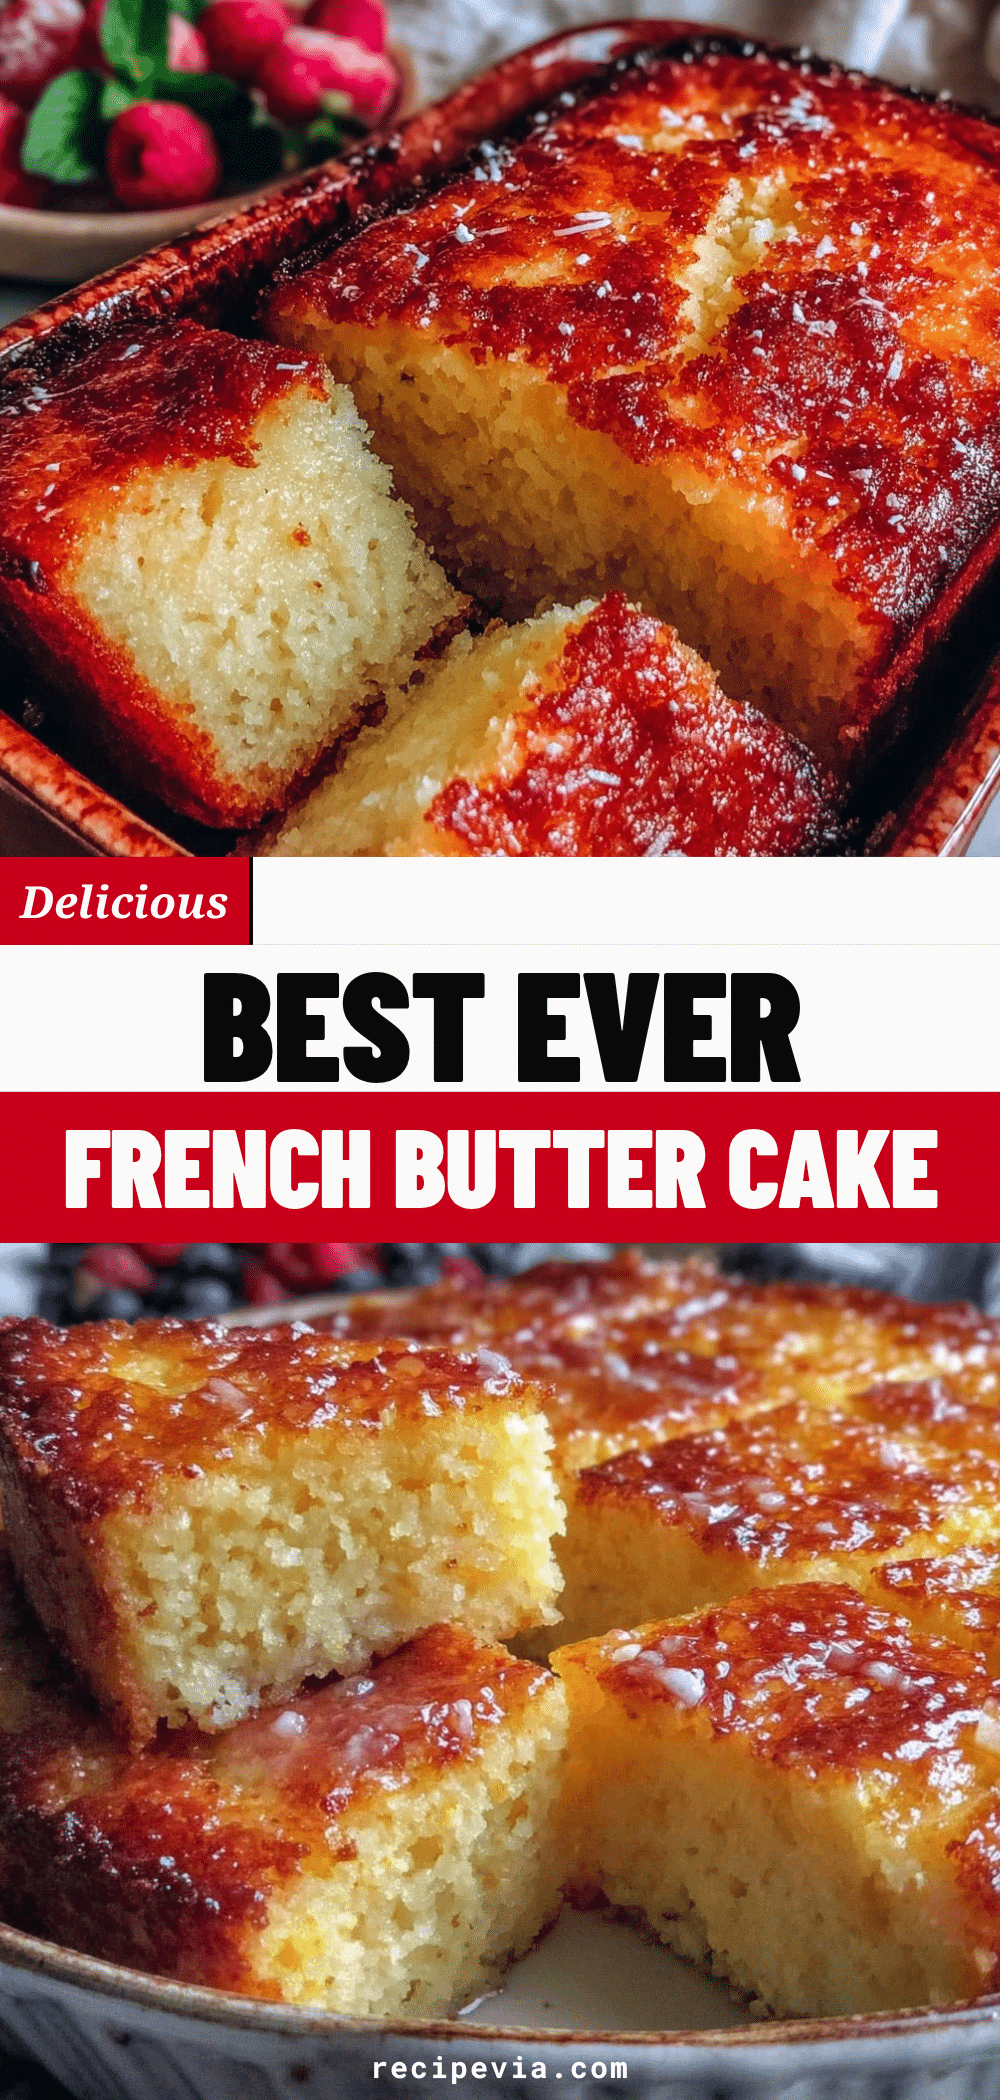

Homemade French Butter Cake: 5 Cheap Tips
- Total Time: 1 hour 15-20 minutes
- Yield: 8 servings 1x
Description
A budget-friendly, moist, and tender French butter cake made with simple pantry staples. This recipe delivers bakery-quality flavor without the high cost, perfect for weekend brunches or unexpected guests.
Ingredients
- 2 ½ cups (315g) All-Purpose Flour
- 1 cup (226g) Unsalted Butter, softened
- 1 ½ cups (300g) Granulated Sugar
- 3 large Eggs, room temperature
- ½ cup (120ml) Whole Milk
- 2 teaspoons Vanilla Extract
- 2 teaspoons Baking Powder
- ½ teaspoon Salt
Instructions
- Preheat oven to 350°F (175°C). Grease a 9×5 inch loaf pan with butter or non-stick spray, optionally lining the bottom with parchment paper.
- In a medium bowl, whisk together the flour, baking powder, and salt. Sifting is recommended for a lighter texture.
- In a large bowl, beat the softened butter and granulated sugar together using a hand or stand mixer on medium speed for about 3 minutes until light and fluffy.
- Add the eggs one at a time, beating well after each addition. Scrape down the sides of the bowl. Mix in the vanilla extract.
- Add half of the dry ingredients to the butter mixture and mix on low speed. Add the milk and mix until combined. Add the remaining dry ingredients and mix just until no streaks of flour remain.
- Pour the batter into the prepared loaf pan and smooth the top with a spatula.
- Bake for 45-50 minutes, or until a toothpick inserted into the center comes out clean or with a few moist crumbs.
- Let the cake cool in the pan for 10 minutes, then transfer to a wire rack to cool completely before slicing or dusting with powdered sugar.
Notes
Ensure all ingredients are at room temperature for best emulsion. Do not overmix the batter once flour is added to avoid a tough texture. If using a round pan, reduce baking time to 30-35 minutes. The cake can be frozen for up to 3 months if wrapped tightly.
- Prep Time: 30 minutes
- Cook Time: 45-50 minutes
- Category: Dessert
- Cuisine: French
Nutrition
- Serving Size: 1 slice
- Calories: 375
- Sugar: 30
- Sodium: 150
- Fat: 18
- Saturated Fat: 11
- Carbohydrates: 45
- Fiber: 1
- Protein: 4
Keywords: French butter cake, budget baking, homemade cake, easy dessert, brunch recipe, affordable baking, moist cake, loaf cake