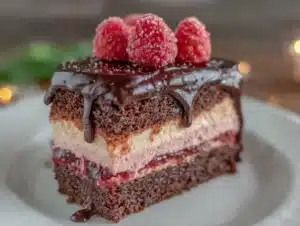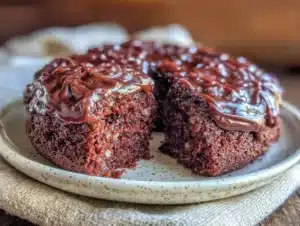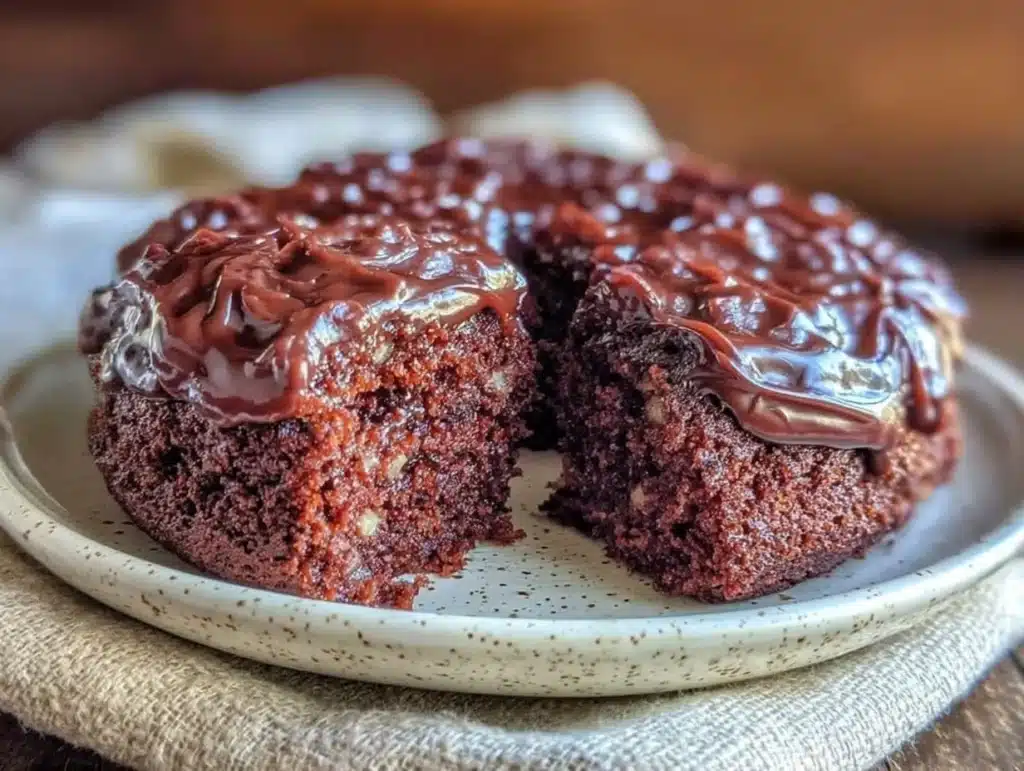
There is a specific kind of magic that happens when you realize you can make something decadent for less than the cost of a coffee. I remember standing in my kitchen during a tight month, staring at a nearly empty pantry. The fridge had a few eggs, a sad-looking onion, and a box of plain white flour. I wanted chocolate. Not just any chocolate, but that deep, rich, mouth-coating chocolate flavor that makes you close your eyes and sigh. I didn’t have cocoa powder. I didn’t have expensive chocolate chips. But I had pantry staples and a whole lot of determination.
That day, I created my go-to budget-friendly moist chocolate cake. It uses ingredients you likely already own. It doesn’t require buttermilk, which is pricey. It doesn’t need fancy vanilla extract or artisanal butter. It just needs simple, honest ingredients mixed with a little bit of know-how. This cake has survived college dorm rooms, post-college apartment kitchens, and now, my family’s weekly dessert rotation. It feeds twelve people for under five dollars if you shop smart.
You might be skeptical. You know how some cheap cakes turn out dry or taste like cardboard? That is exactly why I tested this recipe over a dozen times. I wanted to prove that you don’t need to spend a fortune to get restaurant-quality results. This recipe is the ultimate proof that good cooking is about technique, not just price tags. It’s fluffy, it’s dark, and it’s incredibly moist. Honestly, it’s the kind of cake that makes guests ask where you bought it. And when you tell them it cost less than a takeout pizza, their faces are priceless.
If you are looking for a dessert that is reliable, cheap, and absolutely delicious, you have found it. This isn’t just a cake; it’s a victory. It’s proof that you can treat yourself without breaking the bank. Let’s get baking.
Why You’ll Love This Budget-Friendly Moist Chocolate Cake
Let’s be real for a second. Most “budget” recipes feel like a compromise. You sacrifice flavor or texture to save a few dollars. With this moist chocolate cake, that isn’t the case at all. I’ve spent years tweaking this formula to ensure it remains luxurious despite its humble origins. The secret isn’t in expensive ingredients; it’s in the chemistry of how we combine them. By using oil instead of butter, the cake stays moist for days. By adding a splash of hot water or coffee, we bloom the cocoa flavor without needing expensive chocolate bars.
- Quick & Easy: This cake comes together in about 15 minutes of prep time. There is no creaming butter, no melting chocolate on a double boiler, and no complicated tempering. You mix it in one bowl and bake it. It is perfect for busy weeknights or when you have a sudden craving on a Tuesday.
- Simple Ingredients: You likely have almost everything in your kitchen right now. Flour, sugar, cocoa powder, baking soda, salt, eggs, oil, milk, and vanilla. No fancy grocery trips needed. No trips to specialty stores. Just standard pantry staples.
- Perfect for Occasions: Whether it’s a birthday party, a potluck, or just a cozy Sunday morning, this cake fits in everywhere. It’s sturdy enough to travel but delicate enough to melt in your mouth. It’s great for feeding a crowd without the stress.
- Crowd-Pleaser: I have served this to picky eaters, professional chefs, and kids who usually only eat chicken nuggets. It always gets rave reviews. The texture is soft, and the chocolate flavor is bold but not bitter.
- Unbelievably Delicious: The combination of oil and hot liquid creates a crumb that is incredibly tender. It’s next-level comfort food. It feels like a hug on a plate.
What makes this recipe different is its reliability. Many cheap chocolate cakes fail because they lack fat or moisture. This one uses vegetable oil, which coats the flour proteins better than butter, preventing gluten formation and keeping the cake soft for up to three days. I’ve also added a trick with the eggs—whisking them well before adding the dry ingredients ensures a fine, even crumb. This isn’t just another version of a cheap cake. It’s the best version. It’s the one that makes you feel like a pro baker, even if you’re just a home cook stretching a budget.
What Ingredients You Will Need
This recipe relies on humble, accessible ingredients to deliver bold flavor. The key is quality where it counts, like the cocoa powder, while saving money on things like the flour and sugar. You don’t need organic or fair-trade for this one. Standard, pantry-stable ingredients work perfectly. The structure comes from the flour and eggs, while the moisture comes from the oil and milk. The sweetness is balanced by the bitterness of the cocoa, creating a classic chocolate cake profile that everyone knows and loves.
- All-Purpose Flour: 1 ¾ cups (220g). This is the base. Don’t use cake flour unless you want it too delicate. All-purpose gives it the right bite. Sift it if it’s lumpy.
- Granulated Sugar: 1 ½ cups (300g). Regular white sugar works best here. It helps with the browning and the moisture retention. Brown sugar can be used, but it makes it denser.
- Cocoa Powder: ¾ cup (75g). This is the star. Use unsweetened natural cocoa powder. Dutch-process can work, but natural is standard for this chemical reaction with baking soda. Avoid “hot chocolate mix” as it has sugar and milk solids.
- Baking Soda: 1 ½ teaspoons. This reacts with the acidity in the cocoa and buttermilk (or milk/vinegar substitute) to create lift. It’s cheap and effective.
- Salt: 1 teaspoon. Salt is non-negotiable. It makes the chocolate taste more like chocolate. Without it, the cake tastes flat.
- Eggs: 2 large eggs, room temperature. Room temp eggs emulsify better into the batter. This creates a smoother, more uniform cake.
- Vegetable Oil: ½ cup (120ml). Neutral oil like canola or vegetable oil. Oil keeps cakes moister than butter because it is liquid at room temperature. It also costs less.
- Milk: 1 cup (240ml). Whole milk is best for richness, but 2% or even skim will work in a pinch. For extra tang and tenderness, you can substitute 1 tablespoon of white vinegar or lemon juice into the milk to make a quick buttermilk.
- Vanilla Extract: 2 teaspoons. Pure vanilla adds depth. I use whatever is in my cupboard, usually the standard grocery store brand. It tastes just fine here.
- Hot Water or Hot Coffee: 1 cup (240ml). This is the secret weapon. The hot liquid “blooms” the cocoa powder, releasing its full flavor potential. Coffee enhances the chocolate taste without making it taste like coffee.
I personally recommend sticking to standard brands for the flour and sugar. There is no need to spend extra on organic unless you prefer it. For the cocoa, I’ve tried many brands, but any standard grocery store brand like Hershey’s or Ghirardelli (the baking cocoa, not the drinking mix) works wonderfully. The key is to look for firm, dry cocoa powder. If it’s clumpy, sift it. For the oil, any neutral oil works. I usually buy the largest bottle I can find to keep the cost per ounce down.
Equipment Needed
You don’t need a fancy stand mixer for this cake. In fact, a hand mixer or even a large whisk is better to avoid overmixing. You will need two 8-inch round cake pans. If you don’t have those, a 9×13 inch baking pan works perfectly and might even be cheaper to buy if you don’t own it. Make sure your pans are not non-stick if you plan to add frosting later, as the cake needs something to grip onto. If they are non-stick, grease them well.
I also recommend a whisk. A wire whisk is the most versatile tool here. It aerates the dry ingredients and mixes the batter smoothly. A rubber spatula is helpful for scraping the sides of the bowl to ensure everything is incorporated. A cooling rack is essential; don’t skip this step. Putting hot cake on a plate creates soggy bottoms. A simple wire rack allows air to circulate. If you don’t have one, you can use the upside-down bottom of another pan.
For budget-friendly options, look for basic aluminum pans at a discount store. They conduct heat evenly. Avoid glass pans for baking cakes, as they heat up too slowly and can lead to uneven baking. Also, keep your measuring cups clean and level. A cheap metal measuring spoon set is all you need for the baking soda and salt. Nothing special required.
Preparation Method
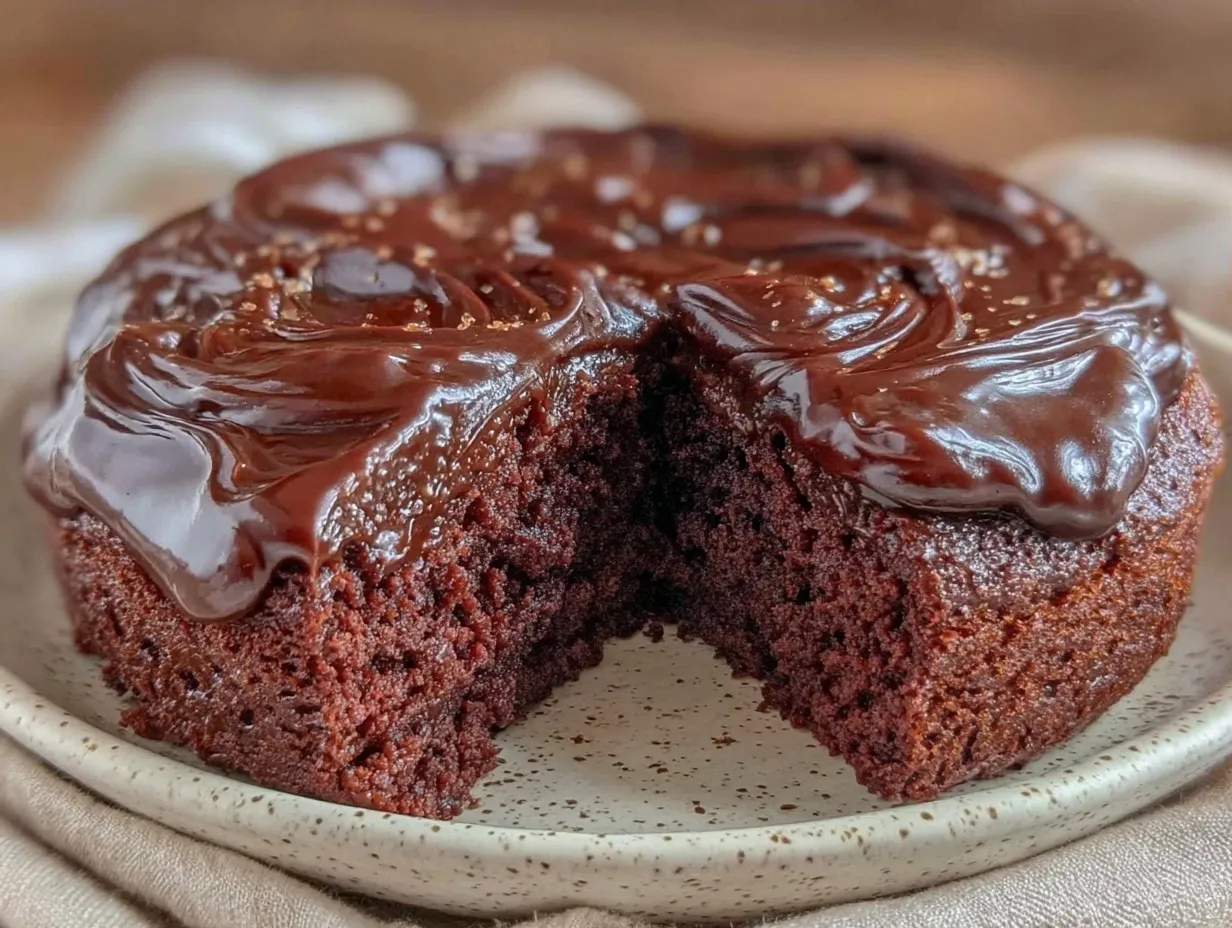
Start by preheating your oven to 350°F (175°C). This is crucial. If the oven isn’t hot enough when the cake goes in, it won’t rise properly. While the oven heats, prepare your cake pans. Grease them with a little oil or butter, then dust with a tablespoon of flour. Tap out the excess. This prevents sticking. If you are using parchment paper, cut circles to line the bottoms. This guarantees easy removal.
Take a large mixing bowl. Add the all-purpose flour, sugar, cocoa powder, baking soda, and salt. Whisk these dry ingredients together for about a minute. This ensures the leavening agents are evenly distributed. If you don’t whisk well, you might get pockets of baking soda that taste soapy. Be thorough here. It takes less than a minute but makes a big difference.
Next, add the eggs, vegetable oil, milk, and vanilla extract to the dry mixture. Beat on medium speed for about two minutes. The batter will be thick. Don’t worry if it looks lumpy at first. The goal is to hydrate the flour and create a smooth, uniform base. Scrape down the sides of the bowl with your spatula to ensure no dry flour is hiding in the corners.
Now, carefully pour in the hot water or hot coffee. Stir gently by hand until just combined. The batter will become thin and watery. This is normal and expected. The hot liquid hydrates the cocoa and thins the batter for a softer crumb. Do not overmix at this stage. Overmixing develops gluten, which makes the cake tough. Just stir until no dry streaks remain.
Pour the batter evenly into your prepared pans. Place them in the center rack of the oven. Bake for 30 to 35 minutes. Do not open the oven door before the 25-minute mark. Opening it too early can cause the cake to collapse. To test for doneness, insert a wooden toothpick into the center. It should come out with a few moist crumbs attached, but not wet batter. If it’s clean, it might be overbaked.
Once baked, remove the pans from the oven. Let them cool in the pan for 10 minutes. This allows the structure to set. Then, run a knife around the edges and invert them onto a cooling rack. Peel off any parchment paper. Let them cool completely before frosting. This is the hardest part, but rushing it will make a mess. If you frost a warm cake, the frosting will melt and slide off.
Cooking Tips & Techniques
One common mistake is using cold ingredients. If your eggs and milk are straight from the fridge, they can shock the batter and prevent proper emulsification. Try to let them sit out for 30 minutes before you start. If you forget, you can warm the milk slightly in the microwave. It doesn’t need to be hot, just not cold.
Another tip is the quality of your cocoa. If your cocoa powder is old, it might have lost its flavor. Check the expiration date. Fresh cocoa makes a huge difference in taste. Also, don’t skip the salt. It’s easy to underestimate how much flavor salt adds to chocolate. It acts as a flavor enhancer, making the chocolate taste more intense.
Timing is everything. Ovens vary. Your oven might run hot or cold. Use an oven thermometer to check the actual temperature. If your cakes are browning too fast on top but raw inside, lower the temperature by 25 degrees and bake for a few minutes longer. If they are pale and dense, your oven might be too cool.
Multitasking can help. While the cake is baking, you can prepare your frosting or clean up the kitchen. This saves time later. Also, if you are making this for a party, you can bake the cakes a day ahead. Wrap them tightly in plastic wrap and store them at room temperature. They will actually taste better the next day as the flavors meld.
Finally, don’t be afraid of the thin batter. It looks scary, but it bakes into a light, airy cake. If you try to thicken it with more flour, you will ruin the texture. Trust the process. The thin batter is the key to the moistness.
Variations & Adaptations
This recipe is highly adaptable. If you want a chocolate chip cake, add ½ cup of chocolate chips to the batter. The chips will melt slightly and create pockets of gooey chocolate. This is a personal favorite of mine. It adds texture and extra sweetness.
For a red velvet twist, add 1 tablespoon of red food coloring to the batter. It changes the color and adds a slight tang if you use vinegar in the milk. This is a fun variation for holidays.
If you are gluten-sensitive, you can substitute the all-purpose flour with a 1:1 gluten-free flour blend. Make sure the blend contains xanthan gum, or add ½ teaspoon to help with binding. The texture might be slightly different, but it will still be moist and delicious.
For a dairy-free version, swap the milk for almond milk or soy milk. Use coconut oil instead of vegetable oil if you don’t mind a slight coconut flavor. The cake will still rise and bake properly. Just ensure your oil is liquid at room temperature.
I once tried adding a tablespoon of instant espresso powder to the dry ingredients for a mocha flavor. It was fantastic. It deepened the chocolate taste without making it taste like coffee. It’s a subtle change that adds complexity. You can also add a pinch of cinnamon for a warm, spiced note.
Serving & Storage Suggestions
This cake is versatile in how you serve it. You can serve it plain with a dusting of powdered sugar for a simple, elegant look. Or you can frost it with chocolate buttercream, cream cheese frosting, or even a simple glaze. For a budget-friendly topping, whip up a quick ganache using ½ cup of hot water and ½ cup of chocolate chips. Stir until smooth and pour over the cooled cake. It sets into a shiny, rich coating.
Store leftovers in an airtight container at room temperature for up to three days. The oil keeps it moist, so it doesn’t dry out quickly. If you live in a hot climate, refrigerate it to prevent spoilage, especially if you add frosting. Bring it to room temperature before serving for the best texture.
You can also freeze the unfrosted cakes. Wrap them tightly in plastic wrap and then in aluminum foil. They will keep for up to three months. Thaw them at room temperature before frosting. This is great for meal prepping. Bake the cakes ahead of time, and you’ll always have dessert ready to go.
Reheating is not necessary, but if you like warm cake, microwave a slice for 10-15 seconds. It becomes soft and gooey. Pair this cake with a cup of coffee or tea. The bitterness of the drink balances the sweetness of the cake perfectly. It’s a classic combination that never fails.
Nutritional Information & Benefits
While this is a dessert, it’s important to know what you’re eating. Each slice (assuming 12 servings) contains approximately 250-300 calories, depending on the frosting. It provides carbohydrates for energy and a small amount of protein from the eggs and flour. The cocoa powder contains antioxidants, which are good for heart health. However, this is still a treat, so enjoy it in moderation.
If you are watching your sugar intake, you can reduce the sugar by ¼ cup without affecting the texture too much. The cake will be less sweet but still moist. For a lower-fat option, you can reduce the oil to ⅓ cup, but the cake will be slightly denser. Always balance indulgence with awareness.
This recipe is free from nuts, making it safe for nut allergies. It is vegetarian. It is not vegan unless you substitute the eggs and milk. For those with gluten intolerance, use a gluten-free flour blend. Always check labels for allergens in your specific ingredients. Enjoy this cake as part of a balanced diet. It’s a small pleasure that brings big joy.
Conclusion
This budget-friendly moist chocolate cake is more than just a recipe. It’s a testament to the fact that good food doesn’t have to be expensive. It’s a recipe that has saved me money, fed my family, and brought joy to many gatherings. It’s simple, reliable, and absolutely delicious. I hope you try it and find it as useful in your kitchen as I have found it in mine.
Feel free to customize it. Add chips, change the frosting, or serve it plain. Make it your own. The beauty of this recipe is its flexibility. It’s a canvas for your creativity. And remember, the best part is sharing it with others. There’s nothing quite like seeing someone’s face light up when they take the first bite.
So, go ahead. Grab your ingredients. Mix the batter. Bake the cake. And enjoy the results. You deserve a treat, and you don’t need to spend a fortune to get it. If you make this recipe, I’d love to hear how it turns out. Leave a comment below and let me know your favorite variation. Happy baking!
Frequently Asked Questions
Can I use cake flour instead of all-purpose flour?
You can, but the cake will be more delicate and crumbly. All-purpose flour provides the right structure for this recipe. If you must use cake flour, add 2 tablespoons of cornstarch to each cup of cake flour to mimic all-purpose flour.
Why is my cake dry?
This usually happens if you overbake it or measure the flour incorrectly. Always spoon the flour into the measuring cup and level it off. Don’t scoop directly from the bag, as this packs in too much flour. Also, check your oven temperature with a thermometer.
Can I make this in a muffin tin?
Yes! Divide the batter into a greased muffin tin. Bake for 18-22 minutes. These make great individual portions and are perfect for parties. Just reduce the baking time accordingly.
Is hot coffee necessary?
It’s not strictly necessary, but it enhances the chocolate flavor significantly. If you don’t like coffee, just use hot water. The heat is what blooms the cocoa, not the coffee flavor itself.
Can I freeze this cake?
Absolutely. Wrap the cooled cake tightly in plastic wrap and foil. It will keep for up to three months. Thaw at room temperature before serving. This is a great way to have dessert ready for unexpected guests.
Pin This Recipe!
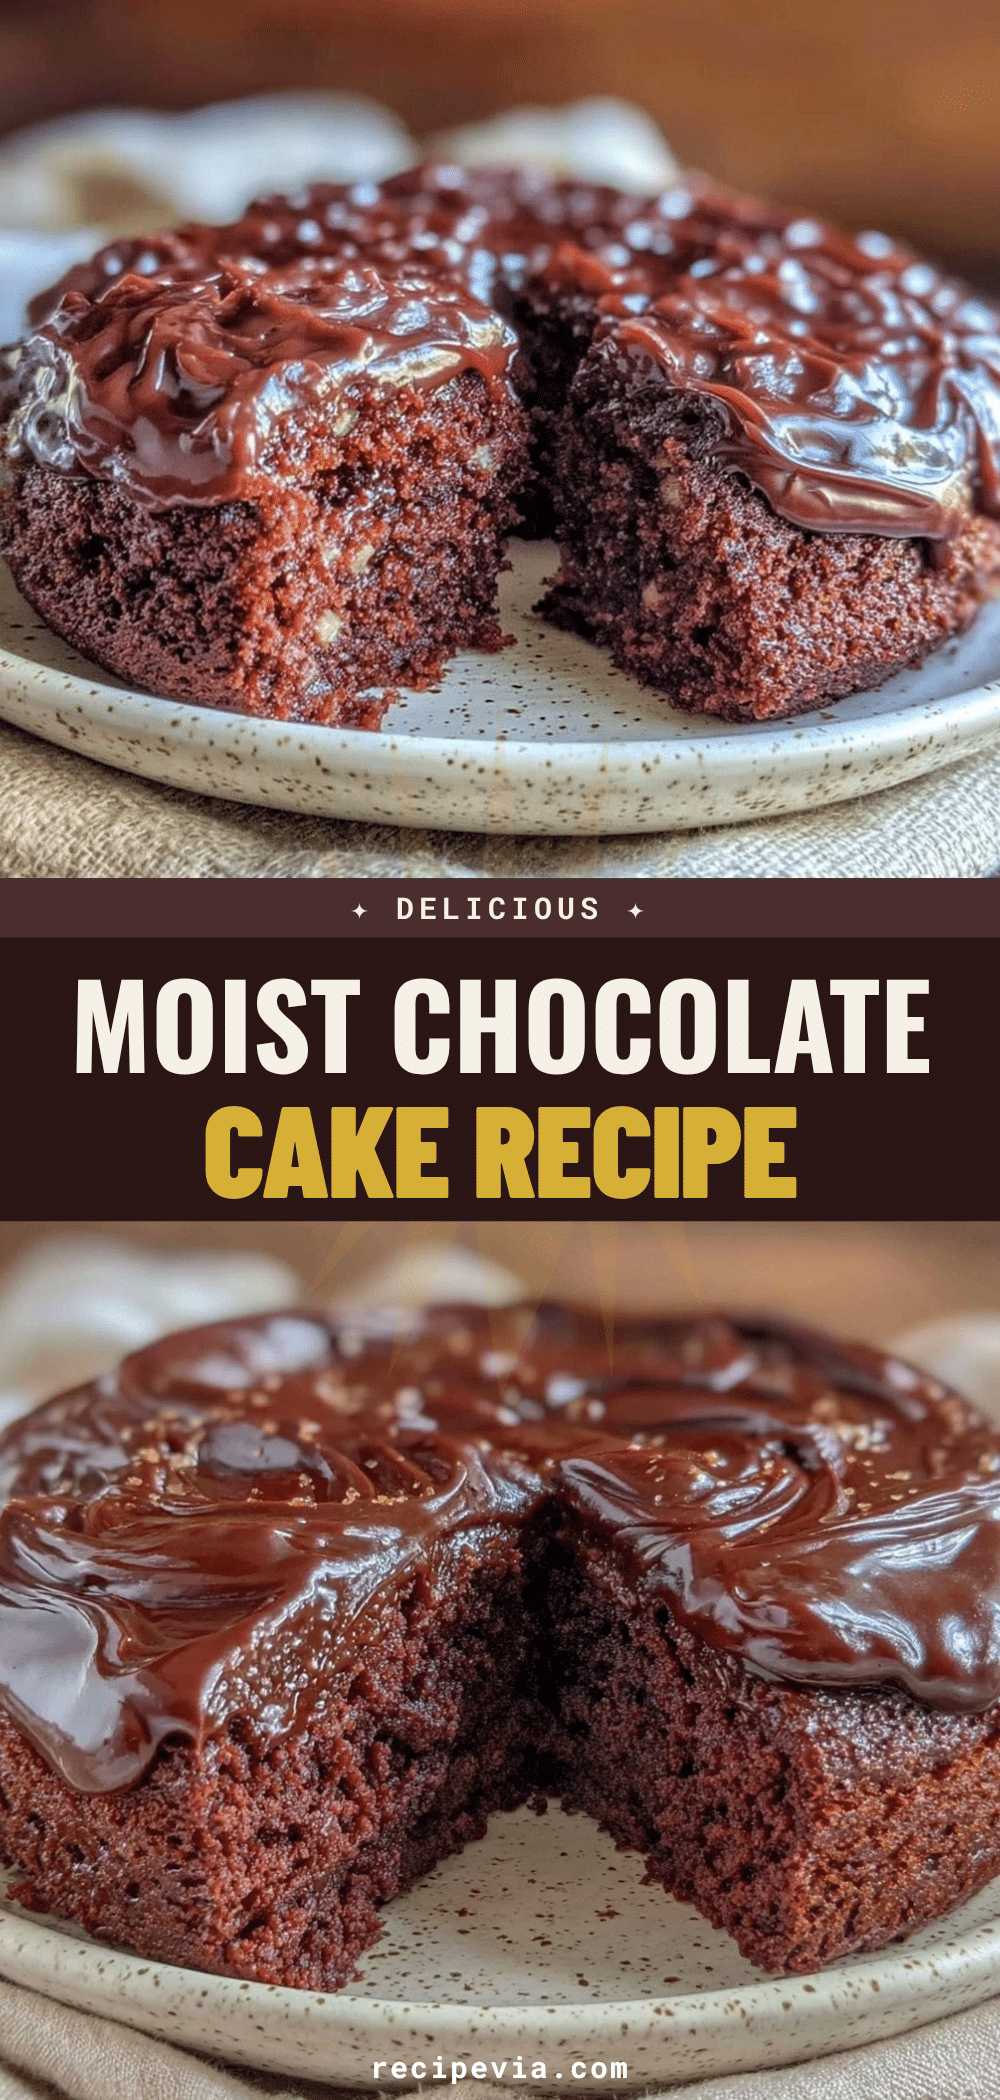

Moist Chocolate Cake: Feeds 12 for $5
- Total Time: 45-50 minutes
- Yield: 12 servings 1x
Description
A budget-friendly, incredibly moist chocolate cake made with simple pantry staples. It uses oil instead of butter for lasting moisture and hot liquid to bloom the cocoa flavor, resulting in a restaurant-quality dessert for under five dollars.
Ingredients
- 1 ¾ cups (220g) All-Purpose Flour
- 1 ½ cups (300g) Granulated Sugar
- ¾ cup (75g) Unsweetened Cocoa Powder
- 1 ½ teaspoons Baking Soda
- 1 teaspoon Salt
- 2 large Eggs, room temperature
- ½ cup (120ml) Vegetable Oil
- 1 cup (240ml) Milk
- 2 teaspoons Vanilla Extract
- 1 cup (240ml) Hot Water or Hot Coffee
Instructions
- Preheat oven to 350°F (175°C). Grease two 8-inch round cake pans and dust with flour, or line bottoms with parchment paper.
- In a large mixing bowl, whisk together flour, sugar, cocoa powder, baking soda, and salt for about one minute to ensure even distribution.
- Add eggs, vegetable oil, milk, and vanilla extract to the dry ingredients. Beat on medium speed for about two minutes until the batter is smooth and thick.
- Carefully pour in the hot water or hot coffee. Stir gently by hand until just combined. The batter will be thin; do not overmix.
- Pour batter evenly into prepared pans. Bake on the center rack for 30 to 35 minutes. Do not open the oven door before 25 minutes.
- Test for doneness by inserting a wooden toothpick into the center; it should come out with a few moist crumbs attached.
- Remove pans from oven and let cool in the pan for 10 minutes.
- Run a knife around the edges and invert cakes onto a cooling rack to cool completely before frosting.
Notes
Room temperature eggs emulsify better. Hot water or coffee ‘blooms’ the cocoa for deeper flavor. Do not overmix after adding hot liquid to prevent toughness. Cake stays moist for up to three days due to oil content. Can be frozen unfrosted for up to three months.
- Prep Time: 15 minutes
- Cook Time: 30-35 minutes
- Category: Dessert
- Cuisine: American
Nutrition
- Serving Size: 1 slice
- Calories: 250300
- Sugar: 28
- Sodium: 350
- Fat: 10
- Saturated Fat: 2
- Carbohydrates: 40
- Fiber: 2
- Protein: 4
Keywords: budget cake, chocolate cake, moist chocolate cake, cheap dessert, easy baking, pantry staples, vegetarian dessert