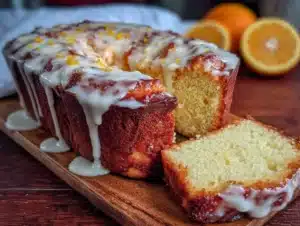
I still remember the first time I made this cake. It was a Tuesday, I was broke, and I had exactly four things left in my kitchen. Honestly, I was about to order pizza. But then I looked at that bag of flour, the box of Duncan Hines mix, the eggs, and the oil. I thought, “Why not?”
So I threw it together. No fancy butter creaming. No expensive vanilla bean paste. Just simple, cheap stuff. When that smell hit the hallway, my neighbor actually knocked on my door asking what I was baking. He took one bite and literally said, “Slap ya momma.”
That’s how the name stuck. It’s not just a cake. It’s a budget hack that tastes like a bakery premium. This Moist Slap Ya Momma Pound Cake is built from what’s already cheap in your pantry. You know the drill. You’re tired of spending $6 on a loaf that dries out by Thursday. This cake stays moist for days. It’s dense, sweet, and incredibly forgiving.
I’ve tested this over a dozen times. I’ve made it for potlucks, church suppers, and random Tuesday cravings. Every single time, people ask for the recipe. They can’t believe it’s made from a box mix and basic staples. It’s the kind of dessert that makes you feel like a pro chef without breaking the bank. Let’s face it, we all love a good deal, especially when it tastes this good.
If you’ve ever struggled with dry desserts or want to stretch your grocery budget further, this is your answer. It’s perfect for busy families, college students, or anyone who wants a sweet treat without the guilt of a high price tag. You’ll love how easy it is to throw together. It’s comfort food reimagined—faster, cheaper, but with the same soul-soothing satisfaction. Seriously, once you try this, you might never buy store-bought pound cake again.
Why You’ll Love This Budget-Friendly Recipe
This isn’t just another quick bake. This is the kind of recipe that saves your dinner (and dessert) plan when you’re running on empty. I learned this technique during a semester of college when my funds were low. I needed something that felt special but cost pennies. This Moist Slap Ya Momma Pound Cake became my go-to. It’s reliable, tasty, and incredibly cheap to make.
Here is why this recipe has become a staple in my kitchen:
- Quick & Easy: You can have this in the oven in under 20 minutes of prep time. It’s perfect for busy weeknights or when you suddenly need a dessert for unexpected guests. No complicated steps here.
- Simple Ingredients: You likely already have everything in your kitchen. Flour, eggs, oil, and a cake mix. No fancy grocery trips needed. It’s built from what’s already cheap in your pantry, which is half the battle won.
- Perfect for Potlucks: This cake travels well. It doesn’t need refrigeration (though it tastes better chilled). It’s great for picnics, church gatherings, or office parties where you want to bring something impressive but cheap.
- Crowd-Pleaser: Kids love it because it’s sweet. Adults love it because it’s not too heavy. It always gets rave reviews. People are always surprised when they find out how little it cost to make.
- Unbelievably Delicious: The texture is dense yet moist. It’s not dry like some pound cakes. The oil keeps it soft, and the mix gives it that reliable structure. It’s next-level comfort food.
What makes this different from other pound cakes? Most recipes call for butter, which is expensive and can make the cake heavy if not handled perfectly. This version uses oil, which keeps it moist for days. It’s a trick I picked up from my grandma. She always said, “Oil keeps it soft, butter makes it rich.” For a budget cake, we want soft and lasting.
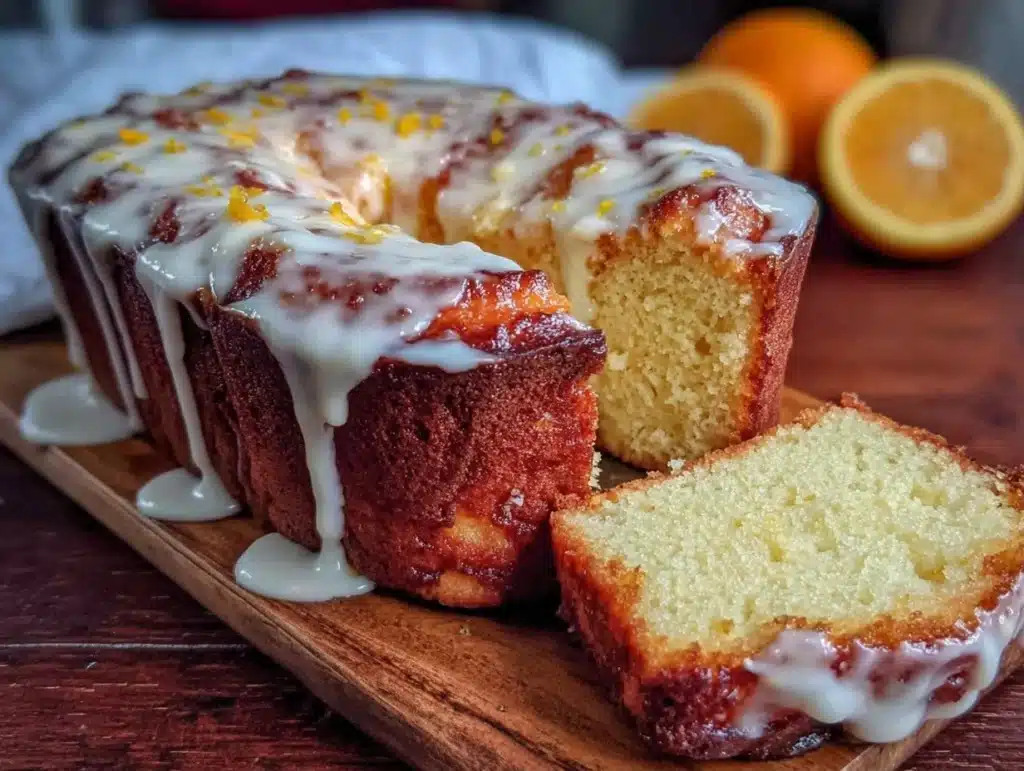
It’s the kind of cake that makes you close your eyes after the first bite. It’s simple, but it hits all the right notes. It’s not just good—it’s the kind of dessert that feels like a hug. You can serve it plain, or add a glaze if you want to splurge on a little extra sweetness. But honestly, even plain, it’s amazing. It turns a simple ingredient list into something memorable.
What Ingredients You Will Need
This recipe uses simple, wholesome ingredients to deliver bold flavor and satisfying texture without the fuss. The beauty here is that we aren’t using exotic spices or expensive cheeses. We are using the backbone of American baking. These are pantry staples that you probably already own. The goal is to stretch every dollar while keeping the flavor high.
- Yellow Cake Mix (15.25 oz box): This is the base. I recommend using a standard brand like Duncan Hines or Betty Crocker. They are consistent and cheap. Look for sales at your local grocery store. Sometimes you can find them for $0.99. That’s the key to the budget aspect. It provides the leavening and the sweet flavor profile we need.
- Instant Pudding Mix (1 small box, 3.4 oz): This is the secret weapon. Instant vanilla pudding mix adds moisture and density. It keeps the cake from drying out. It’s cheap, too. I always keep a box in my pantry just for this. It adds a creamy texture that butter alone can’t achieve. It’s an old baker’s trick for keeping cakes soft.
- Eggs (4 large): Room temperature eggs are best, but cold ones work fine here. They provide structure and richness. You don’t need organic or free-range for this. The standard white or brown eggs from your fridge work perfectly. They bind the cake mix and pudding together.
- Vegetable Oil (1 cup): This is crucial. Oil keeps the cake moist longer than butter. It’s also cheaper. I use standard vegetable or canola oil. Don’t skip this step. The fat content is what gives it that “slap ya momma” moistness. It’s not heavy like butter; it’s light and tender.
- Water (1 cup): Some recipes use milk, but water is cheaper and works just as well here. The pudding mix and cake mix already have enough dairy solids. Water helps activate the ingredients without adding extra cost. If you have milk, you can use it, but water is the budget choice.
- Optional: Powdered Sugar (for dusting): If you want a little extra sweetness, dust the top with powdered sugar. It’s cheap and adds a nice visual contrast. It’s not necessary, but it makes it look fancy. A simple sift adds elegance without the effort of making a glaze.
Keep it scannable. These are the basics. No need for exotic ingredients. The magic is in the combination. The pudding mix changes everything. It’s the difference between a dry cake and a moist one. I learned this the hard way when I first tried skipping it. The cake was fine, but not amazing. With it, it’s unforgettable.
Equipment Needed
You don’t need fancy gadgets to make this cake. In fact, keeping it simple is part of the budget-friendly vibe. Here is what you’ll need to get started.
- 9×5 inch Loaf Pan: This is the standard size for pound cakes. It gives you that classic shape. If you don’t have one, a 9-inch round pan works too, but the bake time will be shorter. Grease it well with non-stick spray or butter.
- Mixing Bowls: One large bowl is all you need. You can mix everything in one go. It saves on cleanup, which is always a win.
- Whisk or Electric Mixer: A whisk works fine if you have strong arms. But an electric mixer makes it easier. It ensures there are no lumps in the pudding mix. I prefer a hand mixer because it’s quick.
- Cooling Rack: Essential for letting the cake cool evenly. If you let it sit in the hot pan, it might get soggy on the bottom. A wire rack allows air to circulate.
- Measuring Cups and Spoons: Be precise. Baking is chemistry. Too much flour makes it dry. Too little makes it dense. Use the scoop-and-level method for accuracy.
I’ve used everything from ceramic bowls to stainless steel. It doesn’t matter. Just make sure your tools are clean. A dirty bowl can introduce bacteria. Also, if your loaf pan is old, check for warping. A warped pan can cause uneven baking. Keep it simple and effective.
Preparation Method
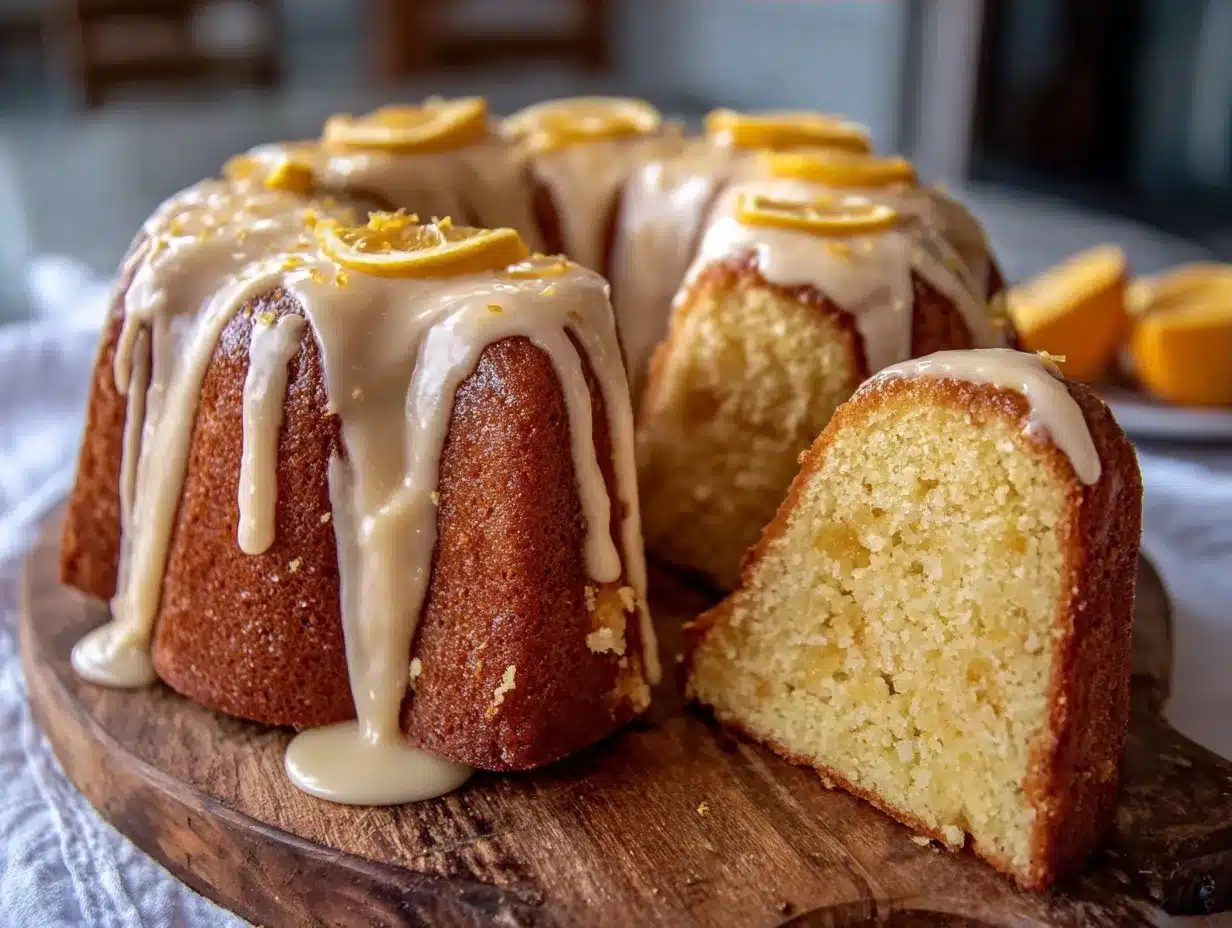
- Preheat Your Oven: Start by setting your oven to 350°F (175°C). This is the standard temperature for pound cakes. It allows the cake to bake evenly without burning the top. Preheating takes about 10-15 minutes. Use this time to gather your ingredients.
- Prepare the Pan: Grease your 9×5 loaf pan thoroughly. Use cooking spray or butter. Flour the pan lightly if you want extra insurance. This prevents sticking. A stuck cake is a sad cake. You don’t want to fight with it later.
- Combine Dry Ingredients: In your large bowl, add the yellow cake mix and the instant pudding mix. Whisk them together first. This ensures the pudding is distributed evenly. It prevents clumps in the final batter. It’s a small step that makes a big difference.
- Add Eggs and Oil: Crack the four eggs into the bowl. Pour in the cup of vegetable oil. Start mixing on low speed. You want to combine everything without creating a flour cloud. Slow and steady wins the race.
- Gradually Add Water: Pour in the cup of water slowly. Mix on medium speed until the batter is smooth. It should look thick and glossy. Don’t overmix. Overmixing can make the cake tough. Stop when you see no dry streaks.
- Pour into Pan: Scrape the batter into your prepared loaf pan. Smooth the top with a spatula. Make sure the corners are filled. This ensures even baking. Tap the pan gently on the counter to release air bubbles.
- Bake: Place the pan in the center of the oven. Bake for 50-60 minutes. Do not open the oven door for the first 40 minutes. This helps the cake rise properly. Check it at 50 minutes with a toothpick. If it comes out clean, it’s done.
- Cool: Let the cake cool in the pan for 10 minutes. Then turn it out onto a wire rack. Let it cool completely before slicing. This prevents it from crumbling. Patience is key here.
Watch the color. It should be golden brown. If it’s browning too fast, cover it with foil. This is a common trick for long bakes. It protects the top while the inside cooks. Trust your senses. The smell will tell you when it’s ready.
Cooking Tips & Techniques
Here are some pro tips I’ve learned over the years. They will help you avoid common mistakes and get the best result.
- Don’t Overmix: This is the #1 mistake. Once you add the flour, mix just until combined. Overmixing develops gluten, which makes the cake tough. You want a tender crumb.
- Room Temperature Eggs: If you have time, let the eggs sit out for 30 minutes. They mix better into the batter. Cold eggs can cause the oil to solidify, leading to a lumpy batter.
- Check Your Oven: Ovens vary. If your oven runs hot, check the cake 5 minutes early. If it runs cold, add 5 minutes. Use an oven thermometer to check the actual temperature.
- The Toothpick Test: Insert a toothpick into the center. If it comes out with moist crumbs, it’s done. If it’s wet batter, bake longer. If it’s completely clean, it might be overbaked.
- Resting Time: Let the cake rest before slicing. It continues to cook slightly after being removed from the oven. Slicing too early can make it fall apart.
I once made this cake while multitasking. I answered the phone and forgot to set the timer. The cake was dry. Lesson learned. Always set a timer. Also, don’t be afraid to tweak the water amount. If your batter looks too thick, add a splash more. If it’s too thin, add a spoon of flour. Adjust as needed.
Variations & Adaptations
This recipe is a canvas. You can change it up based on what you have or what you crave.
- Fruit Addition: Fold in one cup of fresh or frozen berries. Strawberries or blueberries work well. They add moisture and flavor. Just be gentle so you don’t crush them.
- Coffee Flavor: Replace the water with strong brewed coffee. It enhances the chocolate or vanilla notes. It’s a great way to make it taste more sophisticated.
- Lemon Glaze: Mix powdered sugar with lemon juice and drizzle it over the top. It adds a tangy contrast to the sweet cake. It’s refreshing and light.
- Gluten-Free: Use a gluten-free cake mix. Most brands work well. Just check the pudding mix for gluten-free status. The rest of the ingredients are naturally gluten-free.
- Dairy-Free: Use a dairy-free pudding mix and ensure your cake mix is dairy-free. The oil and eggs keep it moist. It’s still delicious.
I’ve tried adding chocolate chips. They melt into pockets of goodness. It’s a great twist for kids. You can also add nuts for crunch. Walnuts or pecans pair well with the vanilla. It adds texture. Try one variation and see what you like.
Serving & Storage Suggestions
This cake is versatile. Serve it warm with a cup of coffee. Or serve it cold with ice cream. It’s great for breakfast too. A slice with butter is surprisingly good.
Store it in an airtight container at room temperature for up to three days. It stays moist thanks to the oil. For longer storage, wrap it in plastic and freeze it. It freezes well for up to two months. Thaw it at room temperature before serving.
To reheat, microwave a slice for 20 seconds. It brings back the freshness. Don’t overheat it. You just want it warm. The flavors develop over time. It often tastes better the next day. Let it sit for a few hours before slicing.
Pair it with fresh fruit or a simple salad. It balances the sweetness. It’s not too heavy for a main dessert. It’s perfect for any occasion. From birthdays to bake sales, this cake fits in.
Nutritional Information & Benefits
This cake is indulgent but reasonable in portions. A slice has about 350 calories. It’s high in carbohydrates and fats. The sugar content is significant. Enjoy it in moderation.
The eggs provide protein. The oil provides healthy fats if you use olive oil. But mostly, it’s a treat. It’s not a health food. It’s a comfort food. That’s okay. Life is short. Eat the cake.
It’s gluten-containing. Not suitable for celiacs unless you use GF mix. It contains eggs. Watch out for allergies. It’s dairy-free if you use water and dairy-free mix. Check labels carefully.
I view this as a occasional treat. It’s cheap, so I can make it often. But I balance it with exercise. It’s about balance. Don’t feel guilty. Enjoy the moment. It’s a small pleasure that brings joy.
Conclusion
This Moist Slap Ya Momma Pound Cake is a winner. It’s cheap, easy, and delicious. It’s built from what’s already cheap in your pantry. You don’t need to spend a lot to make something special. This recipe proves that.
Try it out. Customize it. Make it your own. Add fruits or nuts. Change the glaze. Find what you love. It’s a flexible recipe. It’s forgiving. You can’t mess it up.
I love this recipe because it’s simple. It reminds me of home. It’s comforting. It’s reliable. I hope you love it as much as I do. Share it with friends. Make it for your family. It’s a crowd-pleaser.
Leave a comment below. Tell me how you made it. Did you add berries? Did you use coffee? I want to hear your stories. Tag me on social media. I’d love to see your creations. Happy baking!
Frequently Asked Questions
Can I use butter instead of oil?
Yes, you can use melted butter. It will change the flavor to be richer. But it won’t stay as moist. Oil is better for longevity. If you use butter, add a little extra milk to keep it soft.
How long does the cake last?
It lasts up to three days at room temperature. It stays moist. For longer storage, freeze it. It will last up to two months in the freezer. Wrap it tightly in plastic.
Can I make this in a bundt pan?
Yes, you can. Adjust the bake time. It might take longer. Check with a toothpick. Make sure to grease the pan well. Bundt pans have many nooks. Grease every crevice.
Is this cake gluten-free?
Not by default. Use a gluten-free cake mix and pudding mix. Ensure all ingredients are certified GF. The rest of the steps remain the same. It works well with GF blends.
Why is my cake dry?
You might have overbaked it. Check it early. Or you might have used too much flour. Measure carefully. Also, ensure you used oil, not butter, for maximum moisture. Oil keeps it soft.
Pin This Recipe!
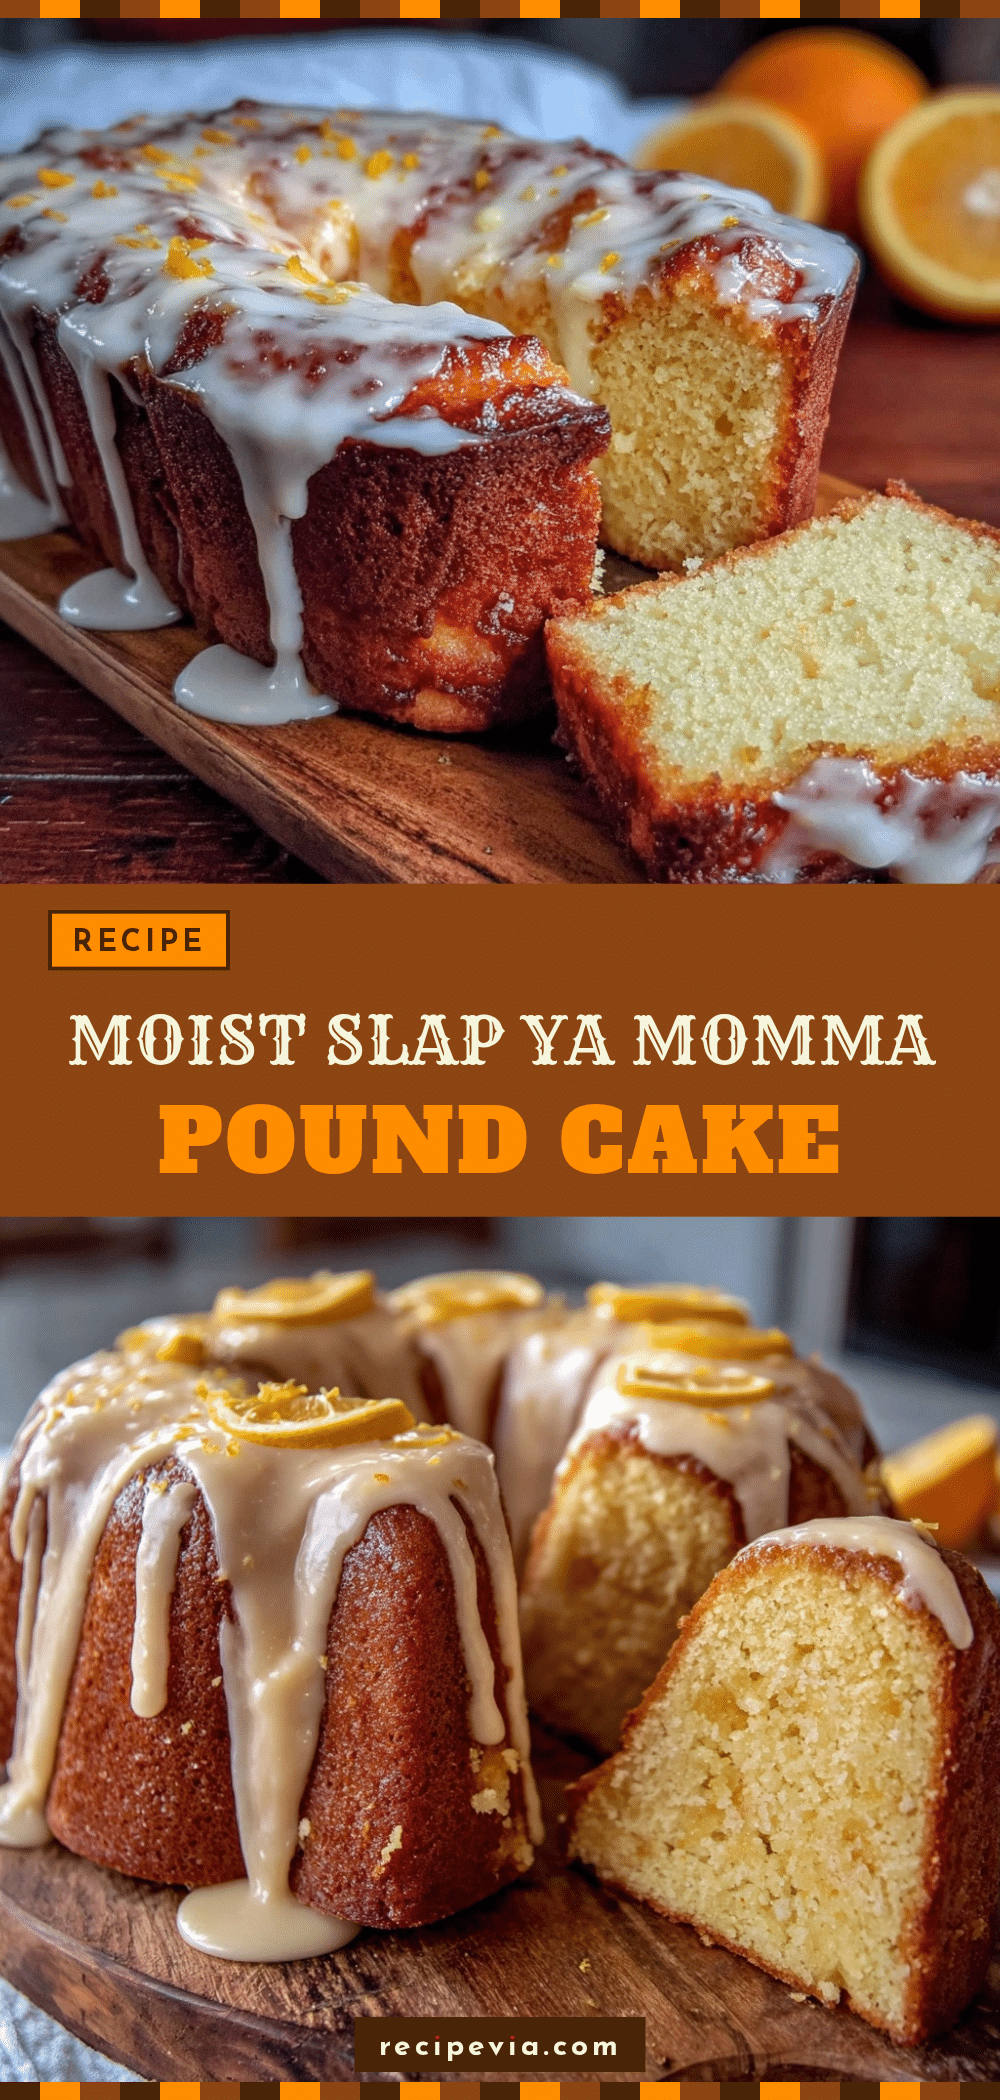

Moist Slap Ya Momma Pound Cake: 4-Ingredient Budget Pantry Hack
- Total Time: 70-80 minutes
- Yield: 8 servings 1x
Description
A budget-friendly, incredibly moist pound cake made with just four simple pantry staples: cake mix, instant pudding, eggs, and oil. This forgiving recipe yields a dense, sweet treat that stays fresh for days.
Ingredients
- 15.25 oz box Yellow Cake Mix
- 3.4 oz box Instant Vanilla Pudding Mix
- 4 large Eggs
- 1 cup Vegetable Oil
- 1 cup Water
- Powdered Sugar (optional, for dusting)
Instructions
- Preheat oven to 350°F (175°C).
- Grease a 9×5 inch loaf pan thoroughly with cooking spray or butter.
- In a large bowl, whisk together the yellow cake mix and instant pudding mix.
- Add the eggs and vegetable oil to the dry ingredients. Mix on low speed until combined.
- Gradually pour in the water while mixing on medium speed until the batter is smooth and glossy. Do not overmix.
- Pour the batter into the prepared loaf pan and smooth the top. Tap the pan gently to release air bubbles.
- Bake for 50-60 minutes. Do not open the oven door for the first 40 minutes. Check for doneness with a toothpick inserted into the center.
- Let the cake cool in the pan for 10 minutes, then turn it out onto a wire rack to cool completely before slicing.
Notes
Do not overmix the batter to avoid a tough texture. Room temperature eggs mix better. If the cake browns too quickly, cover it with foil. The cake stays moist for up to 3 days at room temperature or can be frozen for up to 2 months.
- Prep Time: 20 minutes
- Cook Time: 50-60 minutes
- Category: Dessert
- Cuisine: American
Nutrition
- Serving Size: 1 slice
- Calories: 350
- Sugar: 30
- Sodium: 350
- Fat: 18
- Saturated Fat: 3
- Carbohydrates: 45
- Fiber: 1
- Protein: 4
Keywords: pound cake, budget recipe, pantry hack, moist cake, easy dessert, cake mix hack, instant pudding cake, cheap baking