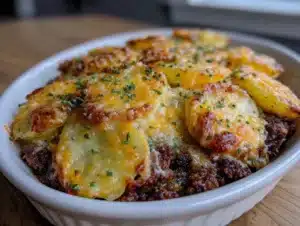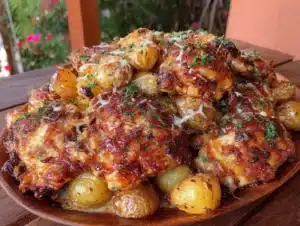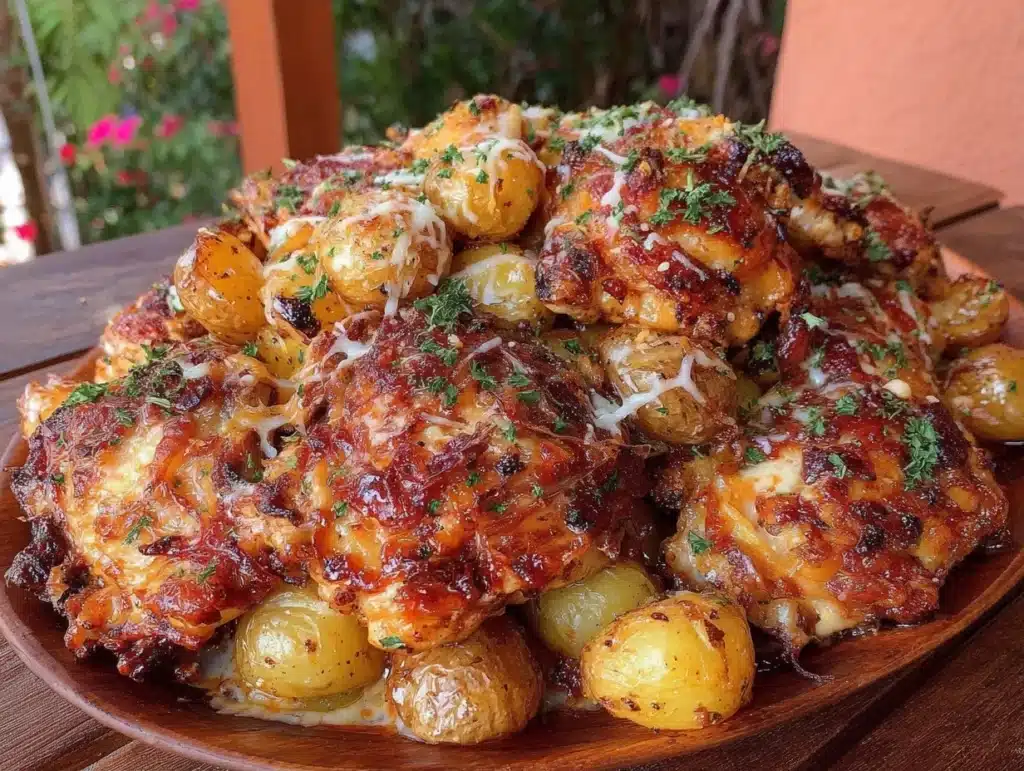
The smell of garlic sizzling in olive oil, followed by the sweet tang of simmering marinara, is the kind of comfort that stops a hungry family in their tracks. I remember standing in my tiny apartment kitchen, staring at an empty fridge and a crumpled twenty-dollar bill, knowing I had to feed three people before the sun went down. I didn’t have time for breading stations, flour everywhere, or deep-frying oil that cost more than the chicken itself. So, I grabbed my biggest skillet, threw in some store-bought breadcrumbs, and improvised a dish that became a weekly staple. This One-Skillet Crispy Chicken Parmesan is exactly that: a no-fuss, wallet-friendly dinner that tastes like it came from a restaurant but costs pennies on the dollar.
Let’s face it, we’ve all been there. You want something cozy and cheesy, but you don’t want to spend an hour prepping or a fortune on ingredients. That’s why I’ve perfected this method over the years. It’s not about fancy techniques; it’s about using what you have and making it work. After testing this recipe with different cuts of chicken and various sauces, I found that the secret isn’t in the brand of parmesan—it’s in the timing and the heat. You know how sometimes dinner feels like a chore? This one flips the script. It’s quick, it’s dirty (just one pan!), and it delivers that crunch and melt you crave without the stress. Honestly, it’s the kind of meal that makes you feel like a culinary genius, even if you’re just a home cook stretching a budget.
This recipe is perfect for busy weeknights, school nights, or when you just need a hot meal on the table fast. It’s also surprisingly healthy if you choose leaner chicken breasts and watch the cheese amount. But more importantly, it’s reliable. I’ve made this for potlucks, for date nights in, and for lazy Sundays. Every single time, it hits the spot. And the best part? You don’t need a deep fryer or a second pair of hands to manage multiple pans. Just one skillet, one spoon, and about thirty minutes. Let’s get cooking.
Why You’ll Love This Recipe
I’ve tested this chicken parmesan recipe more times than I can count, tweaking the breading, the sauce, and the cooking time to get it just right. It’s not just another version of an old favorite; it’s the version that actually works for real life. Here is why this one-skillet method beats the traditional approach every time:
- Quick & Easy: From start to finish, you’re looking at under 30 minutes. This is perfect for those chaotic weeknights when you’re racing against the clock.
- Simple Ingredients: You likely already have most of this in your pantry. Chicken, breadcrumbs, marinara, and cheese. No fancy grocery trips needed.
- Perfect for Family Dinners: It’s a classic crowd-pleaser. Kids love the cheese pull, and adults appreciate the simplicity. It’s great for potlucks too.
- Crowd-Pleaser: I’ve served this to picky eaters and foodies alike, and the response is always the same: rave reviews.
- Unbelievably Delicious: The texture is next-level. You get the crispiness of the breading without the grease, and the cheese melts perfectly over the hot chicken.
- Less Cleanup: This is the biggest win for me. One pan means one dish to wash. Who doesn’t love that?
What makes this recipe different is the technique. Most people drown their chicken in sauce, making it soggy. I’ve learned that keeping the chicken crispy while warming the sauce is key. By searing the chicken first and then spooning the sauce over it, you maintain that crunch. It’s a small tweak that makes a huge difference. This isn’t just good; it’s the kind of meal that makes you close your eyes after the first bite. It’s comfort food reimagined—faster, cheaper, but with the same soul-soothing satisfaction. It’s perfect for impressing guests without the stress, or turning a simple Tuesday night into something memorable.
What Ingredients You Will Need
This recipe relies on simple, wholesome ingredients to deliver bold flavor and satisfying texture without the fuss. You don’t need expensive cuts or hard-to-find items. In fact, some of the best flavors come from the basics you already have on hand. Here is what you’ll need to make this happen:
- Chicken Breasts: Boneless, skinless chicken breasts are the star. I prefer buying them when they are on sale and freezing them for later. Look for uniform thickness so they cook evenly. If you can’t find breasts, tenderloins work too, but you’ll need to adjust the cooking time.
- Panko Breadcrumbs: This is non-negotiable for that extra crunch. Regular breadcrumbs get too soft in the sauce. Panko stays crispier longer. I recommend using a standard brand; you don’t need the fancy seasoned ones because you’re adding your own herbs.
- Grated Parmesan Cheese: Use the pre-grated stuff if you’re in a hurry, but freshly grated melts better. I like to mix it with the panko for a flavor boost. Just don’t go overboard, as you’ll be adding more cheese on top.
- All-Purpose Flour: A light dusting helps the egg wash stick to the chicken. It’s a thin layer, so you don’t need much.
- Eggs: Large eggs, beaten. This acts as the glue for the breading. If you’re out, you can use a little milk, but eggs give better adhesion.
- Marinara Sauce: A good quality jarred sauce is totally fine here. Look for one with no added sugar if you’re watching your intake. I often add a pinch of red pepper flakes or dried oregano to the jarred sauce to wake it up.
- Mozzarella Cheese: Low-moisture, part-skim mozzarella is best for melting. Fresh mozzarella can make the dish watery, so stick to the blocks you grate yourself or the pre-shredded kind.
- Olive Oil: For frying. You don’t need a lot, just enough to coat the bottom of the pan. Extra virgin is nice, but a regular olive oil works fine for high heat.
- Italian Seasoning: Dried herbs add depth. If you don’t have this, a mix of oregano, basil, and thyme works in a pinch.
Keep in mind, you can swap the chicken for turkey cutlets if you want something leaner. Or, if you’re vegetarian, thick slices of eggplant or portobello mushrooms can stand in for the chicken. The breading technique remains the same. The key is to keep it simple and let the ingredients shine.
Do I need to use fresh herbs?
Dried herbs work perfectly fine and are often more convenient. Fresh herbs can be added at the very end for a pop of color, but they aren’t necessary for the core flavor.
Can I use gluten-free breadcrumbs?
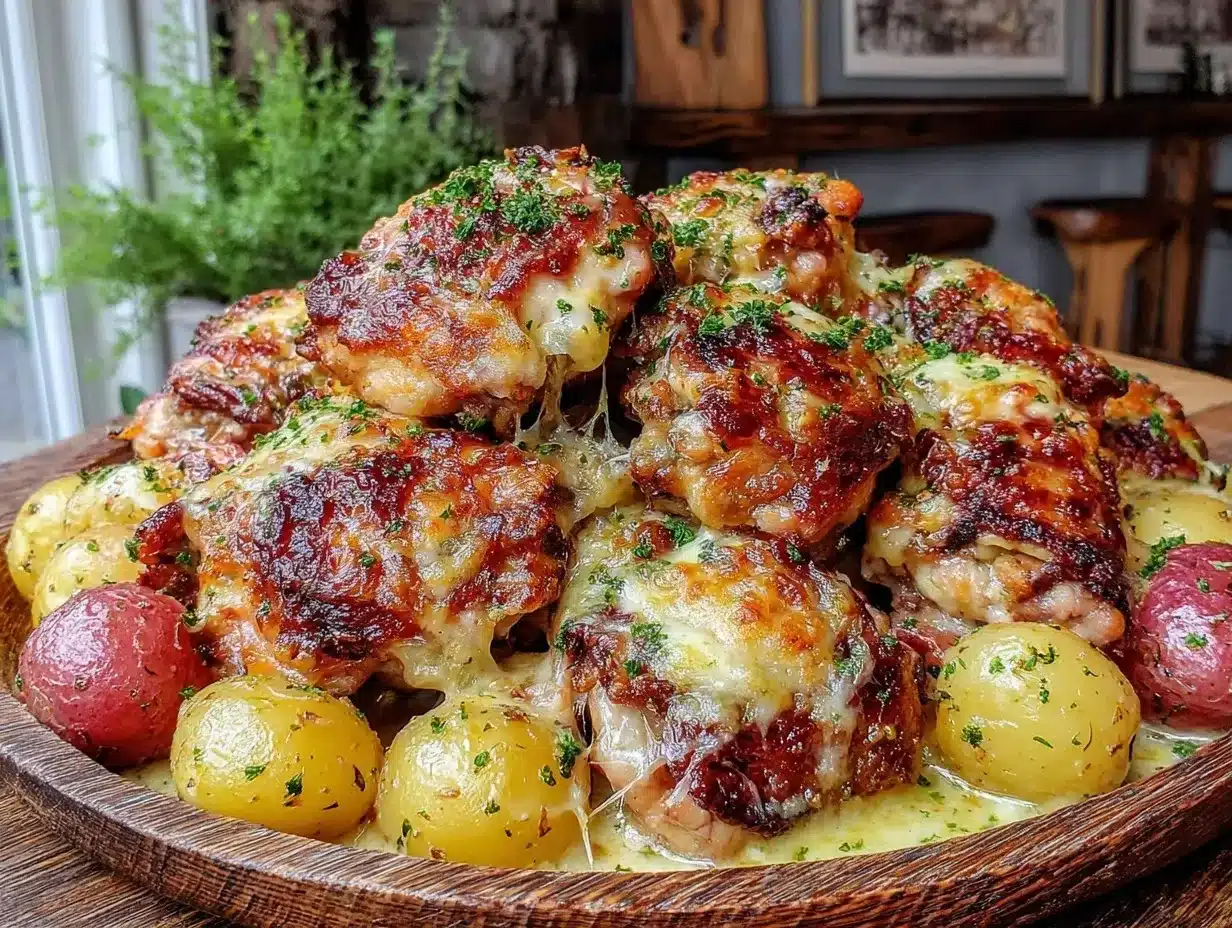
Yes, absolutely. Just keep in mind that gluten-free breadcrumbs can sometimes be denser. You might need to press them onto the chicken a bit more firmly to ensure they stick.
Equipment Needed
You don’t need a fancy kitchen to make this dish. In fact, keeping the equipment minimal is part of the appeal. Here is what you’ll need:
- Large Skillet: A 12-inch cast iron skillet or a heavy-bottomed stainless steel pan is ideal. It needs to be large enough to hold the chicken breasts in a single layer without overcrowding. If your chicken is thick, you might need a slightly larger pan.
- Shallow Dishes: You’ll need three shallow dishes or plates for the breading station. One for flour, one for eggs, and one for the breadcrumb mixture. You can use pie plates or even wide bowls.
- Tongs:
- Meat Mallet or Rolling Pin: Chicken breasts often have uneven thickness. Pounding them to an even ½-inch thickness ensures they cook evenly. If you don’t have a mallet, a heavy rolling pin or the bottom of a glass works.
- Spatula: A thin metal spatula is useful for transferring the chicken from the pan to a plate or for moving it around gently.
If you don’t have a large skillet, you can cook in batches. Just be aware that cooking in batches takes longer and can dry out the chicken if it sits too long. I always try to fit all the chicken in one go. For budget-conscious cooks, a well-seasoned cast iron skillet is a great investment that lasts forever and distributes heat evenly.
Preparation Method
Now for the fun part—making the chicken. This process is straightforward, but attention to detail makes all the difference. Follow these steps closely for the best results.
- Prep the Chicken: Start by patting the chicken breasts dry with paper towels. Moisture is the enemy of crispiness. If the breasts are very thick, place them between two sheets of plastic wrap and pound them with a meat mallet until they are about ½-inch thick. This step is crucial for even cooking. (Time: 5 minutes)
- Set Up the Breading Station: Prepare three shallow dishes. In the first, place about ½ cup of all-purpose flour. In the second, beat two large eggs with a pinch of salt and pepper. In the third, mix 1 cup of panko breadcrumbs with ¼ cup of grated parmesan cheese and 1 teaspoon of Italian seasoning. (Time: 3 minutes)
- Bread the Chicken: Dredge each chicken breast in the flour, shaking off any excess. Then dip it into the egg wash, letting the excess drip off. Finally, press it into the breadcrumb mixture, ensuring it is fully coated. Press the crumbs in firmly so they stick. Place the breaded chicken on a clean plate. (Time: 5 minutes)
- Heat the Oil: Heat 2 tablespoons of olive oil in your large skillet over medium-high heat. The oil is ready when it shimmers but doesn’t smoke. If it smokes, it’s too hot and will burn the breadcrumbs. (Time: 2 minutes)
- Sear the Chicken: Carefully place the chicken breasts in the hot skillet. Do not crowd the pan; cook in batches if necessary. Sear for 3-4 minutes on one side until golden brown and crispy. Flip and cook for another 3-4 minutes on the other side. The chicken doesn’t need to be fully cooked through yet; we just want a nice crust. (Time: 8-10 minutes)
- Add Sauce and Cheese: Once the chicken is browned, reduce the heat to medium-low. Spoon about ½ cup of marinara sauce over each chicken breast. Sprinkle a generous amount of shredded mozzarella cheese on top of the sauce. Cover the skillet with a lid. (Time: 1 minute)
- Melt and Finish: Let the chicken simmer covered for 5-7 minutes, or until the cheese is melted and bubbly, and the internal temperature of the chicken reaches 165°F (74°C). If you don’t have a lid, you can tent the pan with foil. (Time: 5-7 minutes)
- Serve: Remove from heat. Let the chicken rest for 2 minutes before serving. This allows the juices to redistribute. Garnish with fresh basil if you have it. (Time: 2 minutes)
Total time: Approximately 25-30 minutes. The key here is not to rush the searing. If you flip too soon, the breading will stick to the pan. Let it develop that golden color first.
What if my chicken is still raw inside?
If the chicken is browned but not cooked through, you can finish it in the oven. Transfer the skillet to a 375°F (190°C) oven for 10-15 minutes. This ensures even cooking without burning the top.
Cooking Tips & Techniques
After making this dish many times, I’ve picked up a few tricks that save the day. The biggest mistake people make is overcrowding the pan. If you put too many pieces of chicken in at once, the temperature drops, and the chicken steams instead of searing. This leads to soggy breading. Always give the chicken space.
Another tip is to use a mix of panko and regular breadcrumbs. Pure panko can sometimes fall off during cooking. Adding a little regular breadcrumb helps it adhere better. Also, don’t skip the flour step. It creates a dry surface for the egg to grab onto. Without it, the breading might slide off.
I once tried to skip the pounding step and ended up with unevenly cooked chicken—raw in the middle and dry on the outside. Lesson learned! Always pound the chicken to an even thickness. It’s a small effort for a big reward.
When it comes to the sauce, don’t drown the chicken. A thin layer of sauce is enough to flavor the chicken and melt the cheese. Too much sauce will make the breading soggy. Spoon it gently over the top. And finally, let the chicken rest after cooking. This keeps the juices inside, making the meat tender and moist.
Can I cook this in the air fryer?
Yes, you can. Cook the breaded chicken in the air fryer at 400°F (200°C) for 10-12 minutes. Then add the sauce and cheese and cook for another 2-3 minutes to melt. It’s a great low-oil option.
Variations & Adaptations
This recipe is incredibly versatile. Here are a few ways to switch it up:
- Spicy Version: Add red pepper flakes to the breadcrumb mixture or use a spicy marinara sauce. It adds a nice kick that balances the richness of the cheese.
- Vegetarian Option: Swap the chicken for thick slices of eggplant or portobello mushrooms. Bread and cook them exactly the same way. The texture holds up well.
- Gluten-Free: Use gluten-free panko breadcrumbs and ensure your marinara is gluten-free. Most jarred sauces are, but always check the label.
- Dairy-Free: Use a dairy-free cheese alternative for the mozzarella. It doesn’t melt quite the same way, but it still works. You can also skip the parmesan in the breading.
- Herb Crust: Add dried basil, oregano, and garlic powder to the breadcrumbs for an extra flavor boost. I often do this to use up old spice jars.
I personally love adding a layer of prosciutto under the cheese for a salty, savory twist. It’s a bit more expensive, but a little goes a long way. For a budget-friendly twist, stick to the basics and focus on the quality of the chicken and sauce.
How do I make it lower carb?
You can use almond flour or crushed pork rinds instead of breadcrumbs for a low-carb option. The texture will be different, but it’s still crispy and delicious.
Serving & Storage Suggestions
This dish is best served hot and fresh. I like to serve it over a bed of spaghetti or zucchini noodles for a lighter option. A side of garlic bread or a simple green salad completes the meal perfectly. For presentation, garnish with fresh basil leaves and a drizzle of olive oil.
Leftovers can be stored in an airtight container in the refrigerator for up to 3 days. To reheat, use an oven or air fryer at 350°F (175°C) for 10-15 minutes. This helps retain the crispiness. Avoid microwaving, as it will make the breading soggy. You can also freeze the breaded, uncooked chicken for up to 3 months. Just thaw and cook as directed.
The flavors actually improve over time, as the sauce has a chance to penetrate the chicken slightly. So, don’t be afraid to make a double batch. It’s a great meal prep option for busy days.
Can I freeze the cooked chicken?
Yes, but the texture of the breading may soften upon reheating. It’s still tasty, but not as crispy as fresh. For best results, freeze the breaded, uncooked chicken.
Nutritional Information & Benefits
This One-Skillet Crispy Chicken Parmesan is a balanced meal. Chicken breast is a great source of lean protein, which helps build and repair muscle. The parmesan cheese provides calcium and vitamin D. The marinara sauce offers lycopene, an antioxidant found in tomatoes. However, keep an eye on the sodium content in the sauce and cheese. Using low-sodium options can help balance this out.
For those watching their weight, this dish is satisfying without being overly heavy. The protein keeps you full, and the carbs from the breadcrumbs provide energy. It’s a wholesome meal that doesn’t feel like a diet food. I enjoy it as part of a balanced diet, paired with plenty of vegetables.
Is this recipe gluten-free?
Not as written. You’ll need to use gluten-free breadcrumbs and check your sauce. But the base recipe is easily adaptable.
Conclusion
One-Skillet Crispy Chicken Parmesan is more than just a meal; it’s a solution to the everyday dinner dilemma. It’s cheap, it’s easy, and it tastes amazing. I hope you try this recipe and find it as useful in your kitchen as it has been in mine. Feel free to customize it with your favorite herbs or sauces. Make it your own.
If you make this dish, I’d love to hear how it turned out. Leave a comment below with your tips or variations. Share your photos on social media and tag me. Let’s inspire each other to cook more, spend less, and eat well. Happy cooking!
FAQs
Can I use frozen chicken breasts?
It’s best to thaw the chicken first. Cooking frozen chicken in this recipe can lead to uneven cooking and soggy breading. If you must use frozen, thaw it in the fridge overnight.
What kind of pasta goes best with this?
Spaghetti, penne, or fettuccine are all great choices. They hold the sauce well and pair nicely with the chicken.
Can I make this in a slow cooker?
Not really. The slow cooker doesn’t give the chicken the crispy texture we’re looking for. The skillet method is essential for the crust.
How do I prevent the cheese from burning?
Keep the heat on medium-low when melting the cheese. If the pan is too hot, the cheese will burn before it melts. Covering the pan helps trap the heat and melt the cheese gently.
Is there a substitute for panko breadcrumbs?
You can use crushed crackers or regular breadcrumbs, but they won’t be as crispy. Panko is the best for that authentic crunch.
Pin This Recipe!
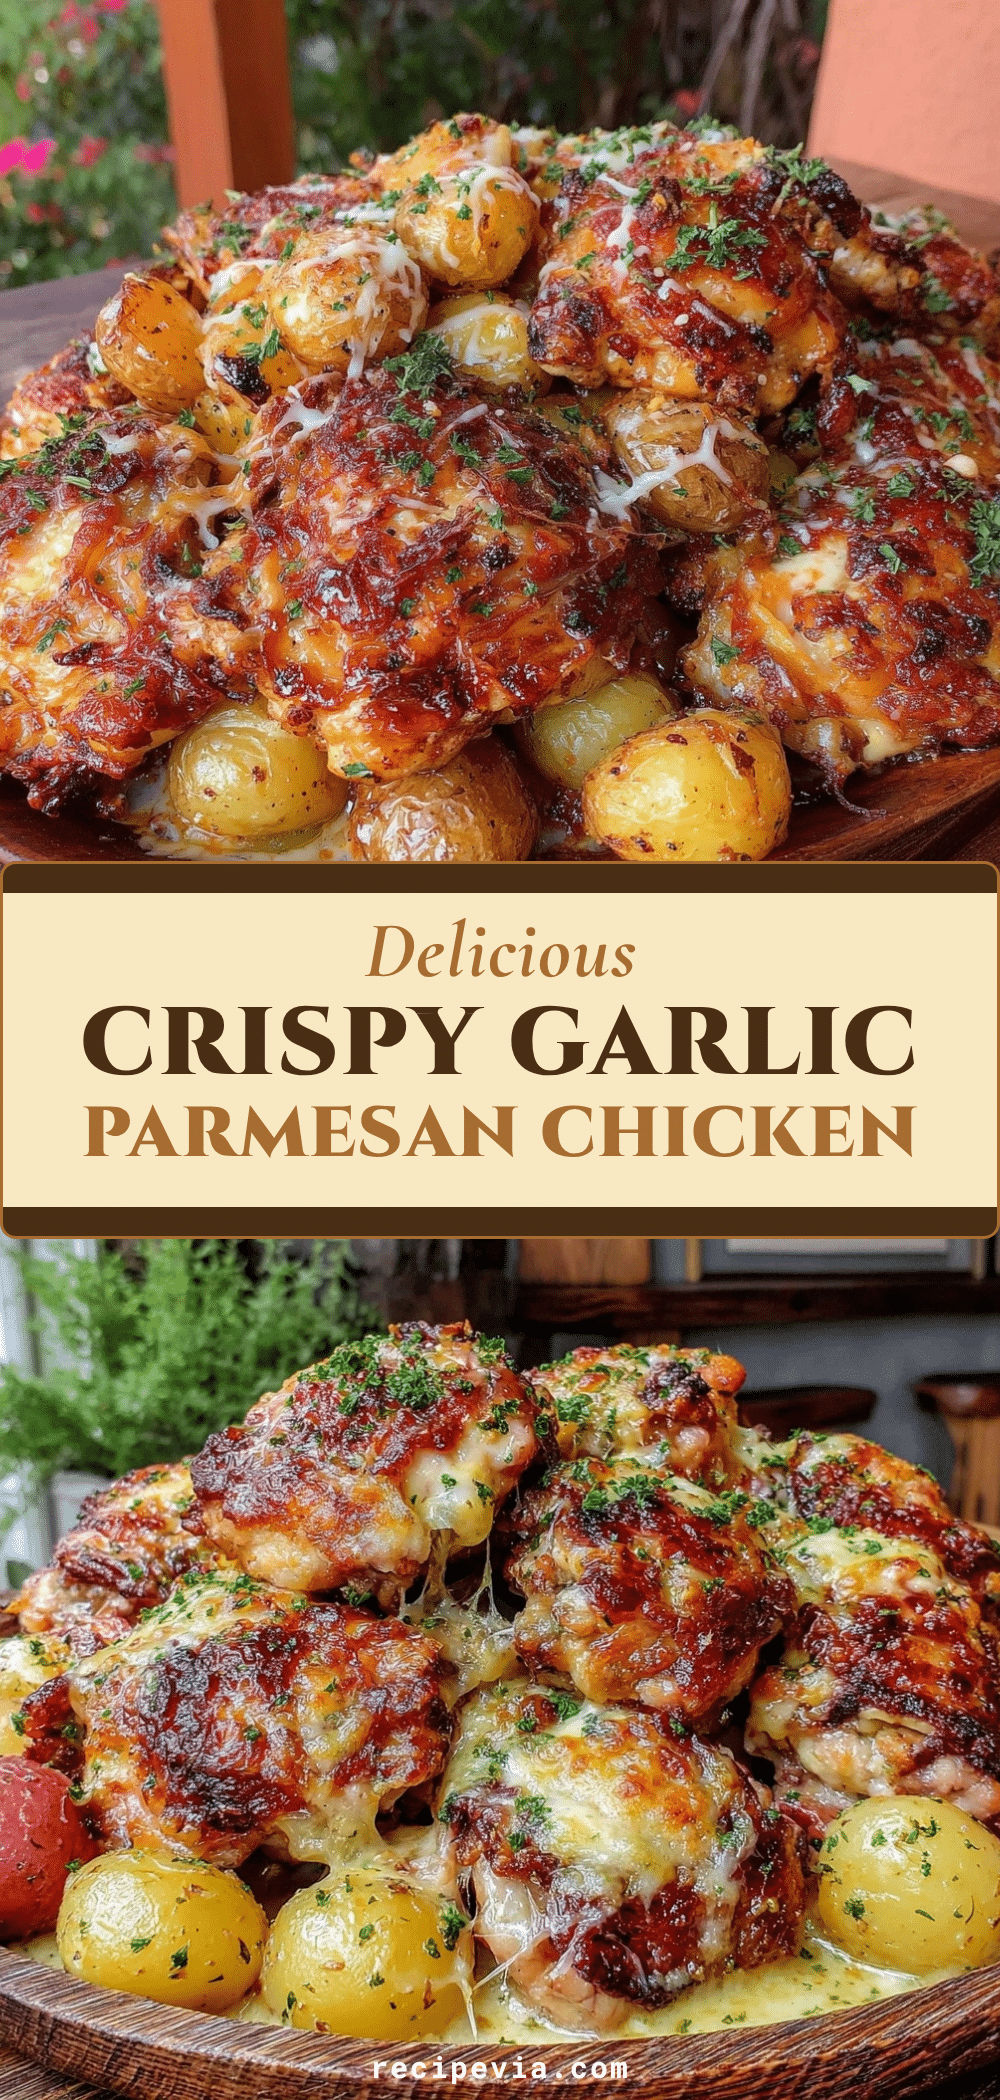

One-Skillet Crispy Chicken Parmesan: Best Easy Budget Recipe
- Total Time: 30 minutes
- Yield: 4 servings
Description
A quick, wallet-friendly dinner that delivers restaurant-quality taste with minimal cleanup. This one-skillet method ensures crispy chicken and melted cheese without the stress of deep-frying or multiple pans.
Ingredients
- Boneless, skinless chicken breasts
- All-purpose flour
- Large eggs, beaten
- Panko breadcrumbs
- Grated Parmesan cheese
- Italian seasoning
- Olive oil
- Marinara sauce
- Low-moisture, part-skim mozzarella cheese
- Salt and pepper
Instructions
- Pat chicken breasts dry and pound to an even ½-inch thickness.
- Set up a breading station with three shallow dishes: one with flour, one with beaten eggs, and one with a mix of panko, parmesan, and Italian seasoning.
- Dredge chicken in flour, dip in egg wash, then press firmly into the breadcrumb mixture.
- Heat olive oil in a large skillet over medium-high heat until shimmering.
- Sear chicken for 3-4 minutes per side until golden brown and crispy.
- Reduce heat to medium-low, spoon marinara sauce over each breast, and top with mozzarella cheese.
- Cover and simmer for 5-7 minutes until cheese is melted and chicken reaches 165°F.
- Rest for 2 minutes before serving.
Notes
Do not overcrowd the pan to ensure the chicken sears rather than steams. Pound chicken to even thickness for uniform cooking. If chicken is not cooked through after searing, finish in a 375°F oven for 10-15 minutes. For gluten-free, use gluten-free breadcrumbs. For vegetarian, substitute with eggplant or portobello mushrooms.
- Prep Time: 13 minutes
- Cook Time: 17 minutes
- Category: Main Course
- Cuisine: Italian-American
Nutrition
- Serving Size: 1 chicken breast wit
- Calories: 450
- Sugar: 4
- Sodium: 800
- Fat: 18
- Saturated Fat: 7
- Carbohydrates: 25
- Fiber: 2
- Protein: 40
Keywords: chicken parmesan, one skillet, budget recipe, easy dinner, crispy chicken, family meal, weeknight dinner