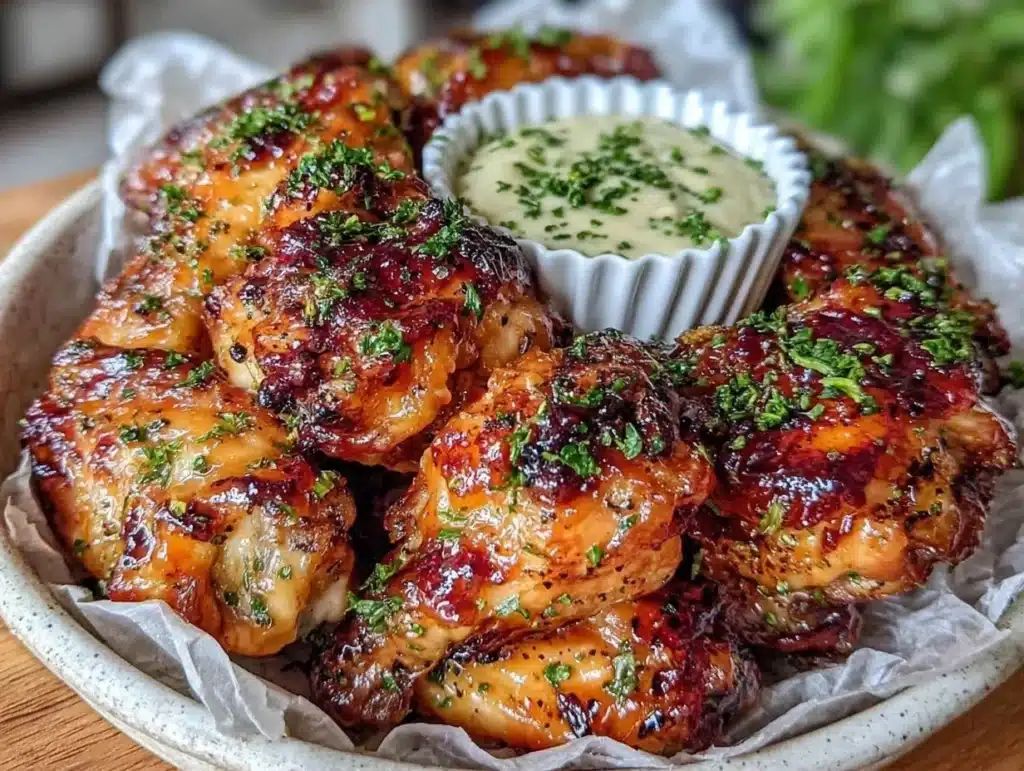
Let’s face it, chicken wings have a reputation. They are often the most expensive part of the bird per pound, right? I used to think buying a bag of frozen wings was a splurge, a treat reserved for game day or when I had extra cash burning a hole in my pocket. But then I learned the secret that changed my grocery bill forever. It wasn’t about finding cheaper wings; it was about changing how I cooked them.
I first made these oven baked chicken wings during a particularly tight month last winter. I had a coupon for chicken breasts but found a massive discount on wing backs at the local butcher. I was skeptical. Could I make them crispy without deep frying in a vat of oil? Honestly, I thought they’d be soggy. I was wrong. They were better than fried. And because I used the oven, I didn’t need expensive equipment or gallons of grease.
This recipe is my go-to for stretching a dollar. You get that restaurant-quality crunch with just three ingredients. It’s tonight’s dinner, tomorrow’s lunch, for free. Seriously. The leftovers taste just as good cold or reheated, which means one trip to the store turns into two meals. No waste, no stress, just delicious, crispy chicken that doesn’t break the bank.
I’ve tested this method over a dozen times, tweaking the temperature and coating every single time. As someone who budgets every paycheck, I know that food needs to be both filling and affordable. This version delivers on both fronts. You know, people always ask me how I make healthy-ish meals that still taste indulgent. The answer is simple: technique over price tag. These wings are proof that you don’t need to spend a fortune to eat well.
The smell of warm, seasoned chicken filling the house is unmatched. It’s comforting, savory, and incredibly satisfying. Whether you are feeding a picky kid or just craving something salty after a long day, this recipe works. It’s not just chicken; it’s a budget hack that happens to be delicious. And let’s be real, who doesn’t love a win at the grocery store followed by a win in the kitchen?
Why You’ll Love This Recipe
After years of trying every wing recipe in the book, from air fryer to deep fryer, I can tell you with absolute certainty that this method is the gold standard for home cooks on a budget. I’ve tested this recipe with different brands of wings, different ovens, and even different seasons. The results are consistently crispy, juicy, and incredibly cheap to make. This isn’t just another chicken wing recipe; it’s a proven system for getting maximum flavor with minimum cost.
- Quick & Easy: The prep takes about ten minutes. You toss, you bake, you eat. It’s perfect for those weeknights when you’re tired and don’t want to spend hours slaving over a stove.
- Simple Ingredients: You likely already have everything in your pantry. You don’t need fancy sauces or obscure spices. Just oil, salt, and your choice of seasoning. It’s pantry-friendly and budget-conscious.
- Perfect for Meal Prep: These wings are fantastic for batch cooking. Make a double batch on Sunday, and you have lunch sorted for three days. That is how you stretch a meal into a whole week.
- Crowd-Pleaser: Kids love them because they are crispy. Adults love them because they are juicy. It’s a win-win for any family dynamic, even the picky eaters who usually turn their noses up at “weird” textures.
- Unbelievably Delicious: The texture is next-level. You get that shattering crunch on the outside with tender meat on the inside. It’s comfort food at its finest, without the guilt or the grease stain on your shirt.
What makes this recipe different is the focus on dry heat and proper spacing. Many people fail at baked wings because they crowd the pan. I learned this the hard way after one sad, steamed batch. By using a wire rack and high heat, you get that fried texture without the fryer. It’s a technique that costs nothing but changes everything.
This recipe isn’t just good; it’s the kind that makes you close your eyes after the first bite. It’s comfort food reimagined—healthier, faster, but with the same soul-soothing satisfaction. It’s perfect for impressing guests without stress, or turning a simple meal into something memorable. And the best part? It’s cheap. Really, really cheap.
What Ingredients You Will Need
This recipe uses simple, wholesome ingredients to deliver bold flavor and satisfying texture without the fuss. You don’t need a trip to a specialty store for this one. In fact, the beauty of this dish is that it relies on staples you probably already have sitting in your kitchen. I like to keep it minimal because sometimes, less really is more when you are trying to save money and time.
- Chicken Wings: I recommend buying wing backs or drumettes in bulk. Look for sales at your local butcher or warehouse store. You want fresh, raw wings, not pre-cooked ones. Fresh wings have better texture and absorb seasoning better. (Buy in bulk to lower the cost per pound.)
- Vegetable Oil or Avocado Oil: You need a fat to help the skin crisp up. Vegetable oil is cheap and has a high smoke point, which is perfect for baking. Avocado oil is a bit pricier but healthier. Either works. Just don’t skip this step; the oil is what creates the barrier for crispiness.
- Garlic Powder: This is my secret weapon. It adds a deep, savory flavor that pairs perfectly with chicken. I prefer garlic powder over fresh garlic because it doesn’t burn in the oven. It’s a pantry staple that costs pennies per use.
- Smoked Paprika: This adds a subtle smokiness that mimics the flavor of grilling. It’s not essential, but it takes the wings from “basic” to “restaurant quality.” If you can’t find smoked paprika, regular paprika works too, but the flavor profile will be flatter.
- Salt: Use kosher salt if you have it. It sticks better to the wings and distributes evenly. If you only have table salt, use half the amount because it’s saltier. Salt is the most important ingredient for bringing out the natural flavor of the chicken.
- Black Pepper: Freshly cracked pepper adds a nice bite. Pre-ground pepper loses potency quickly, so if you can, grind it yourself. It’s a small effort that makes a big difference in the final taste.
I personally recommend buying a large container of garlic powder and paprika when they are on sale. You can use them for months in other recipes, too. This way, you aren’t buying small jars that sit in the back of the cupboard forever. For the chicken, I always check the date. Fresh is best, but frozen wings work fine if you thaw them properly in the fridge overnight. Just pat them dry before cooking to ensure maximum crispiness.
Equipment Needed
You don’t need fancy gadgets to make great wings. A standard oven and a few basic tools are all you need. I like to use a baking sheet lined with parchment paper for easy cleanup. Parchment paper is cheap and saves you from scrubbing burnt cheese or grease off your pan. It’s a small cost that saves a lot of time.
A wire cooling rack is crucial. Placing the wings on a rack allows air to circulate underneath them. This prevents the bottom from getting soggy. If you don’t have a rack, you can bake them directly on the sheet, but you’ll need to flip them halfway through. I prefer the rack method because it’s set-and-forget. It’s also easier to clean the rack than a sticky baking sheet.
For mixing, a large bowl is best. You want enough room to toss the wings so they get coated evenly without spilling oil everywhere. A simple mixing bowl works fine. No need for anything special. Also, make sure you have tongs. Tongs make it much easier to handle the wings without getting your hands messy. If you don’t have tongs, use two forks, but tongs are much faster.
I also recommend keeping a pair of kitchen shears handy if you want to trim any excess skin or nails. It’s not necessary for the recipe, but it makes the wings look neater. And honestly, trimming the nails is just good hygiene. I keep my shears clean and sharp for this purpose. If you are on a budget, don’t worry about expensive equipment. Good technique matters more than good tools.
How to Make Oven Baked Chicken Wings

Start by preheating your oven to 400 degrees Fahrenheit (200 degrees Celsius). This high heat is essential for rendering the fat and crisping the skin. If your oven runs hot or cold, you might need to adjust slightly, but 400 is the sweet spot for most home ovens. While the oven heats up, prepare your wings.
Take your chicken wings out of the packaging and rinse them under cold water. This step is optional, but I like to do it to remove any residual blood or debris. After rinsing, pat them completely dry with paper towels. This is the most important step. Wet wings steam instead of bake. If they are wet, they won’t get crispy. Be thorough. Dry them until the paper towels come away clean.
Place the dried wings in a large bowl. Drizzle them with about two tablespoons of vegetable oil. The oil should coat the wings lightly but evenly. You don’t need to drown them. Just enough to help the seasoning stick and the skin brown. Toss the wings with your hands or tongs until every piece is shiny with oil.
Next, sprinkle the garlic powder, smoked paprika, salt, and black pepper over the wings. Use about one teaspoon of garlic powder, one teaspoon of paprika, half a teaspoon of salt, and a quarter teaspoon of pepper. Adjust these amounts to your taste, but this is a good starting point. Toss the wings again to distribute the seasoning evenly. You want every bite to have flavor.
Line a baking sheet with parchment paper and place a wire rack on top. Arrange the wings on the rack in a single layer. Do not let them touch. Crowding is the enemy of crispiness. If you have too many wings, bake them in batches. It’s better to have fewer crispy wings than a pile of soggy ones. This might take extra time, but it’s worth it.
Place the wings in the preheated oven. Bake for 40 to 45 minutes. Halfway through, around the 20-minute mark, flip the wings over. This ensures even browning on both sides. You should start to smell the chicken cooking around this time. It will smell savory and inviting. If you see any spots browning too quickly, you can tent them with foil.
After 40 minutes, check the wings. The skin should be golden brown and crispy. If you want them darker, bake for another 5-10 minutes. The internal temperature should reach 165 degrees Fahrenheit (74 degrees Celsius). Remove them from the oven and let them rest for five minutes. This allows the juices to redistribute. Serve immediately while they are hot and crispy.
Cooking Tips & Techniques
I’ve made my fair share of mistakes with baked wings, and I’m happy to share them so you don’t have to. The biggest mistake people make is not drying the wings. I once rushed this step and ended up with rubbery skin. It was a disaster. Always, always pat your wings dry. Use fresh paper towels if they get saturated. It takes an extra minute, but it makes all the difference.
Another tip is to use the broiler at the end. If your wings aren’t brown enough after 45 minutes, turn on the broiler for two minutes. Watch them closely! They can go from golden to burnt in seconds. The broiler gives that final touch of char and crispiness that mimics frying. It’s a great trick for getting that restaurant look at home.
Timing is everything. If you are cooking wings for a party, calculate your bake time carefully. Since you might need to bake in batches, start the first batch early. Also, keep the cooked wings warm in a low oven (200 degrees F) while you finish the rest. This keeps them crispy without overcooking them. Never stack hot wings; they will steam and get soggy.
Multitasking is key here. While the wings are baking, you can prepare your dipping sauces or side dishes. This recipe is simple, so it doesn’t demand your full attention. Use this time to chop vegetables or set the table. It makes the whole process feel less like cooking and more like preparing for a nice meal. Consistency comes with practice. Once you find your oven’s rhythm, you’ll nail it every time.
Variations & Adaptations
One of the best things about this recipe is how easy it is to change up. You can adapt it to suit your taste or what you have on hand. Here are a few variations I love.
Buffalo Style: After baking, toss the wings in a mixture of hot sauce and melted butter. This is the classic buffalo wing flavor. It’s tangy, spicy, and perfect for dipping. Use Frank’s RedHot for the authentic taste. It’s a cheap way to make the wings feel fancy.
BBQ Glazed: Brush the wings with your favorite BBQ sauce in the last five minutes of baking. The sugar in the sauce will caramelize and create a sticky, sweet crust. Be careful not to burn the sugar. This is great for kids who prefer sweeter flavors.
Lemon Pepper: Skip the paprika and garlic powder. Instead, use lemon zest and cracked black pepper. The acidity of the lemon cuts through the richness of the chicken. It’s a lighter, fresher option. I add a squeeze of fresh lemon juice after baking for extra zing.
Gluten-Free: This recipe is naturally gluten-free if you check your seasoning blends. Some pre-mixed spices contain wheat starch. Always read the label. If you are unsure, make your own spice mix with pure garlic powder, paprika, and salt. It’s safer and often cheaper.
I once tried adding parmesan cheese to the coating. It was delicious but made the wings heavier. I prefer the light, crispy texture of this base recipe, but feel free to experiment. The beauty of baking is that you can try new things without wasting a lot of money. If it fails, you just try again next time.
Serving & Storage Suggestions
Serve these wings hot, right out of the oven. They are best enjoyed with a cold drink, like iced tea or soda. Pair them with celery sticks and blue cheese or ranch dressing. The crunch of the celery balances the richness of the chicken. It’s a classic combination for a reason. You can also serve them with a side salad or roasted vegetables for a complete meal.
For storage, let the wings cool completely before putting them in the fridge. Store them in an airtight container for up to four days. They will stay crispy for about a day, but then they might soften. To restore crispiness, reheat them in the oven or an air fryer at 350 degrees F for 10 minutes. Do not use the microwave; it will make them rubbery and sad.
You can also freeze baked wings. Place them in a freezer-safe bag or container. They will last for up to three months. When you are ready to eat, thaw them in the fridge overnight and reheat in the oven. This is great for meal prep. You can have dinner ready in minutes by just reheating.
The flavors develop over time, especially if you toss them in sauce after baking. The sauce penetrates the skin a bit, making it even more flavorful. I often save half the batch for lunch the next day. It’s a reliable way to ensure I have a quick, tasty lunch without ordering takeout. It saves money and time, and it tastes better than most leftovers.
Nutritional Information & Benefits
Chicken wings are a good source of protein, which helps keep you full and satisfied. They contain essential vitamins like B12 and niacin. However, they are also high in fat, so enjoy them in moderation. This baked version is healthier than deep-fried wings because you use less oil. You control the amount of fat, which is a big advantage.
If you are watching your sodium intake, be careful with the salt. You can reduce the salt or use a salt substitute. The garlic powder and paprika add plenty of flavor without the sodium. For a low-carb option, skip the sugary sauces. Stick to dry rubs or vinegar-based sauces. This recipe fits well into many dietary styles if you make smart choices.
I find that these wings are a great way to get protein into my diet without feeling heavy. They are satisfying but not overly filling like a steak might be. I often include them in my weekly meal rotation because they are versatile. Whether you are keto, paleo, or just eating clean, you can adapt this recipe to fit your needs. It’s a flexible, nutritious choice that doesn’t compromise on taste.
Conclusion
These oven baked chicken wings are a testament to the fact that good food doesn’t have to be expensive or complicated. With just three simple ingredients and a little patience, you can create a dish that rivals any restaurant wing. It’s a recipe that saves money, time, and stress. Plus, the leftovers are a lifesaver for busy days.
I encourage you to try this recipe and make it your own. Adjust the spices, try different sauces, or experiment with cooking times. The base is solid, but your taste is unique. I love this recipe because it reminds me that cooking can be fun, affordable, and rewarding. It’s a small victory in the kitchen that adds up to big savings at the grocery store.
So, next time you are craving wings, skip the delivery app. Grab some chicken, some oil, and some spices. You’ll be glad you did. Let me know how they turn out in the comments below! I love hearing about your kitchen wins and failures. Share your variations and tips with the community. Happy cooking!
Frequently Asked Questions
Why are my baked wings not crispy?
The most common reason is that the wings were not dry enough before cooking. Moisture prevents crisping. Also, crowding the pan can cause steaming. Make sure to space them out and dry them thoroughly with paper towels.
Can I use frozen wings?
Yes, but you must thaw them completely in the refrigerator before cooking. Cooking frozen wings will result in uneven cooking and soggy skin. Never cook them straight from the freezer.
How do I keep wings crispy for a party?
Keep them warm in a low oven (200 degrees F) on a wire rack. Do not cover them with foil, as the steam will make them soggy. If you have to hold them for a long time, re-crisp them in a hot oven for a few minutes before serving.
What is the best sauce for baked wings?
It depends on your taste, but buffalo sauce is a classic. BBQ and honey garlic are also popular. For a budget-friendly option, mix hot sauce with a little butter. It’s cheap and delicious.
Can I make these in an air fryer?
Yes, you can. Cook them at 380 degrees F for 20-25 minutes, shaking the basket halfway through. They will cook faster and get very crispy. Adjust the time based on your air fryer model.
Pin This Recipe!
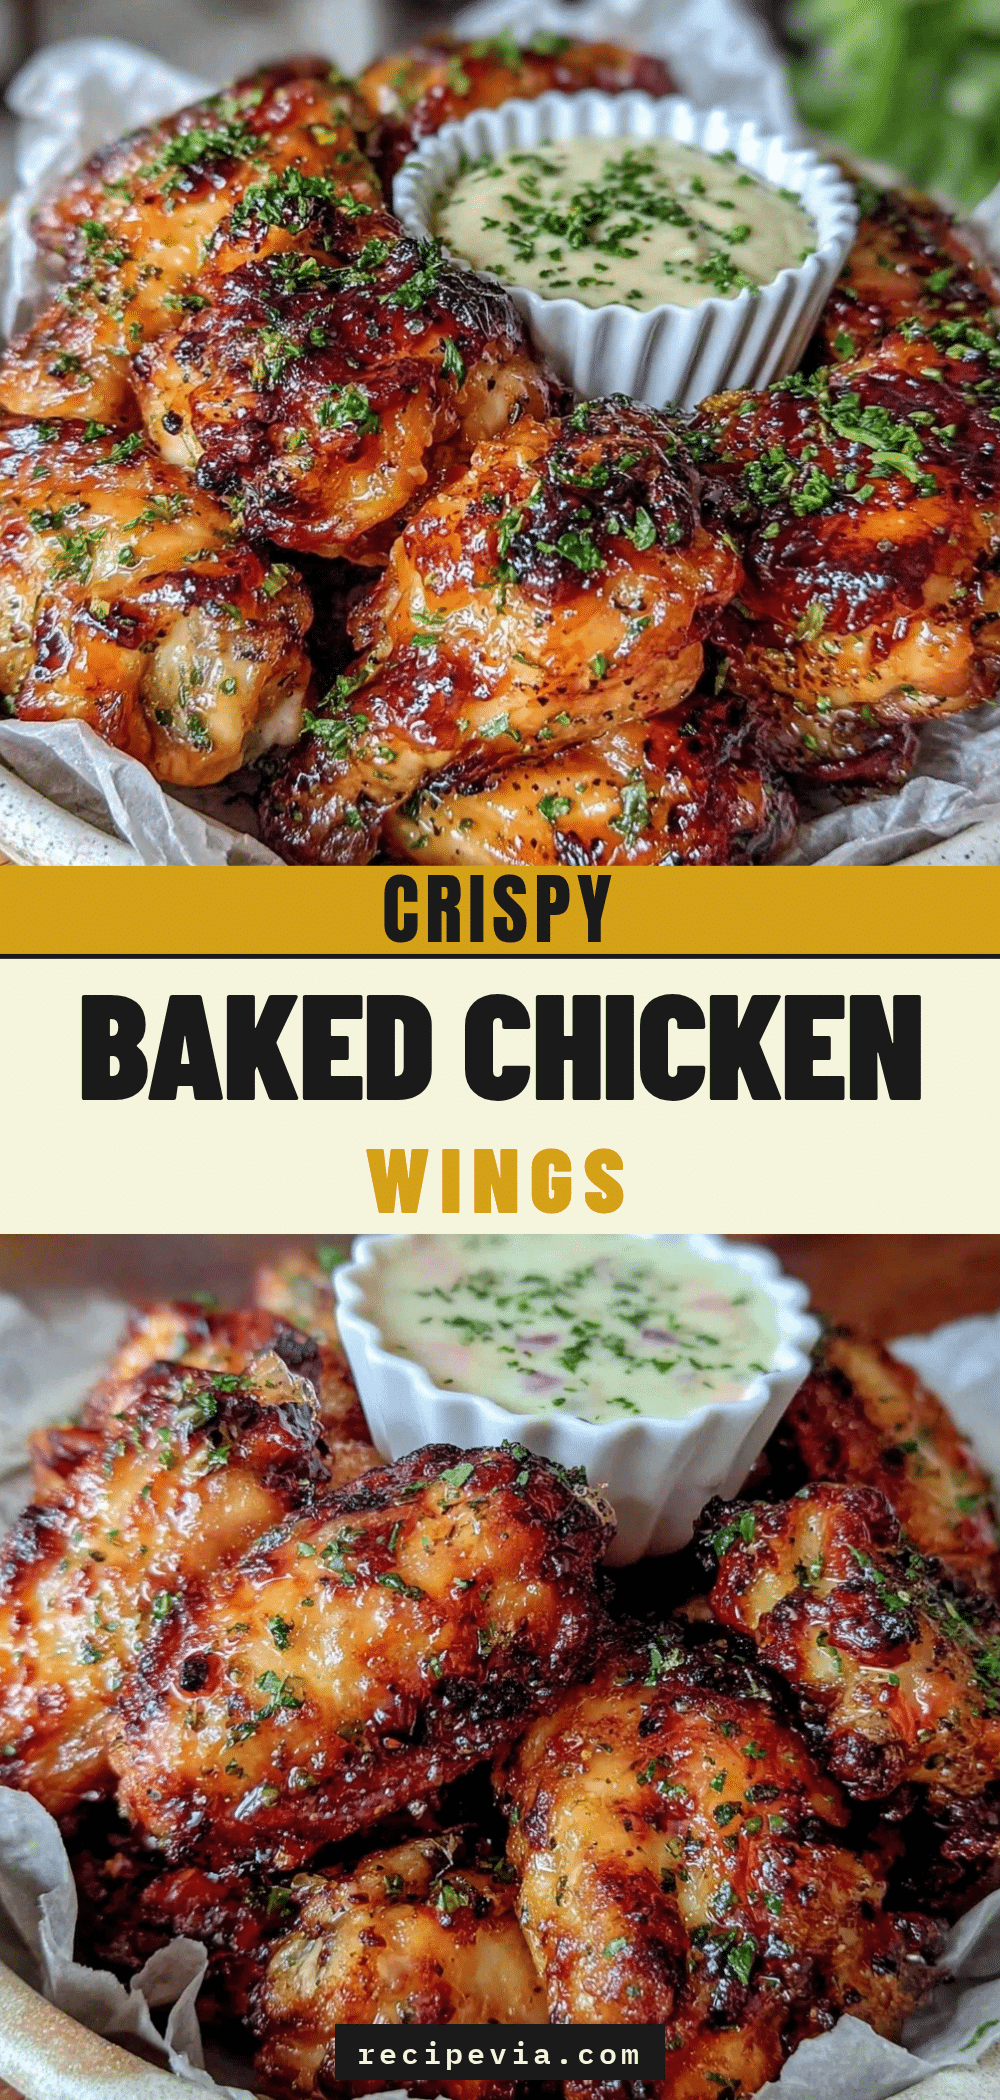

Oven Baked Chicken Wings (Crispy!): 3 Ingredients for Tonight’s Dinner, Tomorrow’s Lunch
- Total Time: 55 minutes
- Yield: 4 servings
Description
Achieve restaurant-quality crispy chicken wings at home using just three simple ingredients and an oven. This budget-friendly recipe yields juicy, flavorful wings perfect for dinner, lunch, or meal prep.
Ingredients
- Chicken wings (wing backs or drumettes)
- Vegetable oil or Avocado oil (2 tablespoons)
- Garlic powder (1 teaspoon)
- Smoked paprika (1 teaspoon)
- Kosher salt (1/2 teaspoon)
- Black pepper (1/4 teaspoon)
Instructions
- Preheat oven to 400°F (200°C).
- Rinse chicken wings under cold water and pat them completely dry with paper towels.
- Place dried wings in a large bowl and drizzle with vegetable oil.
- Toss wings to coat evenly with oil.
- Sprinkle garlic powder, smoked paprika, salt, and black pepper over the wings.
- Toss wings again to distribute seasoning evenly.
- Line a baking sheet with parchment paper and place a wire rack on top.
- Arrange wings on the rack in a single layer, ensuring they do not touch.
- Bake for 40-45 minutes, flipping wings halfway through (around 20 minutes).
- Check for golden brown, crispy skin and an internal temperature of 165°F (74°C).
- Let wings rest for 5 minutes before serving.
Notes
Ensure wings are completely dry before cooking to maximize crispiness. Do not crowd the pan; bake in batches if necessary. For extra crispiness, you can broil for 2 minutes at the end. Store leftovers in an airtight container for up to 4 days or freeze for up to 3 months. Reheat in oven or air fryer to restore crispiness.
- Prep Time: 10 minutes
- Cook Time: 45 minutes
- Category: Main Course
- Cuisine: American
Nutrition
- Serving Size: 4 wings per serving
- Calories: 350
- Sodium: 450
- Fat: 24
- Saturated Fat: 6
- Carbohydrates: 2
- Fiber: 0.5
- Protein: 28
Keywords: oven baked chicken wings, crispy chicken wings, budget friendly dinner, meal prep, easy chicken recipe, healthy baked wings, 3 ingredient recipe