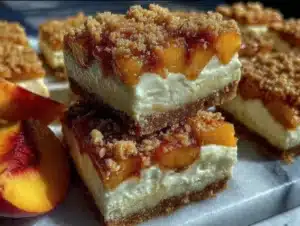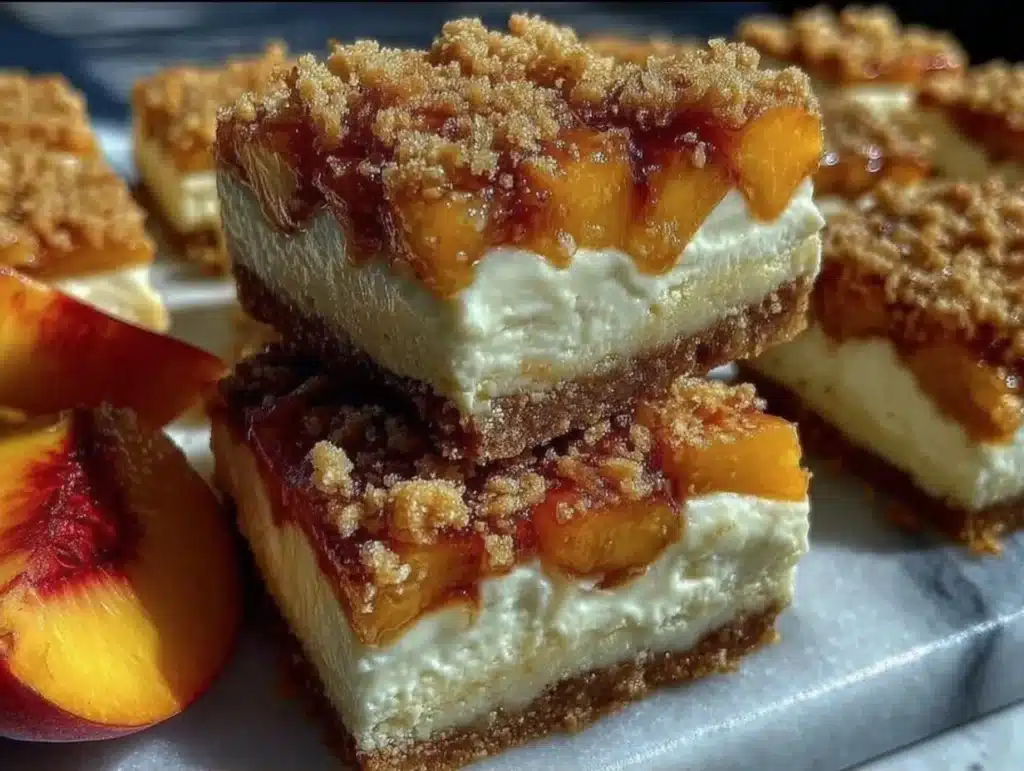
Let’s be honest for a second. Summer peaches are expensive. I love them, but I also love my bank account. That is exactly why I started making these peach cobbler cheesecake bars. It started when I had a bunch of slightly mushy peaches that were going bad in my fruit bowl. I didn’t want to waste them, so I threw them into a pan with some cream cheese and a box of graham cracker crumbs. The result was so good that I made it again the next week. And the week after that.
There is something magical about combining the tangy richness of cheesecake with the sweet, spiced warmth of a cobbler. It feels like a hug in dessert form. You get that crispy, buttery top that crunches when you bite into it, followed by the smooth, creamy layer underneath. It’s comfort food, but it’s easier to eat than a whole pie. Plus, it’s perfect for potlucks because it cuts into neat squares. No messy slices sliding around on a plate.
I’ve tested this recipe over a dozen times now. I’ve used fresh peaches, frozen peaches, and even canned peaches in a pinch. Every time, the flavor holds up. It’s become my go-to when I need to impress guests without spending a fortune on fancy ingredients. You know how some desserts feel too rich or too heavy? These are balanced. They are sweet but not cloying, and the tartness from the lemon juice keeps it fresh. It’s the kind of dessert that disappears fast, leaving you wondering if you made enough. Honestly, you probably didn’t. But that’s part of the fun.
Why You’ll Love This Recipe
After spending years in the kitchen, I’ve learned that the best desserts are the ones that don’t require a degree in pastry arts. This recipe is built on simple principles and ingredients you likely already have. It’s not just another version of a cheesecake bar; it’s the one that actually tastes like summer. Here is why this specific combination works so well for home cooks and budget-savvy bakers alike.
- Quick & Easy: You don’t need to make a crust from scratch. We use graham crackers or a simple butter-flour mix that comes together in minutes. The filling is just whipped together in a bowl. No water baths, no complex tempering. Just mix, pour, and bake.
- Simple Ingredients: You probably have cream cheese, sugar, eggs, and peaches in your kitchen right now. Maybe you need a few spices, but that’s it. No fancy imported chocolates or obscure extracts. This is about making the most of what you have.
- Perfect for Batch Cooking: This recipe makes a full 9×13 pan. It stretches further than you think. You can feed a crowd with this one pan, and nobody can tell that you used budget-friendly techniques to get there. It looks and tastes like you spent hours at the counter.
- Crowd-Pleaser: Kids love the sweetness, and adults appreciate the texture contrast. It’s versatile enough for a casual Tuesday night treat or a Sunday dinner dessert. It always gets rave reviews because it feels special, even though it’s quite simple.
- Unbelievably Delicious: The texture is next-level comfort food. The topping crisps up while the center stays soft and creamy. It’s the kind of combo that makes you close your eyes after the first bite. It’s nostalgic, like your grandma’s kitchen, but with a modern twist.
What makes this recipe different is the balance of flavors. Many peach desserts are too sweet or too runny. By using cream cheese, we add structure and a tangy counterpoint to the fruit. The spices in the topping mimic a traditional cobbler, giving it that home-baked aroma that fills the house. It’s not just good—it’s the kind of dessert that turns a simple evening into a memorable one. It’s budget-friendly, yes, but it never feels cheap. It feels intentional.
What Ingredients You Will Need
This recipe uses simple, wholesome ingredients to deliver bold flavor and satisfying texture without the fuss. The beauty of this dish is that it relies on pantry staples and seasonal produce. You don’t need expensive specialty items. In fact, using affordable ingredients is what makes these bars so accessible. Here is what you need to gather before you start baking.
For the Cheesecake Layer
- Cream Cheese: Two 8-ounce blocks, softened to room temperature. This is the base. I recommend using full-fat brick cream cheese, not the spreadable kind in a tub. The tub stuff has too much air and water, which can make the bars runny.
- Sugar: One cup of granulated white sugar. This sweetens the tangy cheese. You can use a bit less if you prefer a tart bar, but don’t cut it too much or the structure suffers.
- Eggs: Two large eggs, room temperature. Room temperature ingredients mix better. Cold eggs can cause the cream cheese to clump, and you don’t want that lumpy texture.
- Vanilla Extract: One teaspoon. Just a little bit to round out the flavors. Pure vanilla is best, but imitation works in a pinch.
- Lemon Juice: One tablespoon. This is the secret weapon. It cuts through the richness and highlights the peach flavor. It adds brightness that makes the dessert taste fresh.
- Flour: Two tablespoons of all-purpose flour. This helps stabilize the filling so it doesn’t crack or sink in the middle.
For the Peach Topping
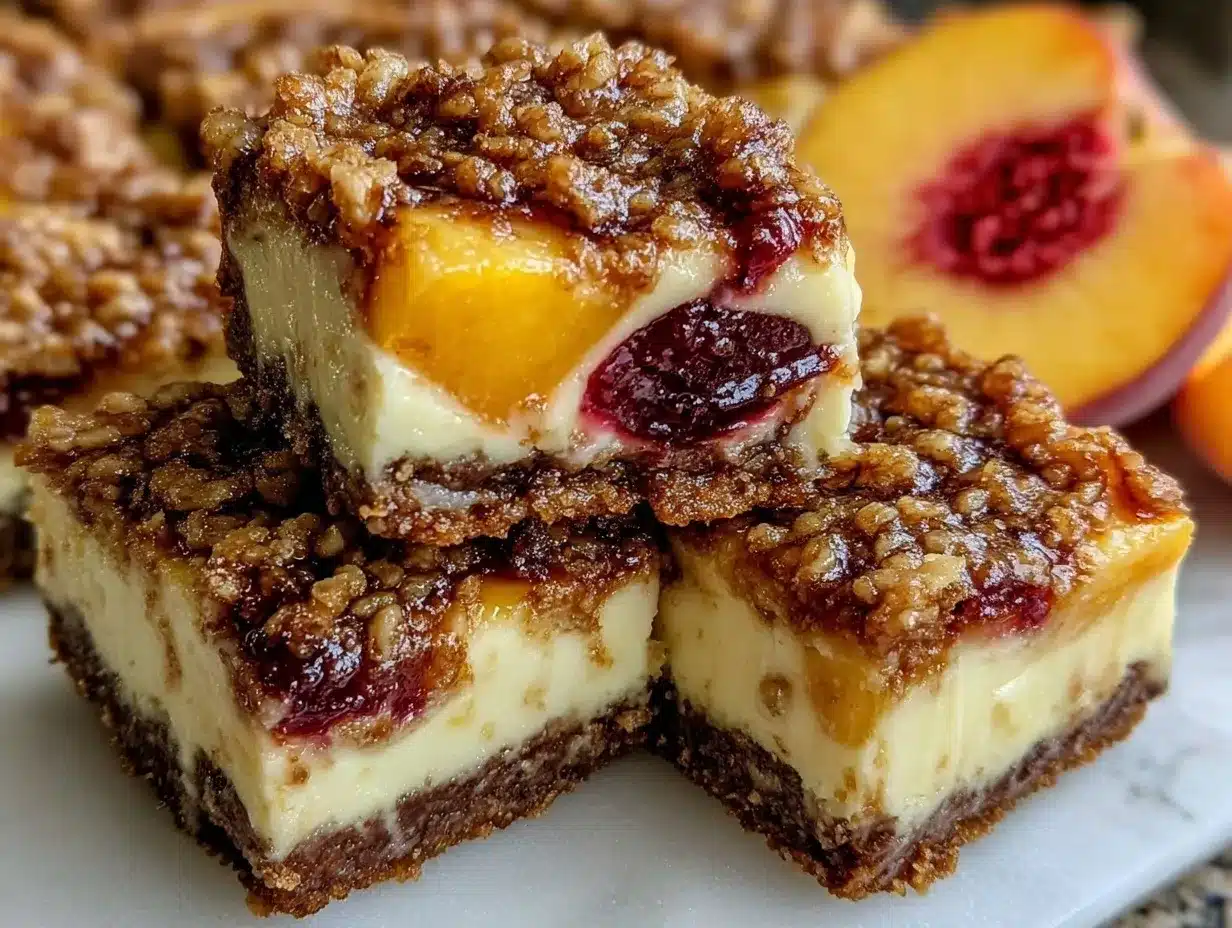
- Peaches: Four to five medium peaches, peeled and sliced. Fresh is best, but frozen peaches work too. If using frozen, thaw them first and drain the excess liquid. Canned peaches are okay, but they can be too soft and watery.
- Sugar: Half a cup of granulated sugar. This brings out the natural sweetness of the fruit.
- Cinnamon: One teaspoon. Essential for that cobbler vibe. It adds warmth and depth.
- Butter: Two tablespoons, melted. This helps the peaches caramelize slightly as they bake.
For the Cobbler Topping
- Graham Cracker Crumbs: One cup. You can crush your own crackers or buy pre-made crumbs. This adds a crunchy, sweet layer on top.
- Flour: One cup of all-purpose flour. This gives the topping structure.
- Brown Sugar: Half a cup. Packed. This adds a molasses note that pairs beautifully with the cinnamon.
- Butter: Half a cup, softened. This binds the dry ingredients together. Cold butter won’t mix well, so let it sit out.
- Cinnamon: One teaspoon. For extra spice in the crust.
Equipment Needed
You don’t need a fancy kitchen to make these bars. A few basic tools will do the job perfectly. The most important piece of equipment is a 9×13 inch baking dish. Glass or ceramic works best because they heat evenly. Metal pans can sometimes cause the edges to burn, so if you use metal, keep an eye on them.
A large mixing bowl is needed for the cheesecake filling. A hand mixer or stand mixer makes this easier, but a whisk and a strong arm work too. You want the mixture to be smooth and lump-free. For the topping, a medium bowl is fine. A fork is all you need to cut the butter into the flour and crumbs until it looks like coarse sand.
A sharp knife or peeler is helpful for peeling the peaches. If you find peeling fresh peaches tedious, you can skip it. The skin adds a nice color, and most people don’t mind the texture. However, if you prefer a smoother bite, peeling is worth the effort. A spatula is essential for spreading the cheesecake layer evenly. Don’t rush this step; an even layer ensures consistent baking.
If you don’t have a 9×13 dish, you can use an 8×8 dish, but the bars will be thicker and might take longer to bake. Just check them a few minutes early. Also, make sure your oven rack is in the center position. This ensures even heat distribution. No special gadgets are required here, which is part of the appeal. Keep it simple and efficient.
Preparation Method
Making these bars is straightforward, but there are a few steps to get right. Let’s walk through it together. I want you to feel confident in the kitchen, so pay attention to the details.
Step 1: Prep Your Oven and Pan. Preheat your oven to 350°F (175°C). Grease your 9×13 baking dish lightly with butter or cooking spray. You don’t need to flour it, as the topping is sticky enough to release on its own. This takes about two minutes.
Step 2: Make the Cheesecake Filling. In a large bowl, beat the softened cream cheese until it is smooth and creamy. This is crucial. If there are lumps, they will show up in the final product. Add the sugar and mix until combined. Beat in the eggs one at a time, mixing on low speed just until incorporated. Do not overmix, or you’ll add too much air, which can cause cracking. Stir in the vanilla, lemon juice, and flour. The mixture should be thick and smooth. Pour this into the prepared pan and spread it out evenly. Use a spatula to get into the corners. Set this aside for now.
Step 3: Prepare the Peaches. In a medium bowl, combine the sliced peaches, half a cup of sugar, cinnamon, and melted butter. Toss them gently until the peaches are coated. This step takes about five minutes. If using fresh peaches, let them sit for a moment to release some juice. This natural syrup will mix with the cheesecake later. Spread the peach mixture evenly over the cheesecake layer. Be gentle so you don’t mix the layers.
Step 4: Make the Topping. In another bowl, combine the graham cracker crumbs, flour, brown sugar, cinnamon, and softened butter. Use a fork or your fingers to mix this until it resembles coarse crumbs. It should hold together when you squeeze it, but still be crumbly. Sprinkle this mixture evenly over the peaches. Try to cover all the fruit. This topping will bake up crispy and golden. This step takes about five minutes.
Step 5: Bake. Place the pan in the preheated oven. Bake for 45 to 55 minutes. You’ll know it’s done when the topping is golden brown and the edges are bubbling. The center might still look a little jiggly, but it will set as it cools. Do not overbake, or the cheesecake will become dry. Remove from the oven and let it cool on a wire rack for at least one hour. Cooling is important for clean cuts. This takes about one hour.
Step 6: Slice and Serve. Once cooled, cut into squares. I recommend cutting them into 12 or 16 pieces, depending on how hungry your guests are. These bars keep well in the fridge, so you can make them a day ahead. Enjoy!
Cooking Tips & Techniques
I’ve made a few mistakes along the way, and I want to help you avoid them. The biggest mistake people make is using cold cream cheese. It doesn’t blend well, and you end up with a lumpy bar. Always let your cream cheese sit on the counter for at least an hour before you start. If you forget, you can microwave it in short bursts, but be careful not to melt it.
Another common issue is a runny topping. This happens if the peaches release too much liquid. If you are using very juicy peaches, you might want to drain some of the excess juice before adding them to the pan. Or, you can add an extra tablespoon of flour to the topping mix to absorb the moisture. It’s all about balance.
Don’t skip the cooling step. It’s tempting to cut into these bars while they are warm, but they are fragile. The cheesecake needs time to set. If you cut them too soon, they will fall apart. Patience pays off here. Let them cool completely for the best texture.
If your edges are browning too quickly, you can tent the pan with aluminum foil after the first 30 minutes. This shields the top from direct heat while the center finishes cooking. It’s a simple trick that saves the appearance of your dessert. Also, check your oven temperature with a thermometer. Ovens can be inaccurate, and a few degrees can make a difference.
Finally, don’t be afraid to adjust the sweetness. If your peaches are very sweet, reduce the sugar in the topping by a tablespoon. Taste as you go, and trust your palate. Cooking is about making it your own.
Variations & Adaptations
One of the best things about this recipe is how adaptable it is. You can tweak it to fit your dietary needs or taste preferences. Here are a few ideas that have worked well for me.
Gluten-Free Option: You can easily make these bars gluten-free. Use gluten-free graham crackers and swap the all-purpose flour for a 1-to-1 gluten-free baking blend. The texture will be slightly different, but the flavor remains the same. I’ve tested this with almond flour, but it can be crumbly, so a blend is safer.
Dairy-Free Option: For a dairy-free version, use vegan cream cheese and dairy-free butter. There are many good brands out there now. Just make sure the vegan cream cheese is the block style, not the spread. The result is surprisingly creamy and rich. It’s a great option for friends with allergies.
Blueberry Swap: Not a peach fan? Swap the peaches for blueberries. They work beautifully with the cheesecake and graham cracker topping. You can use fresh or frozen blueberries. Just add a teaspoon of lemon zest to the topping for a nice contrast. It’s a classic combo for a reason.
Berry Medley: Mix peaches with raspberries or blackberries. The tartness of the berries balances the sweetness of the peaches. It adds a beautiful color contrast too. I love doing this when I have a mix of berries in the fridge.
Spice It Up: If you like a kick, add a pinch of nutmeg or cardamom to the topping. It adds a sophisticated flavor profile. I also like a tiny pinch of ginger for warmth. It’s a nice surprise in every bite.
Mini Bars: If you want individual portions, use a muffin tin. Fill each cup with the cheesecake mix, peaches, and topping. Bake for 20-25 minutes. They make great gifts or party snacks. Just adjust the baking time accordingly.
Serving & Storage Suggestions
These bars are best served at room temperature. Cold bars can be a bit firm, and the flavors don’t shine as much. Let them sit out for 15-20 minutes before serving. They pair well with a cup of hot tea or coffee. The contrast of the warm drink and the cool, creamy bar is perfect.
For storage, keep the bars in an airtight container in the refrigerator. They will last for up to five days. If you want to freeze them, wrap the whole pan tightly in plastic wrap and then foil. They can be frozen for up to three months. Thaw them in the fridge overnight before serving. The texture might change slightly after freezing, but they still taste great.
When reheating, avoid the microwave if you can. It can make the crust soggy. Instead, warm them in the oven at 300°F for 10 minutes. This restores the crispiness of the topping. If you must use the microwave, do it for just 10-15 seconds.
I’ve found that the flavors develop over time. The peaches soften and meld with the cheesecake, making the bars taste even better on the second or third day. It’s a great make-ahead dessert for busy weekends. Just make sure you label your container so you don’t forget about them!
Nutritional Information & Benefits
While these bars are a treat, they can be part of a balanced diet if enjoyed in moderation. Each bar contains approximately 350 calories, with a good mix of carbohydrates, fats, and some protein from the cream cheese. The peaches add vitamin C and fiber, which is a nice bonus. However, they are still high in sugar, so keep portions reasonable.
If you are watching your sugar intake, you can reduce the sugar in the filling and topping by a quarter cup. The peaches provide enough natural sweetness. For a lower-calorie option, use a lighter cream cheese, though the texture will be less rich. It’s all about finding the balance that works for you.
These bars are not gluten-free or dairy-free by default, so be mindful of allergens. Always check your ingredient labels. For those with specific dietary needs, the variations I mentioned earlier offer flexible options. Remember, dessert is about joy, not guilt. Enjoy it fully.
Conclusion
These peach cobbler cheesecake bars are a winner. They are easy to make, budget-friendly, and absolutely delicious. I hope you give them a try. They are perfect for any occasion, from casual weeknight snacks to holiday gatherings. Don’t be afraid to experiment with the variations. Make it your own.
I love this recipe because it brings people together. There is something about sharing a homemade dessert that creates connection. I remember sharing these with my neighbors last summer, and they asked for the recipe immediately. It’s that kind of recipe. Simple, yet impressive.
So, grab some peaches, gather your ingredients, and get baking. I’d love to hear how they turn out for you. Leave a comment below with your thoughts or any twists you added. Share your photos on social media and tag me. Let’s celebrate the joy of cooking together. Enjoy every bite!
FAQs
Can I use canned peaches for this recipe?
Yes, you can use canned peaches. Just make sure to drain them well to remove excess syrup. If they are very wet, you might want to pat them dry with a paper towel. This prevents the bars from becoming too soggy. The flavor will still be great.
How do I know when the cheesecake bars are done?
The edges should be golden and bubbling, and the center should be set but still slightly jiggly. It will firm up as it cools. If the center is liquid, it needs more time. If it’s firm all the way through, it might be overbaked. Trust your eyes and the clock.
Can I make these bars ahead of time?
Absolutely. They taste even better the next day. You can make them up to two days in advance. Store them in the fridge in an airtight container. They are also great for freezing. Just thaw them in the fridge before serving.
Why did my cheesecake layer crack?
Cracking usually happens from overmixing or overbaking. Make sure to mix the eggs gently and not too long. Also, check your oven temperature. If it runs hot, the cheesecake can rise and crack. Cooling slowly also helps prevent cracks.
Can I substitute the graham crackers with something else?
Yes, you can use crushed cookies like Oreos (for a chocolate version) or shortbread cookies. You can also use a mixture of oats and flour for a more rustic, oatmeal-style topping. Get creative and use what you have on hand.
Pin This Recipe!
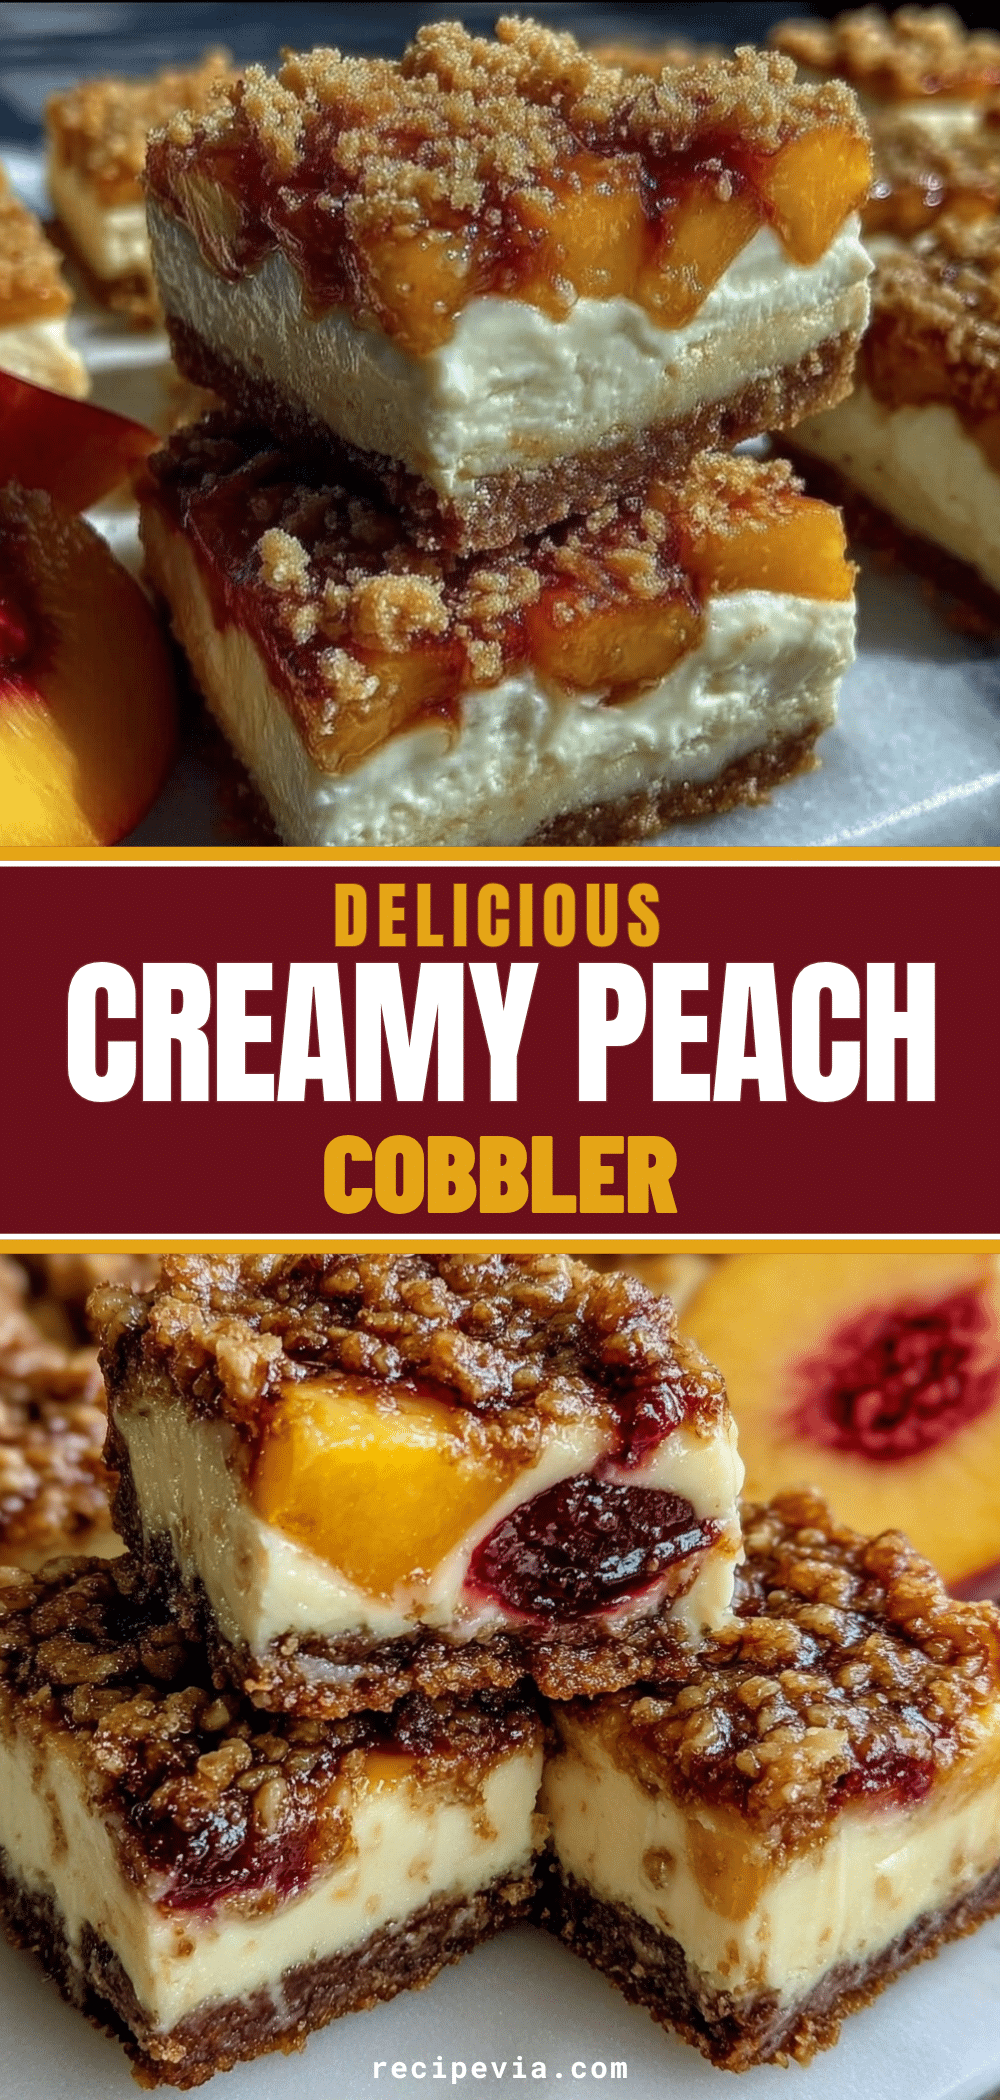

Peach Cobbler Cheesecake Bars: Easy Budget-Friendly Dessert
- Total Time: 1 hour 50 minutes
- Yield: 12 to 16 servings 1x
Description
A delicious and budget-friendly dessert combining a creamy cheesecake layer with sweet spiced peaches and a crunchy graham cracker cobbler topping. Perfect for potlucks and easy to make with simple ingredients.
Ingredients
- For the Cheesecake Layer:
- Two 8-ounce blocks cream cheese, softened to room temperature
- One cup granulated white sugar
- Two large eggs, room temperature
- One teaspoon vanilla extract
- One tablespoon lemon juice
- Two tablespoons all-purpose flour
- For the Peach Topping:
- Four to five medium peaches, peeled and sliced
- Half a cup granulated sugar
- One teaspoon cinnamon
- Two tablespoons butter, melted
- For the Cobbler Topping:
- One cup graham cracker crumbs
- One cup all-purpose flour
- Half a cup brown sugar, packed
- Half a cup butter, softened
- One teaspoon cinnamon
Instructions
- Preheat oven to 350°F (175°C). Grease a 9×13 inch baking dish lightly with butter or cooking spray.
- In a large bowl, beat softened cream cheese until smooth. Add sugar and mix until combined. Beat in eggs one at a time on low speed, then stir in vanilla, lemon juice, and flour. Pour into prepared pan and spread evenly.
- In a medium bowl, combine sliced peaches, half a cup sugar, cinnamon, and melted butter. Toss to coat and spread evenly over the cheesecake layer.
- In another bowl, combine graham cracker crumbs, one cup flour, brown sugar, cinnamon, and softened butter. Mix until it resembles coarse crumbs and sprinkle evenly over the peaches.
- Bake for 45 to 55 minutes until topping is golden brown and edges are bubbling. Center may look jiggly but will set as it cools.
- Cool on a wire rack for at least one hour before slicing into squares.
Notes
Ensure cream cheese is fully softened to avoid lumps. Do not overmix the batter to prevent cracking. Allow bars to cool completely for clean cuts. Can be stored in the fridge for up to 5 days or frozen for up to 3 months.
- Prep Time: 15 minutes
- Cook Time: 50 minutes
- Category: Dessert
- Cuisine: American
Nutrition
- Serving Size: 1 square bar
- Calories: 350
- Sugar: 32
- Sodium: 250
- Fat: 18
- Saturated Fat: 10
- Carbohydrates: 45
- Fiber: 2
- Protein: 5
Keywords: peach cobbler, cheesecake bars, budget-friendly dessert, summer peaches, easy baking, graham cracker crust, crowd-pleaser dessert