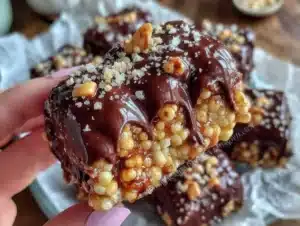
I still remember the exact moment I realized quinoa wasn’t just for salads. It was 3 PM, the dreaded afternoon slump had hit hard, and I was staring into my pantry like it owed me money. I was craving something sweet, something chocolatey, but definitely not the heavy, sugar-crash-inducing kind of treat that usually sits in my cupboard. That’s when I spotted a dusty box of quinoa and a half-empty bag of dark chocolate chips. Honestly, I almost laughed. Who puts quinoa in a bar?
But you know what? I was desperate. So, I tossed it all together. The result wasn’t just edible; it was incredibly chewy, rich, and surprisingly satisfying. I took one bite and closed my eyes. It tasted like a brownie, but with a texture that was just different enough to keep my brain interested. Since then, I’ve made these Ultimate Chewy Chocolate Quinoa Snack bars over a dozen times. They’ve become my go-to for lunchbox packing, post-workout fuel, and late-night cravings that demand guilt-free indulgence.
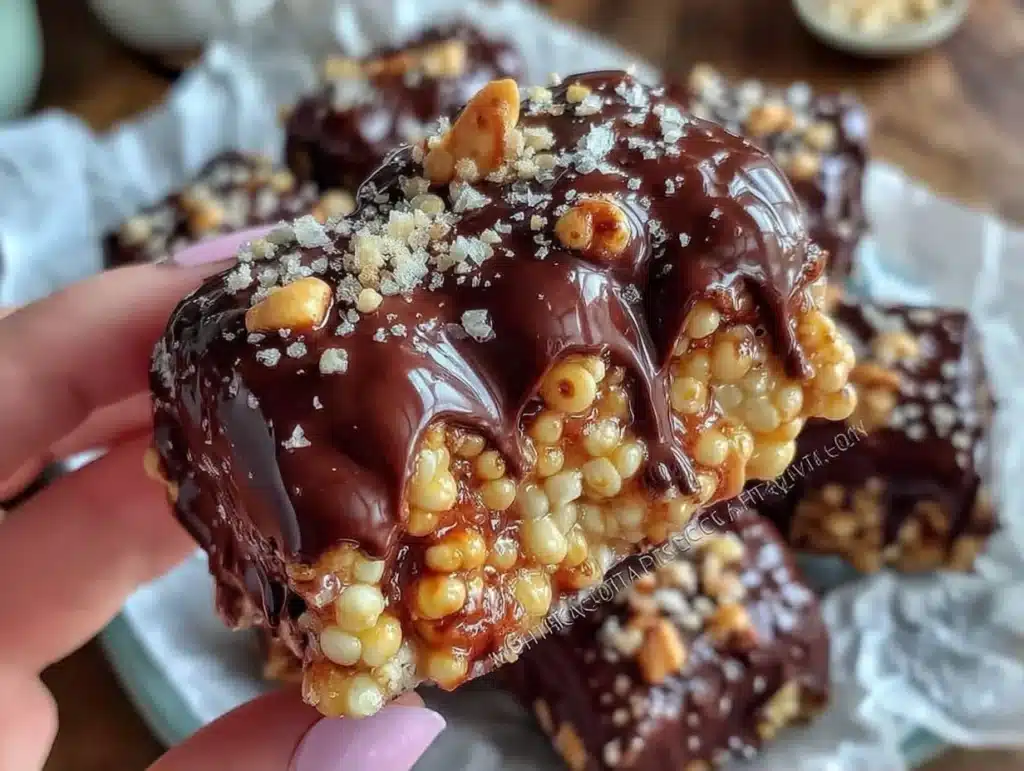
What makes this recipe special isn’t just the surprise ingredient. It’s how the tiny, fluffy grains of quinoa create a unique, tender-chewy texture that rice crispy treats just can’t match. Plus, they are packed with protein and fiber, which means you don’t feel sluggish an hour later. If you are looking for a healthy twist on classic dessert bars, this is it. It’s easy, it’s fast, and it uses ingredients you probably already have lying around. Let’s face it, healthy snacks don’t have to be boring. This recipe proves that nutritious food can be genuinely delicious.
Why You’ll Love This Recipe
After testing this recipe with friends, family, and even my pickiest eaters (yes, they exist), I can confidently say these bars are a winner. Here is why they have earned a permanent spot in my rotation:
- Quick & Easy: You don’t need to bake anything. This is a no-bake recipe that comes together in about 15 minutes. Perfect for busy weeknights or when you need a sweet fix immediately.
- Simple Ingredients: No fancy grocery trips needed. You likely have quinoa, peanut butter, honey, and chocolate chips in your kitchen right now. It’s pantry-friendly cooking at its best.
- Perfect for Meal Prep: These bars hold up beautifully in the fridge. Make a batch on Sunday, and you have healthy snacks ready for the entire week. No more scrambling for lunchbox ideas.
- Crowd-Pleaser: The chocolate and peanut butter combination is timeless. Kids love the chewy texture, and adults appreciate the lower sugar content compared to traditional brownies.
- Unbelievably Delicious: The texture is next-level. The quinoa adds a subtle nuttiness that pairs perfectly with the rich chocolate. It’s comfort food reimagined—healthier, faster, but with the same soul-soothing satisfaction.
- High Protein Boost: Unlike standard energy bars, these are loaded with plant-based protein from the quinoa and peanut butter. They keep you full longer, making them ideal for pre-workout or mid-afternoon energy boosts.
What makes this recipe different from the rest is the texture. Most no-bake bars rely on oats or rice cereal, which can get soggy or too hard. The small, popped kernels of quinoa create little pockets of chewiness that make every bite interesting. It’s not just another version—it’s your best version of a healthy snack bar. I’ve tweaked the ratios several times to get the perfect balance of sticky and chewy, and this is the formula that works every single time.
What Ingredients You Will Need
This recipe uses simple, wholesome ingredients to deliver bold flavor and satisfying texture without the fuss. The beauty of these bars lies in how few components you need. You don’t need exotic superfoods or expensive specialty items. Just good quality basics that come together to create magic. Here is what you need to get started:
- Quinoa (Cooked): About 1 cup of cooked quinoa. I recommend using white or red quinoa. White quinoa tends to be slightly softer and chewier, while red quinoa holds its shape a bit more. Make sure it is fully cooked and cooled before mixing. Look for firm, small-kernel quinoa for the best texture in the final bar.
- Natural Peanut Butter: 1/2 cup of creamy natural peanut butter. I prefer brands that only list peanuts and salt as ingredients. Avoid ones with added sugars or hydrogenated oils. The natural oils in good peanut butter help bind the bars together. If you have a nut allergy, sunflower seed butter is a great substitute.
- Honey: 1/4 cup of raw honey. Honey adds natural sweetness and acts as a binder. Maple syrup works too if you want a vegan option, but honey gives a richer flavor. Use warm honey if it has solidified in the jar.
- Vanilla Extract: 1 teaspoon of pure vanilla extract. This enhances the chocolate flavor and adds a warm, aromatic note. Don’t skip this; it makes a big difference in the overall taste profile.
- Dark Chocolate Chips: 1/2 cup of semi-sweet or dark chocolate chips. I like using chips with at least 60% cacao for a less sweet, more sophisticated taste. You can also chop up a dark chocolate bar for larger chunks.
- Salt: A pinch of flaky sea salt. This is crucial. Salt balances the sweetness of the honey and chocolate. It makes the chocolate taste more chocolatey. Do not omit this step.
- Optional Add-ins: You can add 1/4 cup of chopped nuts, dried cranberries, or coconut flakes for extra texture. I often add a handful of chia seeds for an extra omega-3 boost.
The key to success here is the quality of your peanut butter and chocolate. If you use low-quality ingredients, the bars might feel greasy or overly sweet. Stick to natural peanut butter and good dark chocolate, and you will be amazed at the difference. Also, ensure your quinoa is cooled completely. Warm quinoa will melt the chocolate chips prematurely, making the mixture too runny to handle.
Equipment Needed
You don’t need a fancy kitchen to make these bars. In fact, the simplicity is part of the appeal. Here is what you will need:
- Medium Saucepan: For heating the peanut butter and honey mixture. A non-stick pan is helpful to prevent sticking, but any saucepan will do. I usually use a small saucepan because the quantity is small.
- Large Mixing Bowl: Something wide enough to fold the quinoa and chocolate chips into the warm mixture. A glass or ceramic bowl works best.
- Spatula: A heat-resistant silicone spatula is essential for stirring the warm mixture without scratching your pan. It also helps scrape every bit of the mixture into the bowl.
- 8×8 Inch Baking Pan: To press the mixture into. Line it with parchment paper for easy removal. This is the most important tool for getting clean cuts.
- Parchment Paper: Essential for lining the pan. It prevents sticking and makes cleanup a breeze. I always leave an overhang on two sides to use as a “handle” to lift the bars out later.
- Chef’s Knife: For chopping chocolate bars if you aren’t using chips. A sharp knife makes clean cuts without crushing the chocolate.
If you don’t have an 8×8 pan, a 9×9 pan will work, but the bars will be thinner. You might need to adjust the chilling time accordingly. Also, having a clean spatula ready before you start mixing saves time. I’ve learned the hard way that trying to wash a spatula mid-recipe is a disaster waiting to happen. Keep your workspace tidy, and you will have these bars ready in no time.
How to Make Chewy Chocolate Quinoa Bars
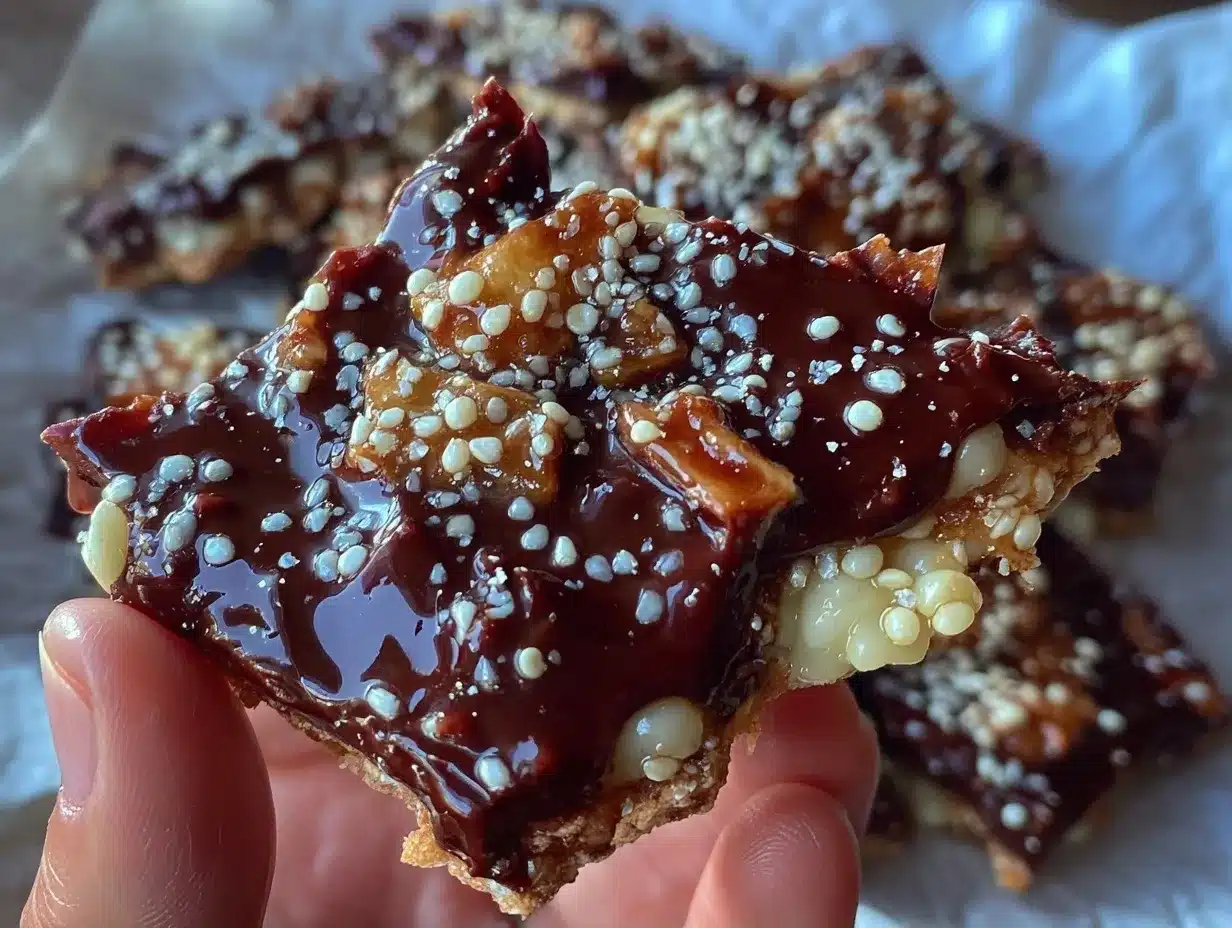
Making these bars is straightforward, but there are a few tricks to get that perfect chewy texture. Follow these steps carefully for the best results.
- Cook the Quinoa: Start by cooking 1/2 cup of dry quinoa according to package instructions. Usually, this means rinsing the quinoa thoroughly, adding 1 cup of water, bringing it to a boil, then simmering for 15 minutes. Once cooked, let it cool completely. This step takes about 20 minutes total, including cooling. Tip: Spread the cooked quinoa on a baking sheet to speed up cooling.
- Melt the Binder: In a medium saucepan over low heat, combine the peanut butter and honey. Stir constantly until they are smooth and well combined. This should take about 3-4 minutes. Do not let it boil. You just want it warm and fluid. Warning: If the heat is too high, the peanut butter can seize up.
- Add Flavor: Remove the pan from heat and stir in the vanilla extract and a pinch of salt. Mix well. The mixture should be glossy and smooth. If it looks too thick, add a teaspoon of warm water to thin it out slightly.
- Combine Dry and Wet: Pour the warm peanut butter mixture over the cooled quinoa in your large mixing bowl. Use your spatula to fold everything together. Make sure every grain of quinoa is coated. This takes about 2 minutes of gentle folding.
- Fold in Chocolate: Add the chocolate chips to the mixture. Gently fold them in. Be careful not to overmix, or you might crush the chips. You want distinct chunks of chocolate in every bite.
- Press into Pan: Line your 8×8 baking pan with parchment paper. Transfer the mixture into the pan. Use the back of a spoon or your hands (lightly greased) to press the mixture down firmly. This step is crucial for keeping the bars together. Press it down evenly and compactly.
- Chill: Place the pan in the refrigerator for at least 2 hours, or until the bars are firm. This takes time, so plan ahead. Troubleshooting: If you are in a hurry, you can put them in the freezer for 30 minutes, but the texture might be slightly harder.
- Cut and Serve: Once firm, lift the bars out using the parchment paper overhang. Use a sharp knife to cut into squares or rectangles. Wipe the knife clean between cuts for neat edges. Enjoy immediately or store in an airtight container.
The most important part of this process is pressing the mixture down firmly. If you don’t pack it tight, the bars will crumble when you try to cut them. Don’t be gentle here. Use your palm and press down with confidence.
Cooking Tips & Techniques
Having made these bars countless times, I have picked up a few techniques that ensure success every time. Here is how to avoid common pitfalls and get the best texture.
- Cool the Quinoa Completely: This cannot be stressed enough. If the quinoa is even slightly warm, it will melt the chocolate chips and make the peanut butter mixture too loose. Your bars will be greasy and impossible to cut. Let it sit in the fridge for an hour if needed.
- Use Low Heat: When melting the peanut butter and honey, keep the heat on low. High heat can cause the sugars to burn or the peanut butter to separate. Gentle warmth is all you need to combine them smoothly.
- Don’t Skip the Salt: I know it seems minor, but the salt balances the sweetness. Without it, the bars taste one-dimensional. Use flaky sea salt for a nice crunch and visual appeal.
- Press Firmly: As mentioned, pressing the mixture down is key. I usually use the bottom of a measuring cup to pack it down evenly. This creates a dense, chewy bar rather than a crumbly one.
- Chill Time is Non-Negotiable: While you can eat them immediately, they will be messy. Chilling allows the fats to solidify and the flavors to meld. The bars taste even better the next day, so don’t be surprised if you have to wait.
- Knife Technique: For clean cuts, dip your knife in hot water and wipe it dry before each cut. This prevents the chocolate from sticking to the blade and tearing the bars.
I once tried to rush the chilling process by leaving the bars out for only 30 minutes. They were a mess. Now, I always plan for at least 2 hours. It’s worth the wait. Also, if your peanut butter is very stiff, microwave it for 10 seconds to soften it before mixing. This makes folding easier.
Variations & Adaptations
While the classic chocolate peanut butter version is my favorite, these bars are highly customizable. Here are a few variations I love to try:
- Almond Butter Version: Swap the peanut butter for almond butter. This gives a milder, nuttier flavor that pairs well with dark chocolate. It’s great for those who find peanut butter too strong.
- Marble Cookie Style: Before chilling, swirl in some white chocolate chips or a drizzle of peanut butter on top. Use a toothpick to create a marble pattern. This looks fancy but is super easy.
- Coconut Lime Twist: Add 1 tablespoon of lime zest and 1/4 cup of shredded coconut to the mixture. Use white chocolate chips instead of dark. This gives a tropical, refreshing flavor profile.
- Nut-Free Option: Use sunflower seed butter or soy nut butter instead of peanut butter. Add extra chocolate chips to compensate for the missing nut flavor. These are perfect for school lunches with nut restrictions.
- Protein Boost: Stir in 1 scoop of vanilla protein powder. You may need to add a little more honey or water to keep the mixture moist. This is great for post-workout snacks.
I often experiment with different types of chocolate. White chocolate adds a creamy sweetness, while milk chocolate makes it taste more like a candy bar. Try mixing chips and chopped bars for varied textures. The base recipe is flexible, so don’t be afraid to add your favorite add-ins like dried cherries or toasted pecans.
Serving & Storage Suggestions
These bars are best served chilled, as the cold temperature enhances the chewy texture and keeps the chocolate firm. Here is how to store and serve them for maximum enjoyment.
- Storage: Store the bars in an airtight container in the refrigerator for up to 1 week. You can also freeze them for up to 3 months. Layer them with parchment paper to prevent sticking. Thaw in the fridge overnight before eating.
- Serving Temperature: Serve straight from the fridge for the firmest texture. If you prefer a softer bite, let them sit at room temperature for 10 minutes before eating.
- Packaging: For lunchboxes, wrap individual bars in wax paper or silicone wraps. This keeps them fresh and makes them easy to grab on the go.
- Pairing: These bars pair well with a cold glass of milk, a cup of coffee, or a smoothie. They are also great alongside fresh fruit like strawberries or apple slices.
- Flavor Development: The flavors actually improve after a day in the fridge. The quinoa absorbs more of the peanut butter and honey, making the bars taste more cohesive and rich.
I usually make a double batch on Sundays and keep them in the fridge for quick access. They are a lifesaver when hunger strikes unexpectedly. Just make sure your container is truly airtight, or they might absorb odors from other foods in the fridge.
Nutritional Information & Benefits
These bars are not just tasty; they are nutritious. Here is a quick look at why they are a smart snack choice.
- Protein: Each bar contains about 6-8 grams of protein from the quinoa and peanut butter. This helps with muscle repair and keeps you full.
- Fiber: Quinoa is a good source of fiber, aiding in digestion and promoting satiety. Each bar has around 3-4 grams of fiber.
- Healthy Fats: The peanut butter provides monounsaturated fats, which are heart-healthy. These fats help stabilize blood sugar levels.
- Low Glycemic: Compared to candy bars, these have a lower glycemic index due to the complex carbs in quinoa and the natural sweetness of honey.
- Allergens: Contains peanuts and tree nuts if you add them. Use sunflower seed butter for a nut-free version. Gluten-free by default.
I love these bars because they make me feel good. I don’t get the usual sugar crash, and I feel energized. They are a great way to sneak in more whole grains and protein into your diet without feeling like you are eating “diet” food.
Conclusion
These Ultimate Chewy Chocolate Quinoa Snack bars are a game-changer for anyone looking for a healthy, delicious treat. They are easy to make, packed with nutrients, and satisfy any chocolate craving. I hope you try this recipe and enjoy it as much as I do. Feel free to customize it with your favorite add-ins and make it your own.
If you make this recipe, I would love to hear about it! Leave a comment below with your thoughts or tag me on social media. Sharing your creations inspires me to keep creating. Happy baking, and remember, healthy eating can be fun and delicious. Enjoy your bars!
Frequently Asked Questions
Can I use uncooked quinoa in this recipe?
No, you must use cooked quinoa. Uncooked quinoa is hard and inedible. The recipe relies on the soft, fluffy texture of cooked quinoa to bind with the peanut butter.
How long do these bars last in the fridge?
They stay fresh for up to 1 week when stored in an airtight container. For longer storage, freeze them for up to 3 months.
Can I substitute honey with maple syrup?
Yes, you can use pure maple syrup for a vegan version. Keep in mind that maple syrup is thinner, so you might need to chill the bars longer to set them properly.
Why are my bars crumbly?
This usually happens if the mixture wasn’t pressed down firmly enough or if the quinoa was too wet. Make sure to press the mixture tightly into the pan and ensure your quinoa is cooled and drained well.
Can I make these bars without peanut butter?
Yes, you can use sunflower seed butter, almond butter, or any nut butter of your choice. The texture and flavor will vary slightly, but they will still be delicious.
Pin This Recipe!
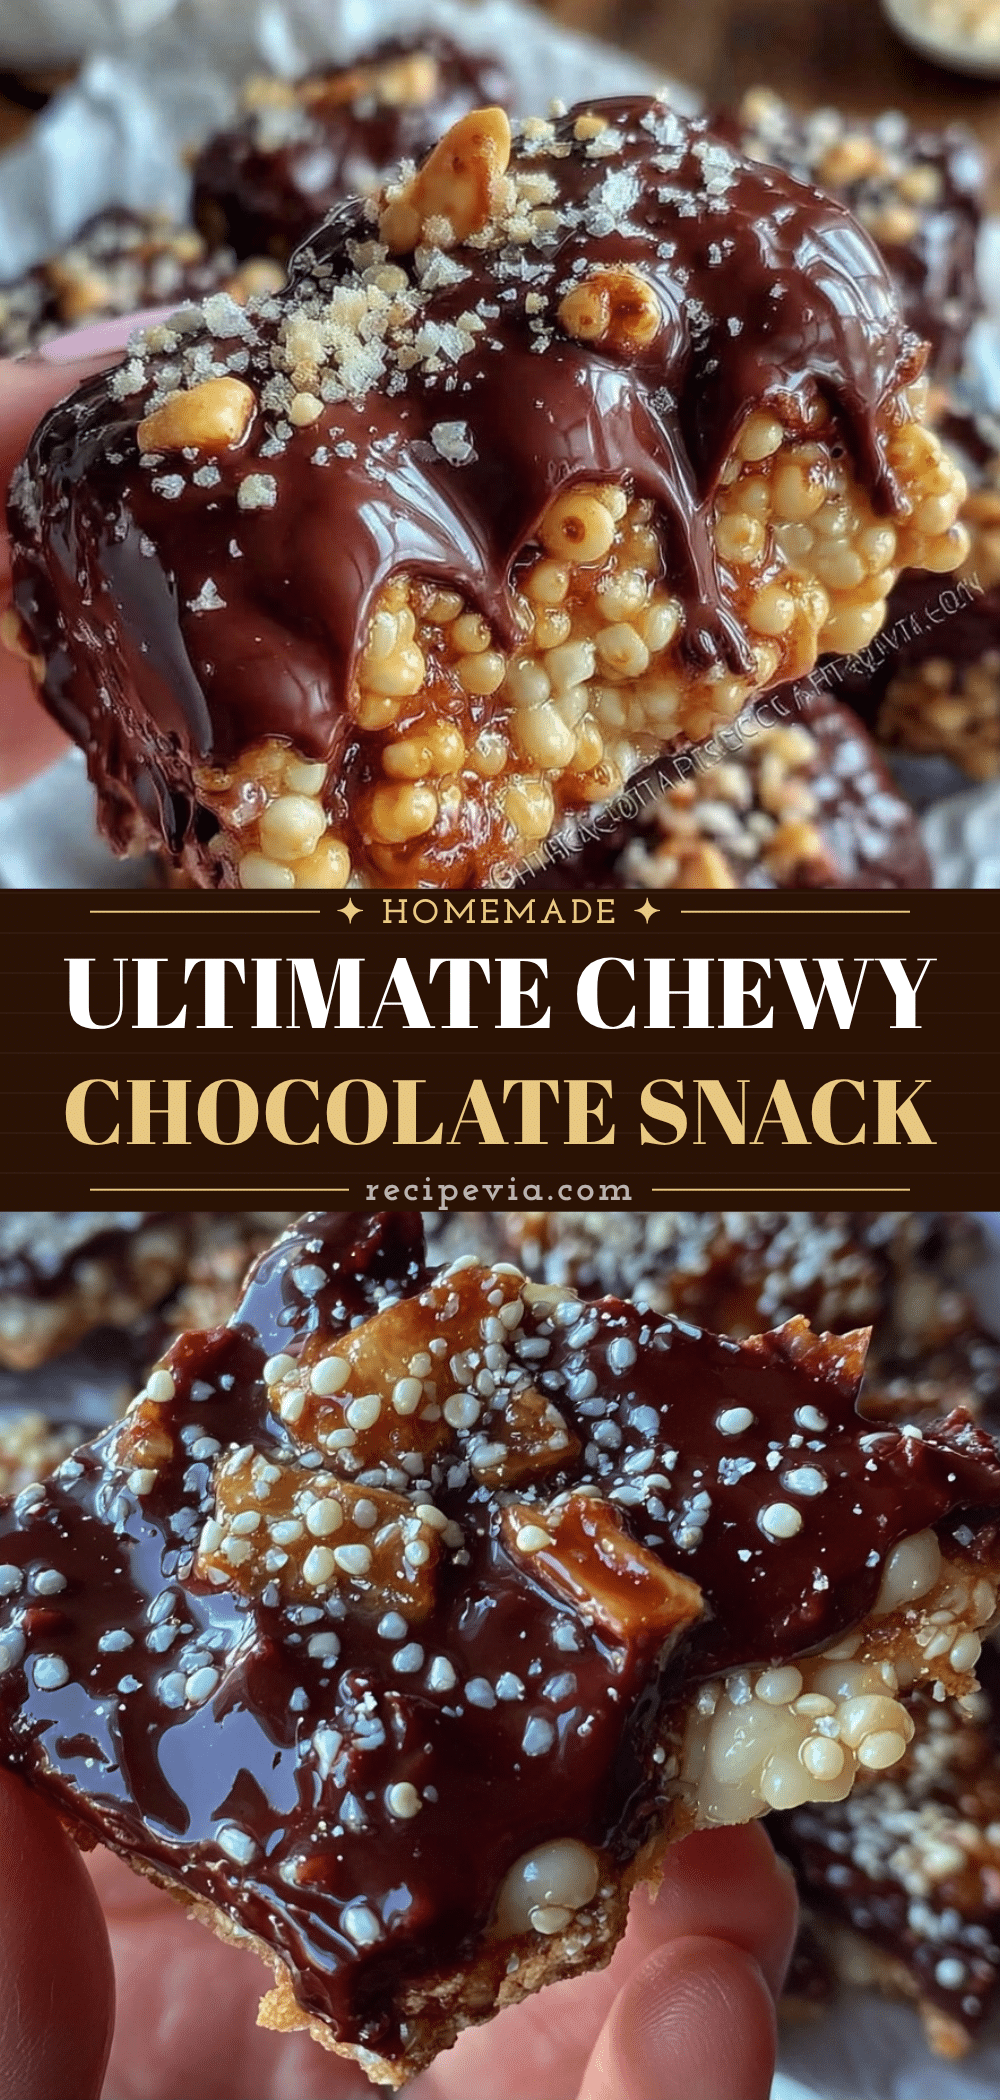

Ultimate Chewy Chocolate Quinoa Snack Bars
- Total Time: 35 minutes
- Yield: 12 servings 1x
Description
These no-bake bars combine cooked quinoa, peanut butter, honey, and dark chocolate chips for a chewy, protein-packed snack that satisfies sweet cravings without the sugar crash.
Ingredients
- 1 cup cooked quinoa (white or red), cooled completely
- 1/2 cup natural creamy peanut butter
- 1/4 cup raw honey
- 1 teaspoon pure vanilla extract
- 1/2 cup semi-sweet or dark chocolate chips
- 1 pinch flaky sea salt
- Optional: 1/4 cup chopped nuts, dried cranberries, coconut flakes, or chia seeds
Instructions
- Cook 1/2 cup dry quinoa according to package instructions (rinse, add 1 cup water, boil, simmer 15 minutes). Let cool completely.
- In a medium saucepan over low heat, combine peanut butter and honey. Stir constantly until smooth and warm (3-4 minutes). Do not boil.
- Remove from heat and stir in vanilla extract and salt.
- Pour the warm peanut butter mixture over the cooled quinoa in a large mixing bowl. Fold gently until every grain is coated.
- Fold in chocolate chips carefully to avoid crushing them.
- Line an 8×8 inch baking pan with parchment paper. Transfer mixture to the pan and press down firmly and evenly using the back of a spoon or greased hands.
- Refrigerate for at least 2 hours until firm (or 30 minutes in freezer).
- Lift bars out using parchment overhang and cut into squares or rectangles with a sharp knife.
Notes
Ensure quinoa is completely cooled before mixing to prevent melting the chocolate. Press the mixture firmly into the pan to ensure bars hold together. For clean cuts, dip the knife in hot water and wipe dry between cuts. Bars taste better after sitting in the fridge for a day.
- Prep Time: 15 minutes
- Cook Time: 20 minutes
- Category: Snack
- Cuisine: American
Nutrition
- Serving Size: 1 bar
- Calories: 180
- Sugar: 12
- Sodium: 45
- Fat: 9
- Saturated Fat: 3
- Carbohydrates: 22
- Fiber: 3
- Protein: 6
Keywords: quinoa bars, no-bake snacks, healthy chocolate, peanut butter bars, gluten-free snacks, protein bars, chewy bars