The smell of butter hitting a hot skillet is the kind of comfort that stops time. I remember waking up on a rainy Sunday morning, completely out of milk, and wondering how I’d feed my hungry family. That was the moment I perfected this version of easy fluffy pancakes. It’s not just about feeding people; it’s about knowing you can pull something amazing from what’s already in your cupboard.
Honestly, most pancake recipes call for buttermilk or fancy vanilla extract. But let’s face it, those things sit on the shelf until they expire. This recipe uses five cheap pantry staples you likely already have. It’s resourceful cooking at its finest. You get that same fluffy, golden-brown magic without the trip to the grocery store.
I’ve tested this recipe over a dozen times, tweaking the flour-to-liquid ratio until it was just right. The result is a batter that’s forgiving and thick. It doesn’t require any special techniques or expensive ingredients. Just simple, honest food that tastes like a weekend treat.
If you’re a busy parent, a college student, or just someone trying to stretch a dollar, this is your go-to breakfast. It’s reliable, quick, and always delivers. You know that feeling when you take the first bite and it melts in your mouth? That’s what we’re going for here. It’s comfort food that doesn’t cost a fortune.
Why You’ll Love This Recipe
There is a specific joy in making breakfast with ingredients that won’t break the bank. This recipe stands out because it strips away the pretension. You don’t need artisanal flour or imported maple syrup to get great results. In fact, some of the best memories I have are tied to simple, homemade meals made with what was on hand.
Here is why this version is a household staple:
- Quick & Easy: You can have these on the table in under 20 minutes. It’s perfect for those chaotic weekday mornings when you still want something better than cereal.
- Simple Ingredients: No fancy grocery trips needed. You likely already have flour, sugar, baking powder, salt, and milk in your kitchen. Maybe even an egg or two.
- Perfect for Leftovers: These pancakes freeze beautifully. I often make a double batch on Sundays so I can grab one in the morning and toast it up during the week.
- Crowd-Pleaser: Kids and adults alike love the texture. It’s not too dense, but it’s not airy and hollow either. It has a satisfying chew that keeps everyone coming back for more.
- Unbelievably Delicious: The combination of a little sugar and proper leavening creates a sweet, tender crumb. It’s next-level comfort food that feels homemade.
What makes this recipe different is the balance. Many cheap pancake recipes turn out rubbery or flat. I’ve learned through trial and error that the key is not overmixing the batter. It’s also about letting the batter rest for just five minutes. This allows the flour to hydrate fully, resulting in a softer pancake.
This isn’t just another version of a classic. It’s the version that works every single time. It’s the kind of recipe that makes you close your eyes after the first bite. It’s comfort food reimagined for the modern budget. You can impress guests without stress, or just enjoy a quiet moment with a stack of warm pancakes. It turns a simple meal into something memorable, all while saving you money.
What Ingredients You Will Need
This recipe relies on the backbone of any American kitchen. These are items that stay fresh for months and cost pennies per serving. We are building flavor from the ground up, using basic techniques to maximize texture.
Here is exactly what you need to make this batch:
- All-Purpose Flour: 1 ½ cups (about 190g). This is your base. Don’t use self-rising flour unless you adjust the salt and baking powder. I prefer a standard brand like Gold Medal for consistent results.
- Sugar: 2 tablespoons. A little sweetness helps with browning. You can reduce this to 1 tablespoon if you prefer a less sweet pancake, but don’t skip it entirely.
- Baking Powder: 1 ½ teaspoons. This is the lift. Make sure it’s fresh; old baking powder makes flat pancakes. Check the date on your can before you start.
- Salt: ½ teaspoon. Essential for flavor balance. It cuts through the sweetness and makes the flour taste more like itself.
- Milk: 1 ¼ cups (300ml). Whole milk is best for richness, but any milk works. If you have buttermilk, use it for extra tang, but regular milk is fine.
- Egg: 1 large egg. This provides structure. Room temperature eggs blend into the batter more easily, but cold eggs work too.
- Melted Butter: 2 tablespoons. Adds moisture and flavor. You can substitute with neutral oil like vegetable or canola oil if you are dairy-free.
- Vanilla Extract: 1 teaspoon. Optional, but highly recommended. It adds that classic pancake aroma.
I always keep a bag of flour and a box of baking powder on hand. They are the unsung heroes of budget cooking. For the milk, I often use what I have left in the fridge. If it’s nearing the end of its life, just cook with it; the heat kills any bacteria anyway.
For the butter, unsalted is preferred so you control the salt level. But if you only have salted butter, just reduce the added salt in the dry mix by a pinch. It’s all about adjusting to what you have. This flexibility is what makes the recipe so robust. You aren’t locked into a specific brand or type. You are using what works for you.
Equipment Needed
You don’t need a fancy kitchen to make great pancakes. Basic tools will do the job just fine. The most important item is your cooking surface.
- Non-Stick Skillet or Griddle: A 10-inch non-stick pan is ideal. It prevents sticking and makes flipping easy. If you have a flat electric griddle, that works too for cooking more at once.
- Mixing Bowls: You need two bowls. One for dry ingredients and one for wet. Any standard size will work. I use a medium bowl for dry and a larger one for wet.
- Whisk: A simple balloon whisk is best for combining ingredients. It breaks up lumps in the flour quickly.
- Spatula: A rubber or silicone spatula is helpful for scraping the bowl and flipping pancakes. Metal spatulas can scratch non-stick surfaces.
- Measuring Cups and Spoons: Accuracy matters in baking. Use standard measuring cups for flour and spoons for leavening. Level off your flour with a knife for consistent results.
I’ve tried using a fork to mix the batter, but a whisk is much faster and more thorough. It ensures there are no dry pockets of flour in your mix. For the pan, I recommend keeping the heat on medium. High heat burns the outside before the inside is cooked.
If you don’t have a non-stick pan, a well-seasoned cast iron skillet is a great alternative. It holds heat evenly and gives a nice crust. Just make sure it’s properly seasoned to prevent sticking. You can also use a bit more butter in the pan if needed. These tools are likely already in your drawer. No need to buy anything new.
Preparation Method
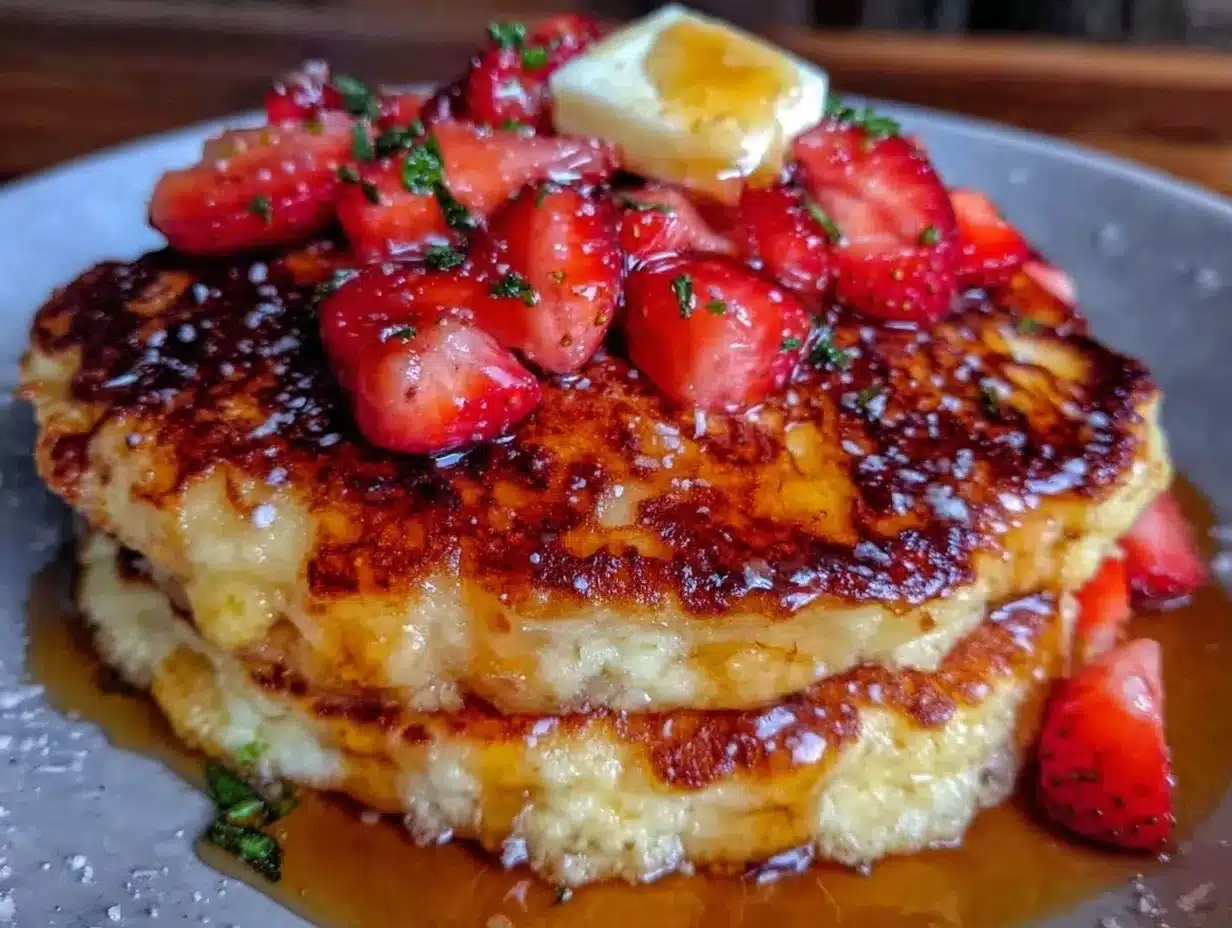
Making these pancakes is straightforward if you follow the steps carefully. The goal is a lumpy batter, not a smooth one. Overmixing is the enemy of fluffiness.
- Mix the Dry Ingredients: In a medium bowl, whisk together the flour, sugar, baking powder, and salt. Make sure the baking powder is evenly distributed. This takes about 30 seconds. Set this bowl aside.
- Combine the Wet Ingredients: In a separate large bowl, whisk the milk, egg, melted butter, and vanilla extract. Whisk until the egg is fully beaten and the butter is incorporated. The mixture should look uniform. This takes about 1 minute.
- Combine Wet and Dry: Pour the wet mixture into the dry ingredients. Use your whisk or a spoon to gently stir them together. Stop mixing as soon as you no longer see dry flour. The batter should be thick and lumpy. Do not overmix. This takes about 1 minute.
- Rest the Batter: Let the batter sit for 5 minutes. This allows the baking powder to activate and the flour to absorb the liquid. You will see small bubbles form on the surface. This step is crucial for fluffy pancakes.
- Heat the Pan: Place your skillet or griddle over medium heat. Add a small pat of butter or a brush of oil. Wait until the butter stops sizzling vigorously. If the water drops you flick onto the pan dance around, it’s ready. This takes about 2 minutes.
- Pour the Batter: Use a ¼ cup measure to pour batter onto the pan. Leave space between each pancake for flipping. Cook until bubbles form on the surface and the edges look set. This takes about 2-3 minutes per batch.
- Flip and Finish: Flip the pancakes once. Cook for another 1-2 minutes until golden brown on the second side. The inside should be cooked through. Remove to a plate and cover with foil to keep warm. Repeat with remaining batter.
If your first pancake is a test pancake, don’t worry. It’s normal for the first one to look imperfect. Adjust the heat if needed. If they are browning too fast, lower the heat. If they are pale, increase it slightly.
Always wipe the pan between batches if butter builds up. This prevents burnt bits from sticking to your pancakes. Serve immediately for the best texture. The steam keeps them soft and warm.
Cooking Tips & Techniques
There are a few tricks that separate good pancakes from great ones. I learned these through many failed breakfasts. Here is how to get it right every time.
First, do not overmix the batter. It is tempting to stir until smooth, but this develops gluten. Gluten makes pancakes tough and chewy. You want tender, soft pancakes. Lumps are your friend here. If you see a few streaks of flour, that’s okay. They will cook out in the pan.
Second, control your heat. Medium heat is the sweet spot. If the pan is too hot, the outside burns before the inside sets. If it’s too cool, the pancakes spread out and become thin. Test the pan with a drop of water. It should sizzle gently, not roar.
Third, let the batter rest. This is non-negotiable. The resting time allows the baking powder to react and create air pockets. It also hydrates the flour. Skipping this step results in dense, rubbery pancakes. Give those five minutes.
I once tried to rush this process by using hot milk. It cooked the egg prematurely and made a weird texture. Lesson learned. Always use room temperature or cold ingredients.
Also, keep your cooked pancakes warm. Stack them on a plate and cover loosely with aluminum foil. This traps heat without steaming the bottoms. If you put them in a warm oven (200°F/95°C), they stay perfect for serving.
Finally, clean your pan properly. If you have burnt bits from the first batch, scrape them out. They will taste bitter and affect the next pancakes. A clean pan ensures even cooking and a pleasant flavor.
Variations & Adaptations
While the base recipe is perfect as is, there are many ways to tweak it. These variations allow you to use up leftover ingredients or try new flavors.
- Banana Pancakes: Mash one ripe banana into the wet ingredients. Add a teaspoon of cinnamon. This adds natural sweetness and moisture. Great for using up brown bananas.
- Berry Burst: Fold in ½ cup of fresh or frozen blueberries into the batter just before cooking. The berries add bursts of flavor. Note: frozen berries may bleed color into the batter.
- Chocolate Chip: Stir in ¼ cup of chocolate chips after mixing. They melt into the hot pancakes for a dessert-like treat. Use semi-sweet or milk chocolate chips.
- Gluten-Free Option: Swap the all-purpose flour for a 1:1 gluten-free flour blend. Make sure the blend contains xanthan gum for structure. The texture will be slightly different but still tasty.
- Dairy-Free: Use plant-based milk like almond or oat milk. Substitute the butter with coconut oil or a neutral vegetable oil. The flavor remains mild and pleasant.
I often add a spoonful of oats to the dry mix for a heartier texture. It adds fiber and makes the pancakes more filling. You can also use maple syrup in the batter for a deeper flavor.
These variations make the recipe versatile. You can adapt it based on what you have. It’s not about following rules strictly. It’s about making breakfast work for you. Try one variation this weekend and see what you like.
Serving & Storage Suggestions
How you serve these pancakes matters. They are best enjoyed fresh and warm. But they also store well for later.
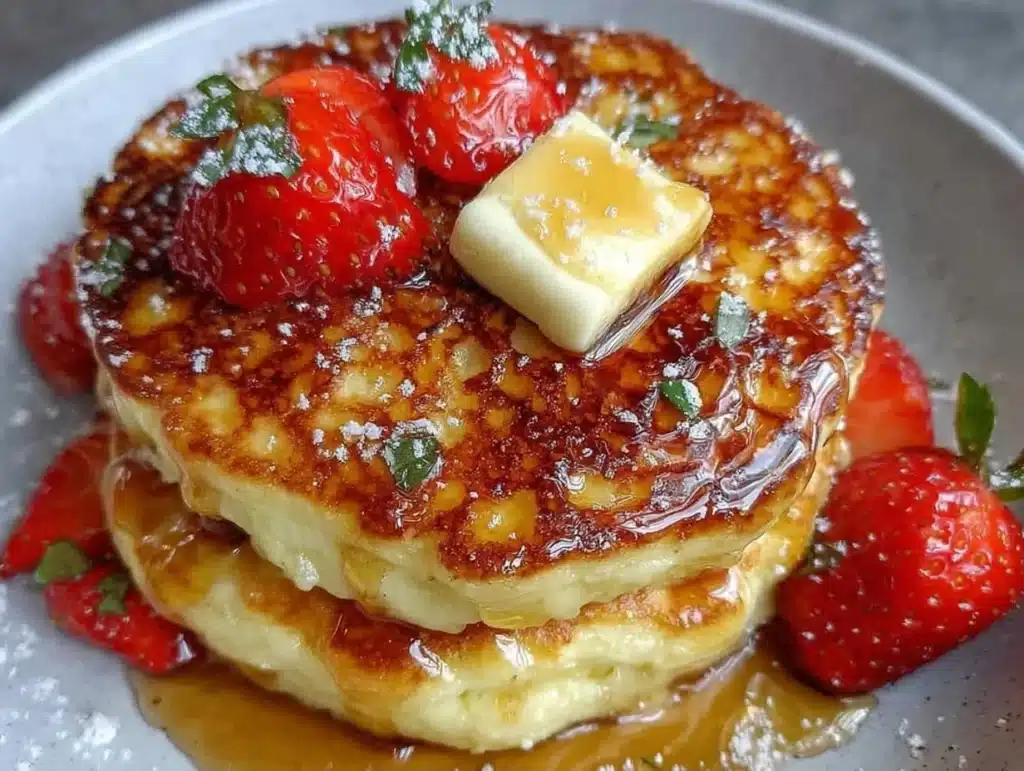
For serving, stack them high. Top with butter and maple syrup. Fresh fruit like strawberries or blueberries adds a nice contrast. Whipped cream is a luxurious touch if you have it. I also like a sprinkle of powdered sugar for a classic look.
To store leftovers, let the pancakes cool completely. Place them in a single layer on a baking sheet and freeze for an hour. Then transfer them to a freezer-safe bag. They will last for up to three months.
To reheat, toast them in a toaster or warm them in a microwave for 30 seconds. Toasting restores the crisp edges. Microwaving alone can make them soggy.
The flavor of these pancakes is best on the day they are made. But they are still good the next day. Just make sure to reheat them properly. Avoid leaving them out at room temperature for more than two hours. Food safety is important.
I often meal prep these for busy mornings. They save time and money. Plus, you know exactly what is in them. No preservatives or additives. Just simple, honest food.
Nutritional Information & Benefits
These pancakes are a good source of energy. They provide carbohydrates for fuel and protein from the egg and milk.
Each serving (2 pancakes) contains approximately:
- Calories: 250
- Protein: 8g
- Carbohydrates: 35g
- Fat: 9g
- Fiber: 1g
The flour provides complex carbs. The egg adds high-quality protein. The milk contributes calcium. This makes them a balanced breakfast option.
They are not low-carb or keto-friendly. But they are a reasonable treat. You can adjust the sugar to control calories. Using skim milk reduces fat slightly.
The recipe is naturally nut-free. This makes it safe for school lunches or gatherings with allergies. Always check your specific ingredient labels for allergens.
From a wellness perspective, homemade pancakes are better than boxed mixes. You control the sodium and sugar. You avoid artificial colors and flavors. It’s a small change that adds up over time.
I enjoy these as a weekend treat. They don’t have to be every day. But when you do make them, make them count. Use good ingredients and enjoy the process.
Conclusion
These easy fluffy pancakes are a testament to simple cooking. You don’t need expensive ingredients to make something delicious. With just five pantry staples, you can create a meal that brings joy.
I love this recipe because it is reliable. It works when I am tired, when I am broke, or when I just want comfort. It reminds me of simpler times. It connects me to my family.
I encourage you to try this recipe. Customize it with your favorite toppings. Share it with friends. Let me know how it turns out in the comments below. I love hearing your variations and tips.
Cooking should be fun, not stressful. This recipe takes the stress out of breakfast. It stretches your budget while feeding your soul. Give it a try this weekend. You won’t be disappointed.
Frequently Asked Questions
Why are my pancakes flat?
This usually happens if the baking powder is old or if you overmix the batter. Make sure your leavening agent is fresh. Also, stop mixing as soon as the flour is incorporated. Lumps are okay.
Can I make the batter ahead of time?
It’s best to cook the batter fresh. If you must, you can refrigerate it for up to 2 hours. However, the pancakes may not be as fluffy. Stir gently before cooking if the batter thickens.
How do I keep pancakes warm while cooking?
Place cooked pancakes on a baking sheet in a 200°F (95°C) oven. Cover loosely with foil. This keeps them warm without making them soggy. This method works well for serving a crowd.
Can I freeze leftover pancakes?
Yes, absolutely. Let them cool completely, then freeze in a single layer. Once solid, transfer to a freezer bag. They last up to three months. Toast them directly from frozen for best results.
What is the best substitute for buttermilk?
You can make a quick buttermilk substitute by adding 1 tablespoon of vinegar or lemon juice to 1 cup of milk. Let it sit for 5 minutes until it curdles. This adds the tang and tenderness of real buttermilk.
Pin This Recipe!
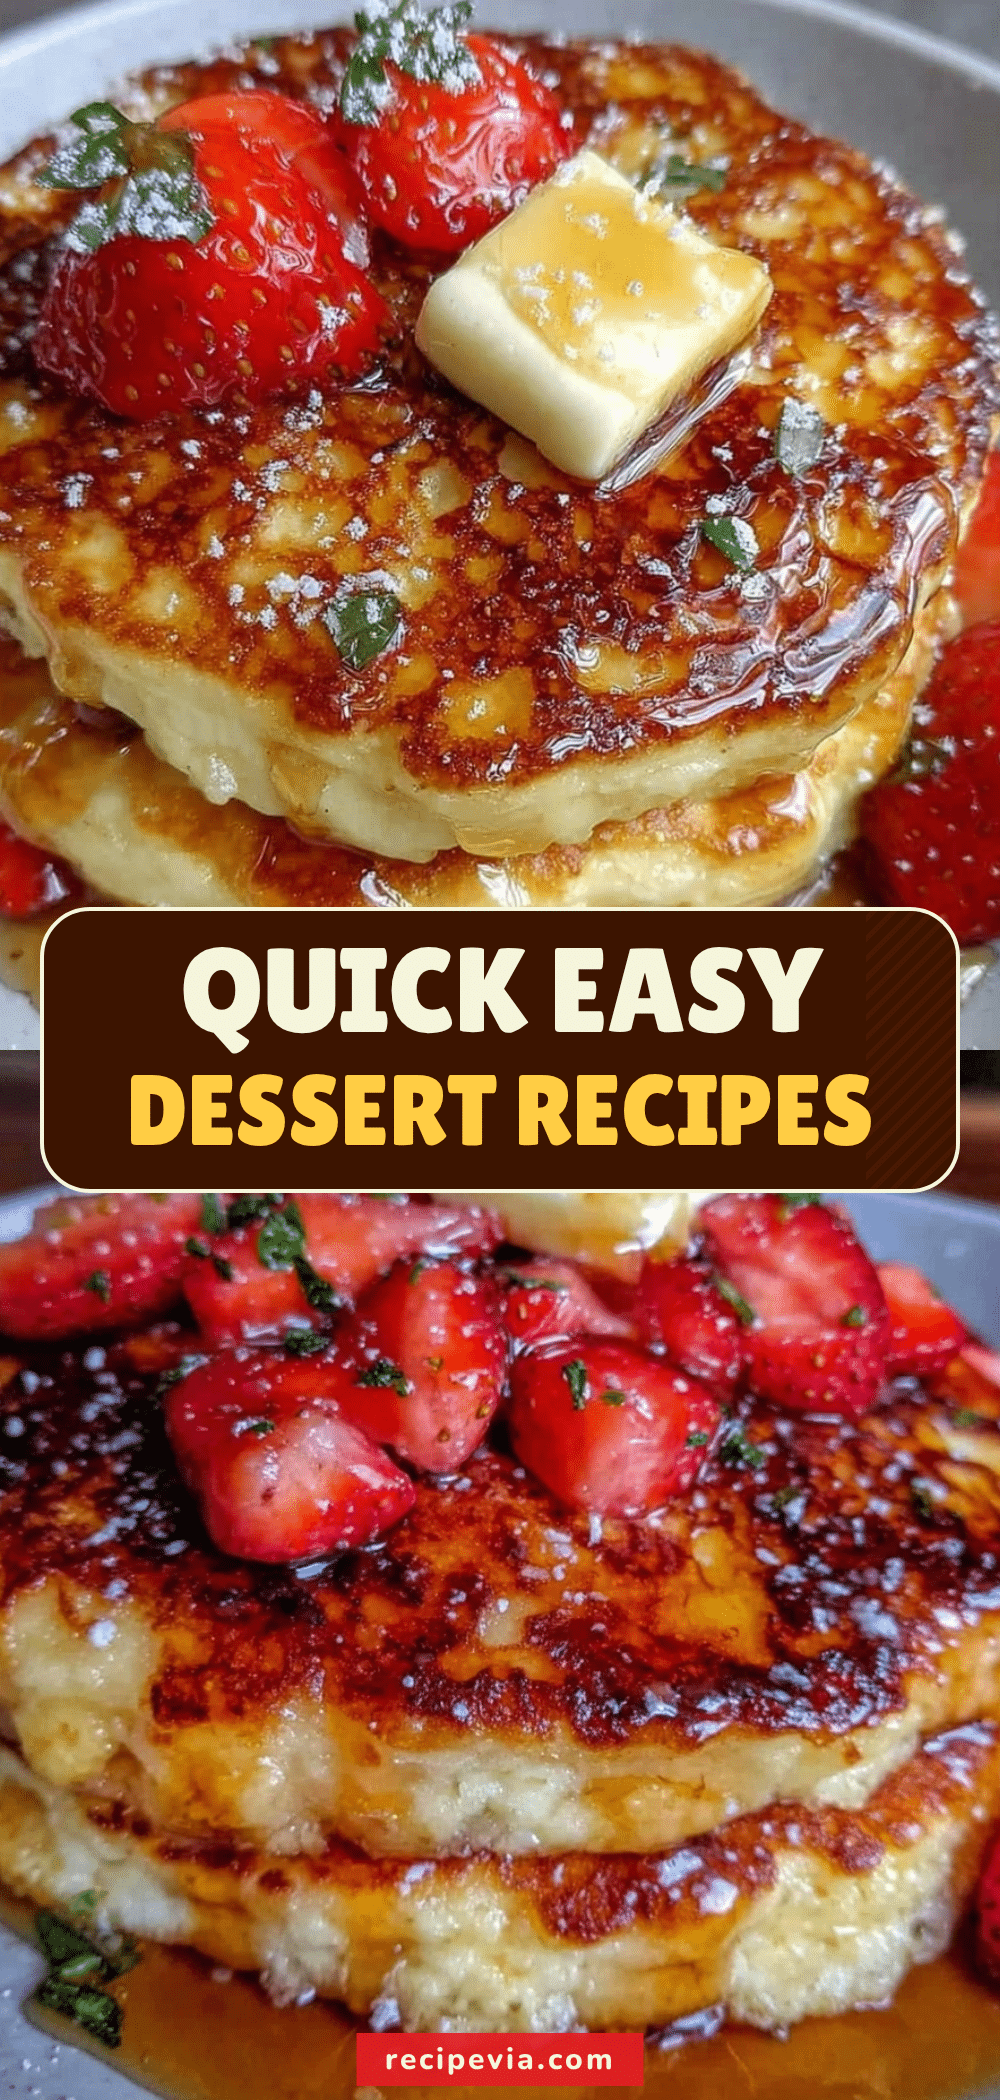

Easy Fluffy Pancakes: 5 Cheap Pantry Staples
- Total Time: 20 minutes
- Yield: 4 servings 1x
Description
A resourceful and delicious pancake recipe made with just five common pantry staples. These fluffy, golden-brown pancakes are quick to make, budget-friendly, and perfect for busy mornings or weekend treats.
Ingredients
- 1 ½ cups all-purpose flour
- 2 tablespoons sugar
- 1 ½ teaspoons baking powder
- ½ teaspoon salt
- 1 ¼ cups milk
- 1 large egg
- 2 tablespoons melted butter
- 1 teaspoon vanilla extract
Instructions
- In a medium bowl, whisk together the flour, sugar, baking powder, and salt. Set aside.
- In a separate large bowl, whisk the milk, egg, melted butter, and vanilla extract until uniform.
- Pour the wet mixture into the dry ingredients. Gently stir until just combined; the batter should be thick and lumpy. Do not overmix.
- Let the batter rest for 5 minutes to allow the flour to hydrate and baking powder to activate.
- Heat a non-stick skillet or griddle over medium heat. Add a small pat of butter or brush of oil.
- Pour ¼ cup of batter onto the pan for each pancake. Cook until bubbles form on the surface and edges look set, about 2-3 minutes.
- Flip the pancakes and cook for another 1-2 minutes until golden brown on the second side.
- Remove to a plate and cover with foil to keep warm. Repeat with remaining batter.
Notes
Do not overmix the batter to ensure fluffy pancakes. Let the batter rest for 5 minutes. Keep cooked pancakes warm in a 200°F oven covered with foil. For dairy-free, use plant-based milk and oil. For gluten-free, use a 1:1 gluten-free flour blend.
- Prep Time: 10 minutes
- Cook Time: 10 minutes
- Category: Breakfast
- Cuisine: American
Nutrition
- Serving Size: 2 pancakes
- Calories: 250
- Sugar: 10
- Sodium: 300
- Fat: 9
- Saturated Fat: 3
- Carbohydrates: 35
- Fiber: 1
- Protein: 8
Keywords: pancakes, fluffy pancakes, easy breakfast, budget cooking, pantry staples, homemade pancakes, quick breakfast